
Power Query: Selective Staffing Part 3
10 November 2021
Welcome to our Power Query blog. This week, I continue transforming data for a solution that involves including values.
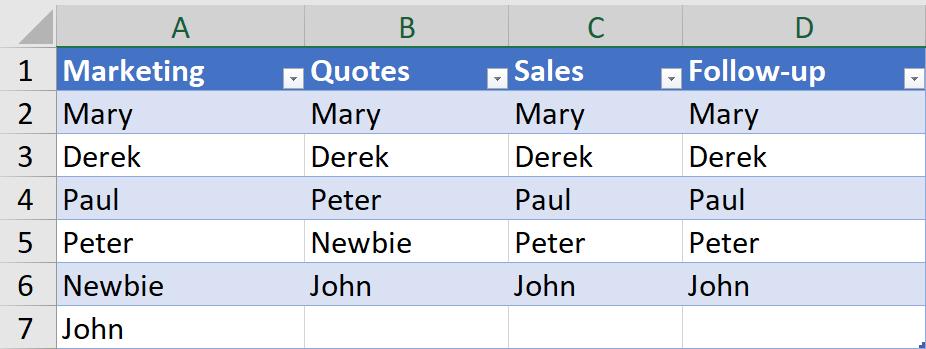
In the example I looked at last week, I had some areas where I had allocated salespeople:
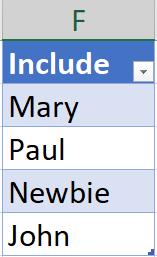
However, some staff were not currently available, so I generated a list of salespeople to include:
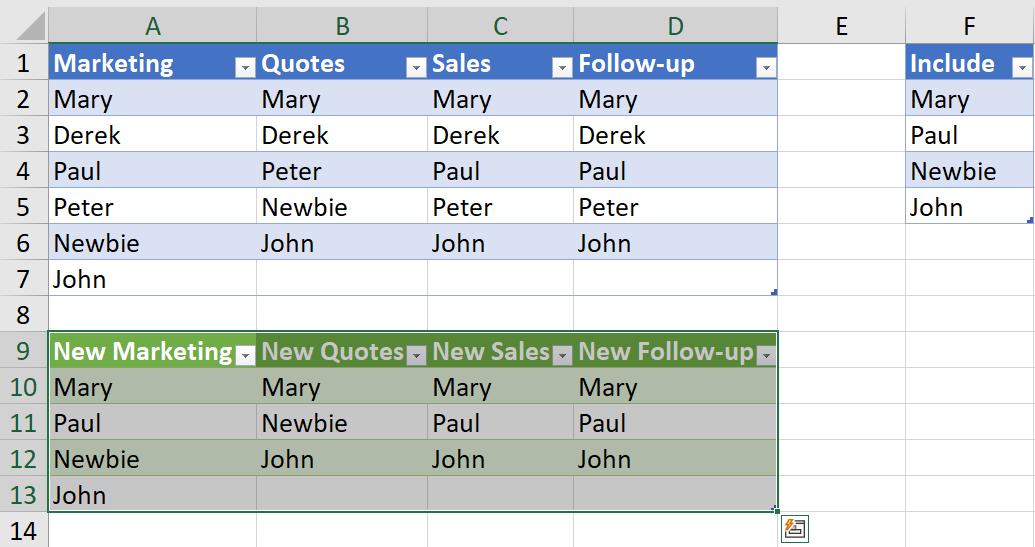
I created a new Table which showed only the included salespeople for each area.
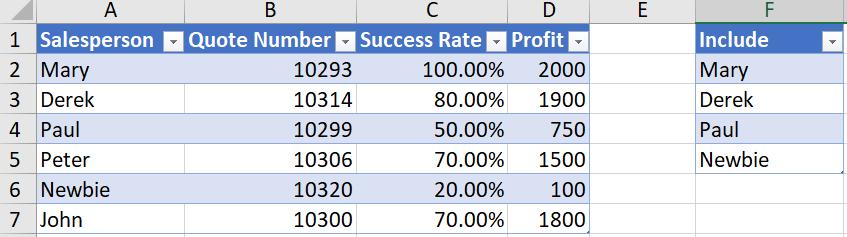
This time, I have a slightly different challenge on the same theme; I have a table of quote data for each of my salespeople, and a list of salespeople that I wish to view quote details for, viz.
In Power Query: Selective Staffing Part 1, I used the List() functionality to specify which salespeople to keep, specifically List.ContainsAny(). I will be using that function here too, but instead of creating new columns, I will be adding M code to the Advanced Editor.
I start by extracting the data. I click somewhere in my first Table, called Staff_Quotes, and choose ‘From Table/Range’ from the ‘Get & Transform’ section of the Data tab. I repeat this process for my second Table, which I’ve named Quote_Selection.

Staff_Quotes will be the basis for the new table I will create. ,In some ways this example is easier than the previous one, as I only need to consider the values in one column when I match the salespeople to the list in Quote_Selection.

To enable me to use List.ContainsAny() to look at the values in Quote_Selection, I need to convert the table to a list using the ‘Convert to List’ option on the Transform tab:
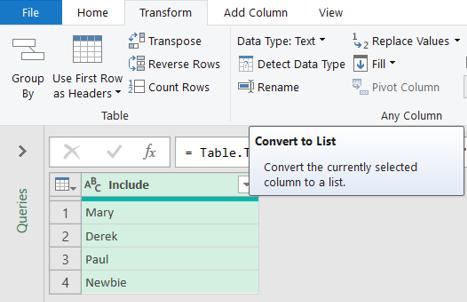
The table is converted to a list, and the step to create it is given the name of the column the list was created from.

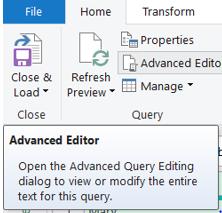
I return to Staff_Quotes and access the ‘Advanced Editor’ from the Home tab.
The M code so far contains only a few steps:

The M code is:
let
Source = Excel.CurrentWorkbook(){[Name="Staff_Quotes"]}[Content],
#"Changed Type" = Table.TransformColumnTypes(Source,{{"Salesperson ", type text}, {"Quote Number", Int64.Type}, {"Success Rate", Percentage.Type}, {"Profit", type number}})
in
#"Changed Type"
This code (above) extracts the table Staff_Quotes from the current Excel Workbook, and changes the data type of each column according to internal algorithms which sample the data.
I am going to add a step, but in order to get the syntax I need, I am going to add a step via the User Interface (UI). I choose to ‘Remove Blank Rows’ from the Home tab:
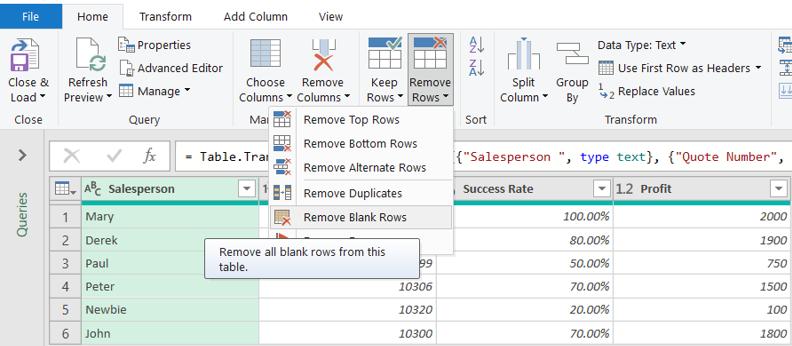
As you may expect, this has absolutely no effect on the data:

However, if I go back into the Advanced Editor, I have a framework I can work with.

The new line of M code is:
#"Removed Blank Rows" = Table.SelectRows(#"Changed Type", each not List.IsEmpty(List.RemoveMatchingItems(Record.FieldValues(_), {"", null})))
The first thing I am going to do is rename the step to ‘Keep Included Rows’. The step then wraps the criteria for selecting the rows (currently if they are not blank) inside a Table.SelectRows() statement. I want to keep that statement but change the criteria. This means I am changing this section:
each not List.IsEmpty(List.RemoveMatchingItems(Record.FieldValues(_), {"", null}))
Instead of checking if the list is empty, I want to check if the list Quote_Selection contains each value. The new section will be:
each List.ContainsAny(Record.ToList(_), Quote_Selection))
The new step will be:
#"Keep Included Rows" = Table.SelectRows(#"Changed Type", each List.ContainsAny(Record.ToList(_), Quote_Selection))
Since I am changing the name of the last step, the final ‘in’ statement must be changed to use the new name. I will also add a comment by using ‘//’ to instruct Power Query not to treat the line as code.

Thanks to a recent improvement to Power Query, I can view comment lines from the ‘APPLIED STEPS’ section. To see this in action, I click ‘Done’ to view the query.
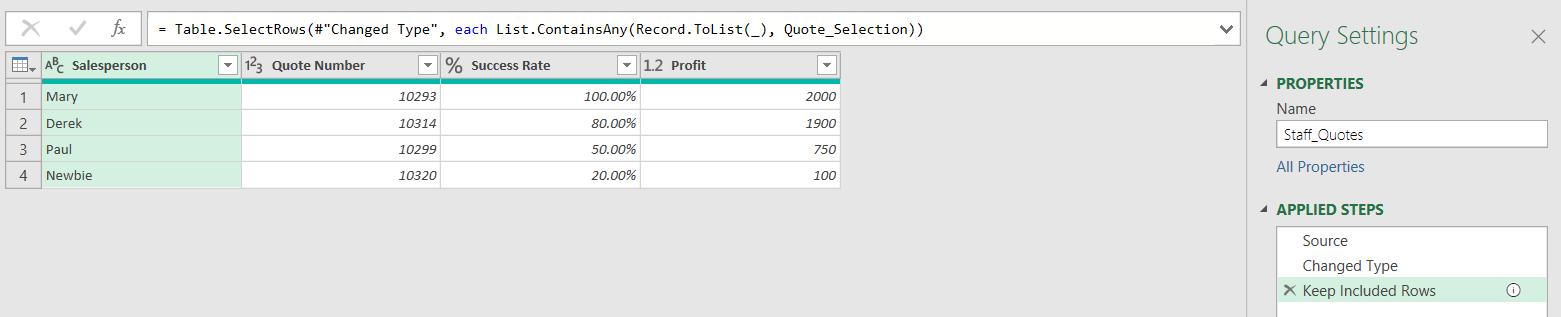
The rows only include the salespeople on Quote_Selection, and in my new step ‘Keep Included Rows’, an information icon appears:
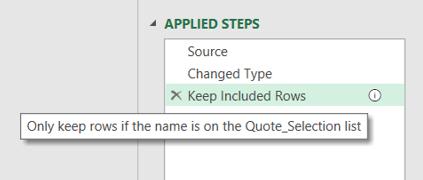
Hovering over the icon reveals the comment from the Advanced Editor:
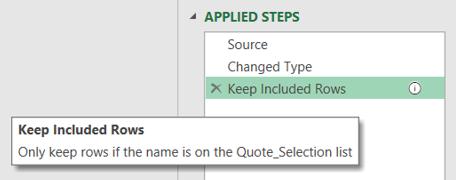
The comment line also appears if I hover over the step. This is very useful for someone trying to work out what my query is doing, though please note that even if there are many lines, Power Query puts them all in a single display line which can exceed the width of the screen!
I have the table with the quote data for salespeople on the included list. Next time, I’ll look at how I can also extract the excluded data for my examples so far.
Come back next time for more ways to use Power Query!