
Power Query: Selective Staffing Part 2
3 November 2021
Welcome to our Power Query blog. This week, I continue transforming data for a solution that involves inclusion.
In the example I looked at last week, I had some areas where I had allocated salespeople.
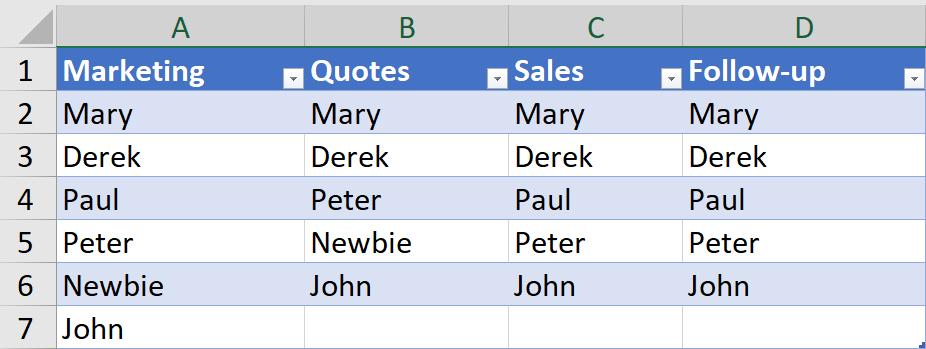
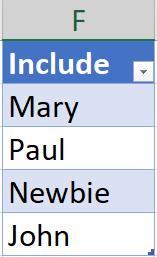
However, some staff were not currently available, so I had a list of salespeople to include.
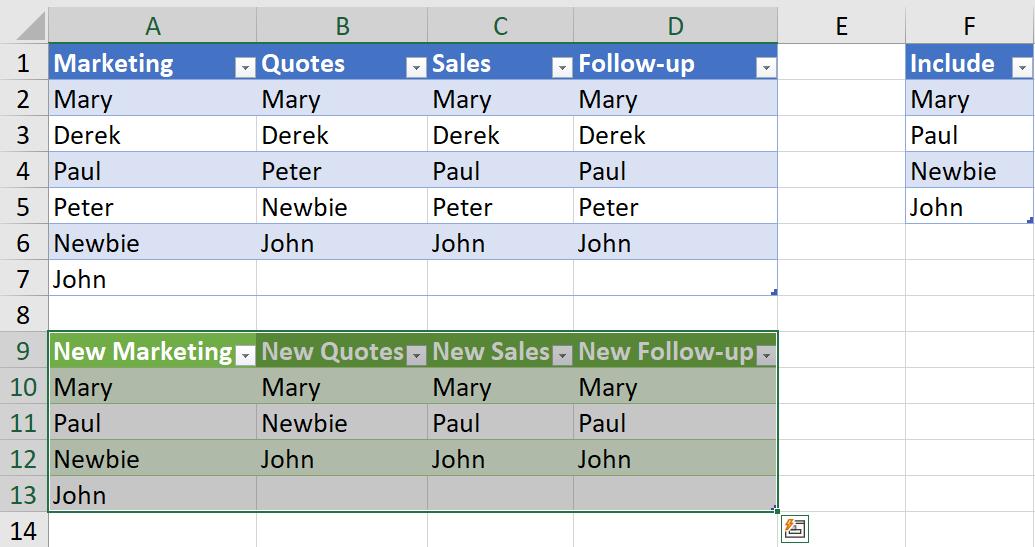
I wanted to create a new table which shows only the included salespeople for each area. I performed some transformations in Power Query and my new table looks like this:
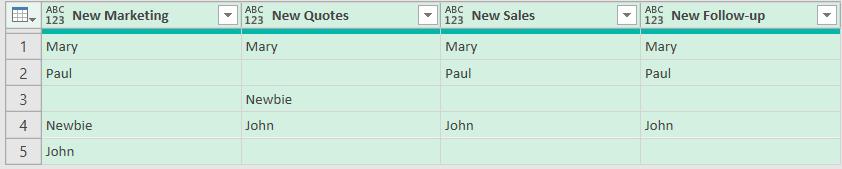
I can’t remove these by removing columns or rows as I will lose data. I need to gather the values together somehow and then separate them. I am going to gather them using the method I looked at in Power Query: Group Text. This is where I attempt to subtotal text items, knowing I am going to get an error, so that I can change the code.
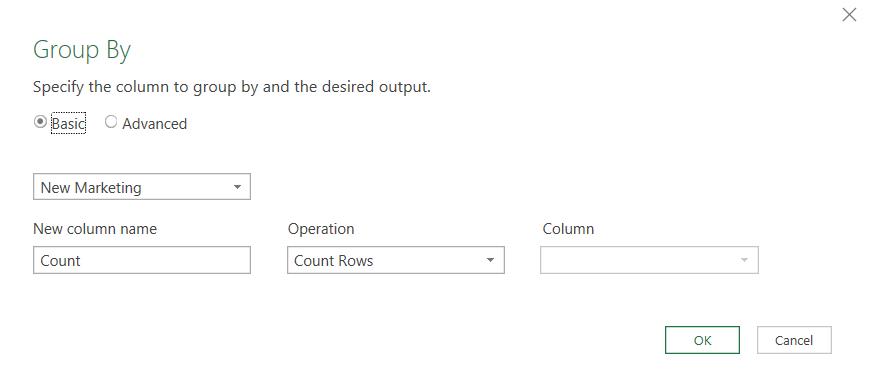
I can ‘Group By’ from the Transform tab:
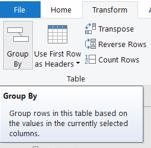
It doesn’t matter what columns I have selected, because I am going to ‘subtotal’ all of them.
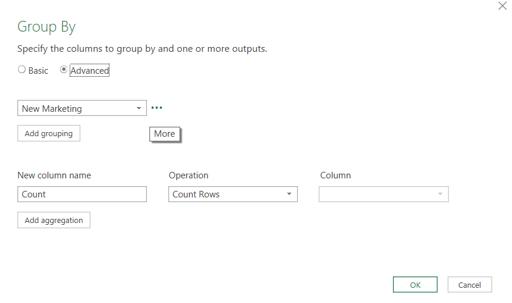
I choose the Advanced option: this allows me to access another menu next to the grouping column.
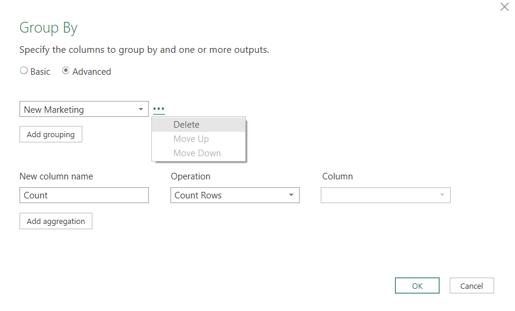
I can delete the grouping:
I can then enter an aggregation for each column where I subtotal the values.
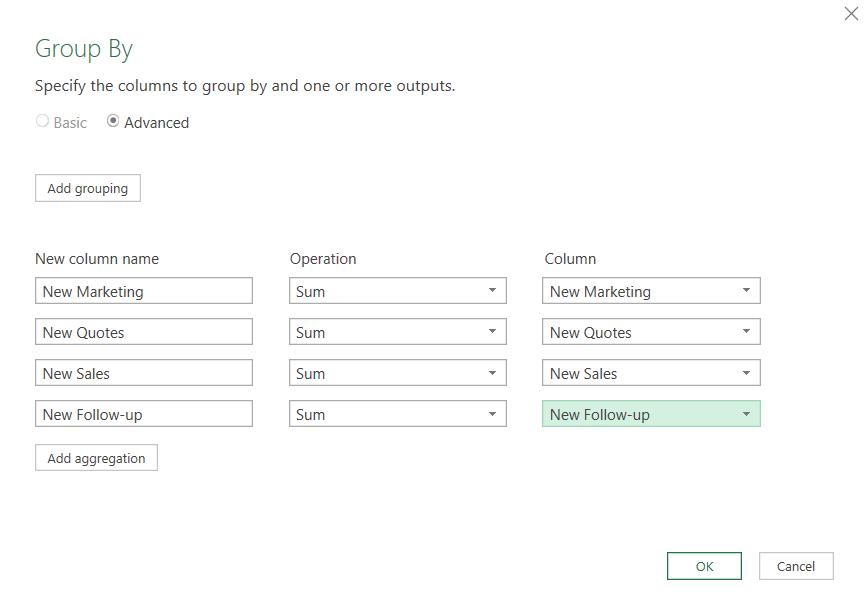
Funnily enough, this gives an error, but it also gives me the M code that I may alter.

I need to change each List.Sum([ColumnName]) to Text.Combine([ColumnName], “ “). This will gather all the values together and put a space between them. I can use a space as the delimiter because there are no spaces in the names; I could tweak the method if the scenario used spaces in the values. The M code will change from:
= Table.Group(#"Replaced Value", {}, {{"New Marketing", each List.Sum([New Marketing]), type text}, {"New Quotes", each List.Sum([New Quotes]), type text}, {"New Sales", each List.Sum([New Sales]), type text}, {"New Follow-up", each List.Sum([#"New Follow-up"]), type text}})
to
= Table.Group(#"Replaced Value", {}, {{"New Marketing", each Text.Combine([New Marketing]," "), type text}, {"New Quotes", each Text.Combine([New Quotes]," "), type text}, {"New Sales", each Text.Combine([New Sales]," "), type text}, {"New Follow-up", each Text.Combine([#"New Follow-up"]," "), type text}})
Although, Power Query changes the type for me:
= Table.Group(#"Replaced Value", {}, {{"New Marketing", each Text.Combine([New Marketing]," "), type nullable text}, {"New Quotes", each Text.Combine([New Quotes]," "), type nullable text}, {"New Sales", each Text.Combine([New Sales]," "), type nullable text}, {"New Follow-up", each Text.Combine([#"New Follow-up"]," "), type nullable text}})
This now concatenates my values.

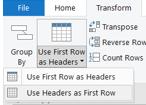
I need to split them back into rows, but I can’t just split the columns, as I have to do this separately for each column, and I’d end up with extra rows each time. Plus, I still have extra spaces between some of the names because of the blank values. I have more transforming to do. I am going to transpose the table, but first I need to demote the headings, so I don’t lose them. I can do this from the ‘Use First Row as Headers’ dropdown on the Transform tab:
Now I have the headings in a row, I can choose Transpose which is next to ‘Use First Row as Headers’
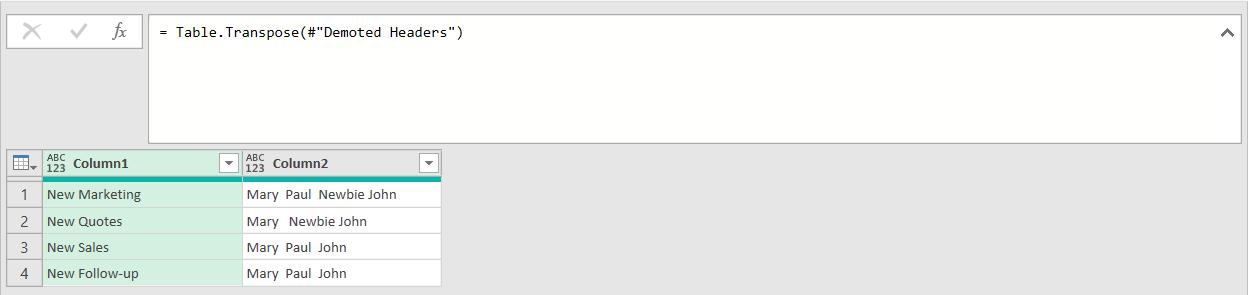
Now I am in a position to split Column2 into columns, but first I need to remove the extra spaces. To do this, I have a function:

To see what this function does, I need to look at the Advanced Editor.
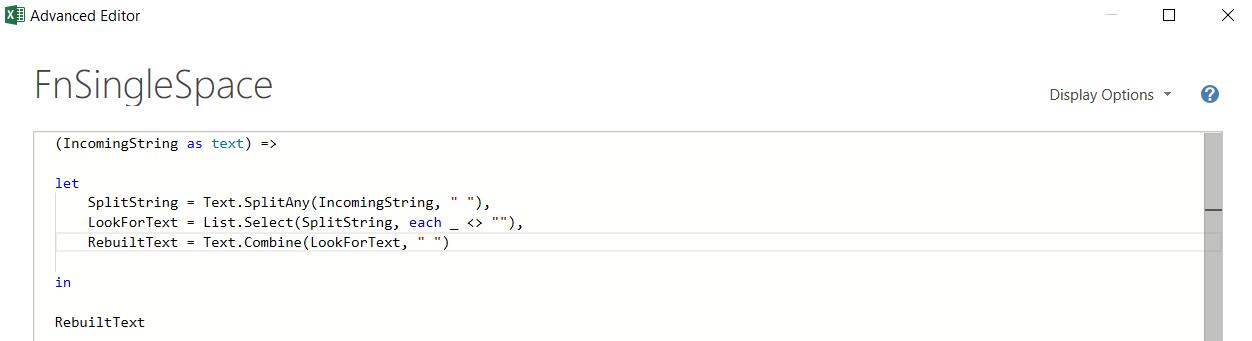
Since Power Query lacks the user interface (UI) ability to trim text in the same way as Excel, there are several functions around that users of Power Query have created for trimming and removing all spaces. I have created an adapted version to reduce spaces to one [1]. The M code is:
(IncomingString as text) =>
let
SplitString = Text.SplitAny(IncomingString, " "),
LookForText = List.Select(SplitString, each _ <> ""),
RebuiltText = Text.Combine(LookForText, " ")
in
RebuiltText
The function accepts a string, and then splits it up where it finds spaces and looks for the chunks of text, and then puts the chunks of text back together with a space. Therefore, any extra spaces are removed. To invoke the query, I go back to Staffing and to the ‘Add Column’ tab.
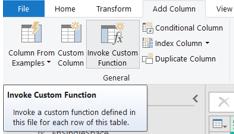
I only have one function to choose from, and I pass Column2 to it:
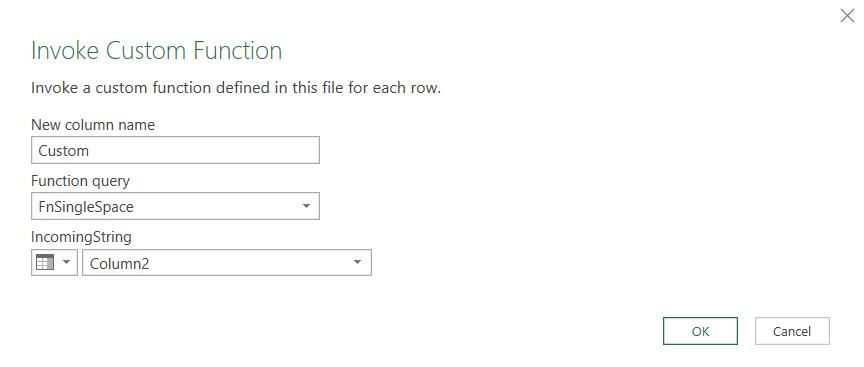
This gives me a new column with the function name, and more importantly, names separated by one [1] space. The column names don’t matter, as I will be going back to the original headings soon.

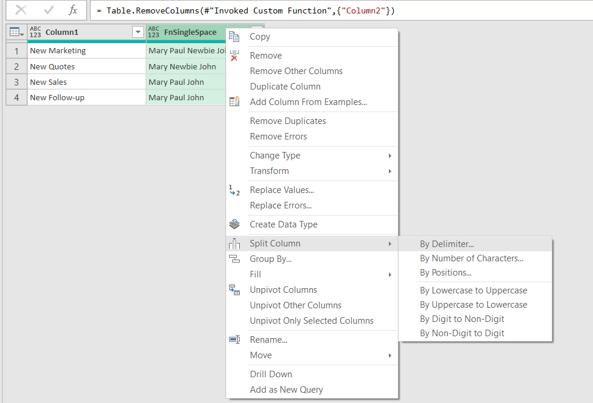
I remove Column2 and I can split FnSingleSpace by delimiter. I can select the column and access this from the right-click menu.
I choose to split by ‘Space’:
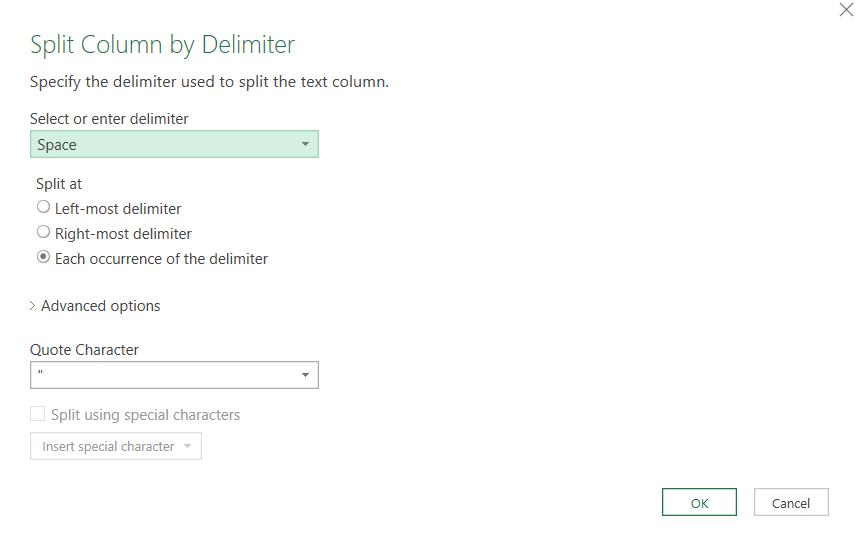
This gives me a name in each column. It also creates a ‘Changed Type1’ step, which I can delete as these columns are not going to be around for long!

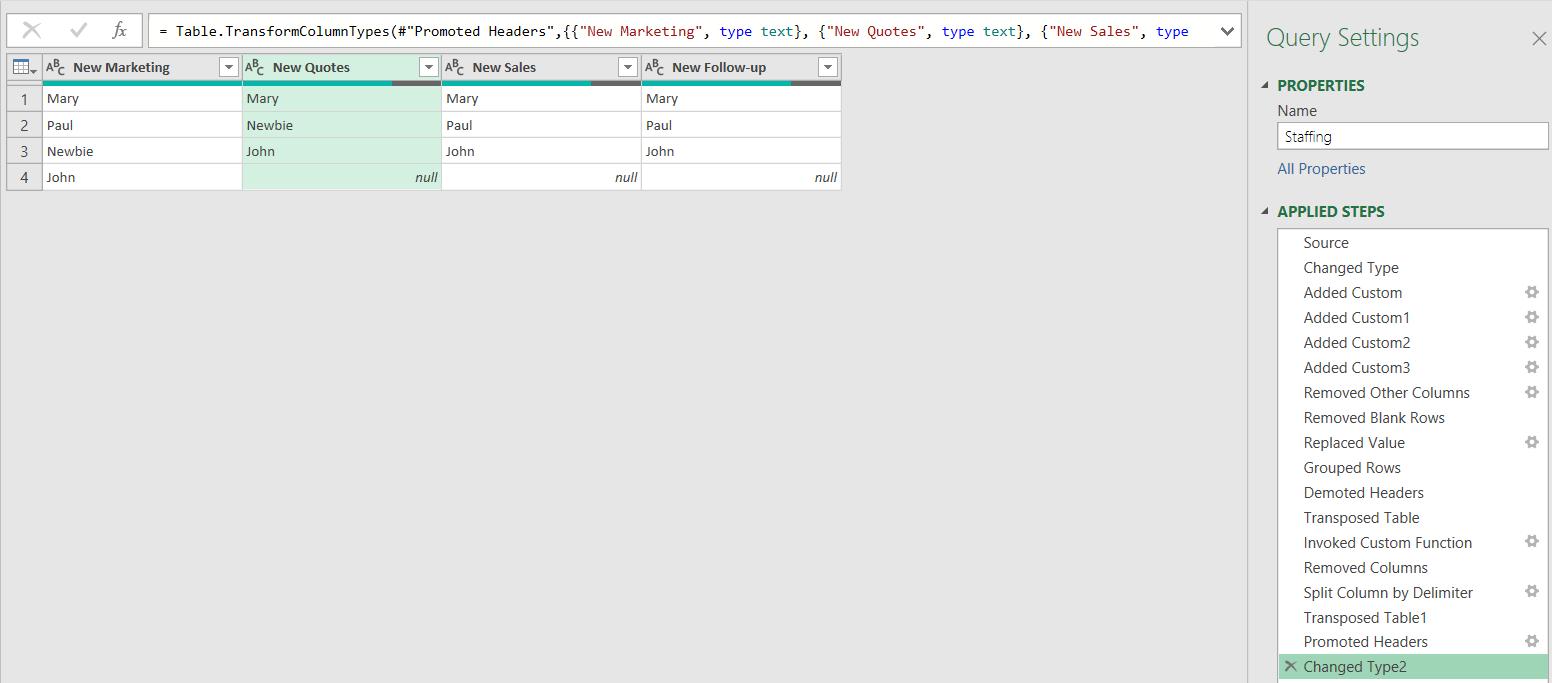
I transpose the table again:

Now I just need to promote the headers and my table is ready.
I ‘Close & Load’ and position the table on the sheet.
My data is ready. Next time, I’ll look at slightly different challenge on the same theme.
Come back next time for more ways to use Power Query!