
Power Query: Next (Row) Once Again Please
26 February 2020
Welcome to our Power Query blog. This week, I look at yet another solution to my “February problem” referencing other rows.
John, my reliable imaginary salesperson, has been filling in data again. This time, I have some information on items purchased by customers in December:
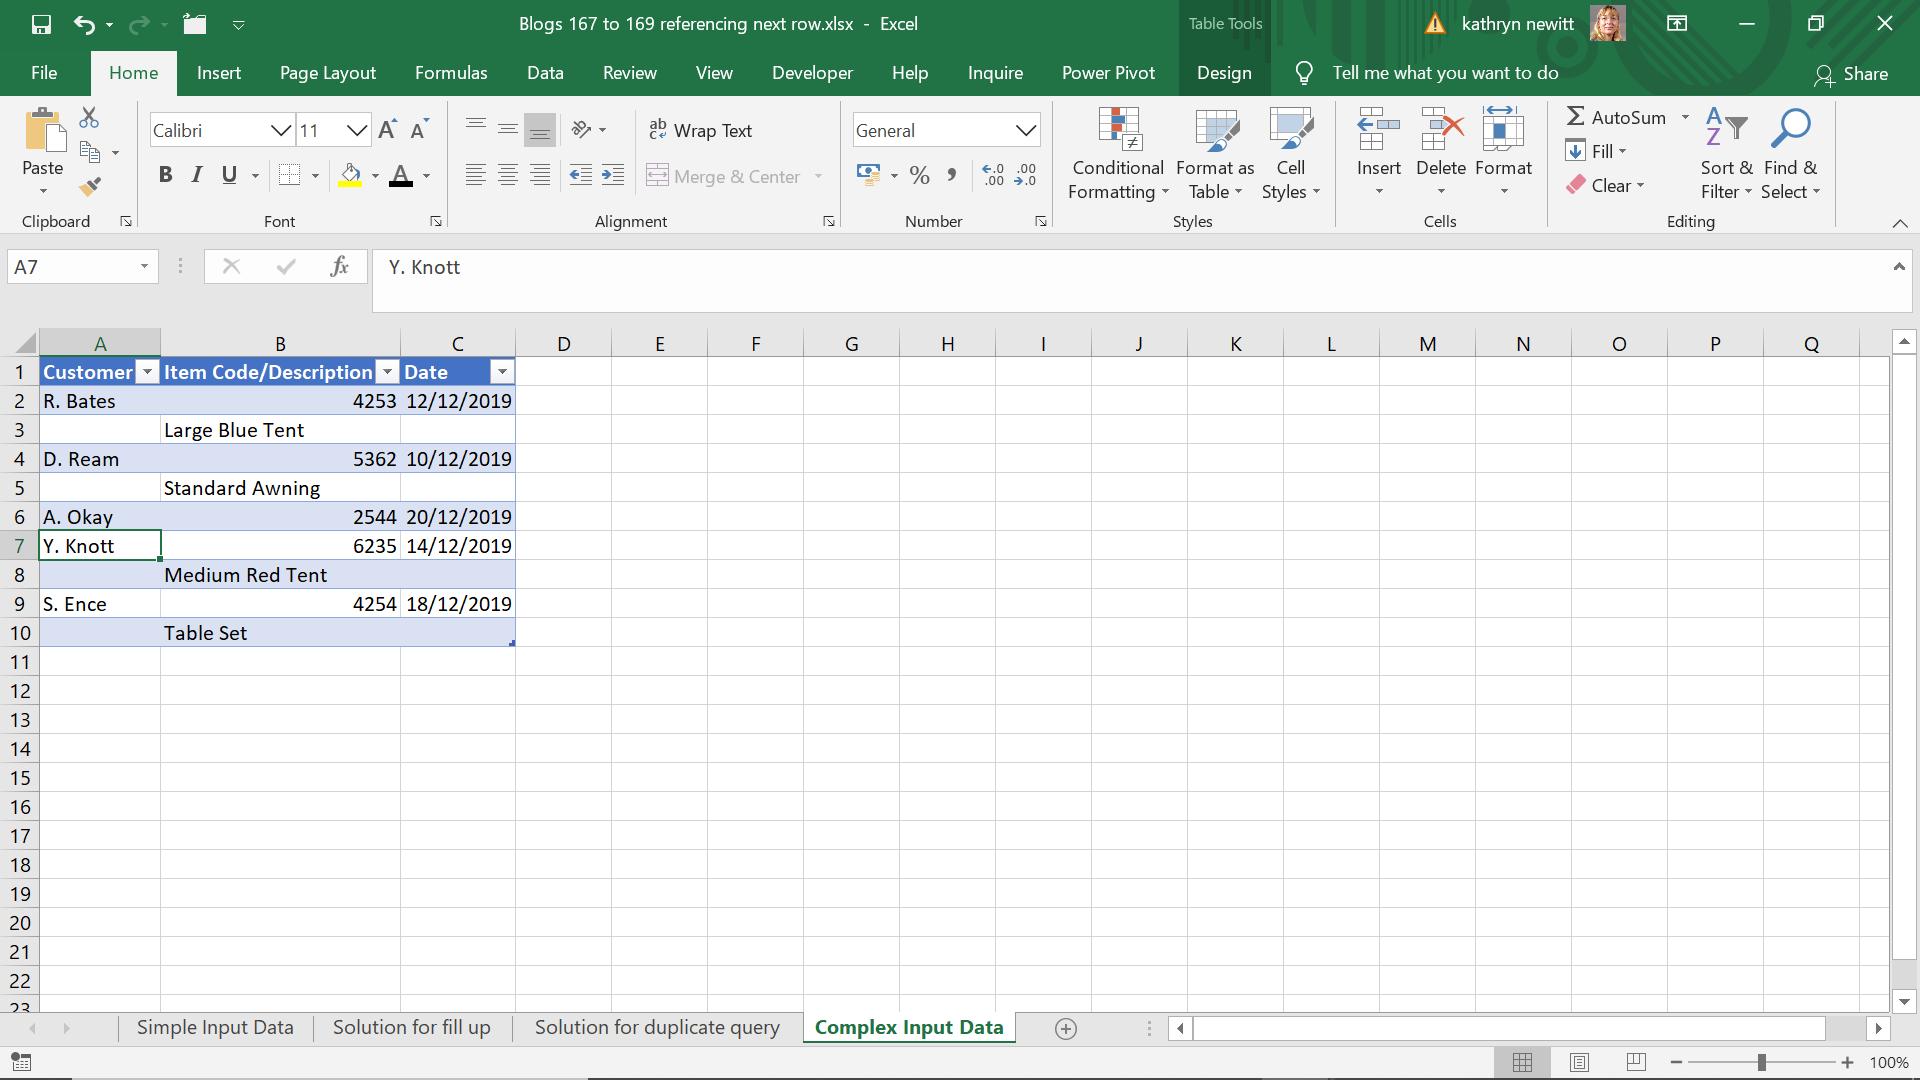
He has decided to combine the item and the description in the same column, so I need to move the description into a separate column and remove the extra rows. Unlike the data for last week, this time one of the item codes does not have a description on the next line, so the two previous approaches (detailed last week and the week before) won’t work.
This week, I look at a solution where I point to the table in the previous step.
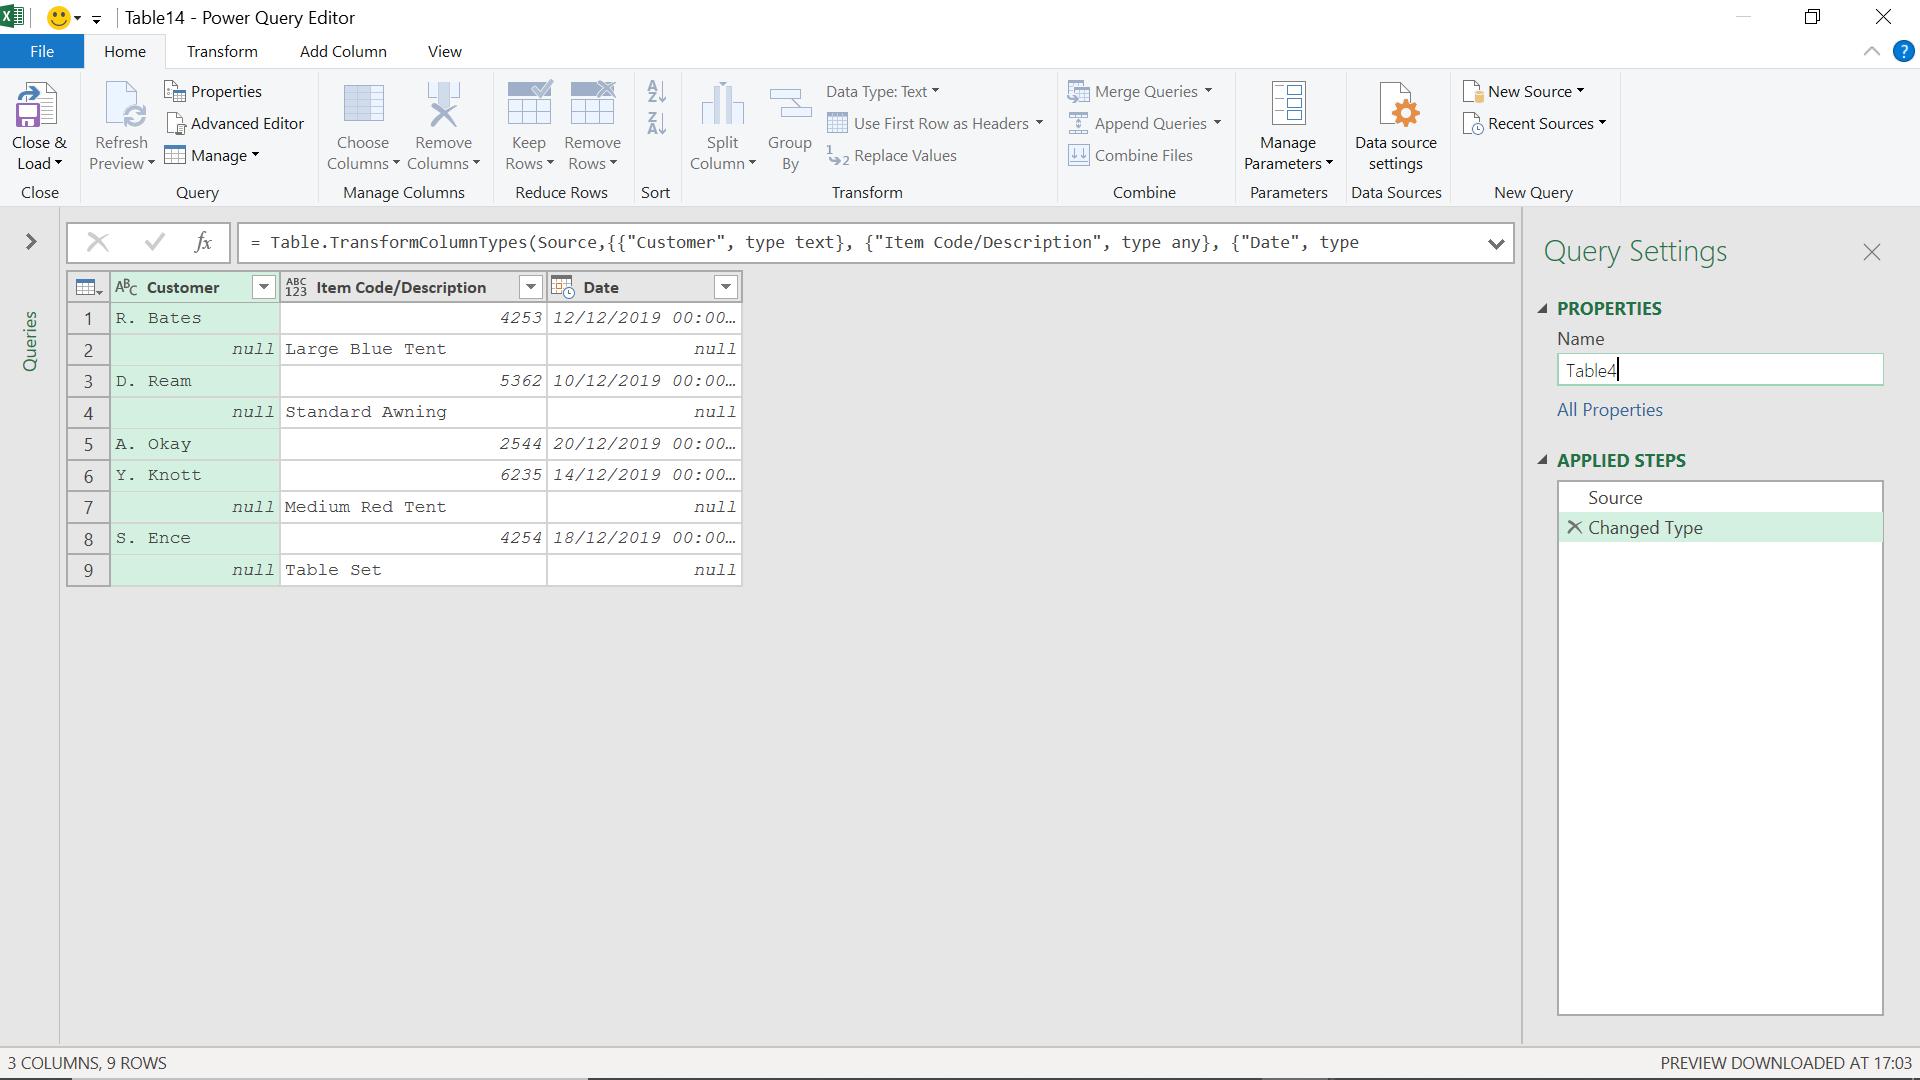
I extract my data to Power Query using the ‘From Table’ option on the ‘Get & Transform’ section on the ‘Data’ tab.
My first step is to add an index to the table; I can do this from the ‘Add Column’ tab.
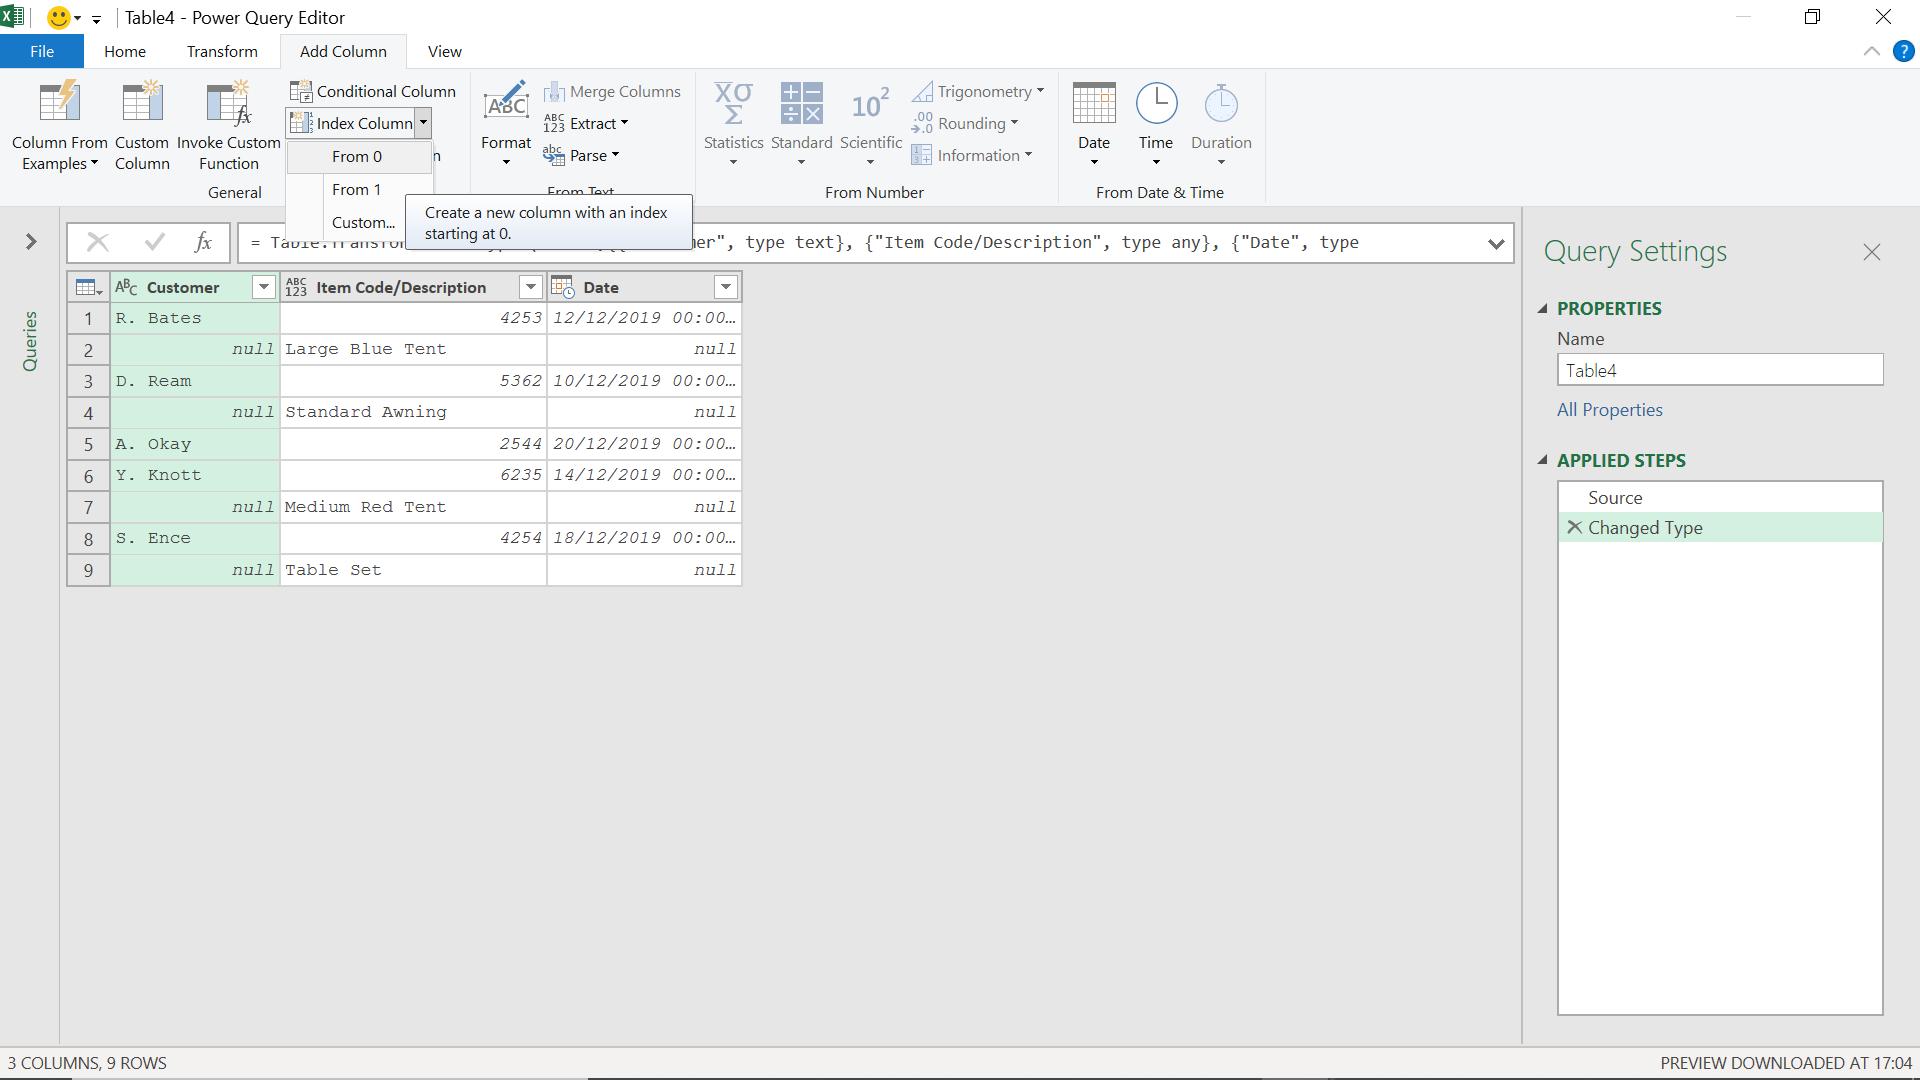
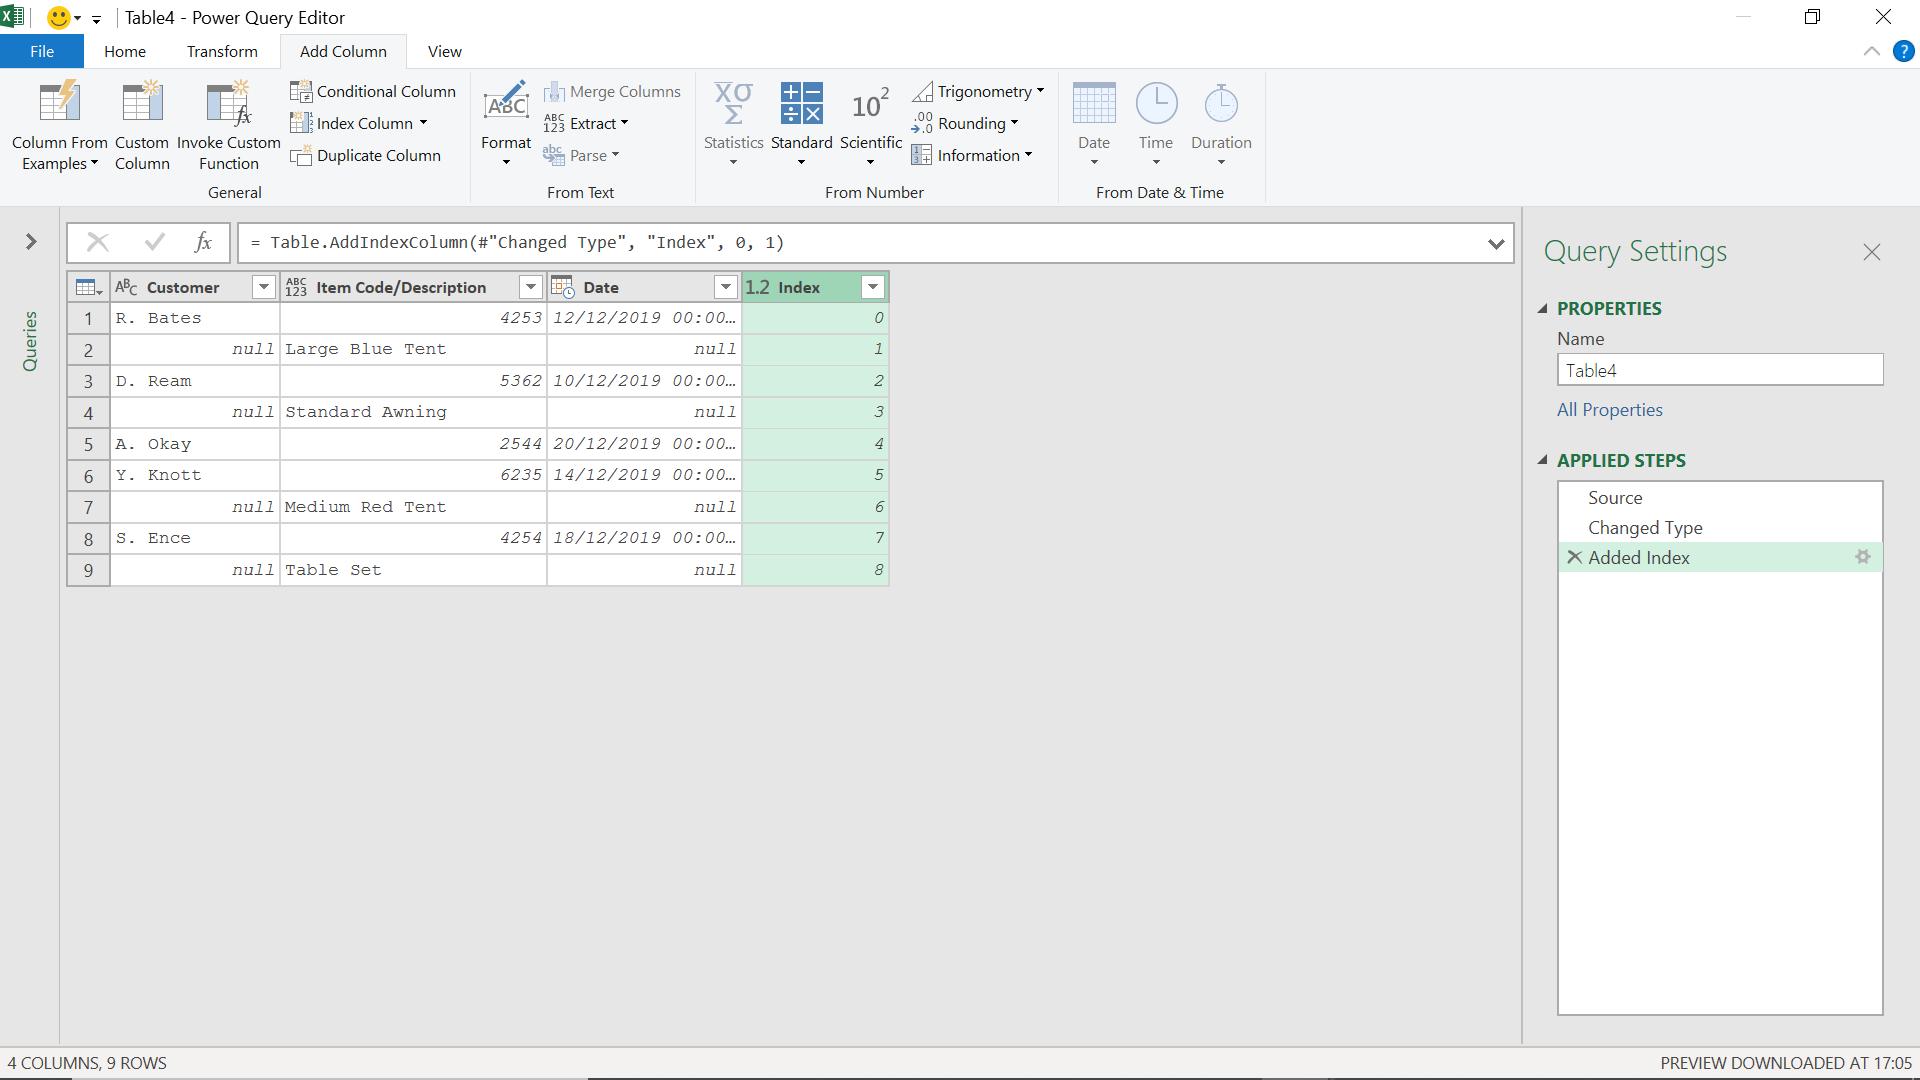
I choose to start the index from zero (0).
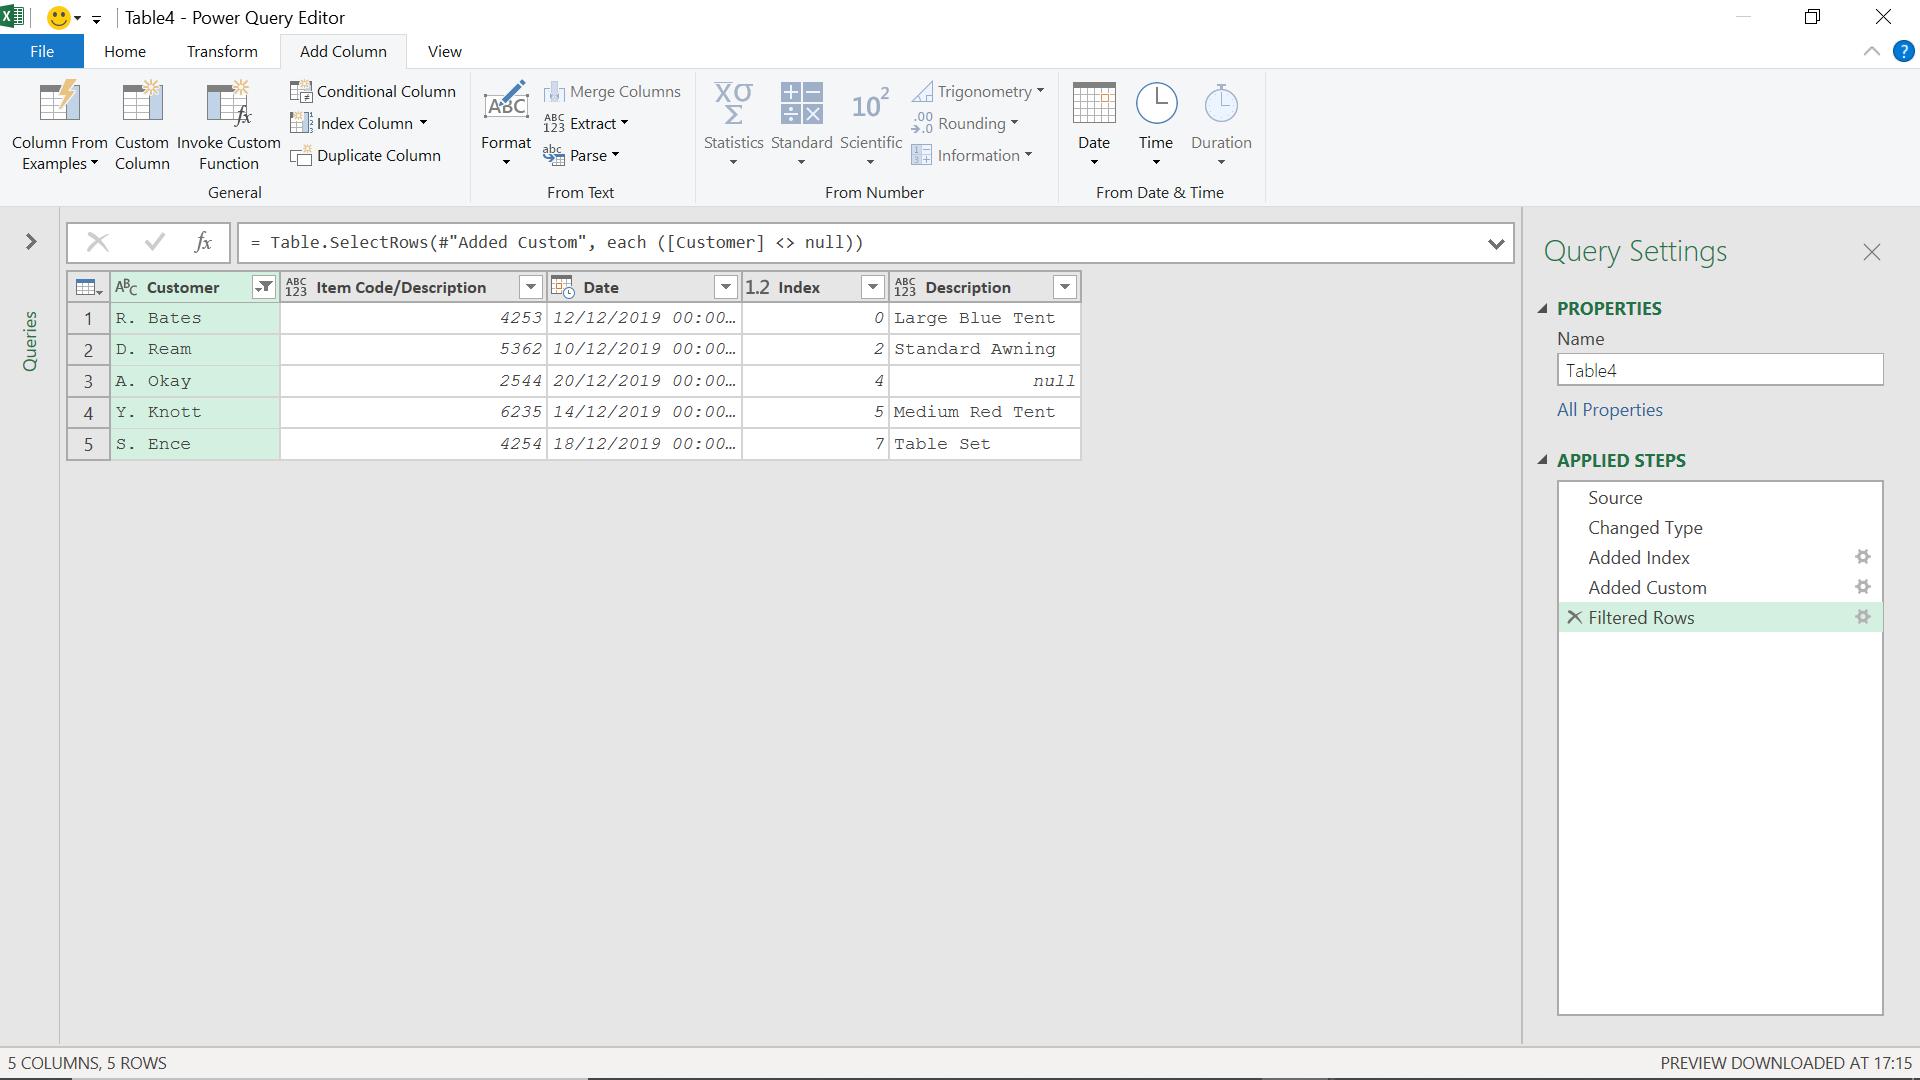
I add a custom column from the ‘Add Column’ tab.
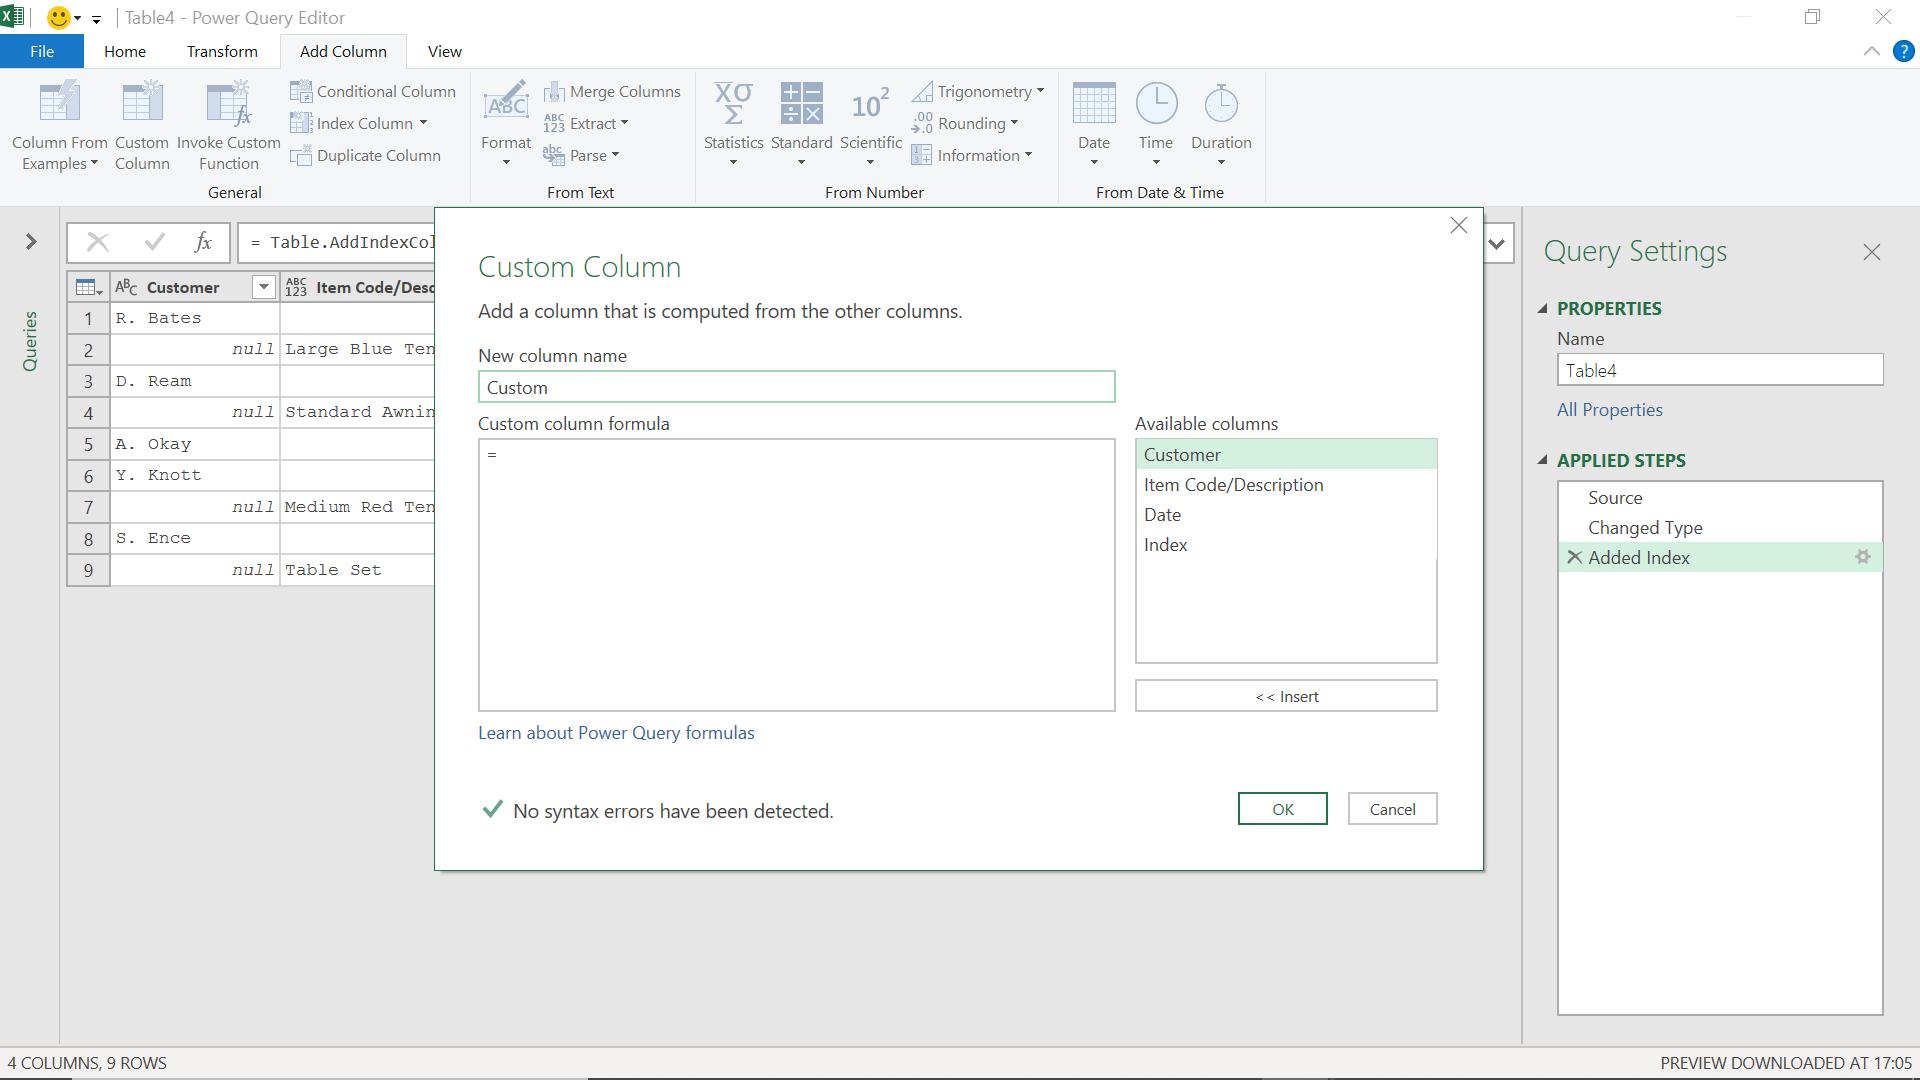
My new Description column will point to the Item Code/ Description value for the next row if Customer is null on the next row.
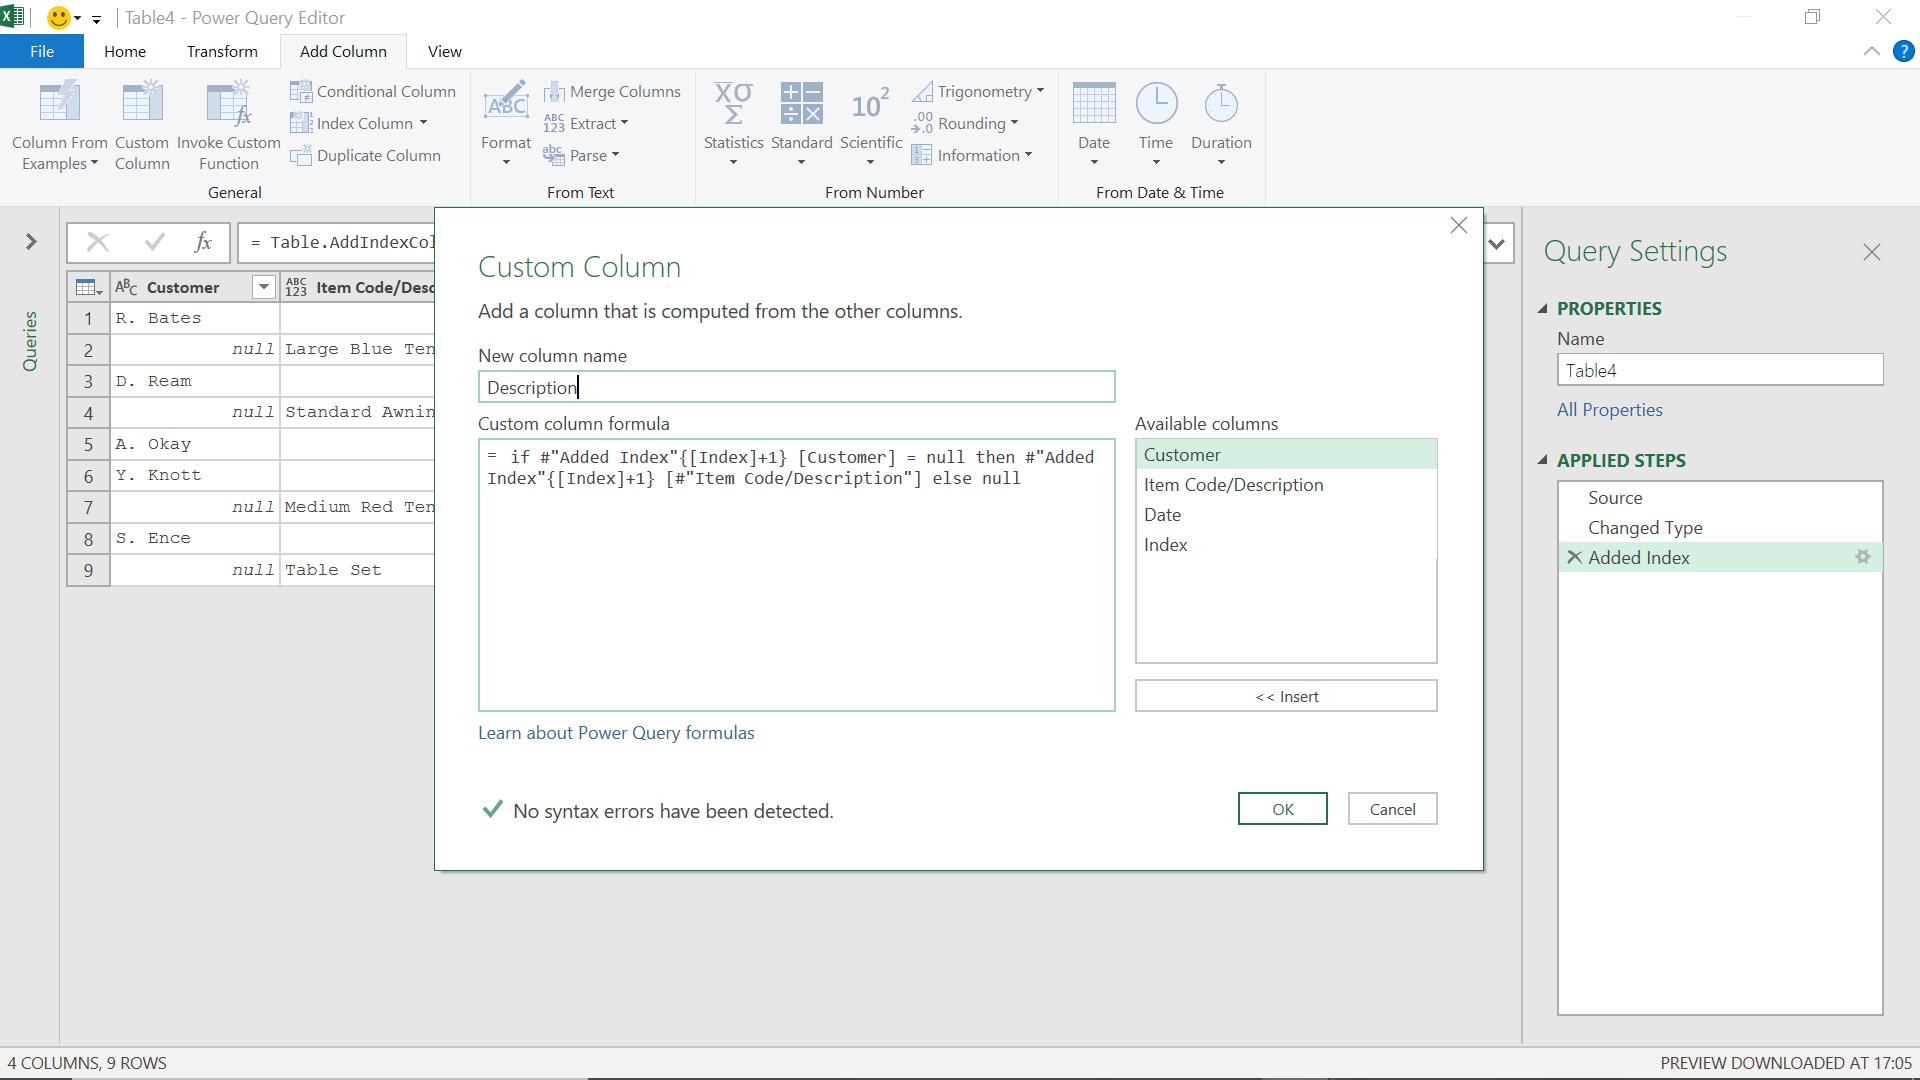
The M code I have used is:
= if #"Added Index"{[Index]+1} [Customer] = null then #"Added Index"{[Index]+1} [#"Item Code/Description"] else null
‘Added Index’ is the name of the previous step, and represents the table created at the previous step.
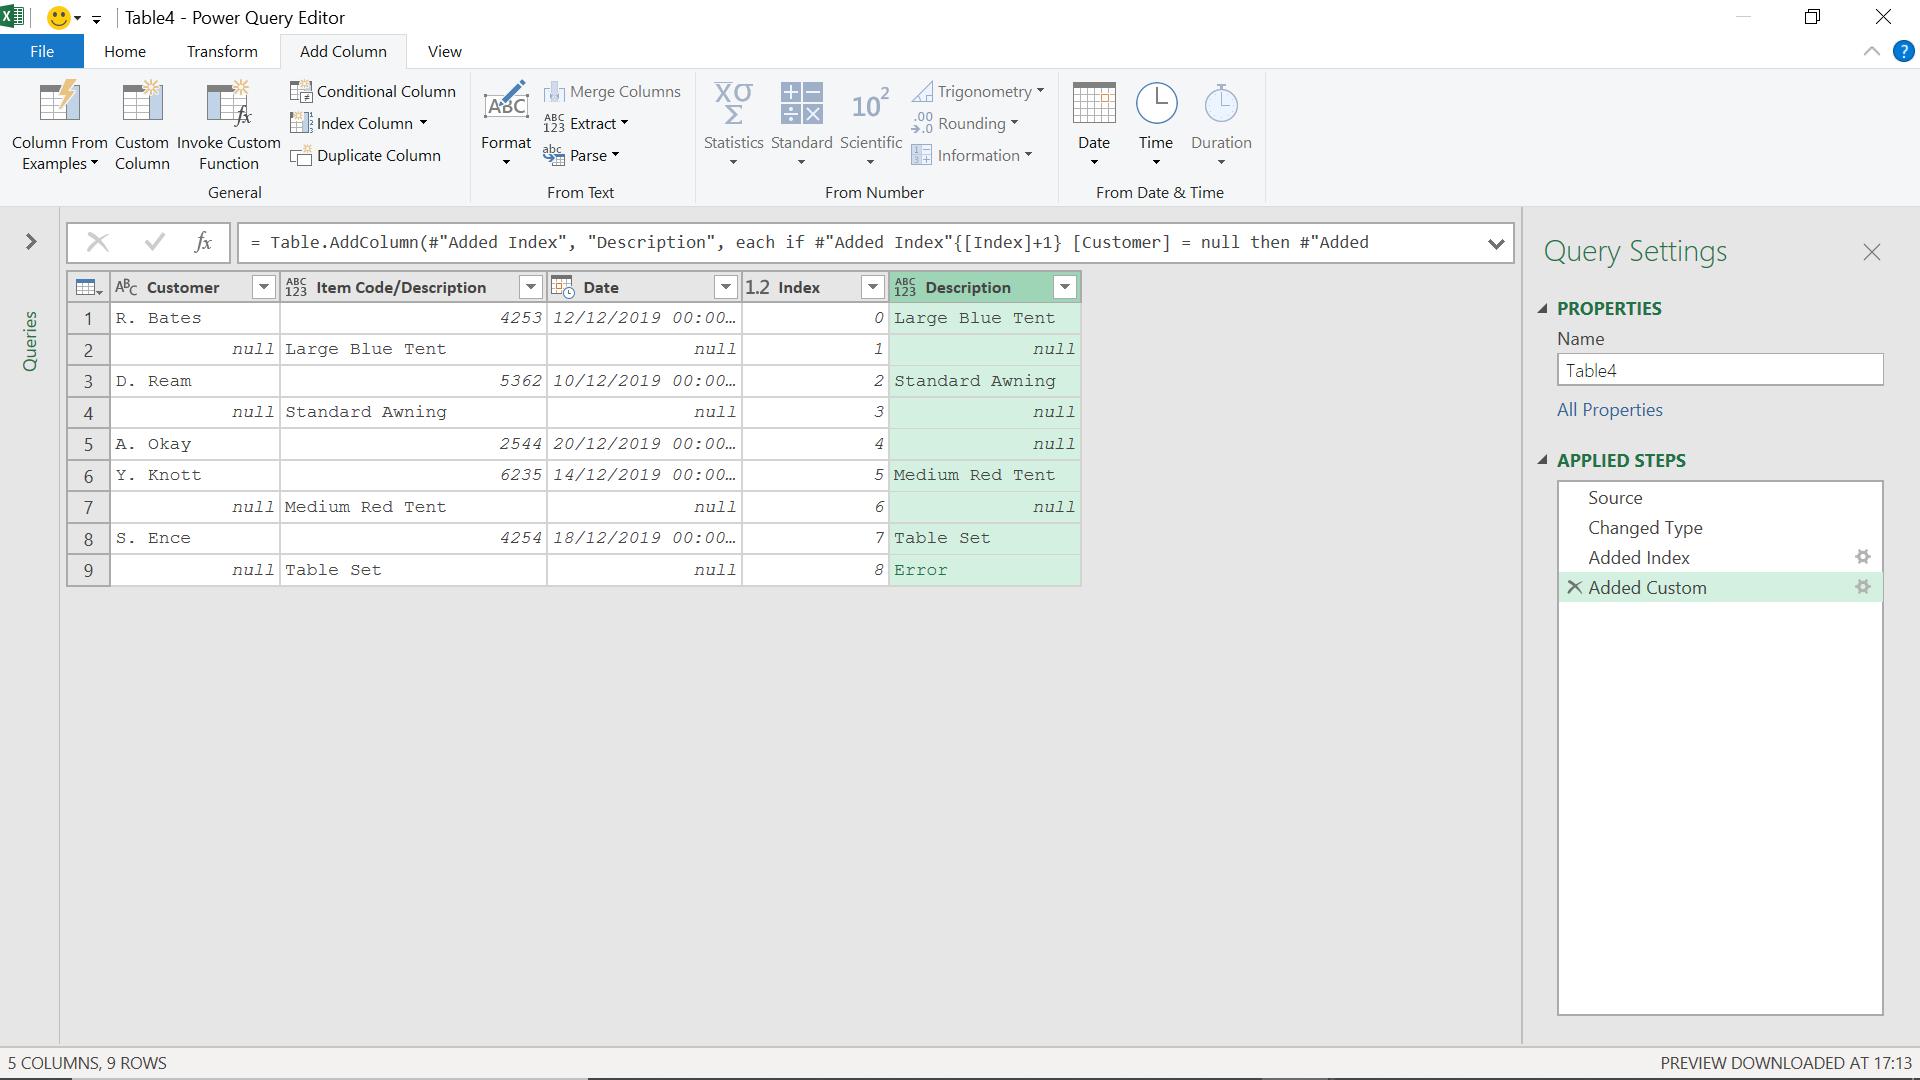
This looks good; now I just need to remove the rows where Customer is null.
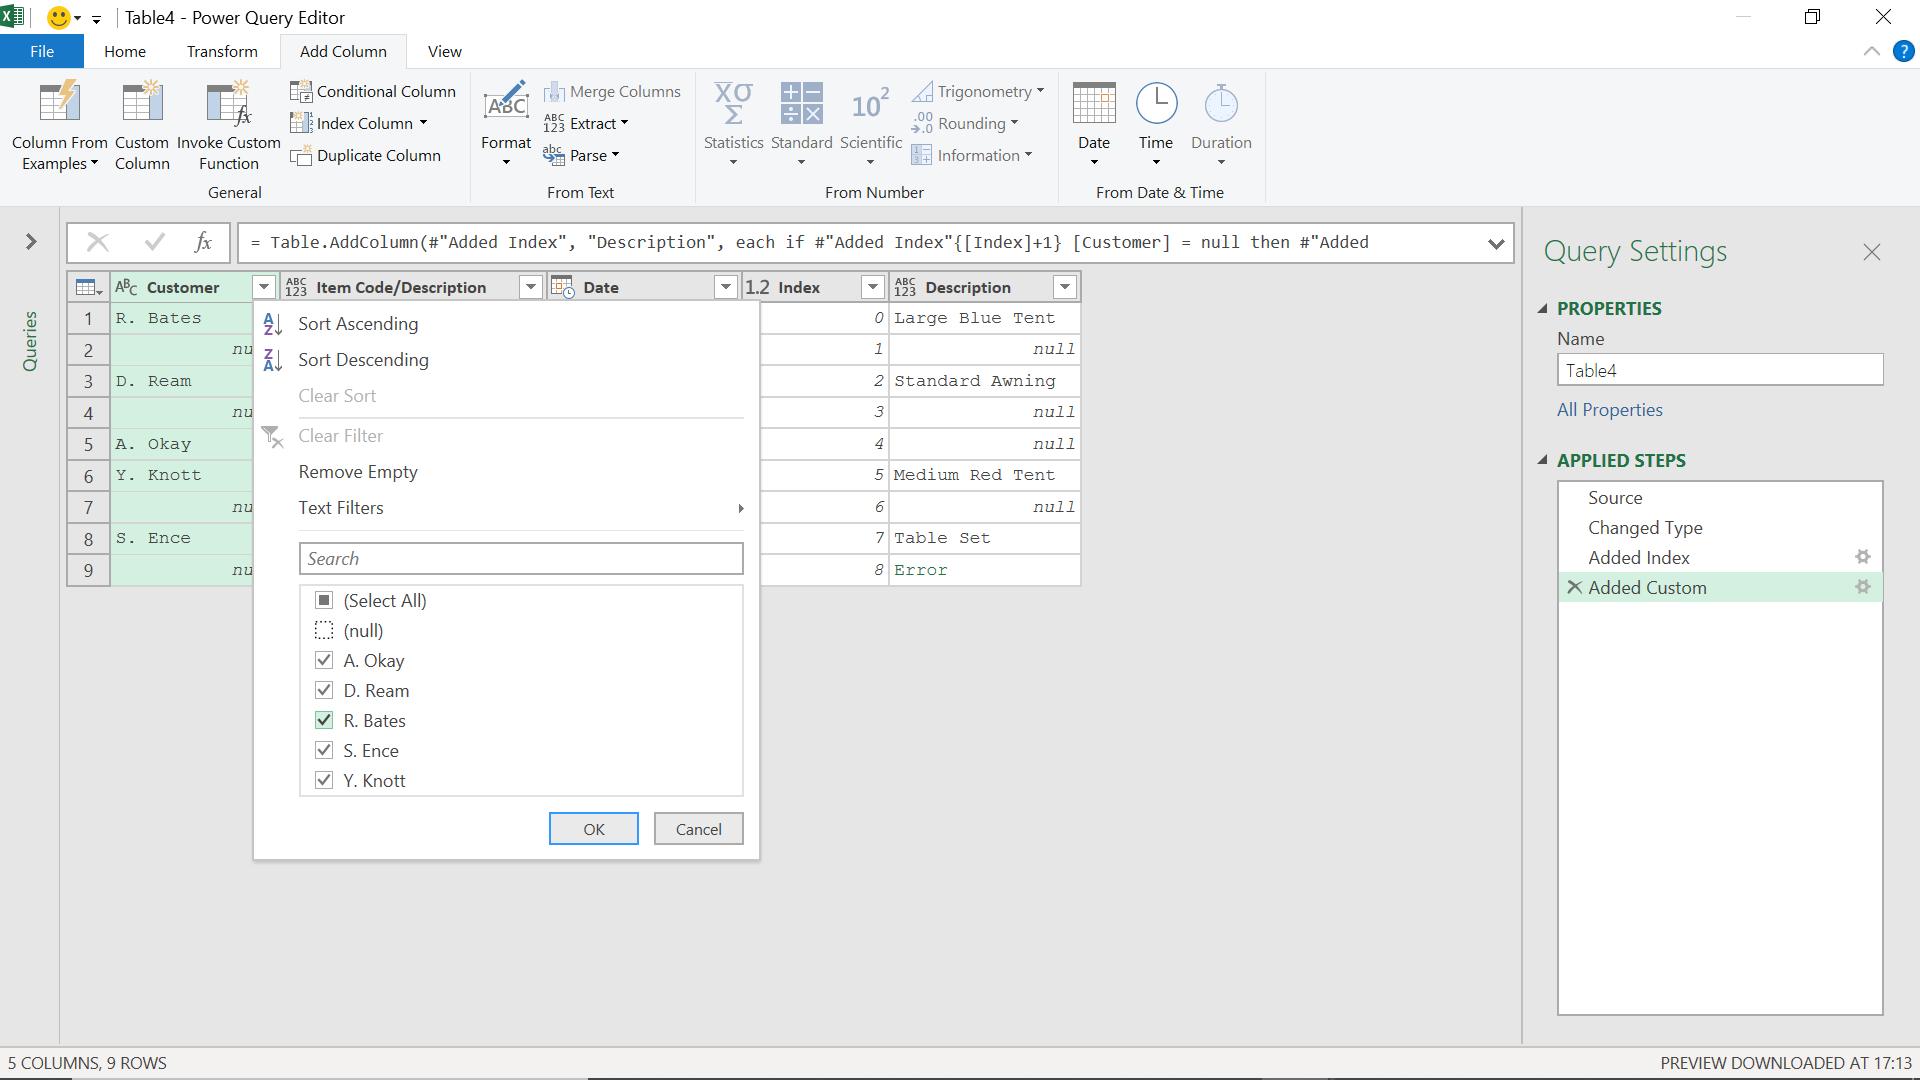
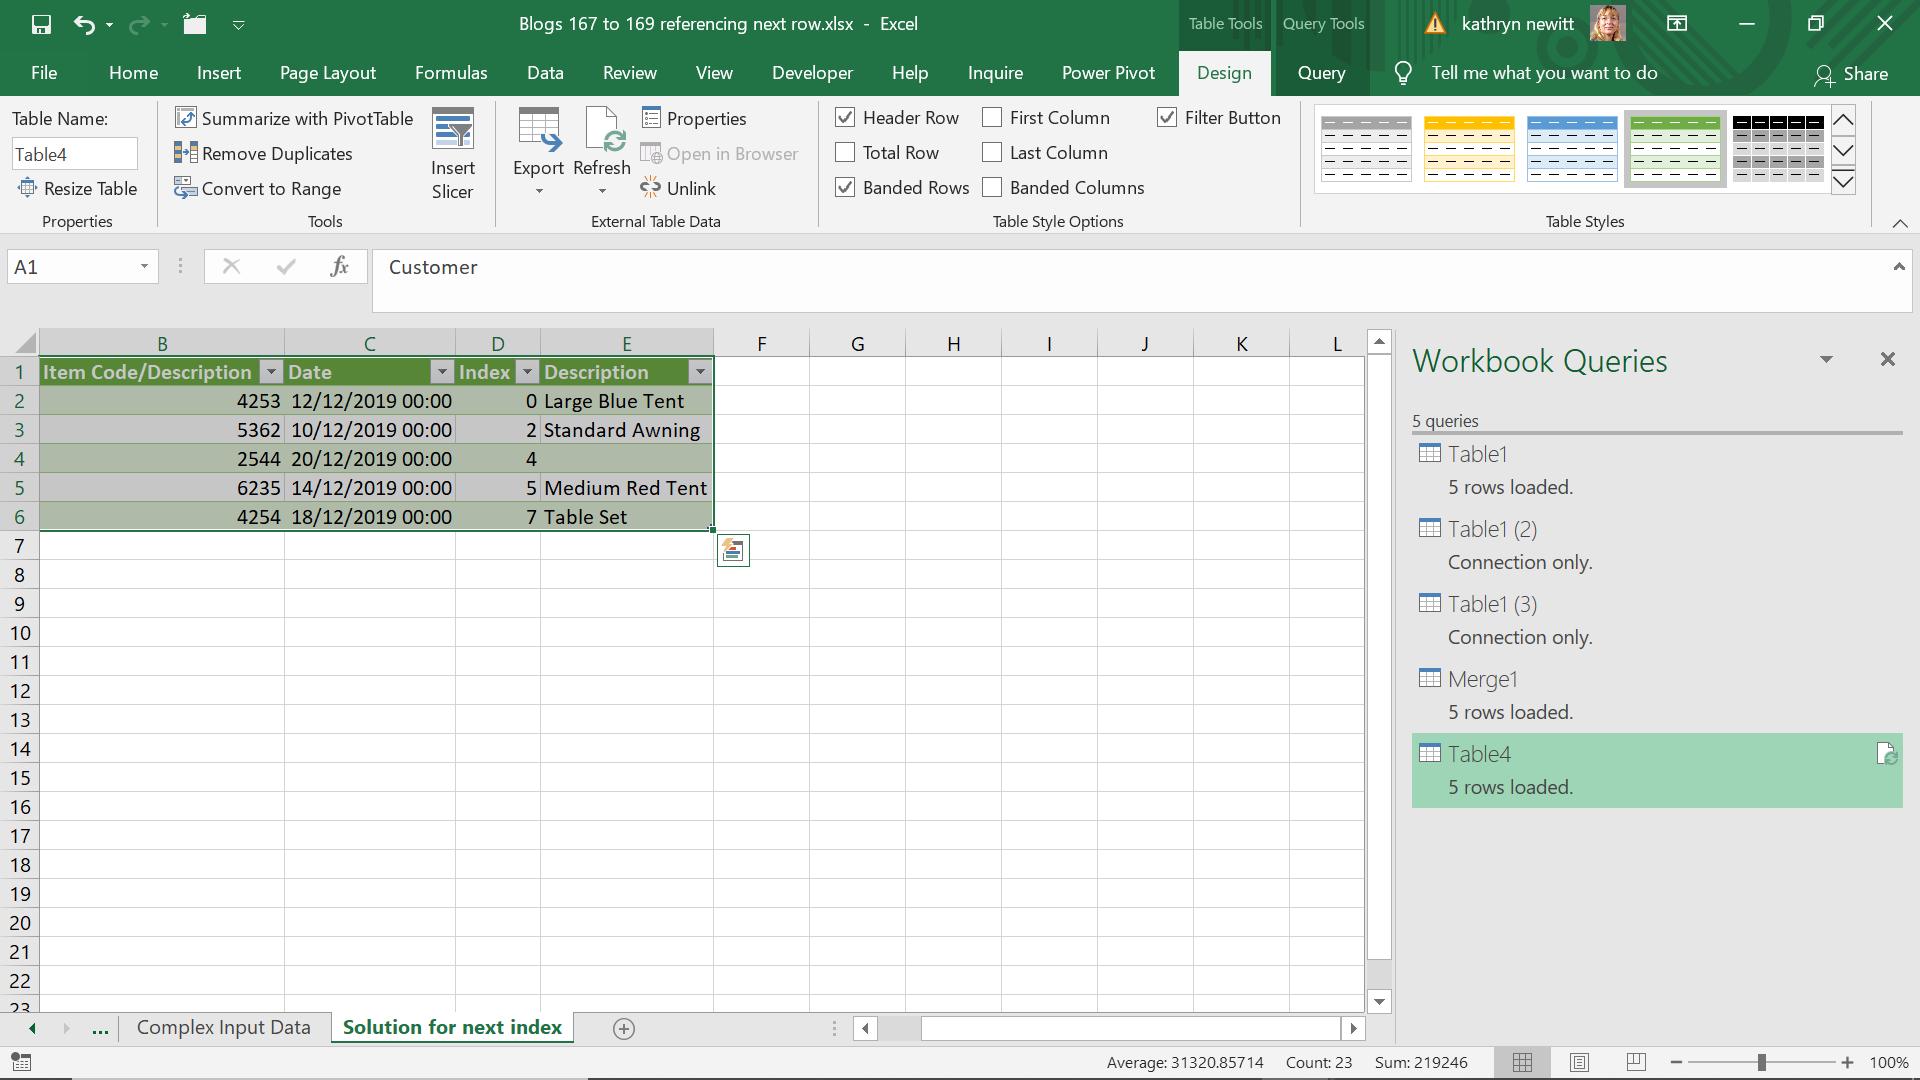
Once I click ‘OK’, I should have all the data I need in each row.
I ‘Close & Load’ my data to Excel.
Come back next time for more ways to use Power Query!