
Power Query: Next (Row) Please
12 February 2020
Welcome to our Power Query blog. This week, I look at referencing other rows.
John, my reliable imaginary salesperson, has been filling in data again. This time, I have some information on items purchased by customers in December:
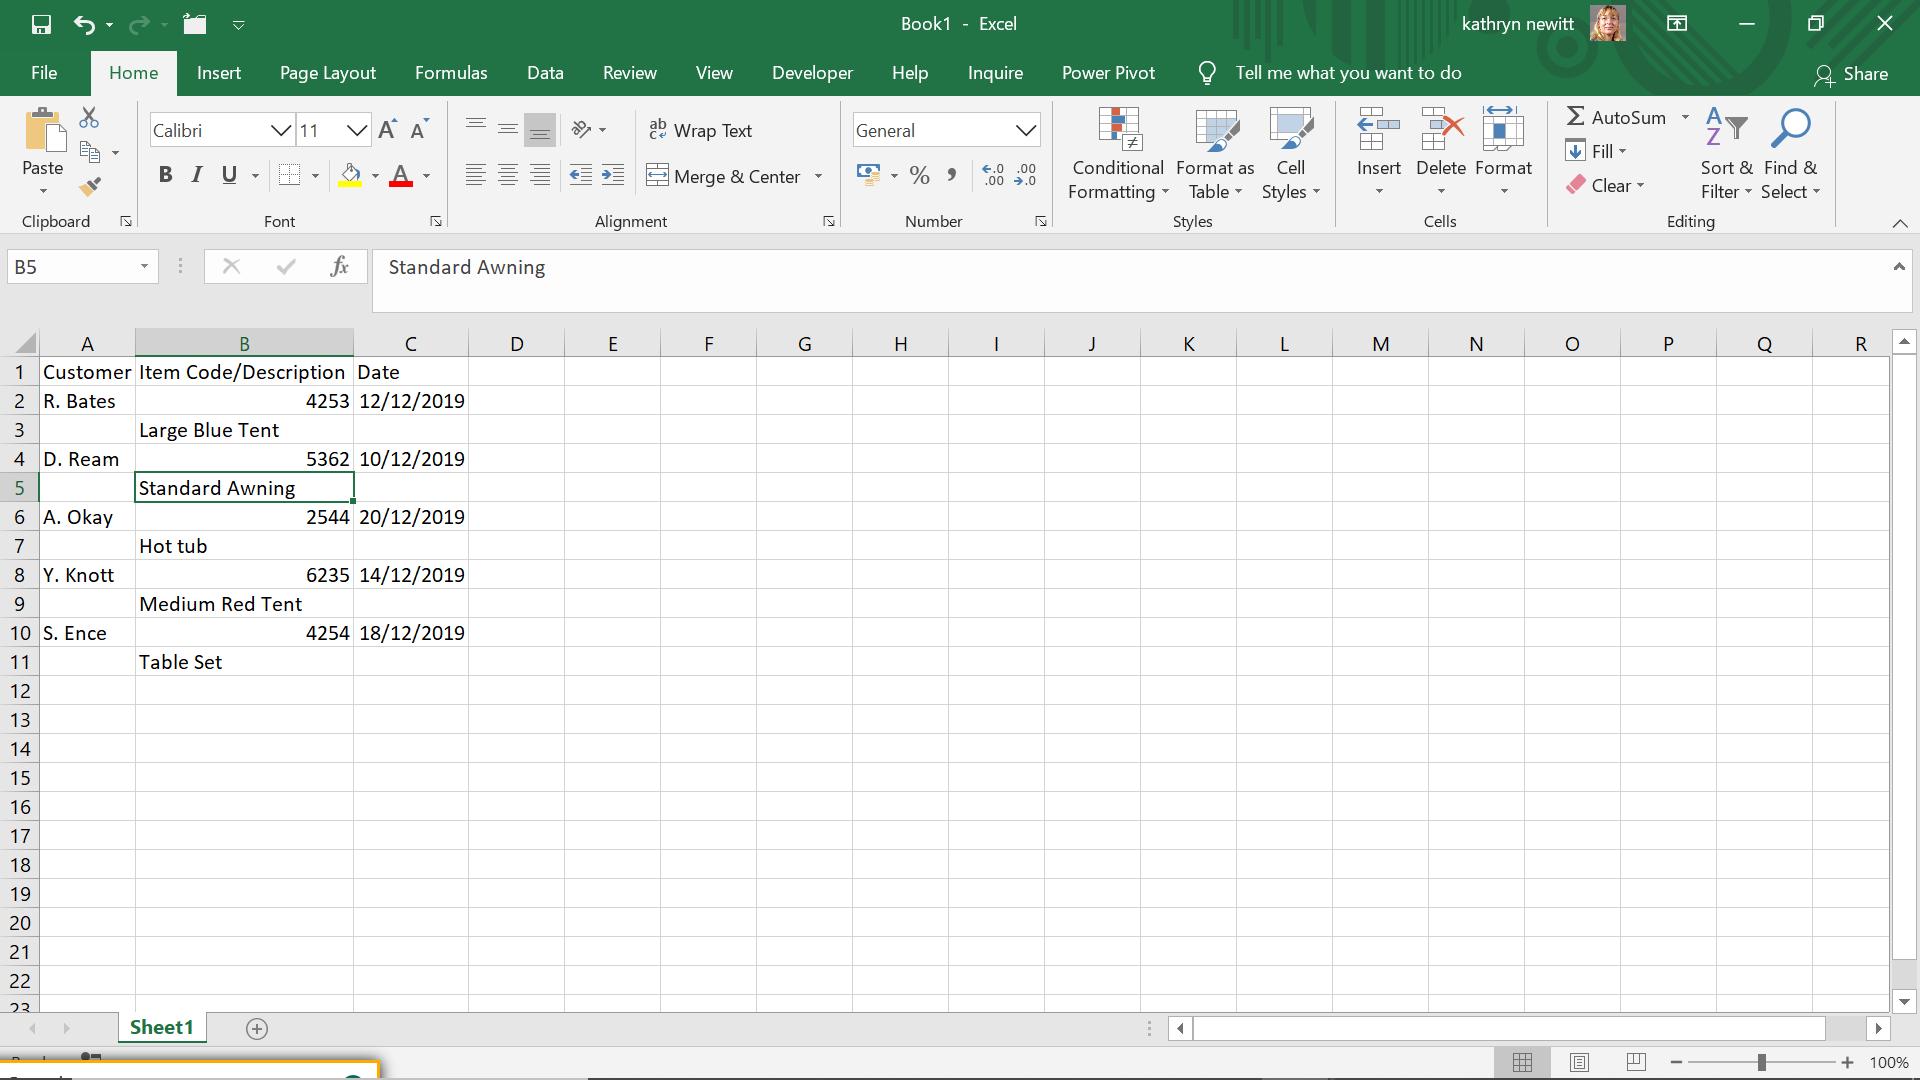
John has decided to combine the item and the description in the same column, so I need to move the description into a separate column and remove the extra rows.
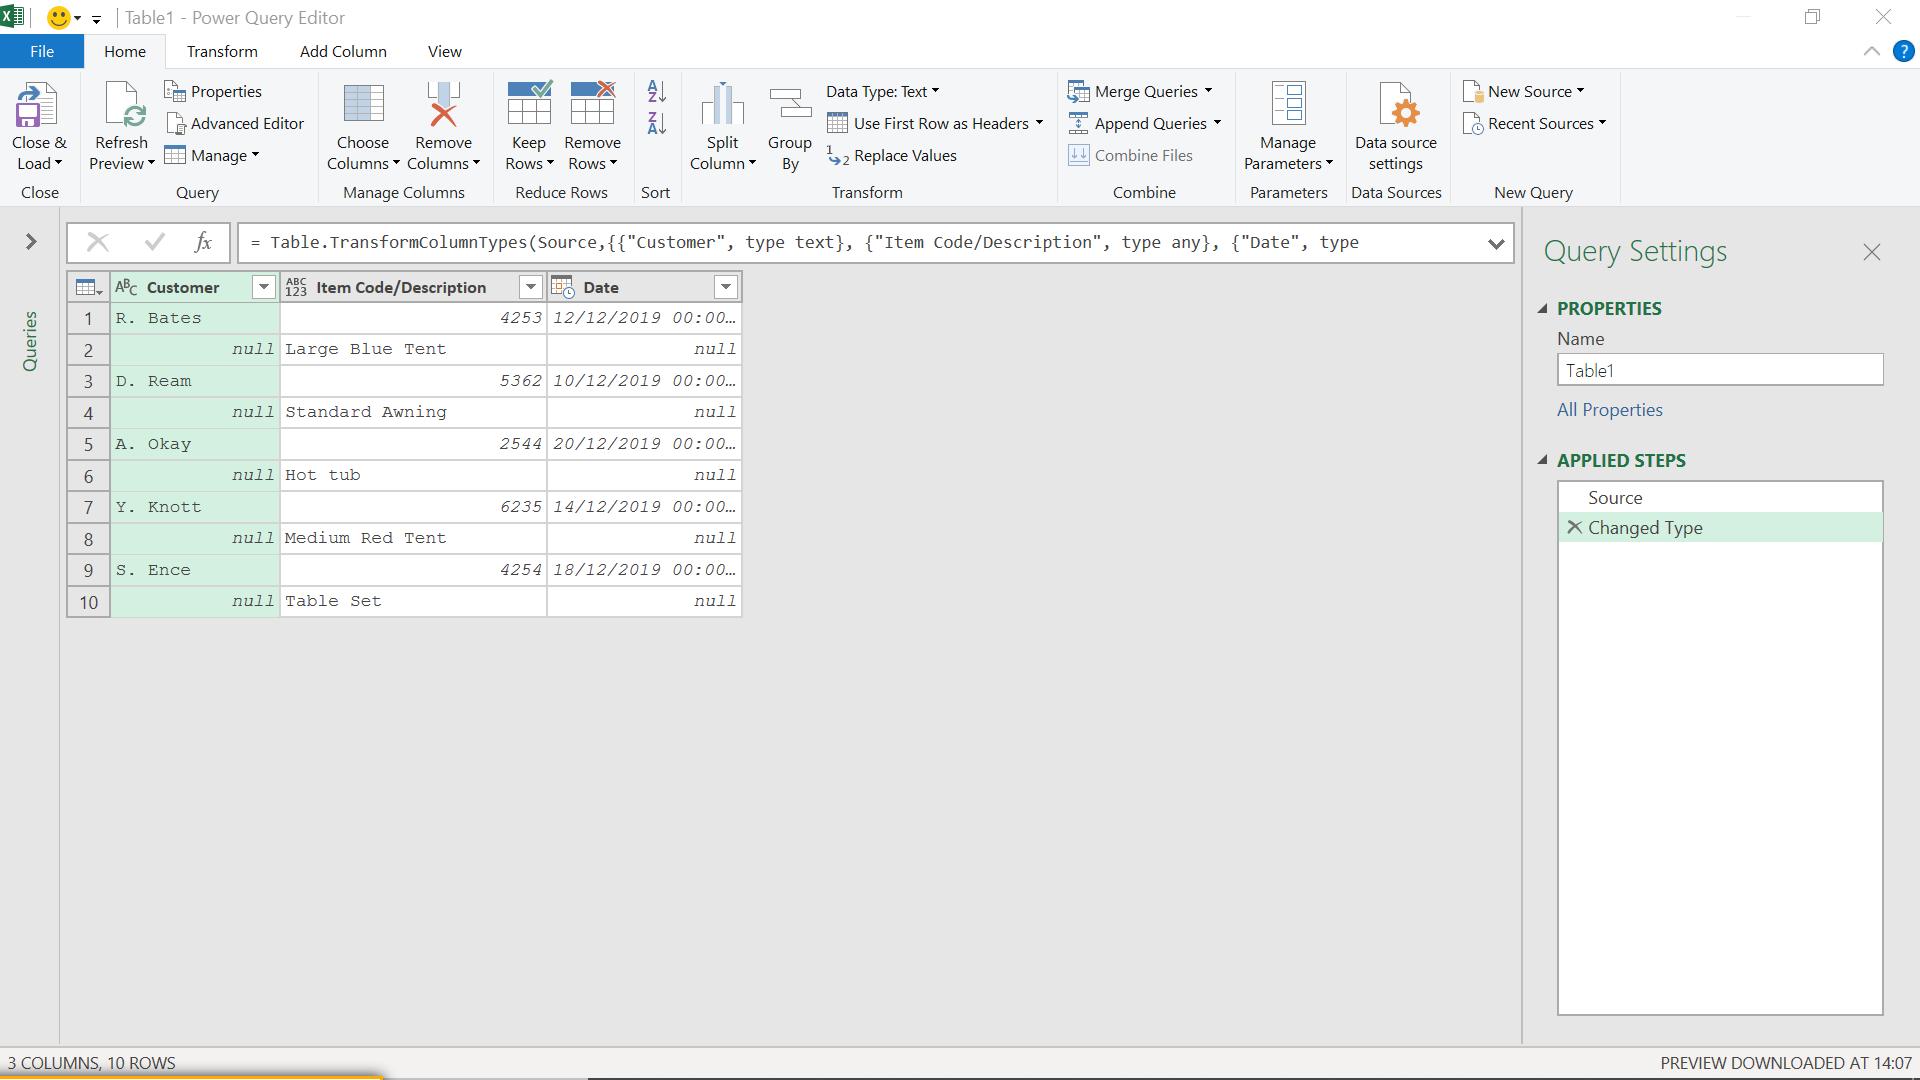
This week, I look at a simple solution, where I use the ‘Fill Up” feature.
I extract my data to Power Query using the ‘From Table’ option on the ‘Get & Transform’ section on the ‘Data’ tab.
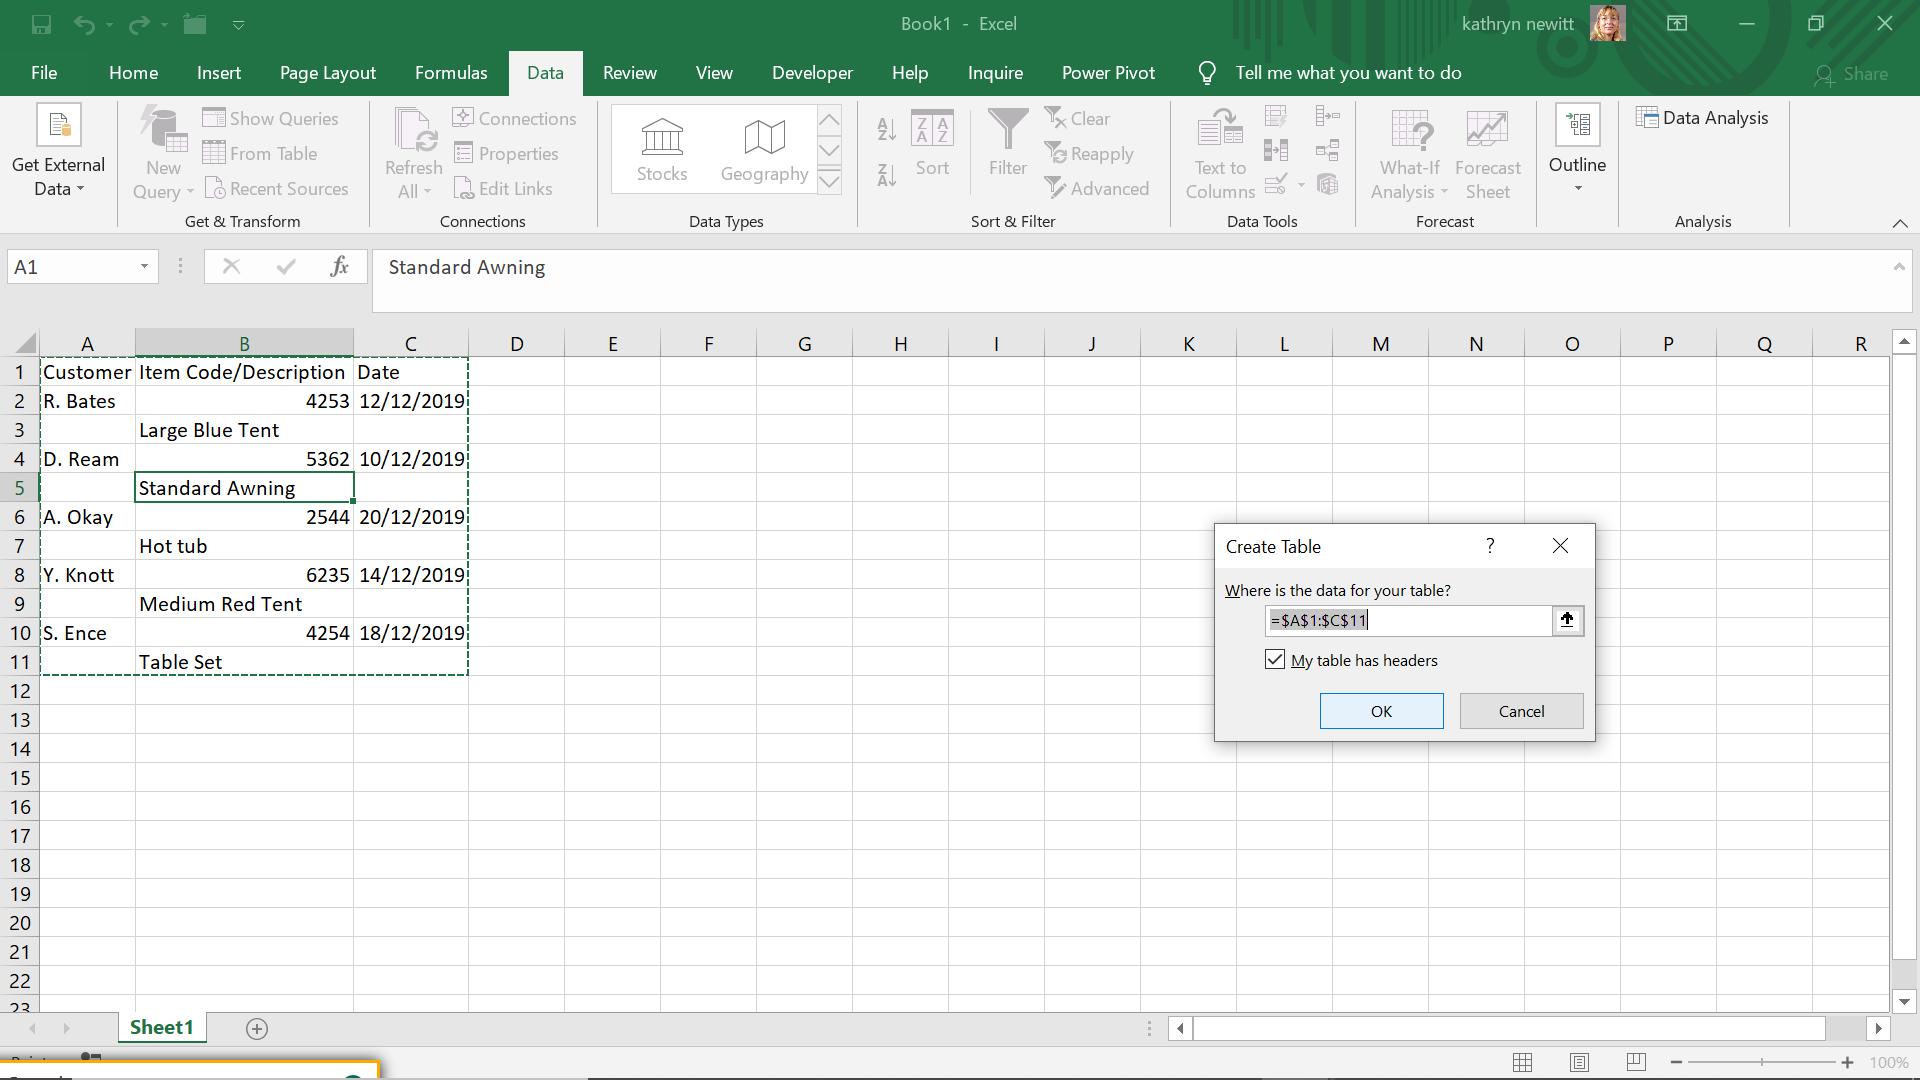
My data has headers, so I accept the defaults.
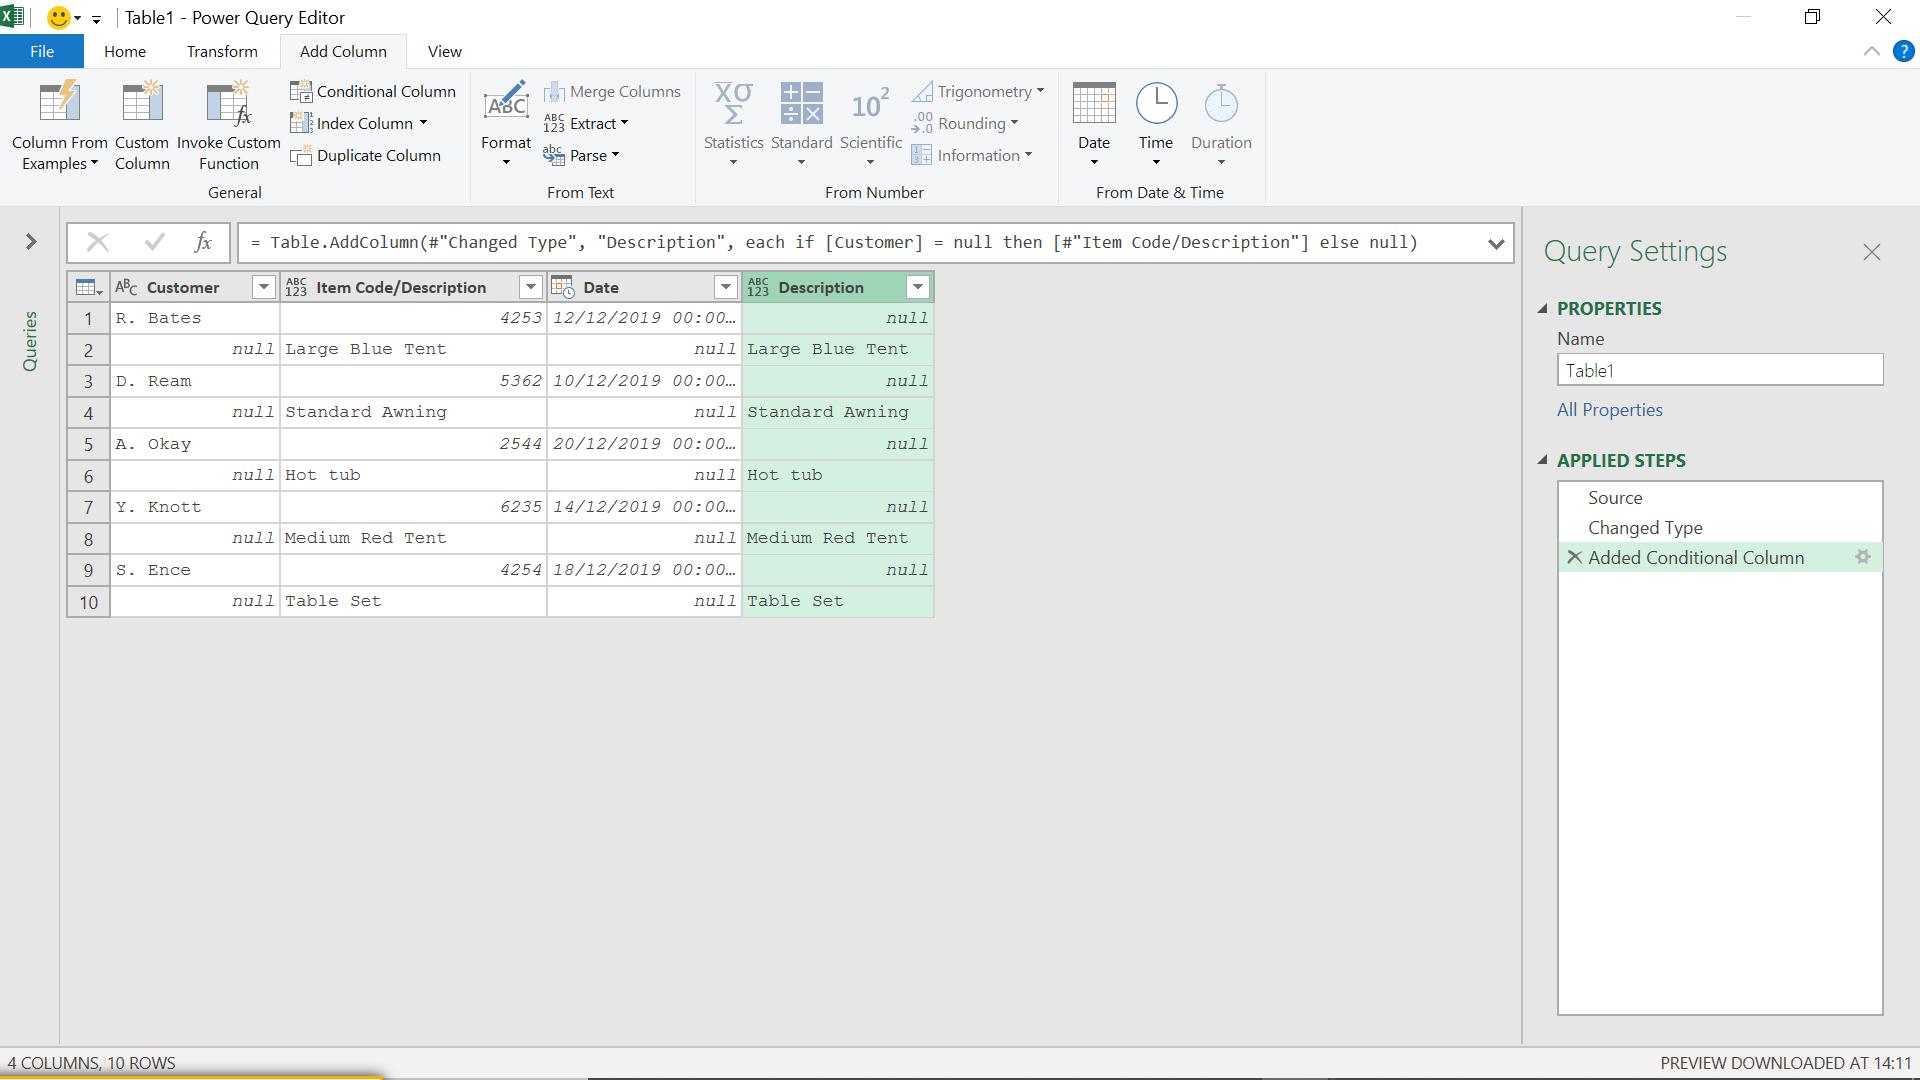
I can add a conditional column from the ‘Add Column’ tab. This will create my Description column.
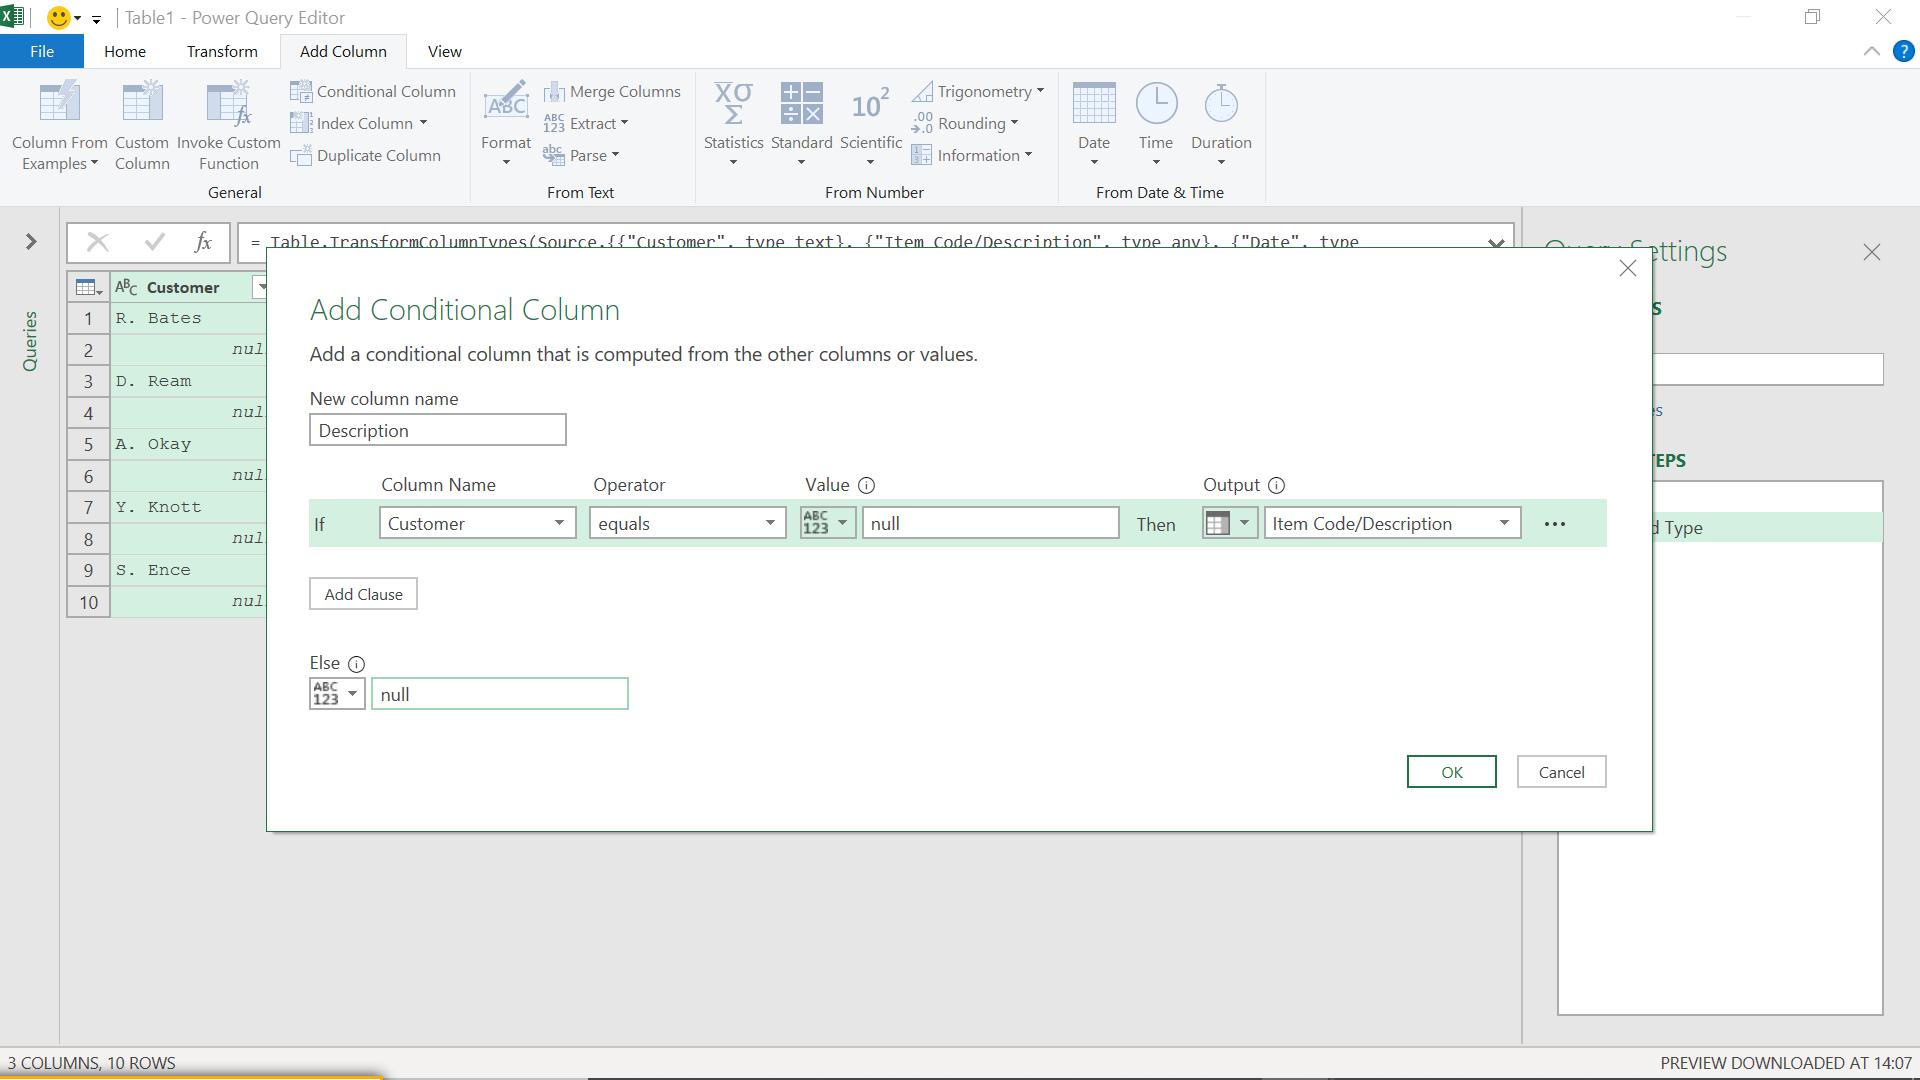
I click ‘OK’ to create my new column.
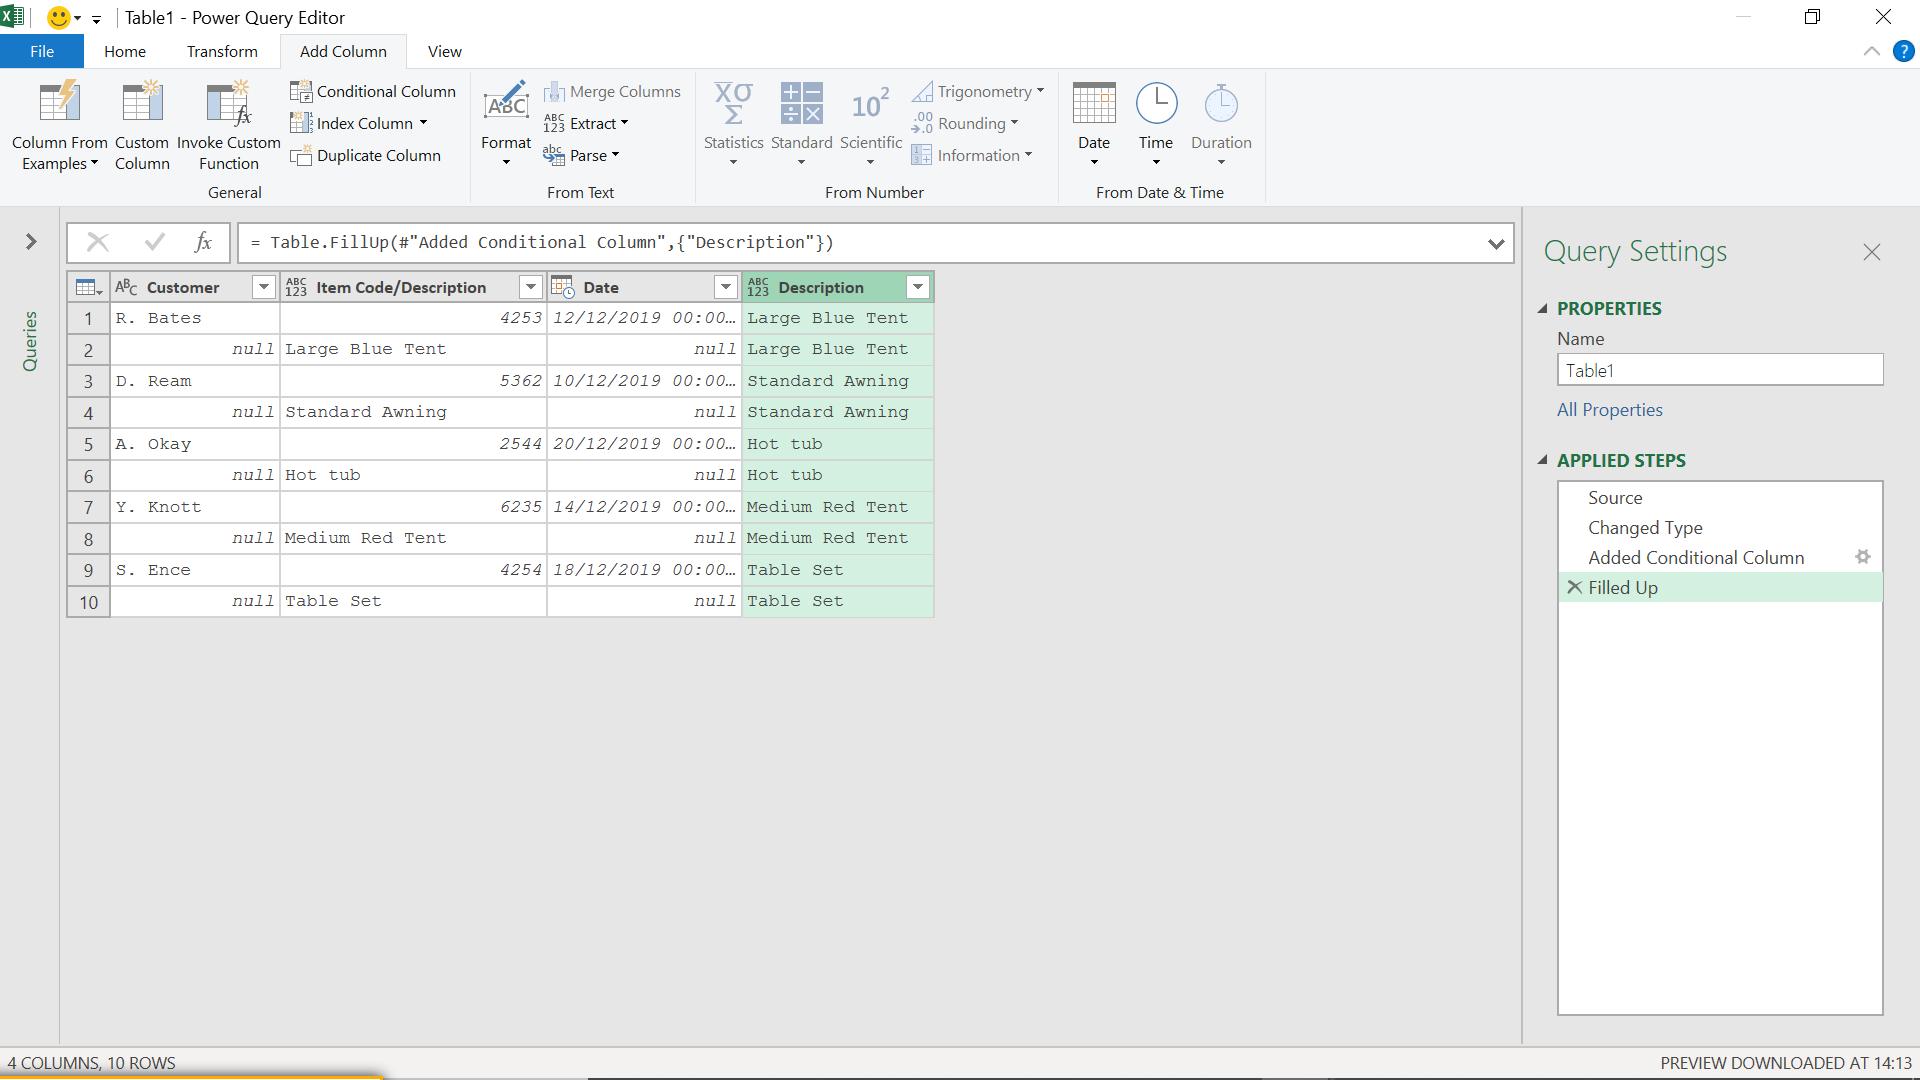
I need to fill up so that the description appears next to the rest of the data. I can do this by right-clicking the Description column selected.
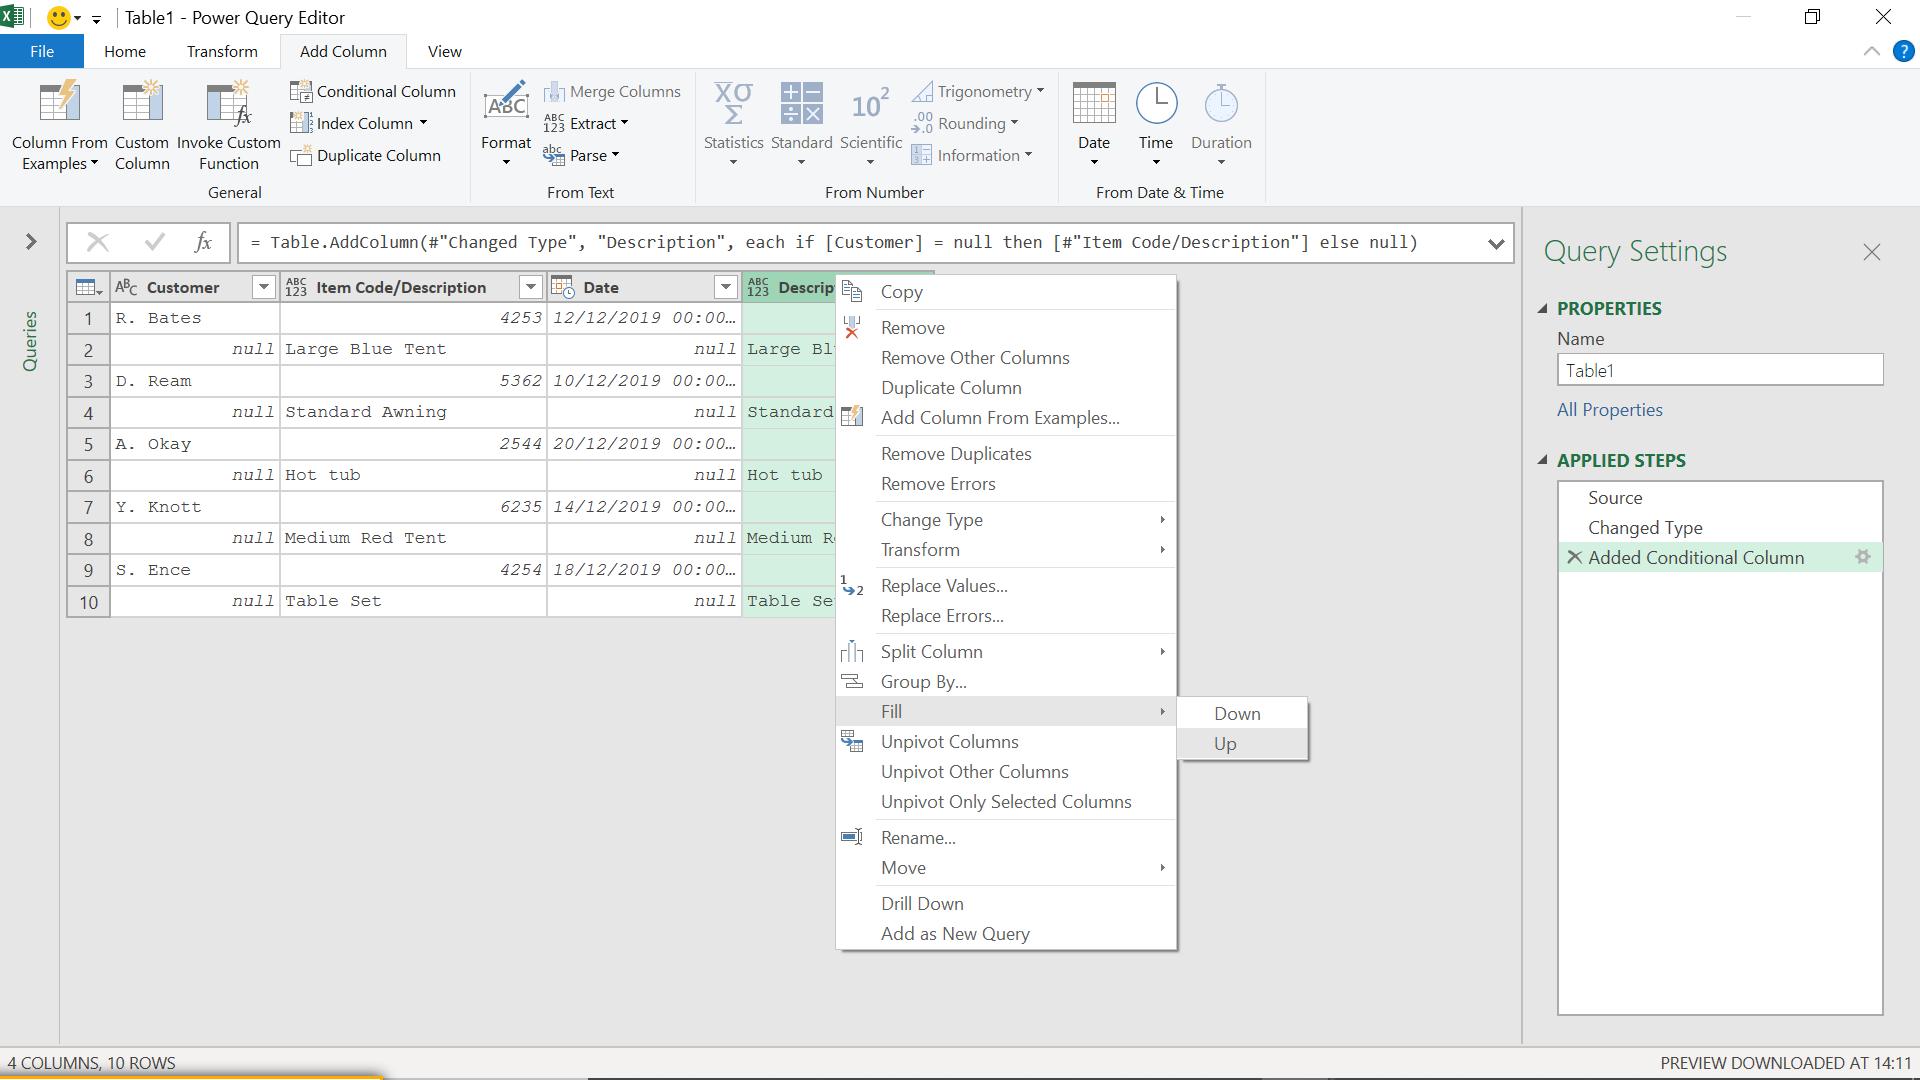
I need to fill up so that the description appears next to the rest of the data. I can do this by right-clicking the Description column selected.
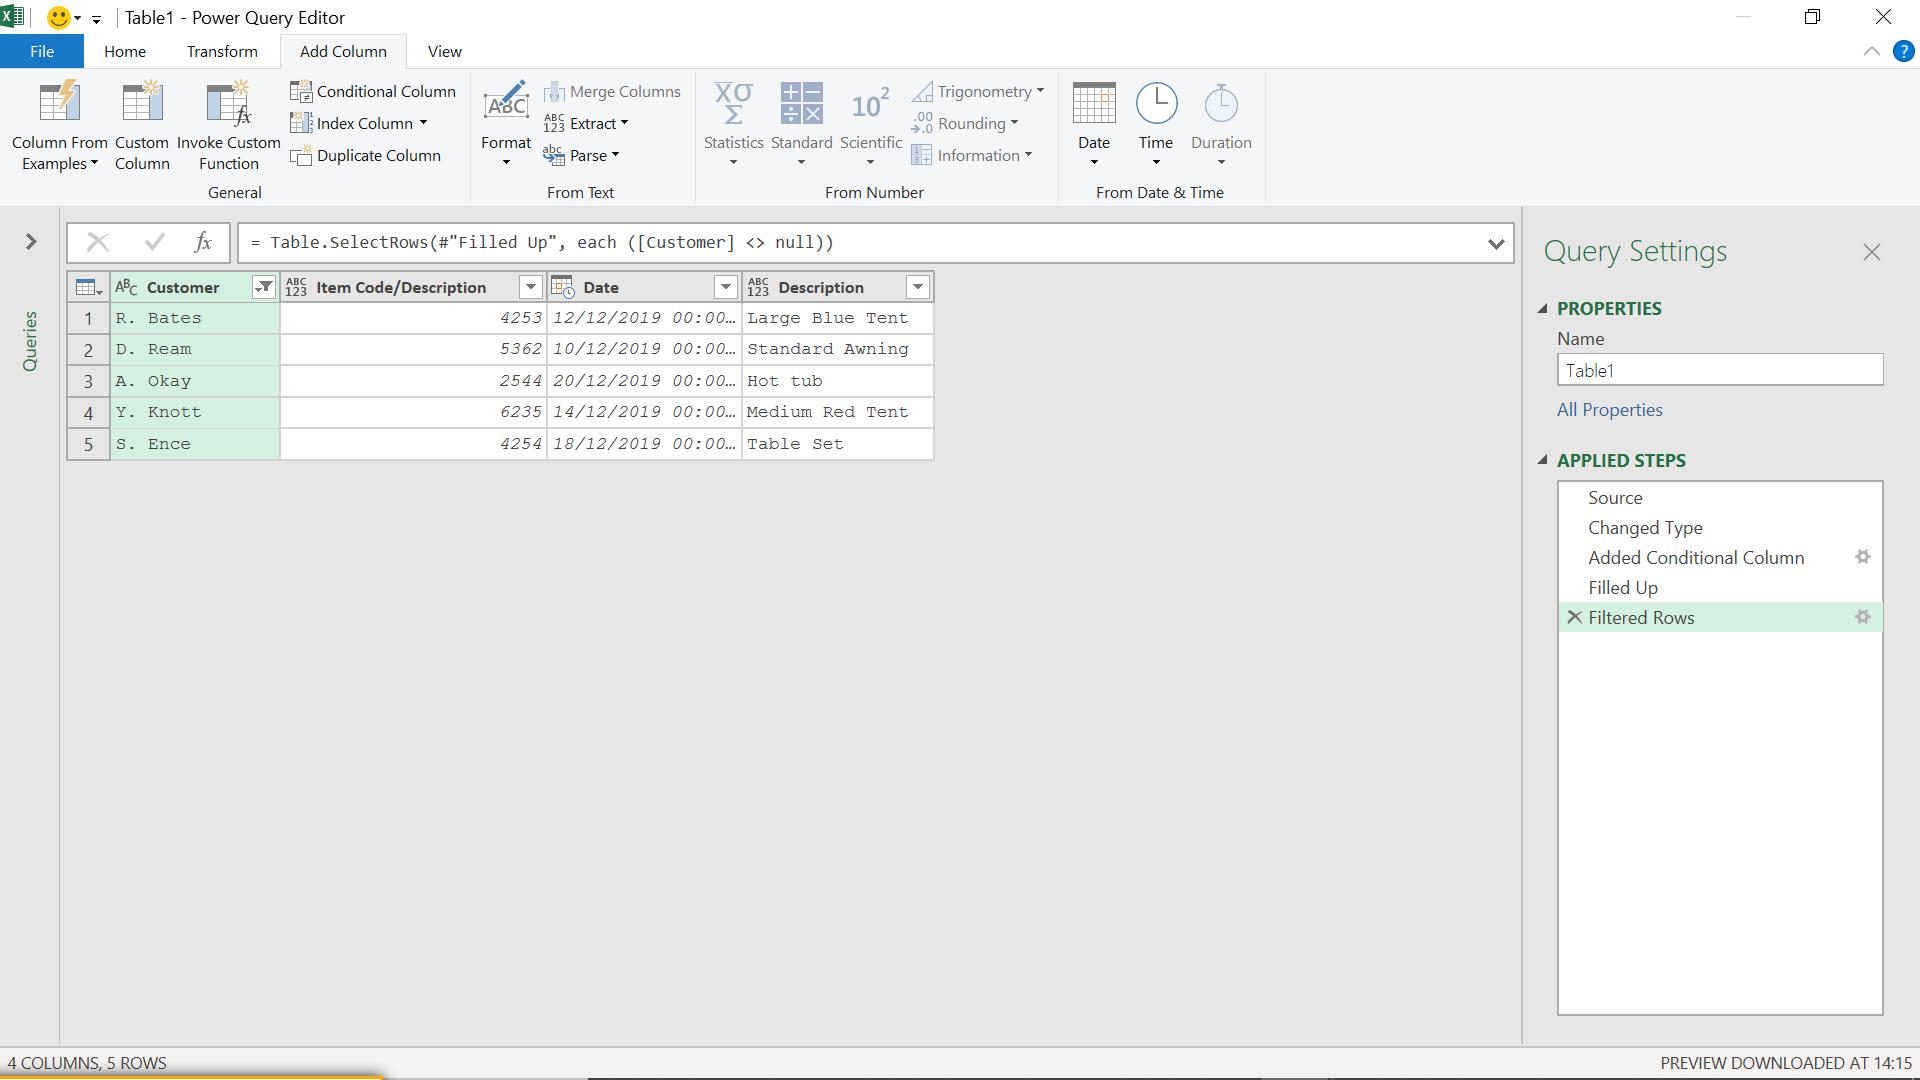
I need to remove the extra row which only contains the description. I can do this by filtering on Customer.

If I uncheck null, I will then only see rows with customer data.
Finally, I rename Item Code/Description to Item Code.
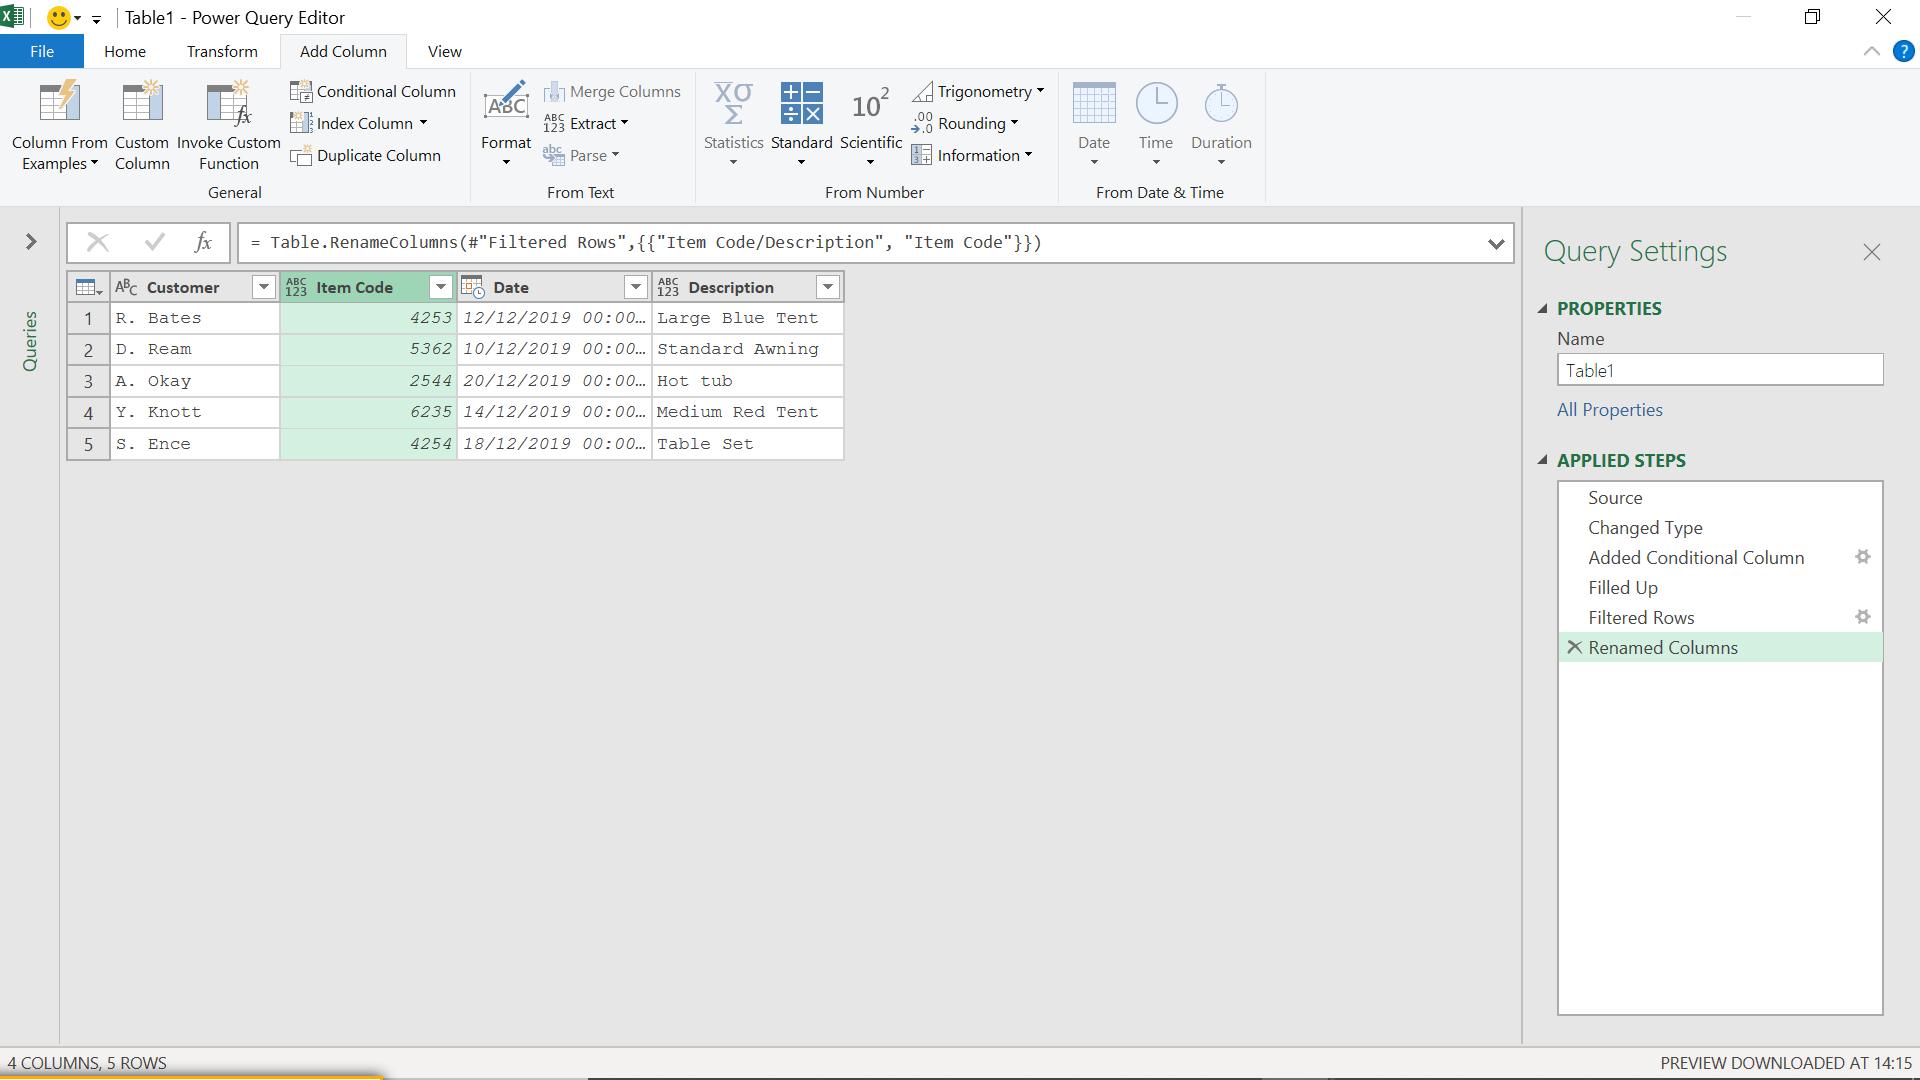
My data is now in a standard format so I can link it to other tables. Next time. I’ll look at another solution using duplicate queries.
Come back next time for more ways to use Power Query!