
Power Query: Expand Your Calendar
28 October 2020
Welcome to our Power Query blog. This week, I finish my calendar creation.
It’s been a while since I looked at how to create a calendar, and Power Query has moved on since then. It’s time to bring my calendar creation up to date. This is the sequel (not SQL), and below is the state of my calendar so far:
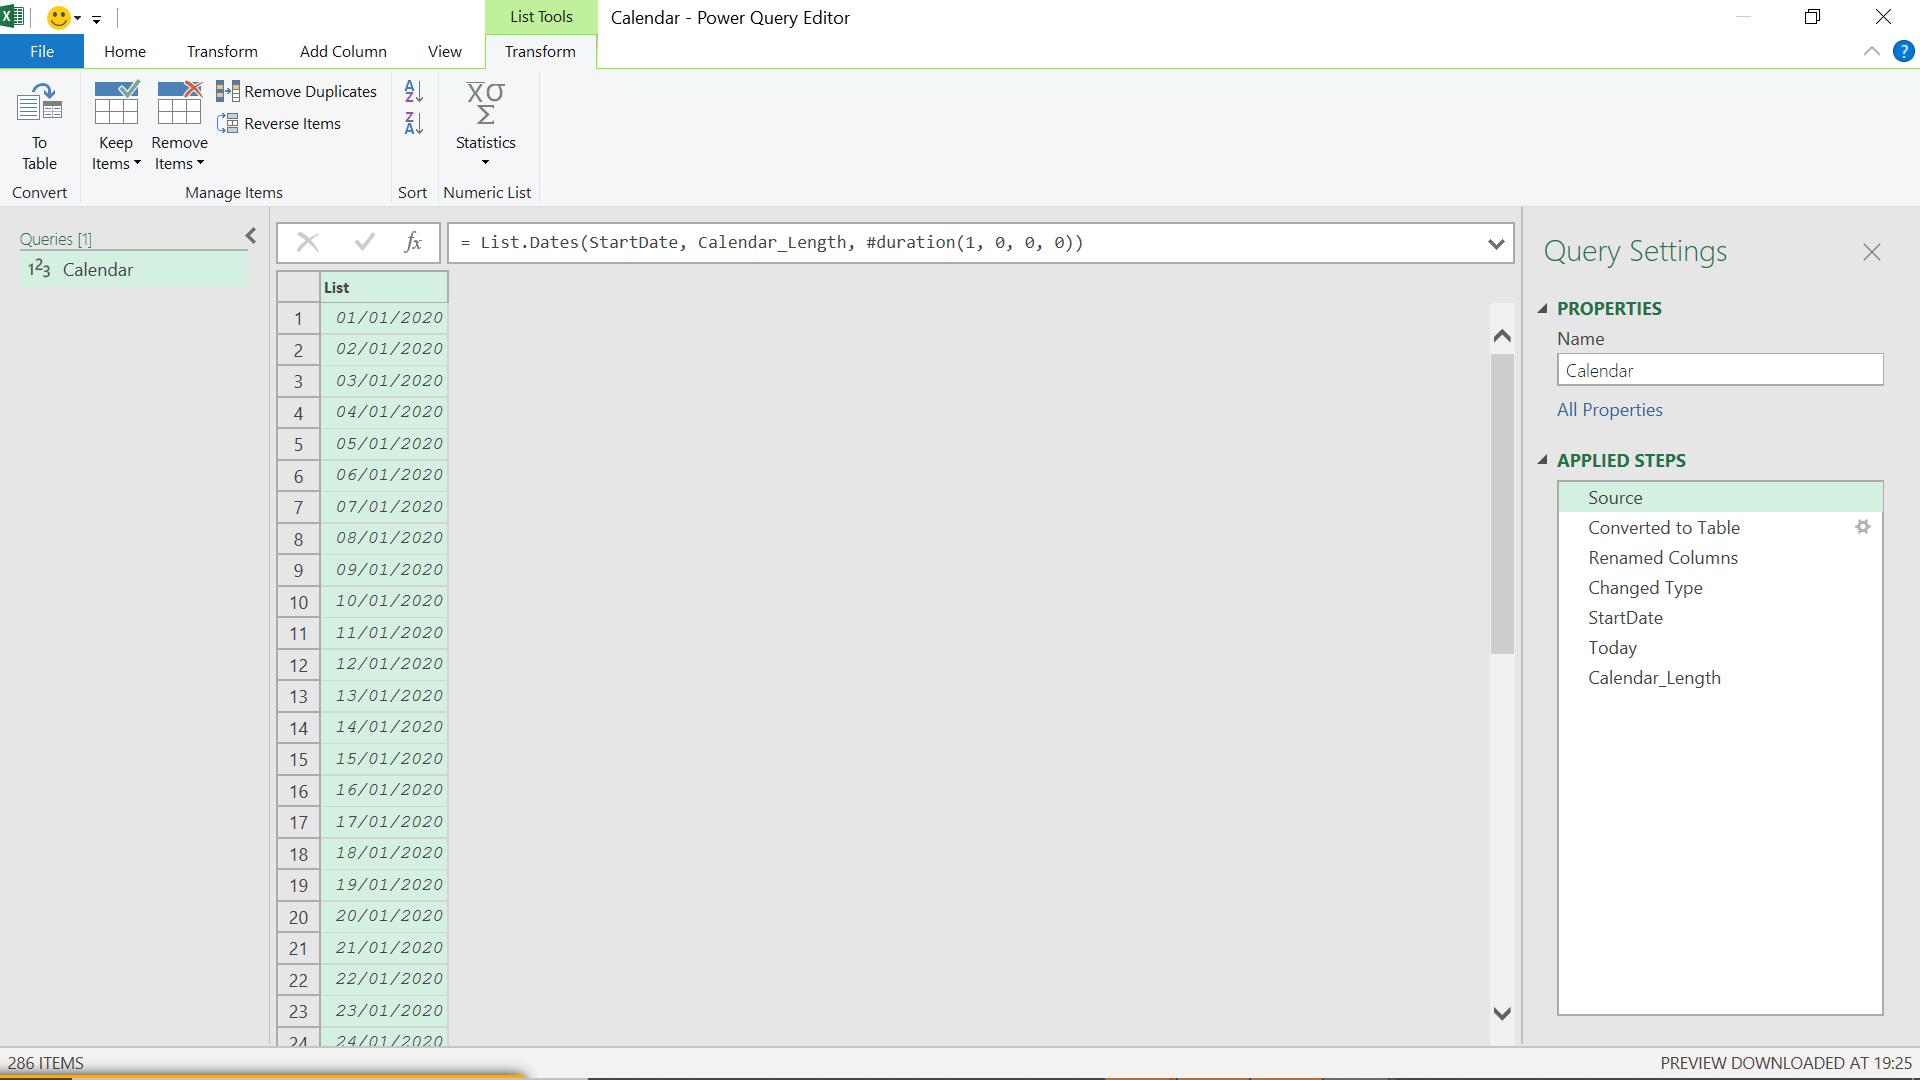
The M code is currently:
= List.Dates(StartDate, Calendar_Length, #duration(1, 0, 0, 0))
From last time, I promised to point out the deliberate mistake in the Calendar_Length. Currently, it will only reach yesterday – if I want today then I need to add one (1):

The first thing I need now is to see my calendar when I open the query. I can do this by adding a step which points back to the ‘Changed Type’ step.

Now I can add more columns.
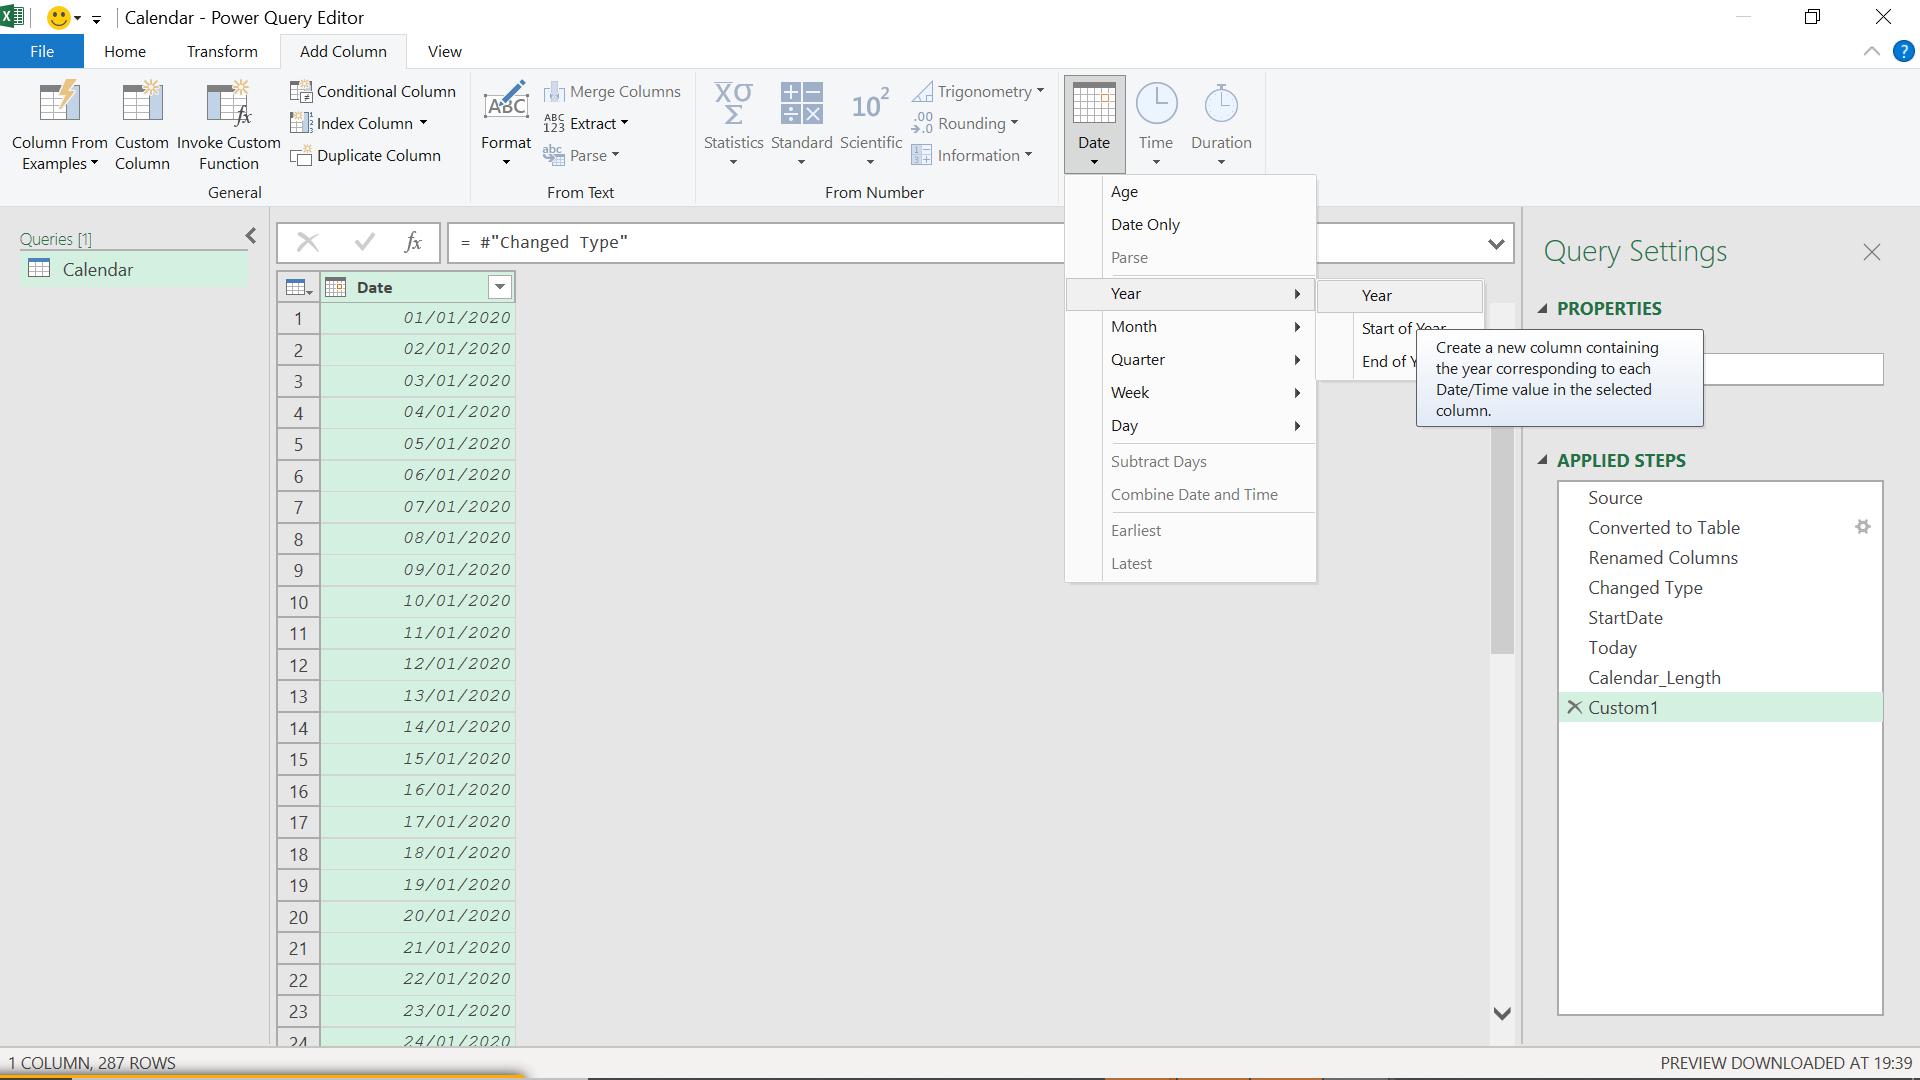
I can start with the year, which is easy to add from the ‘Add Column’ tab, where I have a number of options under ‘Date’, viz.
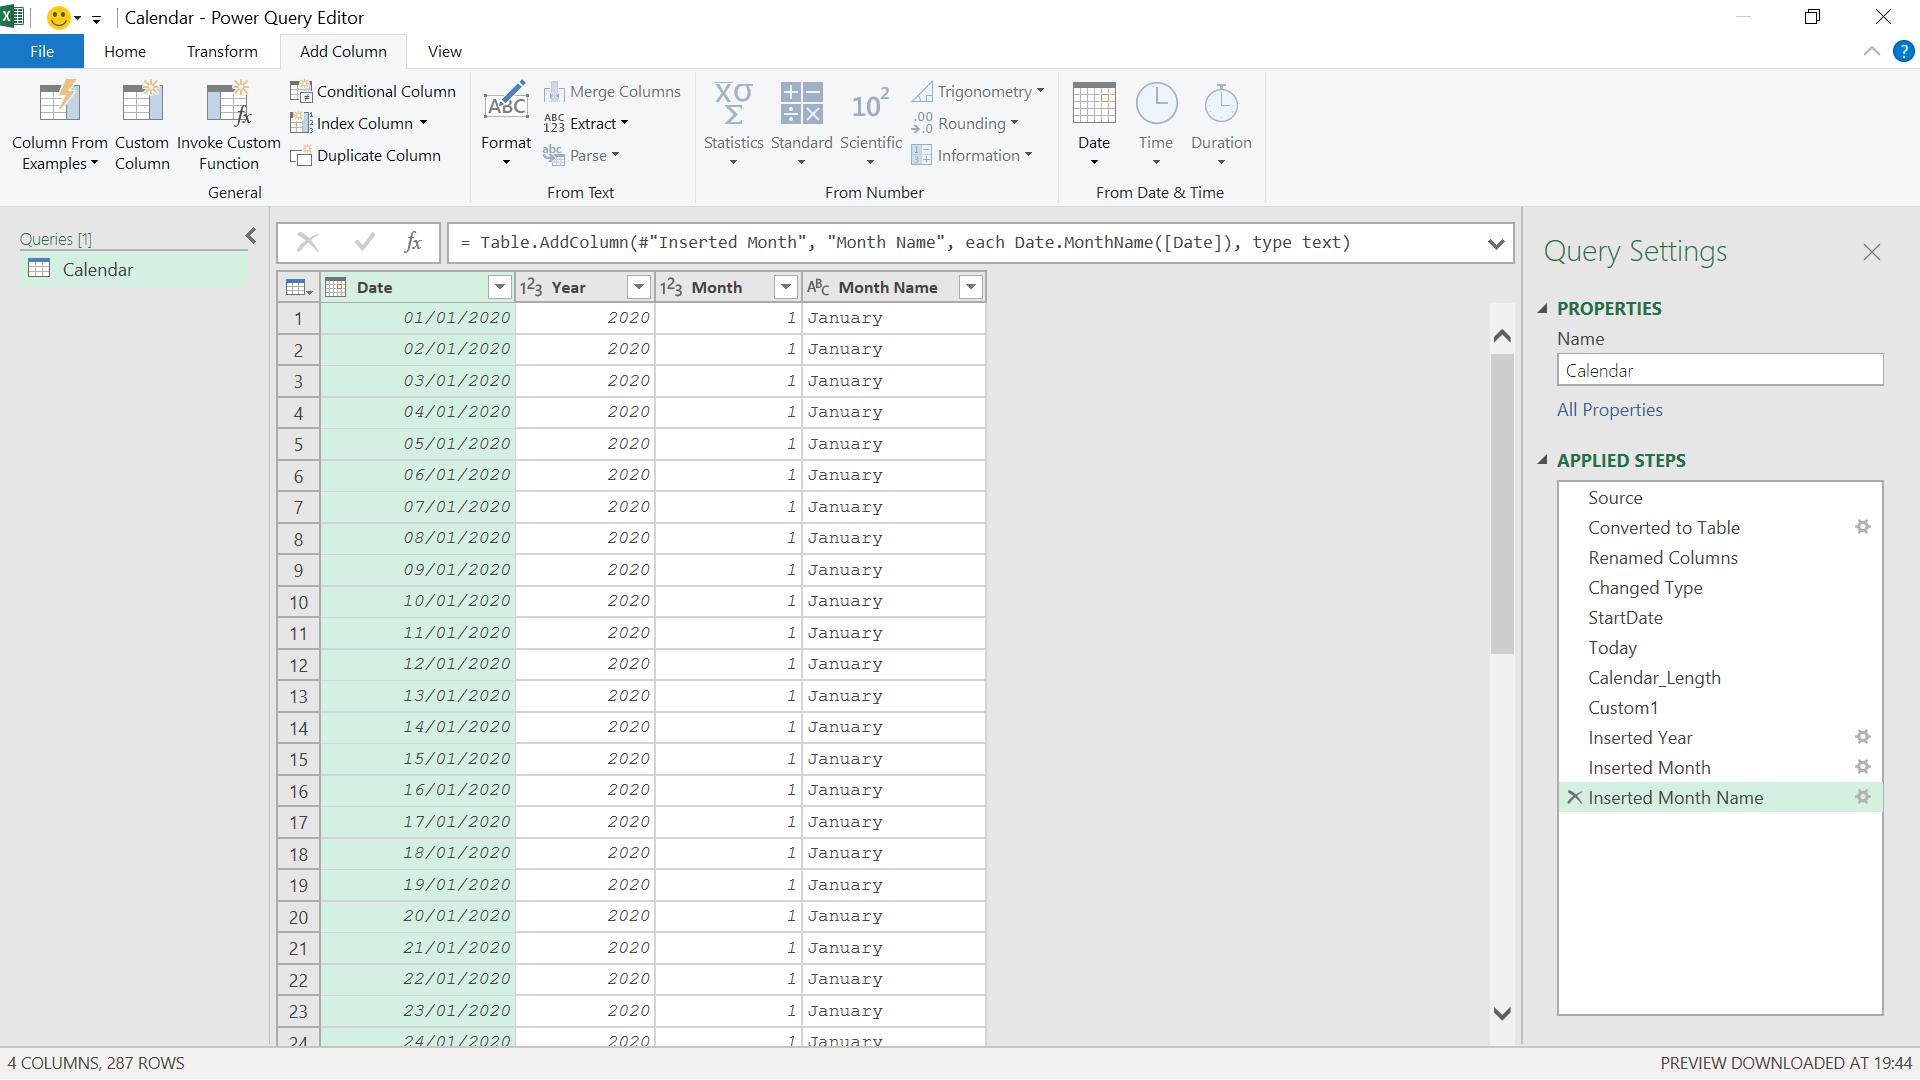
I can go on to add a few more date columns.
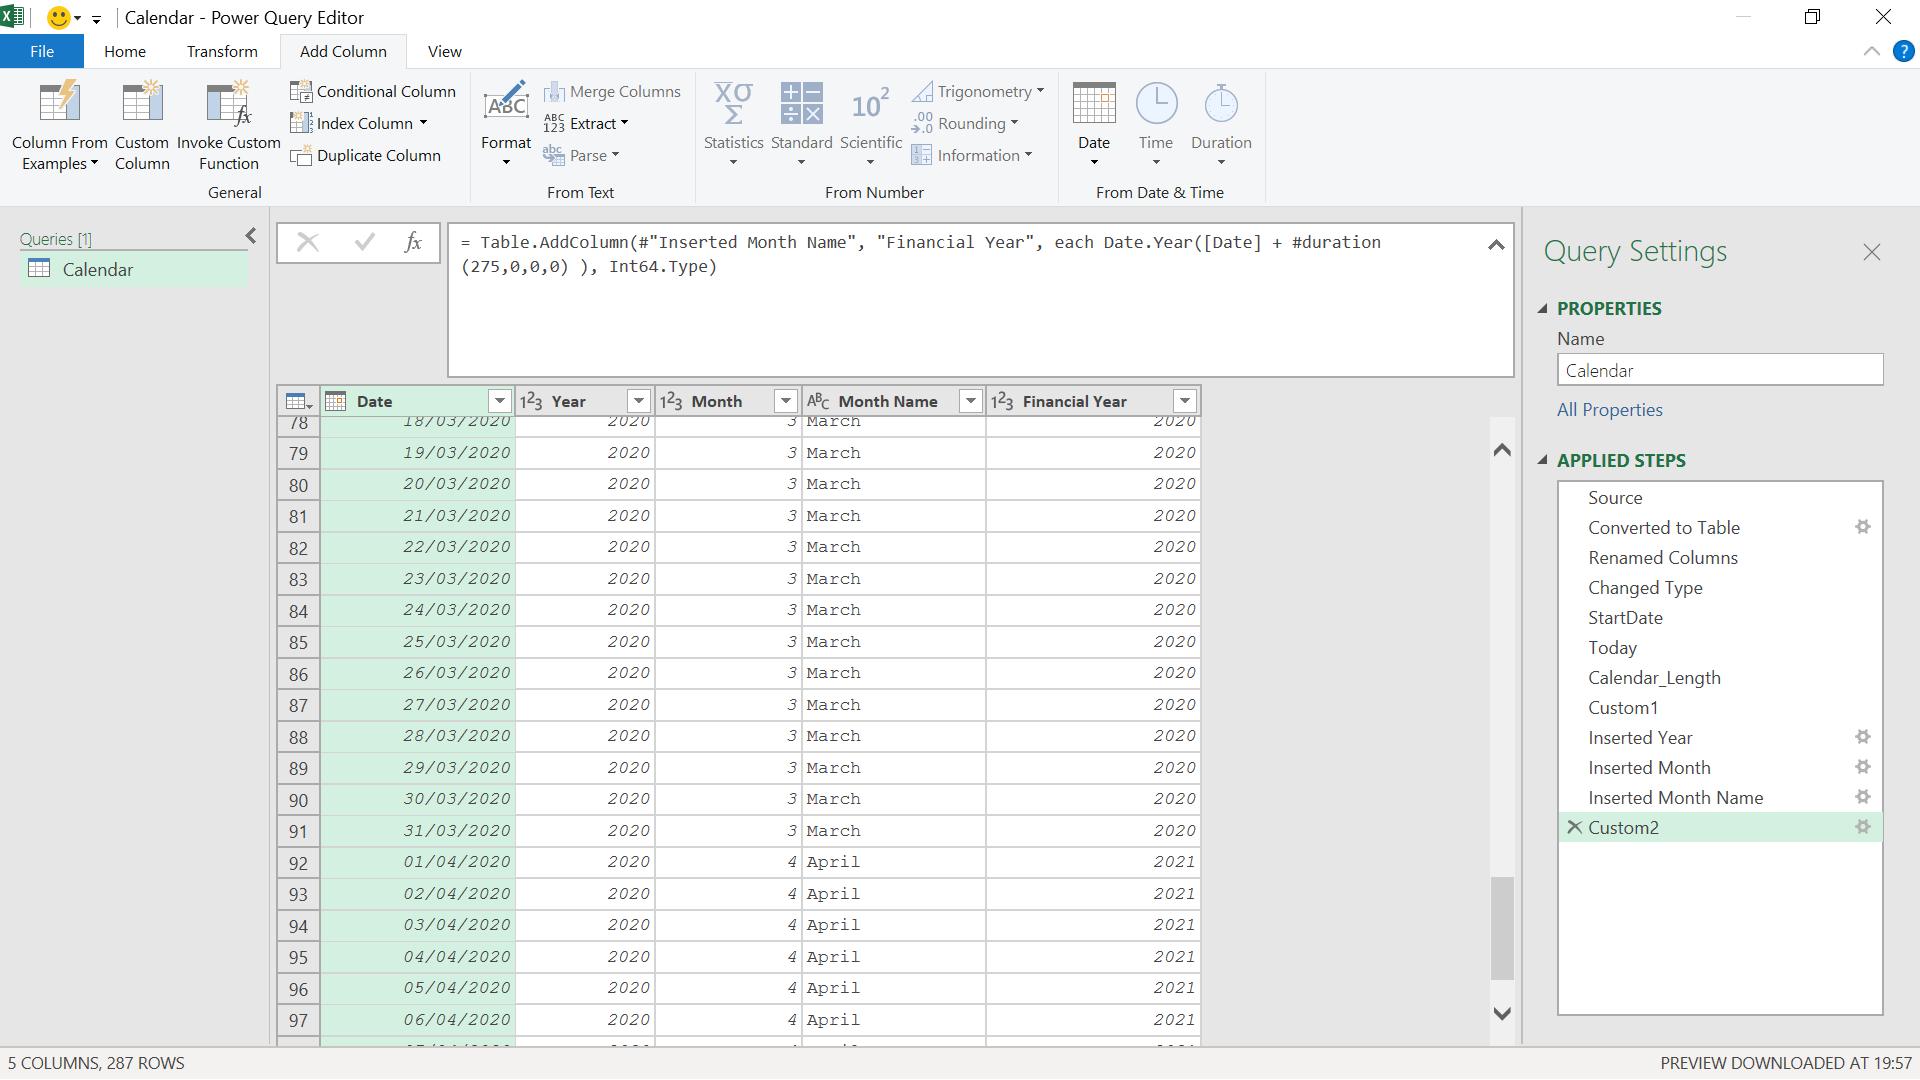
There are of course many columns which I can add, depending upon my requirements. One column which can be useful is the financial year, but this is not available from the ‘Add Column’ menu. This varies by country, but in the UK, the financial year starts in April. For simplicity here, I will assume the financial year starts on April 1 (more fool me).
I can add a custom column to do this:
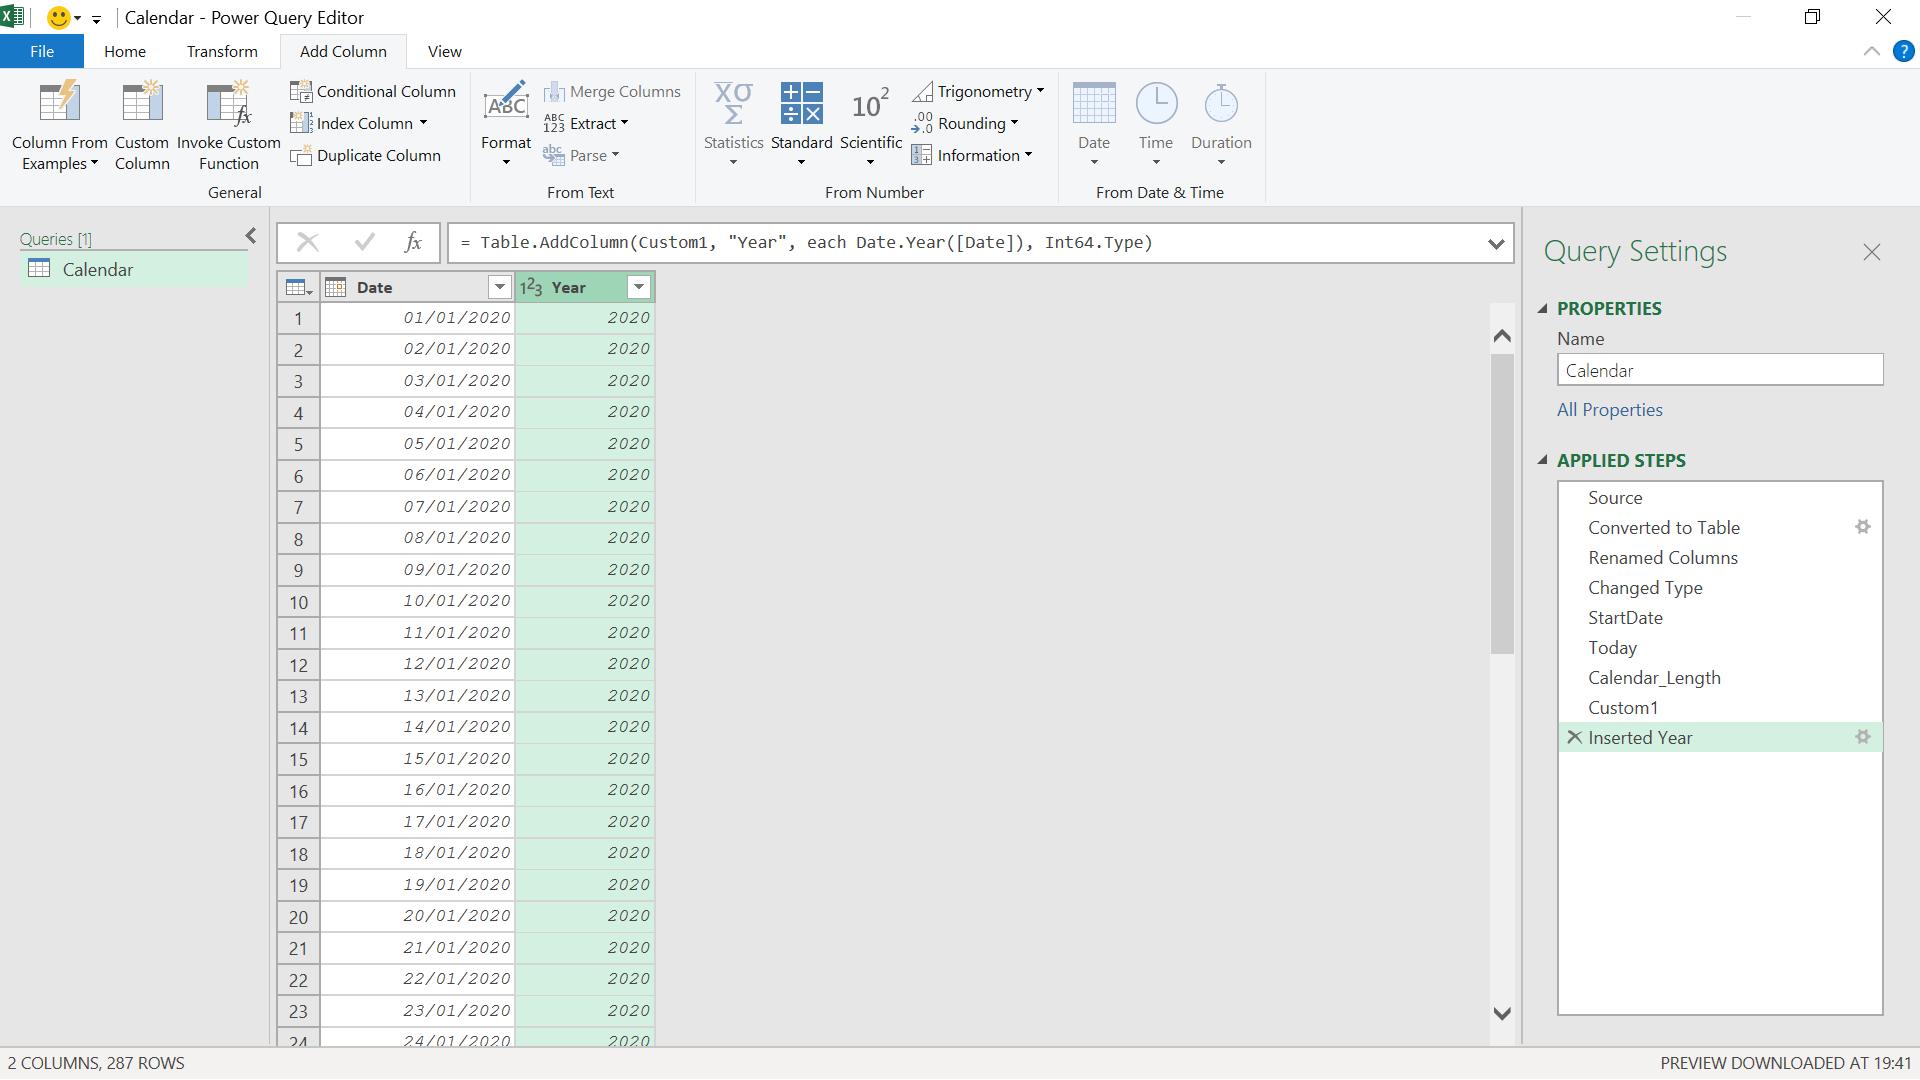
I have done this by amending the ‘Inserted Year’ M code. Instead of
= Table.AddColumn(Custom1, "Year", each Date.Year([Date]), Int64.Type)
I have used:
= Table.AddColumn(#"Inserted Month Name", "Financial Year", each Date.Year([Date] + #duration(275,0,0,0) ), Int64.Type)
So, I am treating April 1st as if it is January 1st of the next year, by adding 275 days. Since February is not involved, leap years are not an issue.
Come back next time for more ways to use Power Query!