
Power Query: Update Your Calendar
21 October 2020
Welcome to our Power Query blog. This week, I look at calendar creation.
It’s been a while since I have looked at how to create a calendar, and Power Query has moved on since then. It’s time to bring my calendar creation approach up to date.
I will start by creating a list of dates, since that is what a calendar essentially is. I create a Blank Query from the ‘Other Sources’ option on the ‘New Query’ section of the ‘Get & Transform’ section of the Data tab.
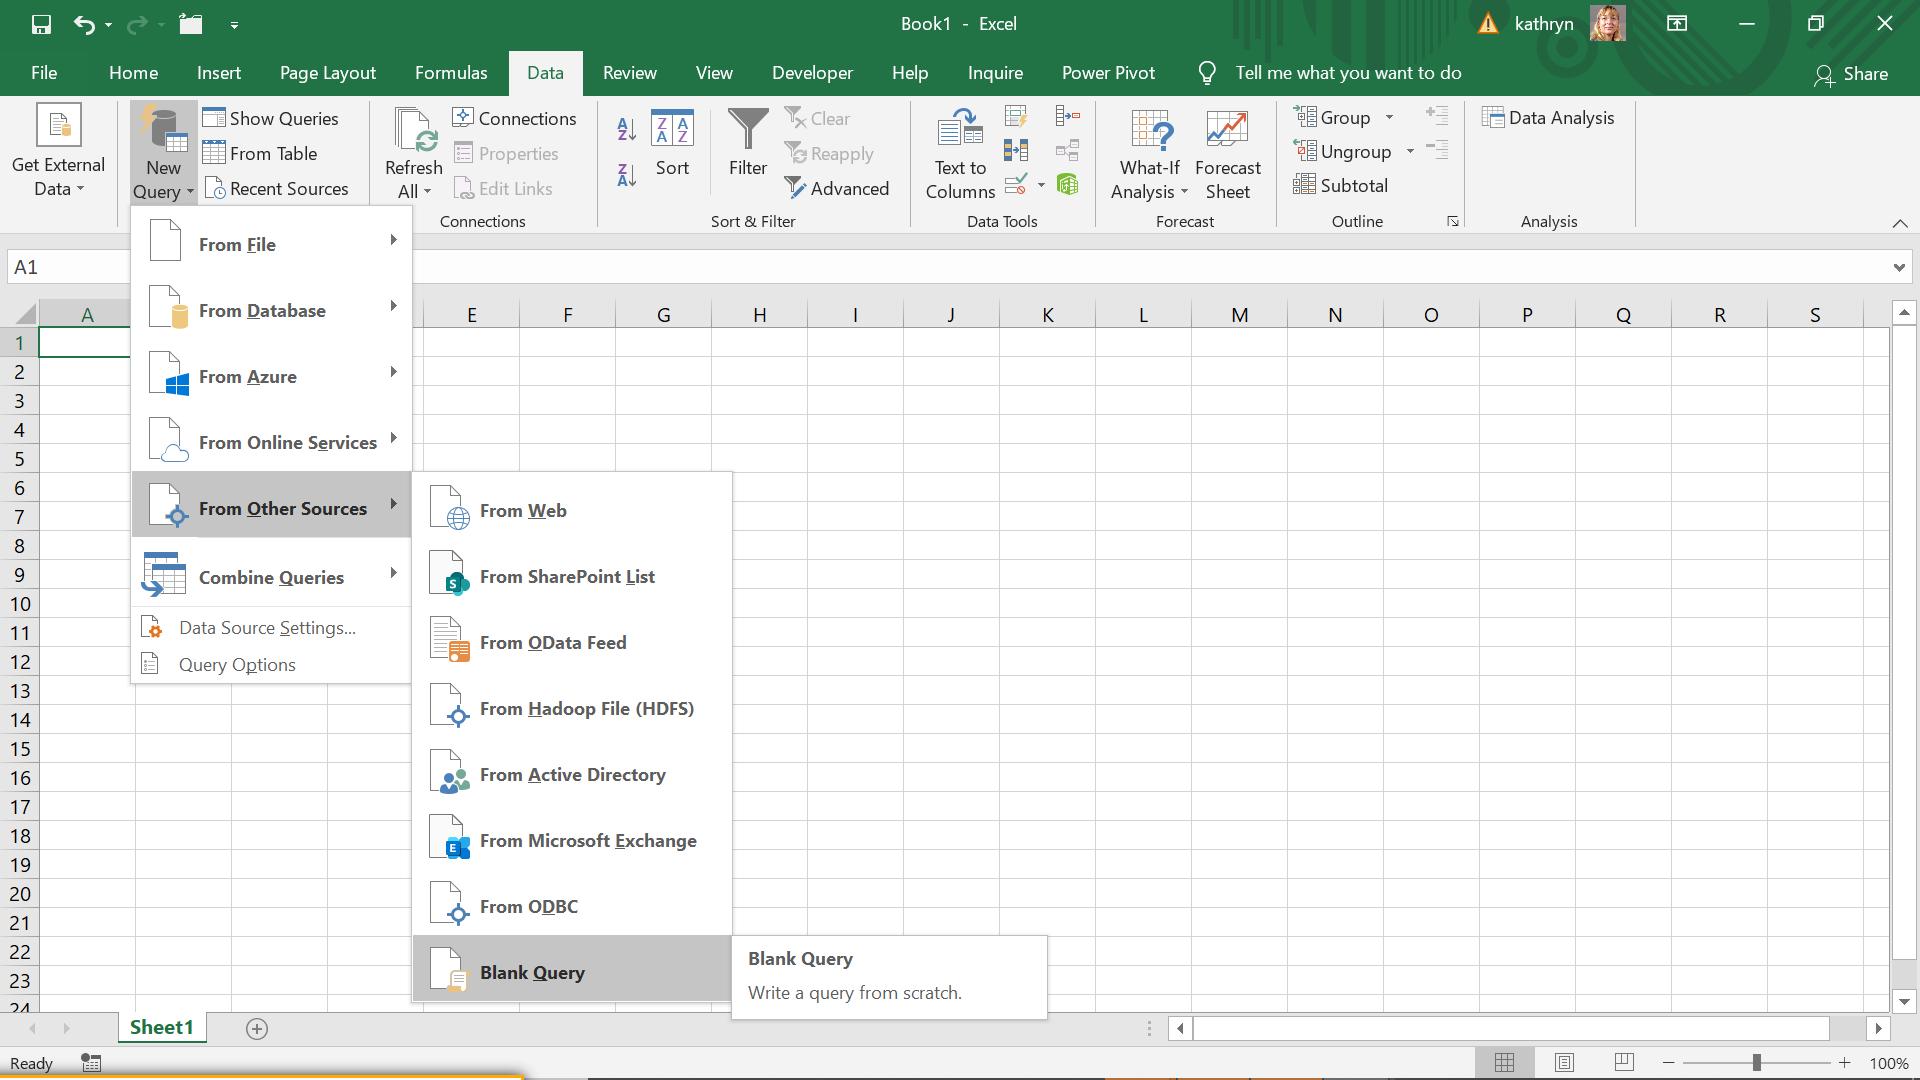
I call my new query ‘Calendar’.
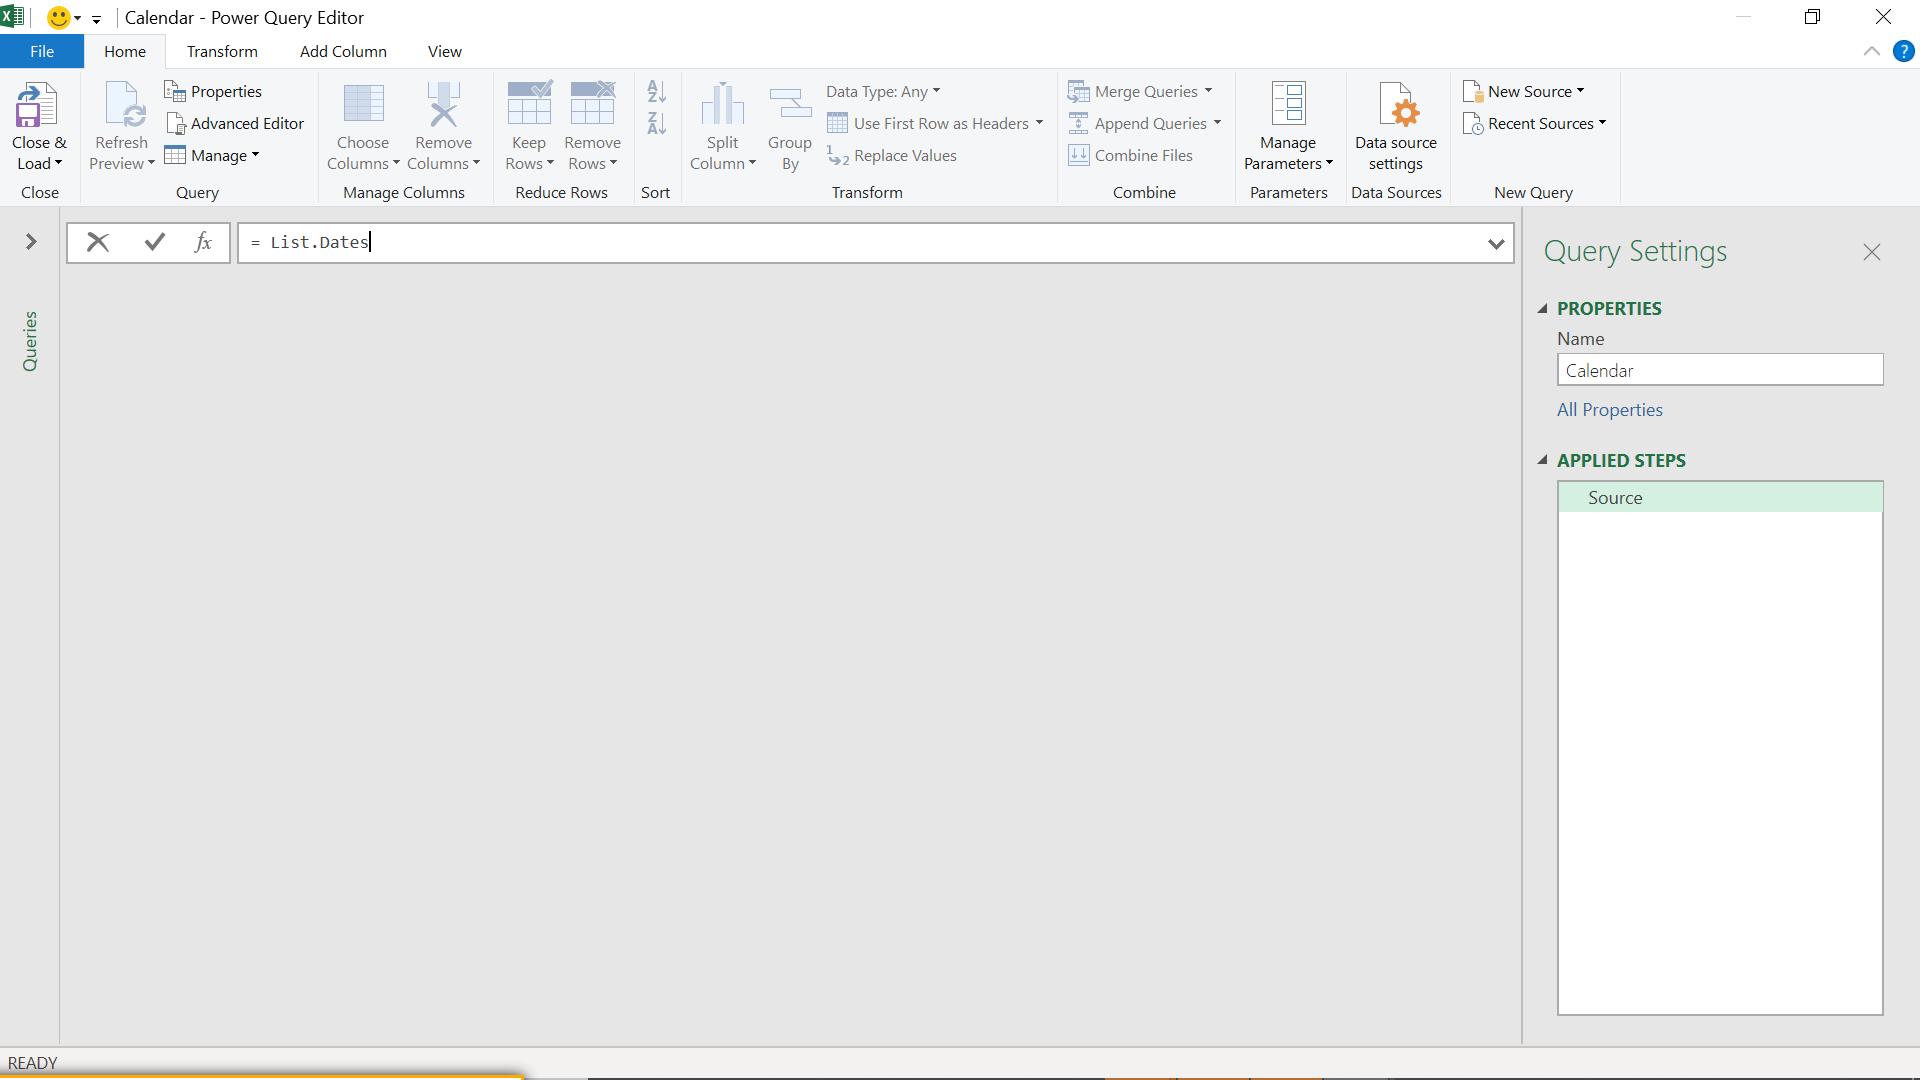
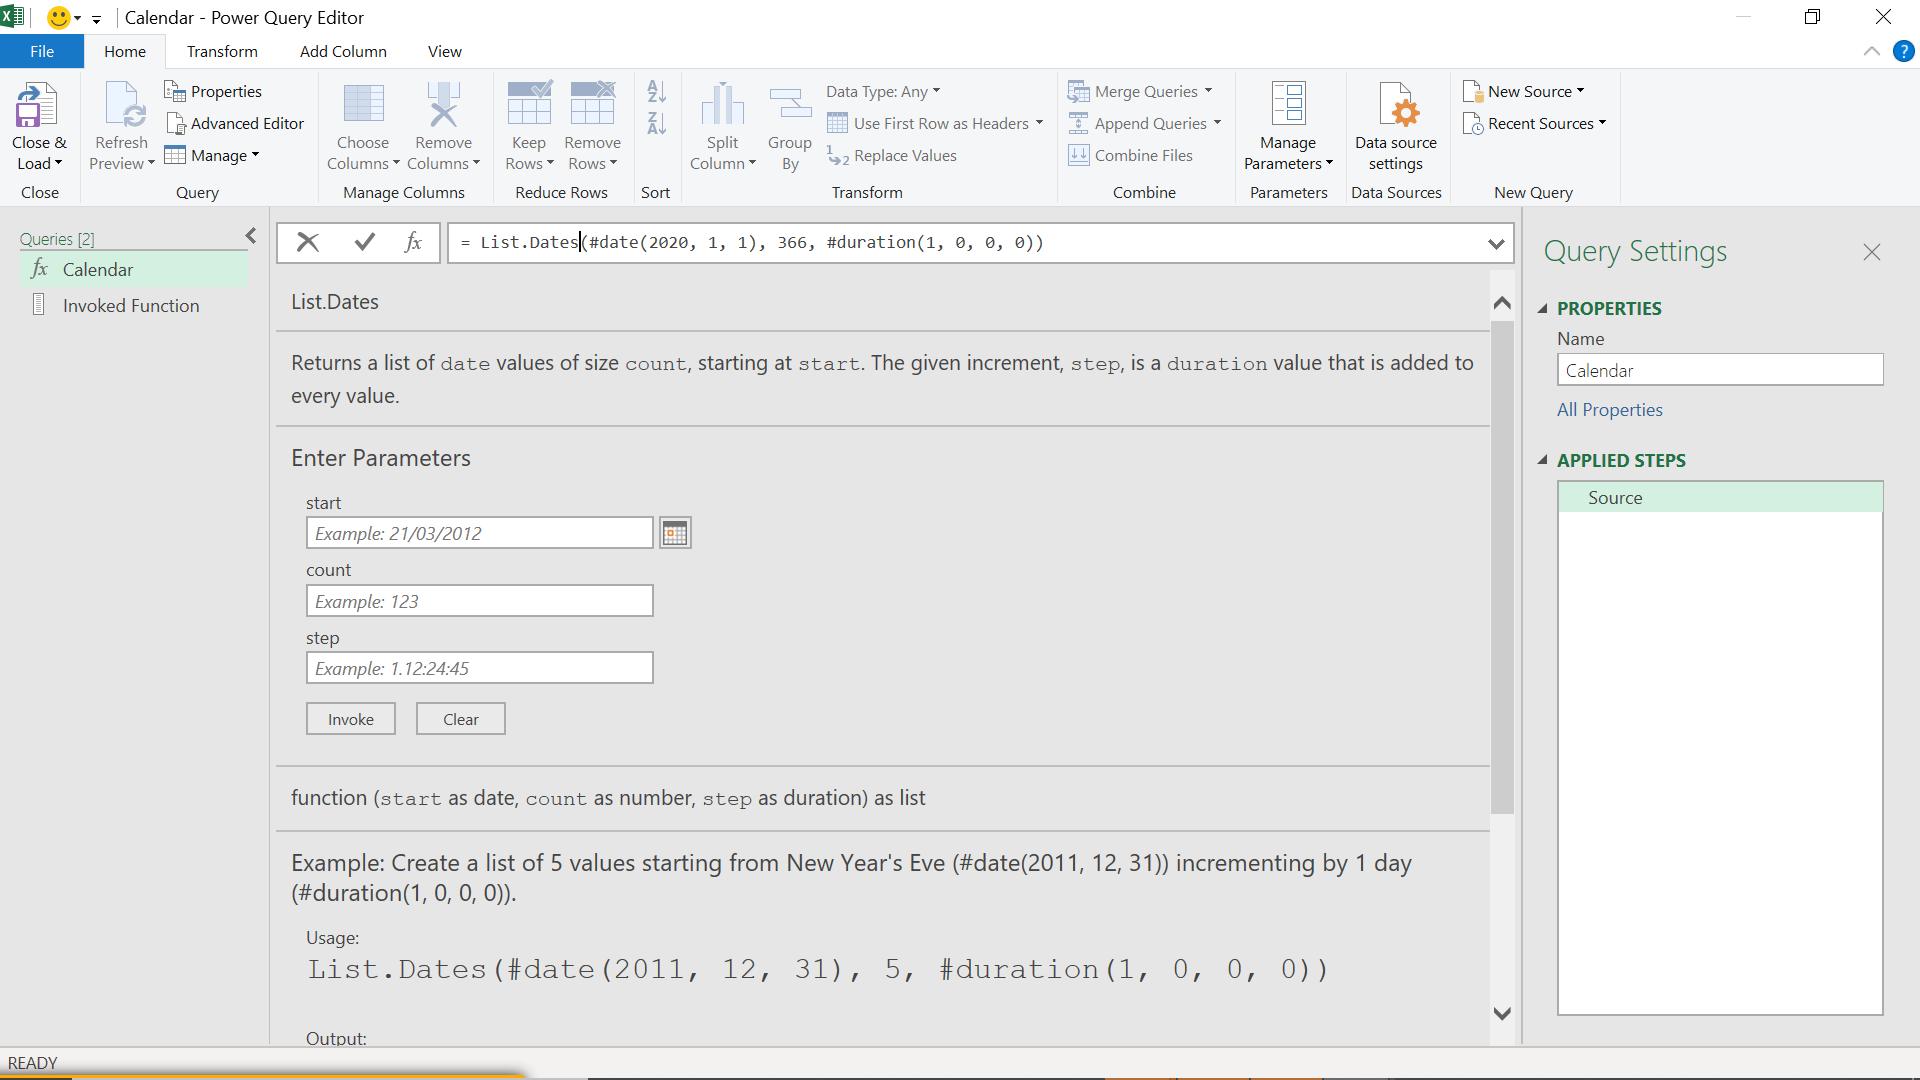
I will use the M function List.Dates(). If I just input the function for the step, Power Query will show the parameters required.
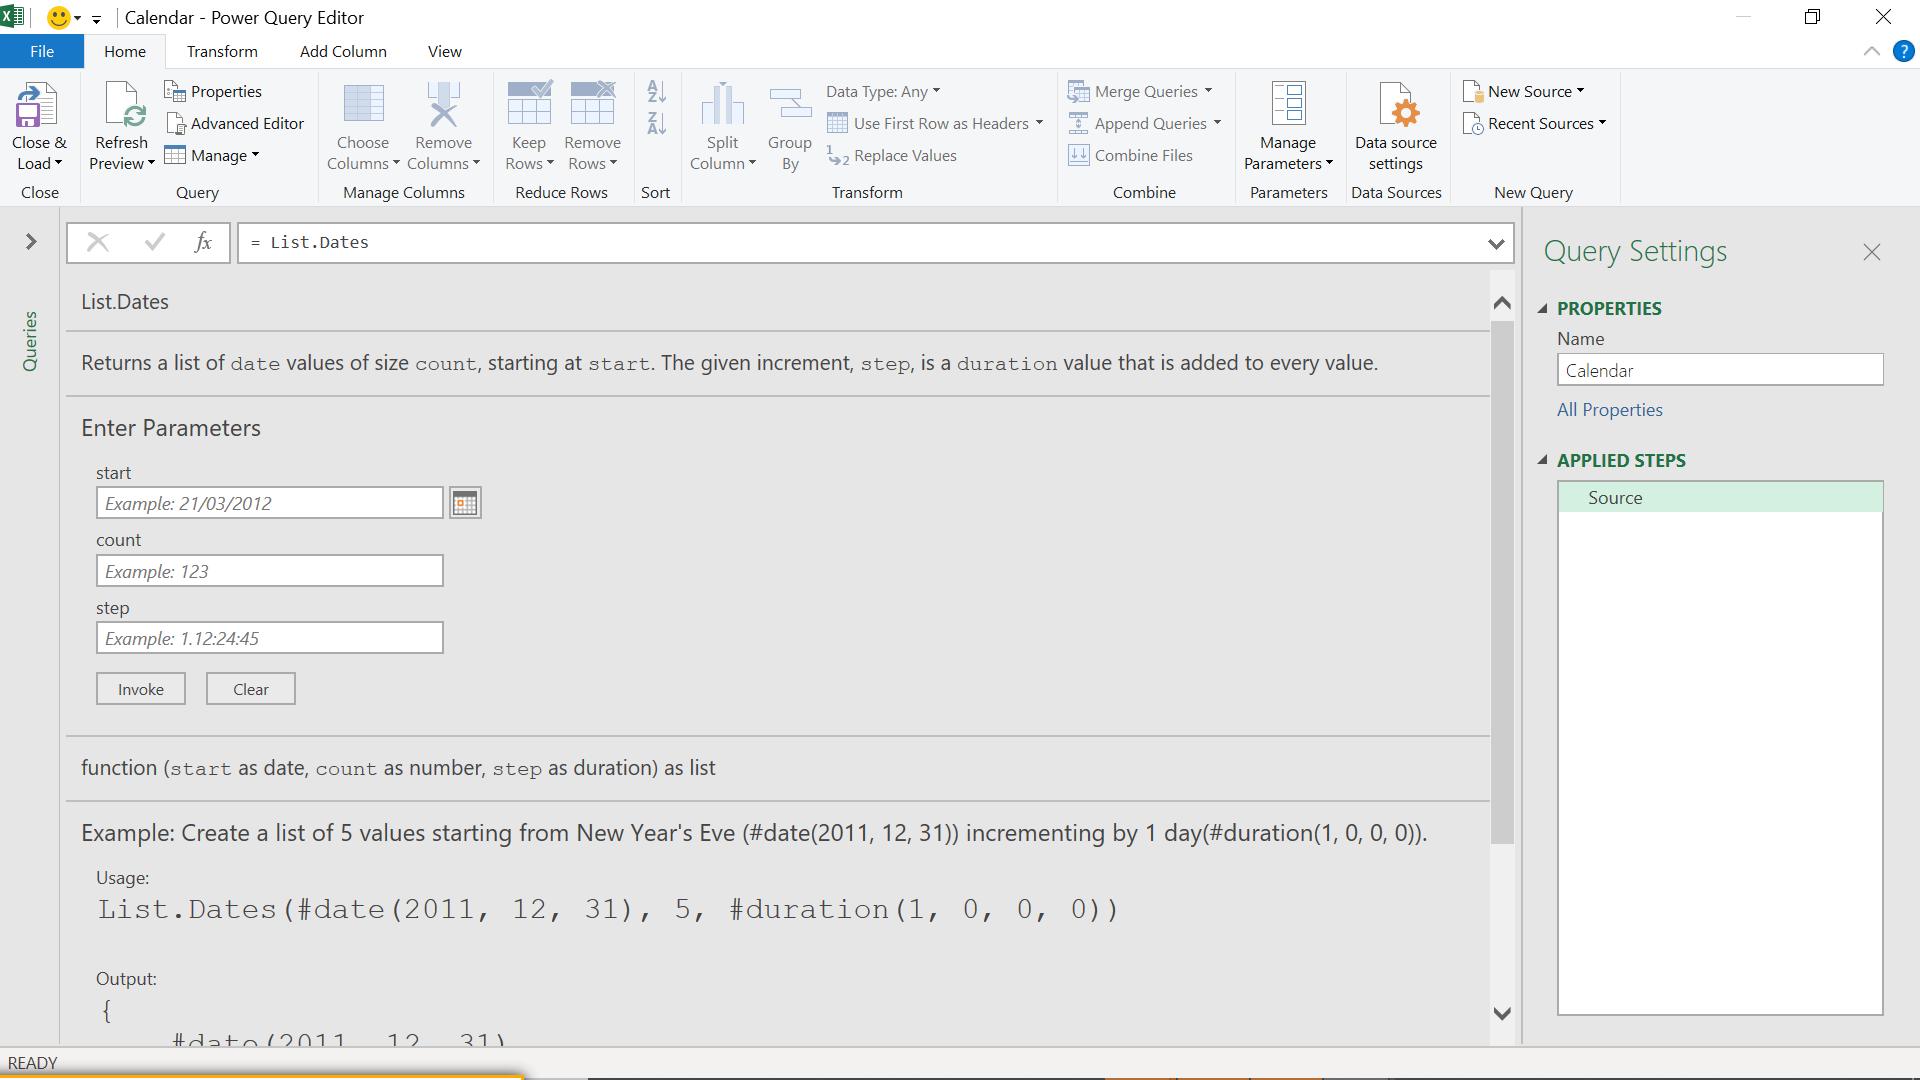
I start by using the dates for this year, incrementing by one (1).
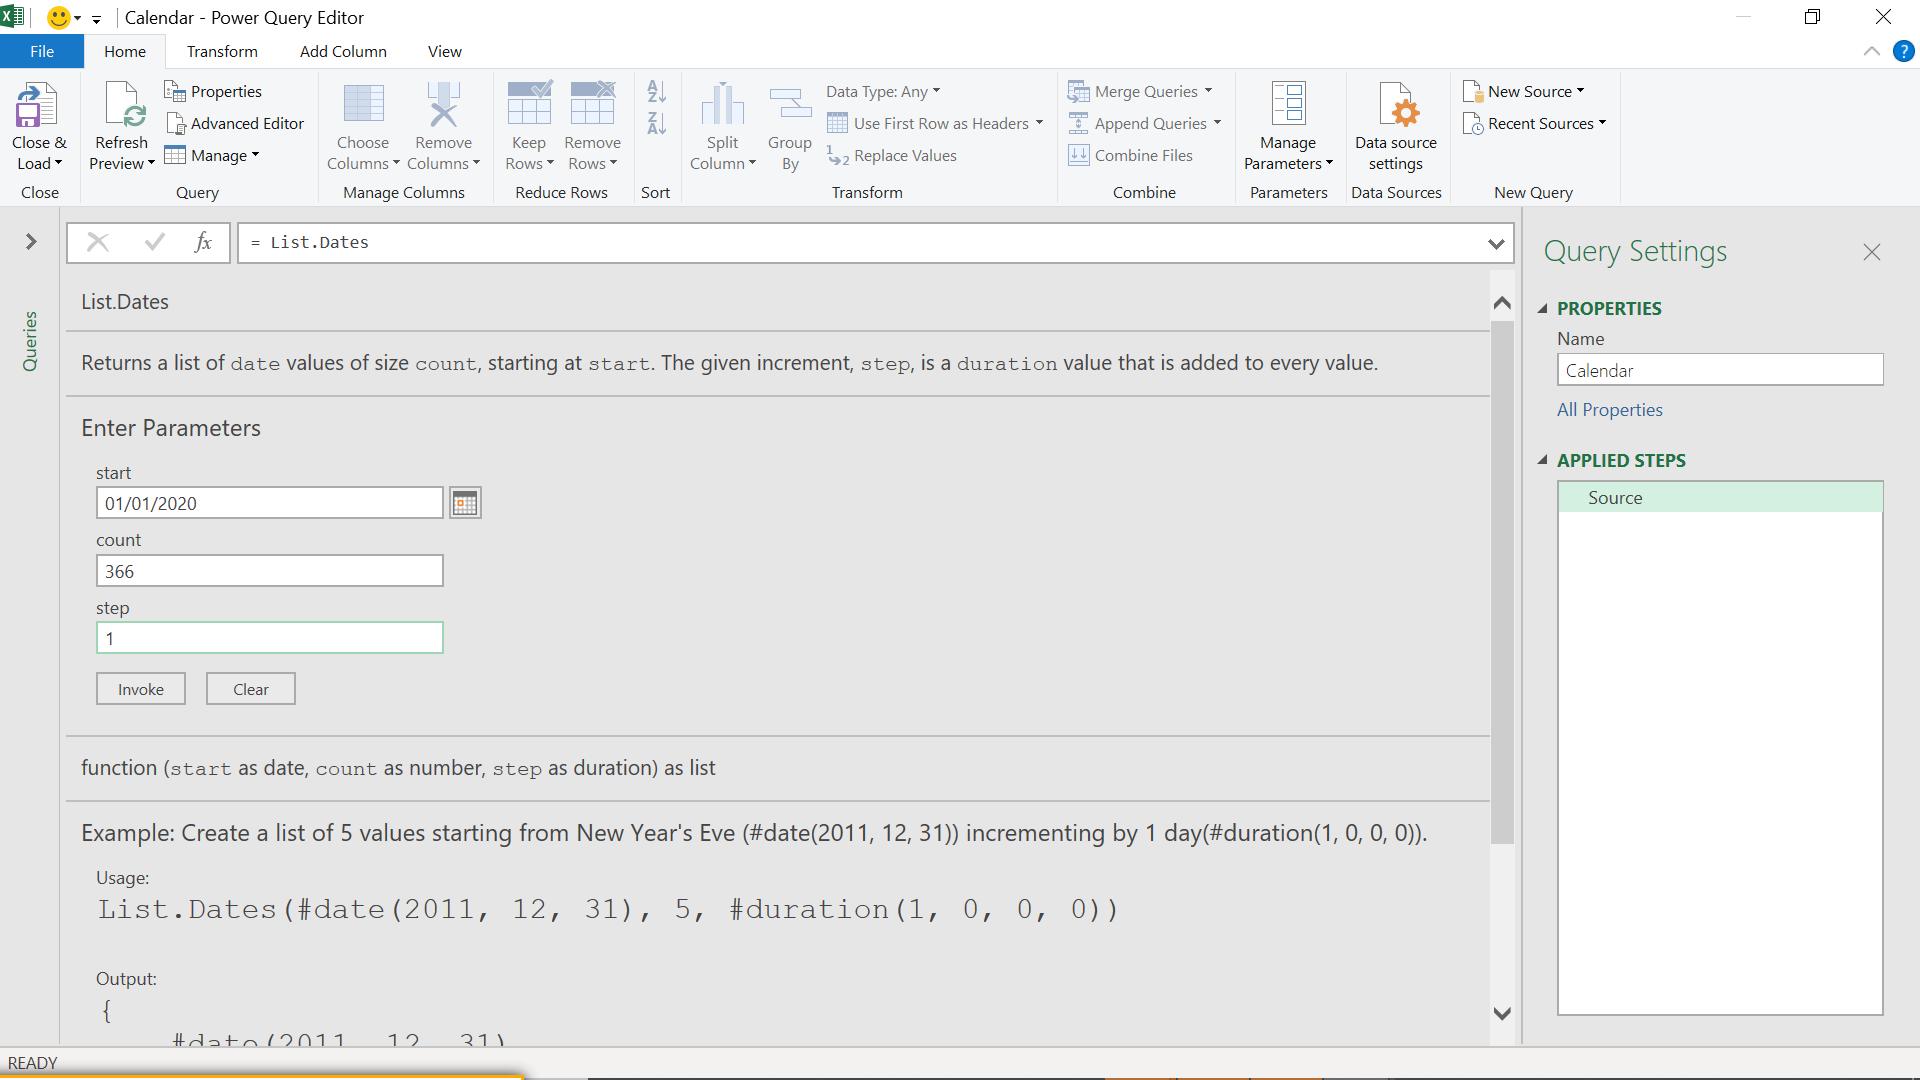
When I choose to invoke, my list of dates is created:
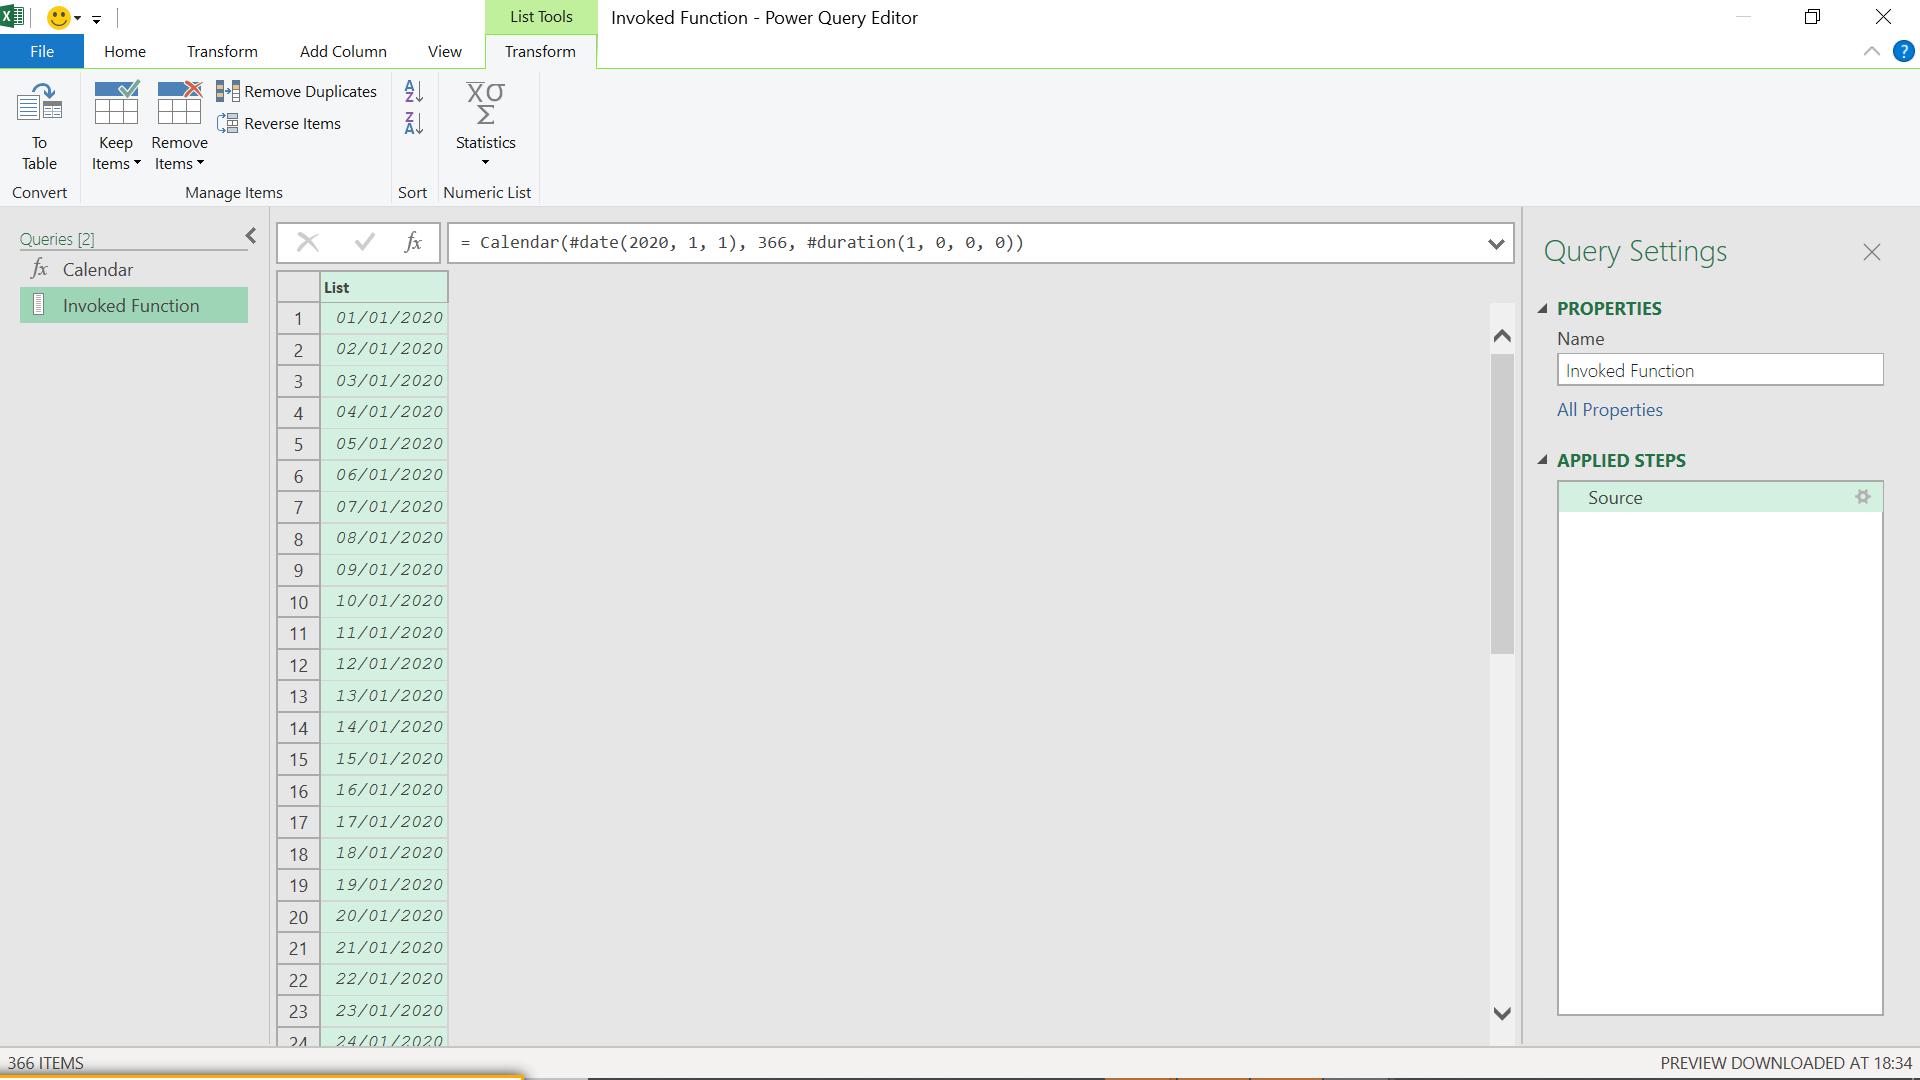
The M code used is:
= Calendar(#date(2020, 1, 1), 366, #duration(1, 0, 0, 0))
Because I invoked a function, I now have two queries, ‘Calendar’ and ‘Invoked Function’. I only want to keep the ‘Calendar’ query, so I copy the M code generated in the source step of ‘Invoked Function’ into my ‘Calendar’ query. I don’t enter Calendar(#date… since that would create circular logic; I need to amend the M code to:
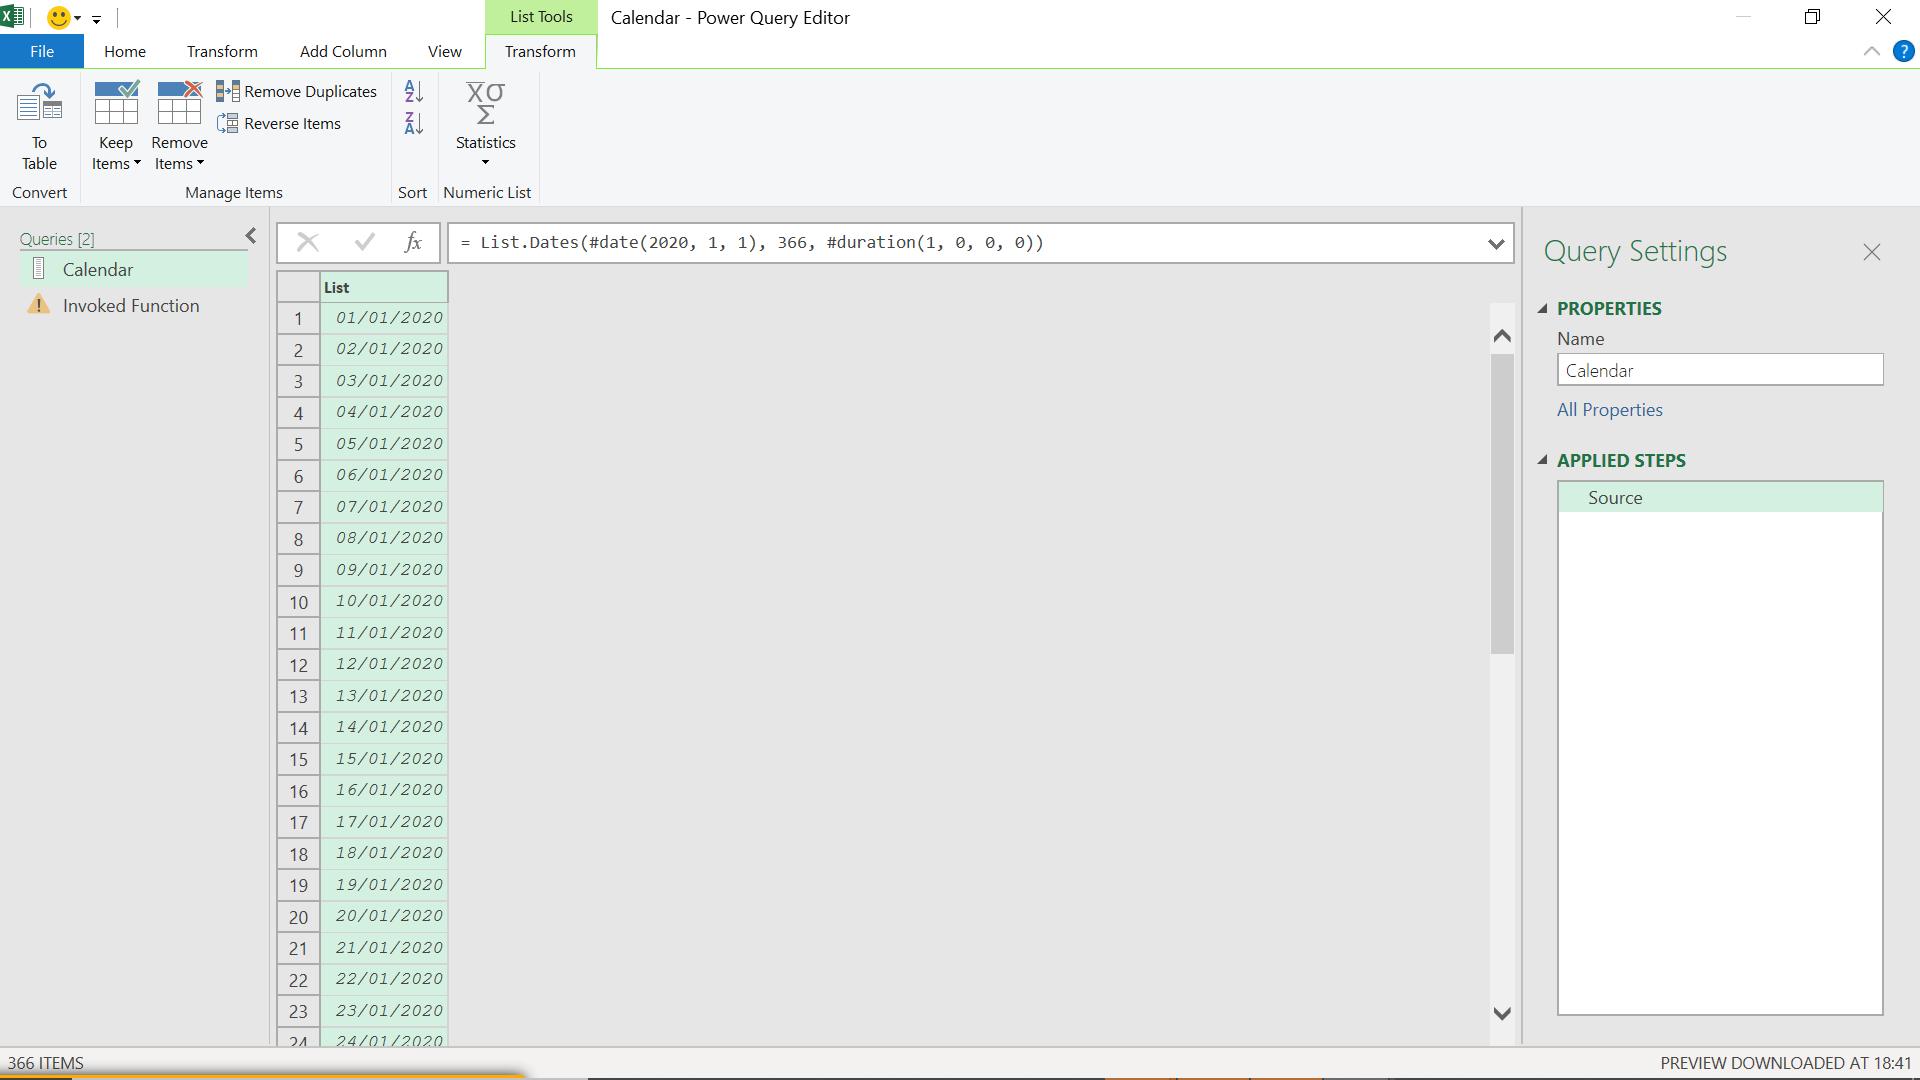
= List.Dates(#date(2020, 1, 1), 366, #duration(1, 0, 0, 0))
When I enter this, my ‘Calendar’ query will change from a function to a list.
I delete the ‘Invoked Function’ query (which I just broke by changing ‘Calendar’). Then, I transform my list to a table:
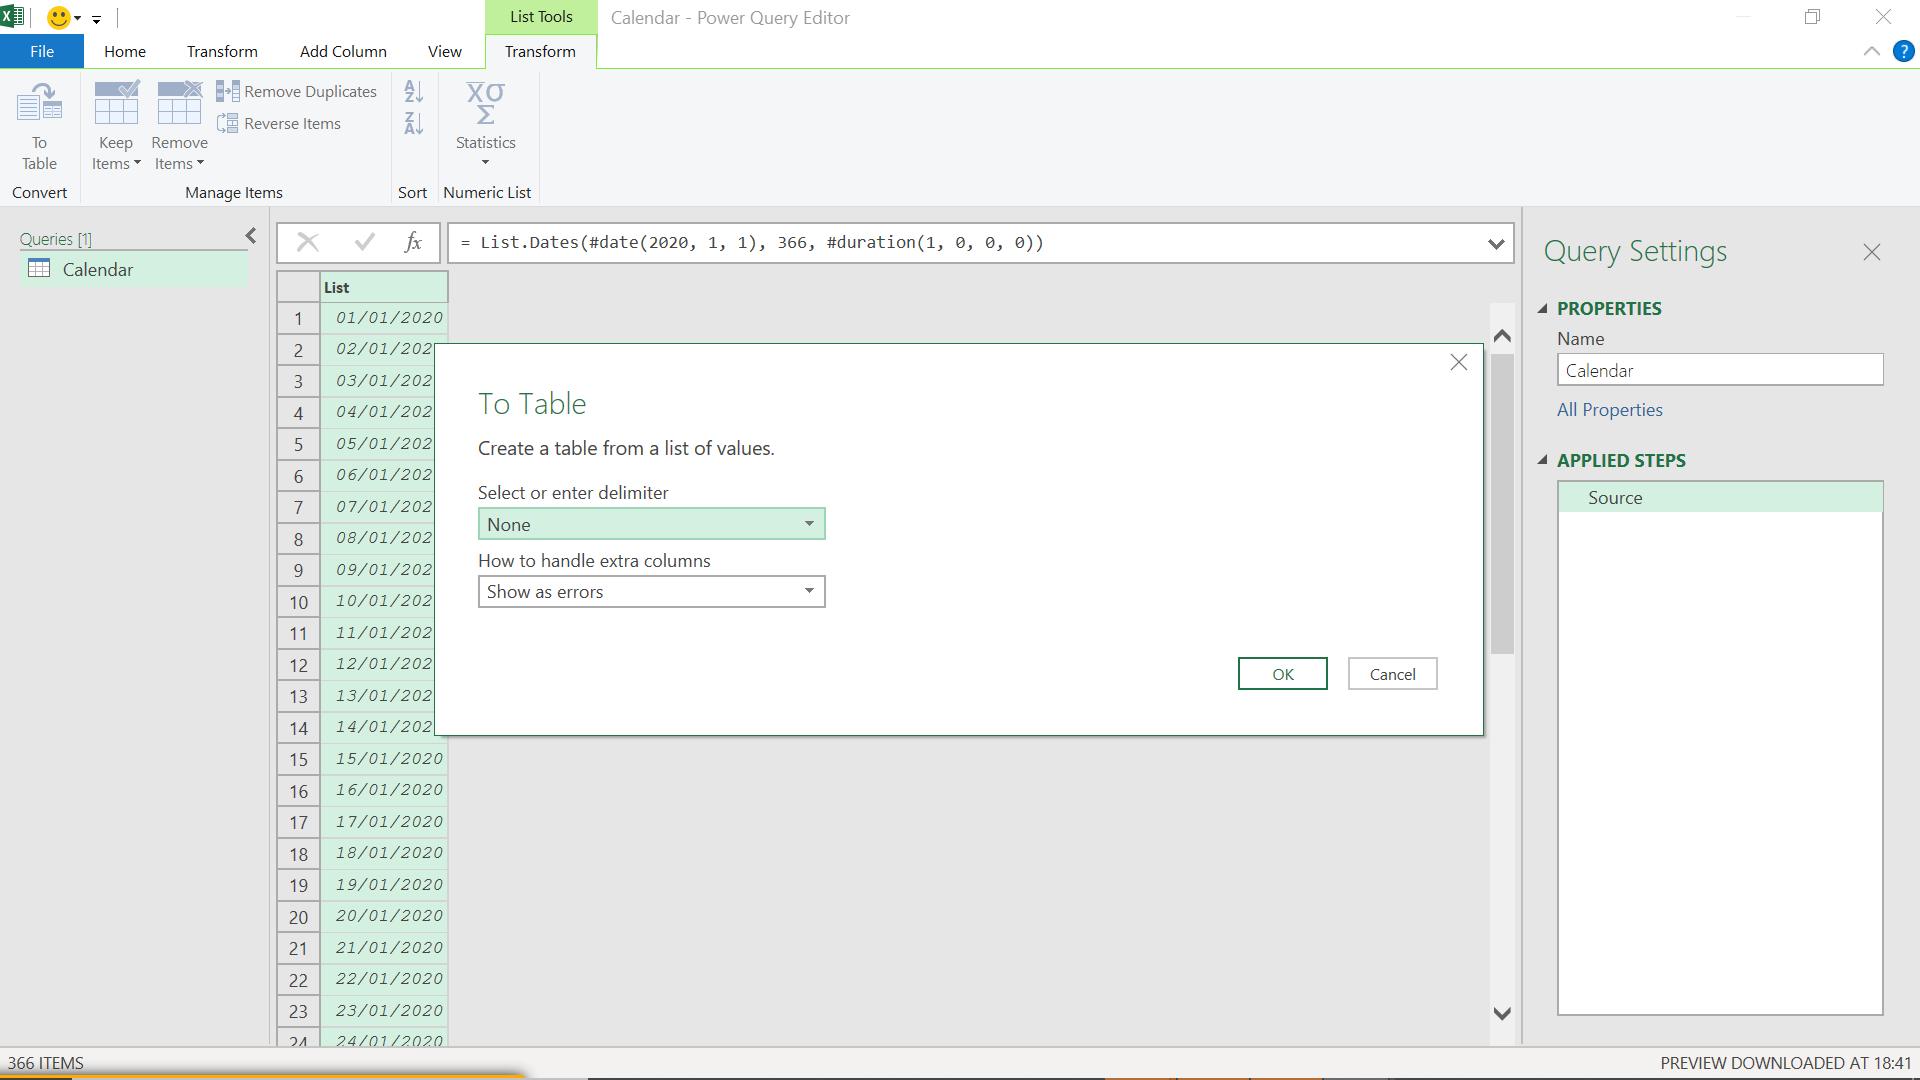
I accept the default options.
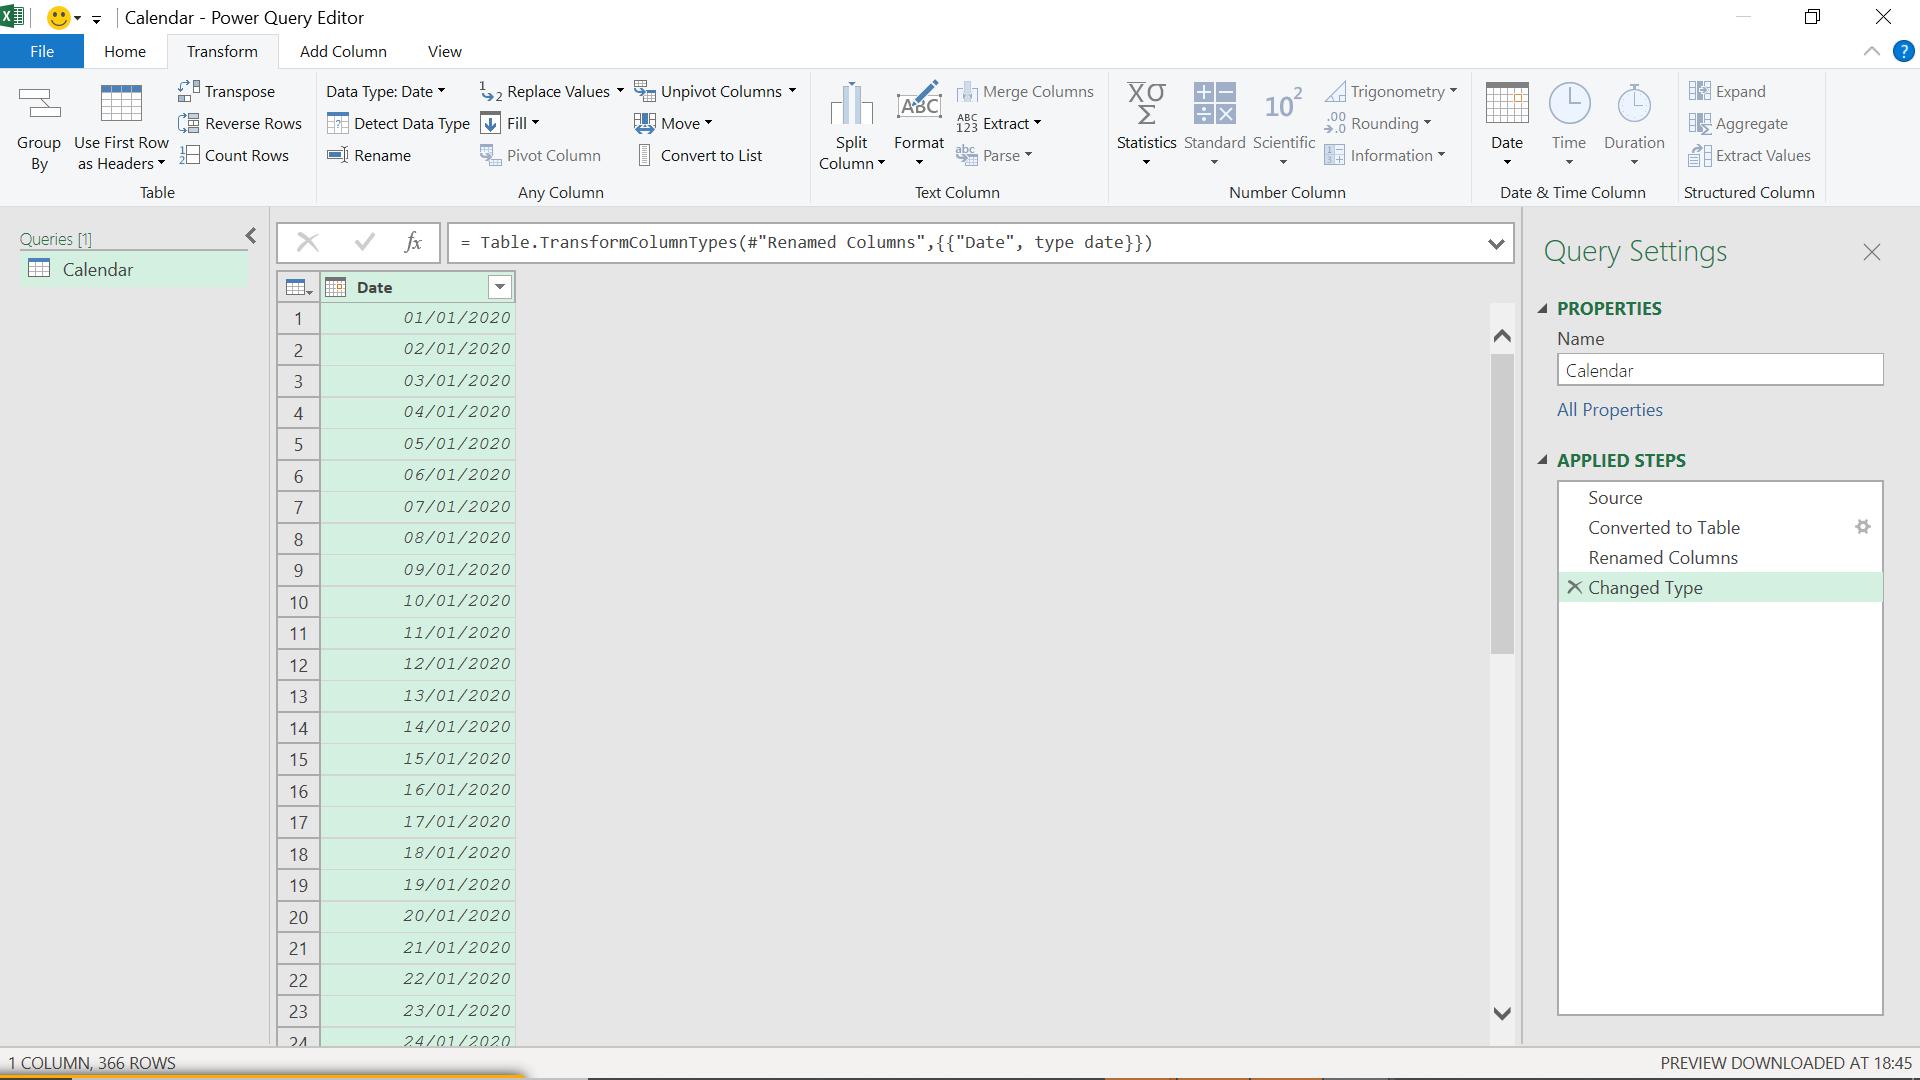
I have also changed the column name to Date and transformed the data type to Date.
I need to make some changes to my source step so that the calendar is more flexible. My source step is currently:
= List.Dates(#date(2020, 1, 1), 366, #duration(1, 0, 0, 0))
The start and end dates are fixed; I want these to be easily changed in my query instead. I can add a step to my code which will contain the start date.
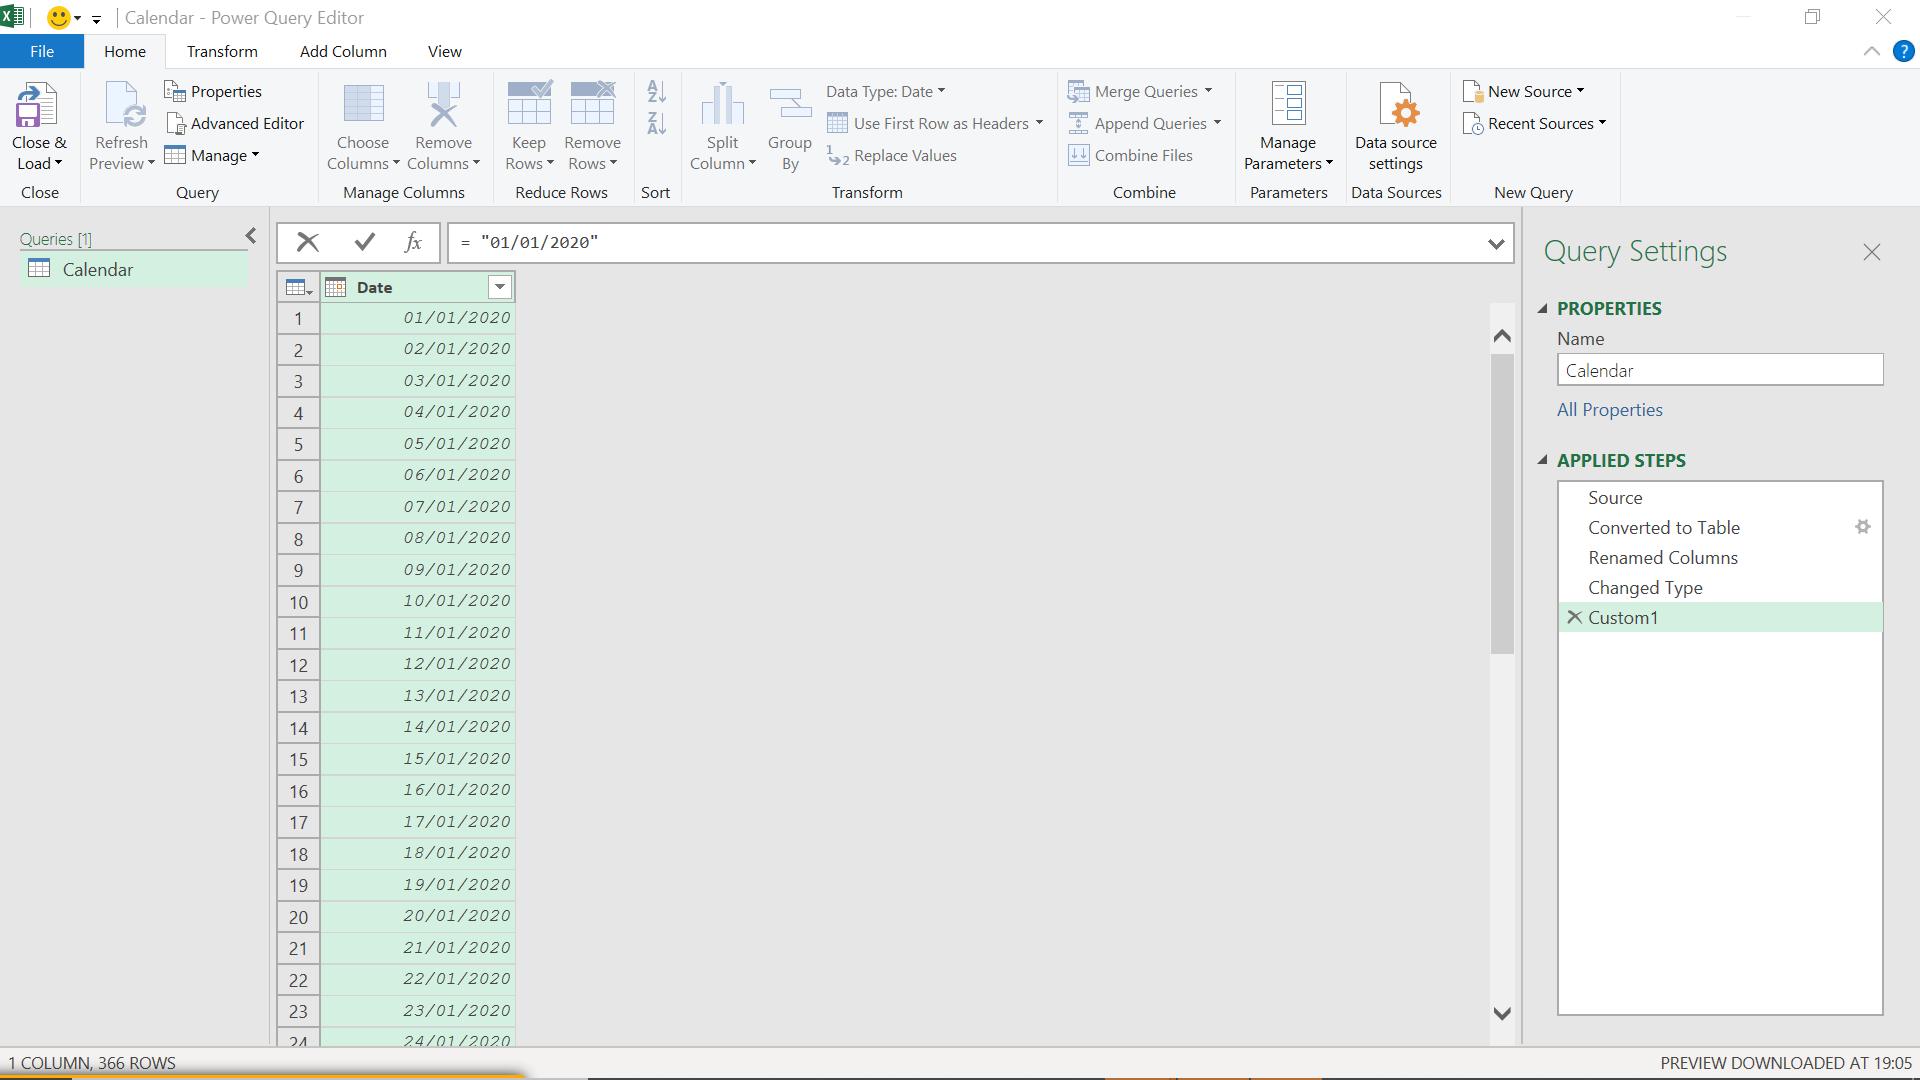
When I enter this, I get the date I have specified.
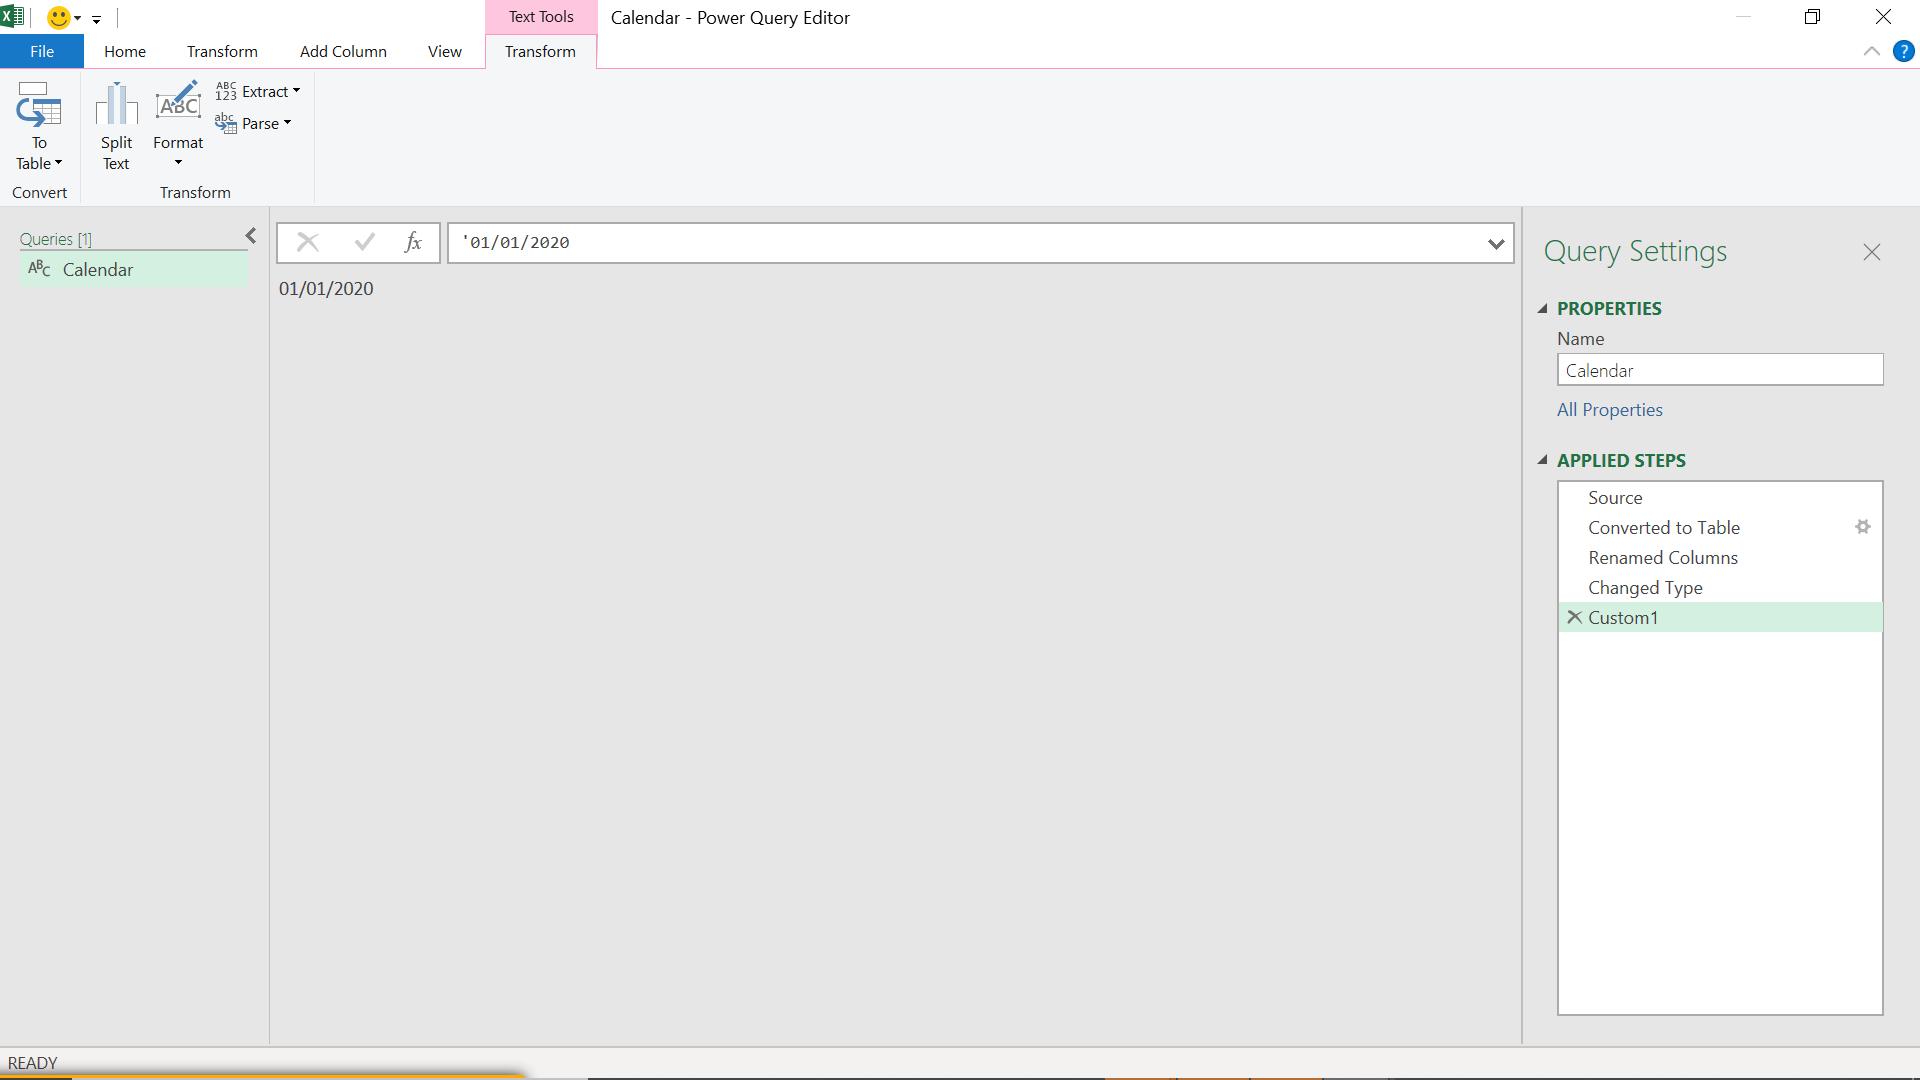
I rename this step ‘StartDate’. I can now reference this step in my Source step.

The M code I am now using for my Source is:
= List.Dates(StartDate, 366, #duration(1, 0, 0, 0)
There is no end date parameter as such, just the number of dates generated. I can choose to always create the calendar ending today, in which case I need to find out now many days until today. I start by finding out today’s date in M.

The M code I have used is,
= DateTime.LocalNow()
which gives me the exact moment. I only need the date, so I can use DateTime.Date() to extract the data I want.
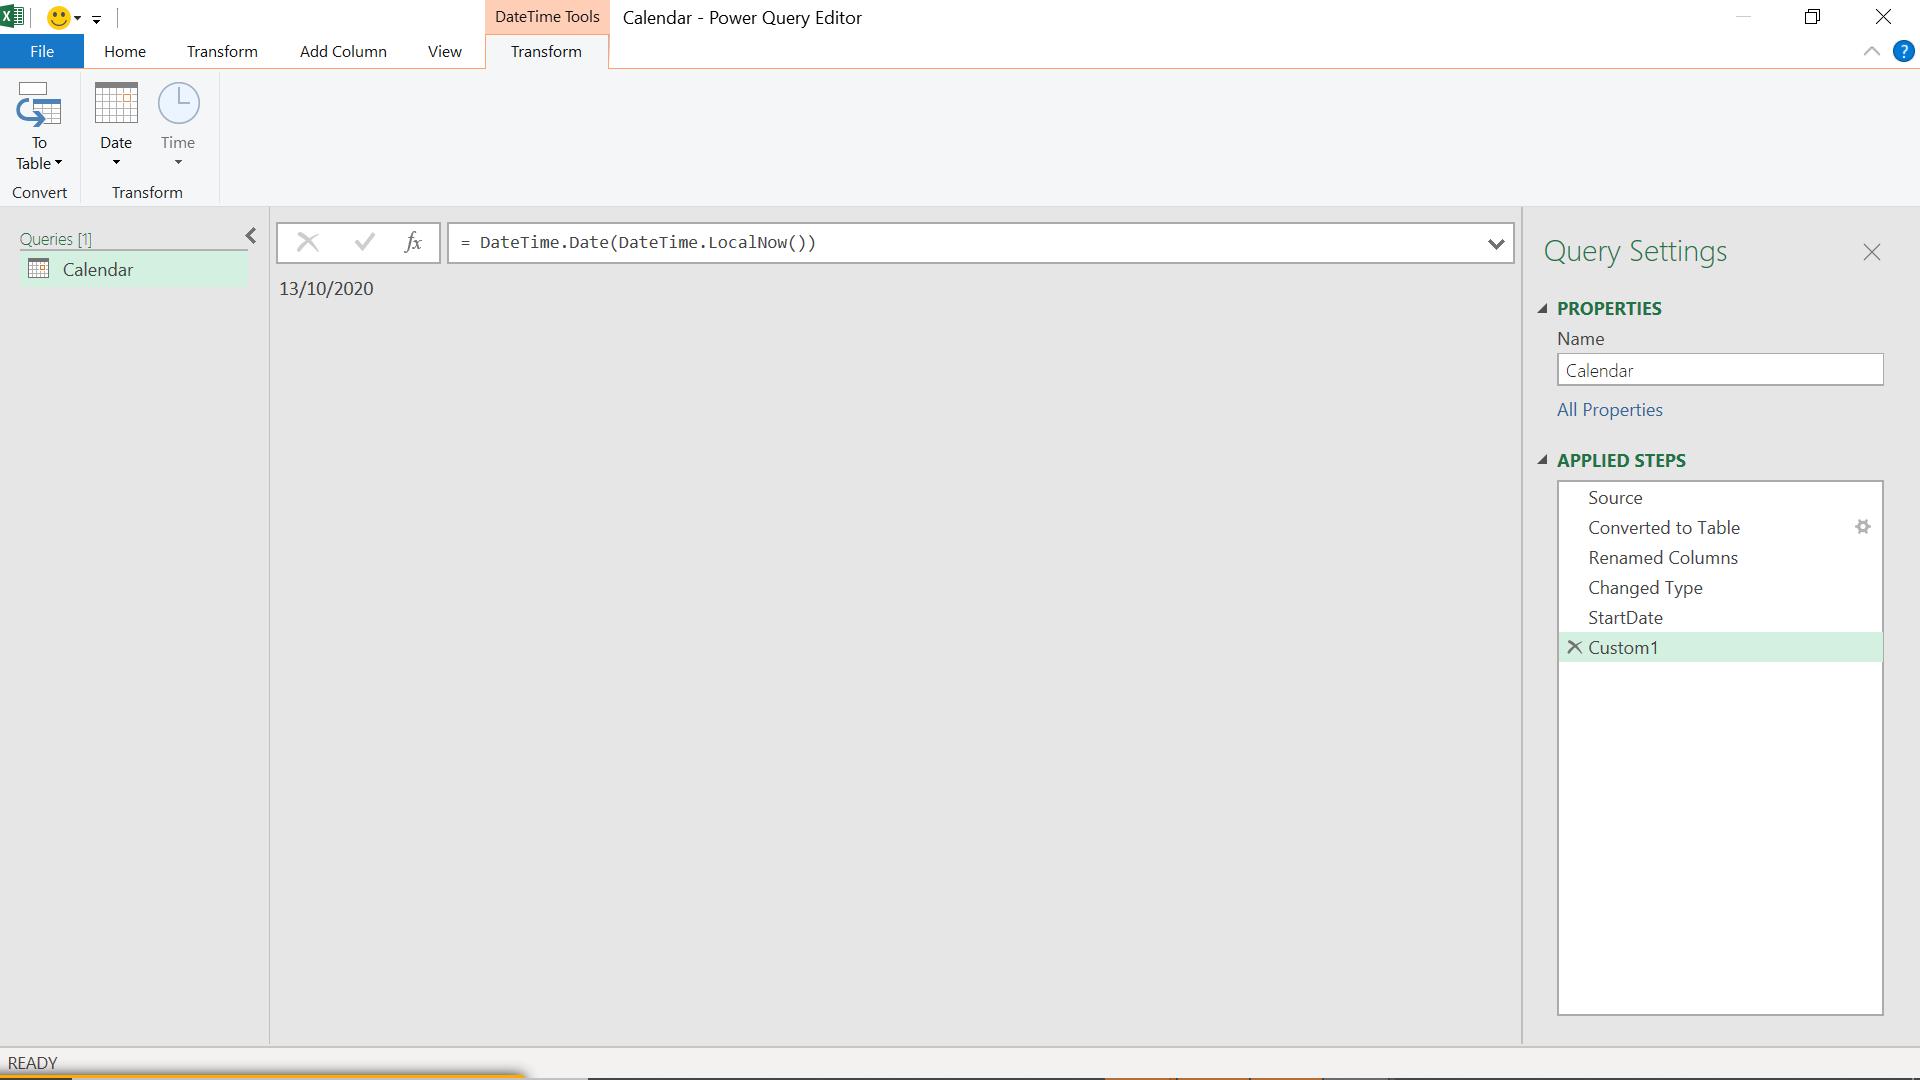
The M code I have used is:
= DateTime.Date(DateTime.LocalNow())
I rename this step ‘Today’ and add a step to calculate the interval between today and my start date.
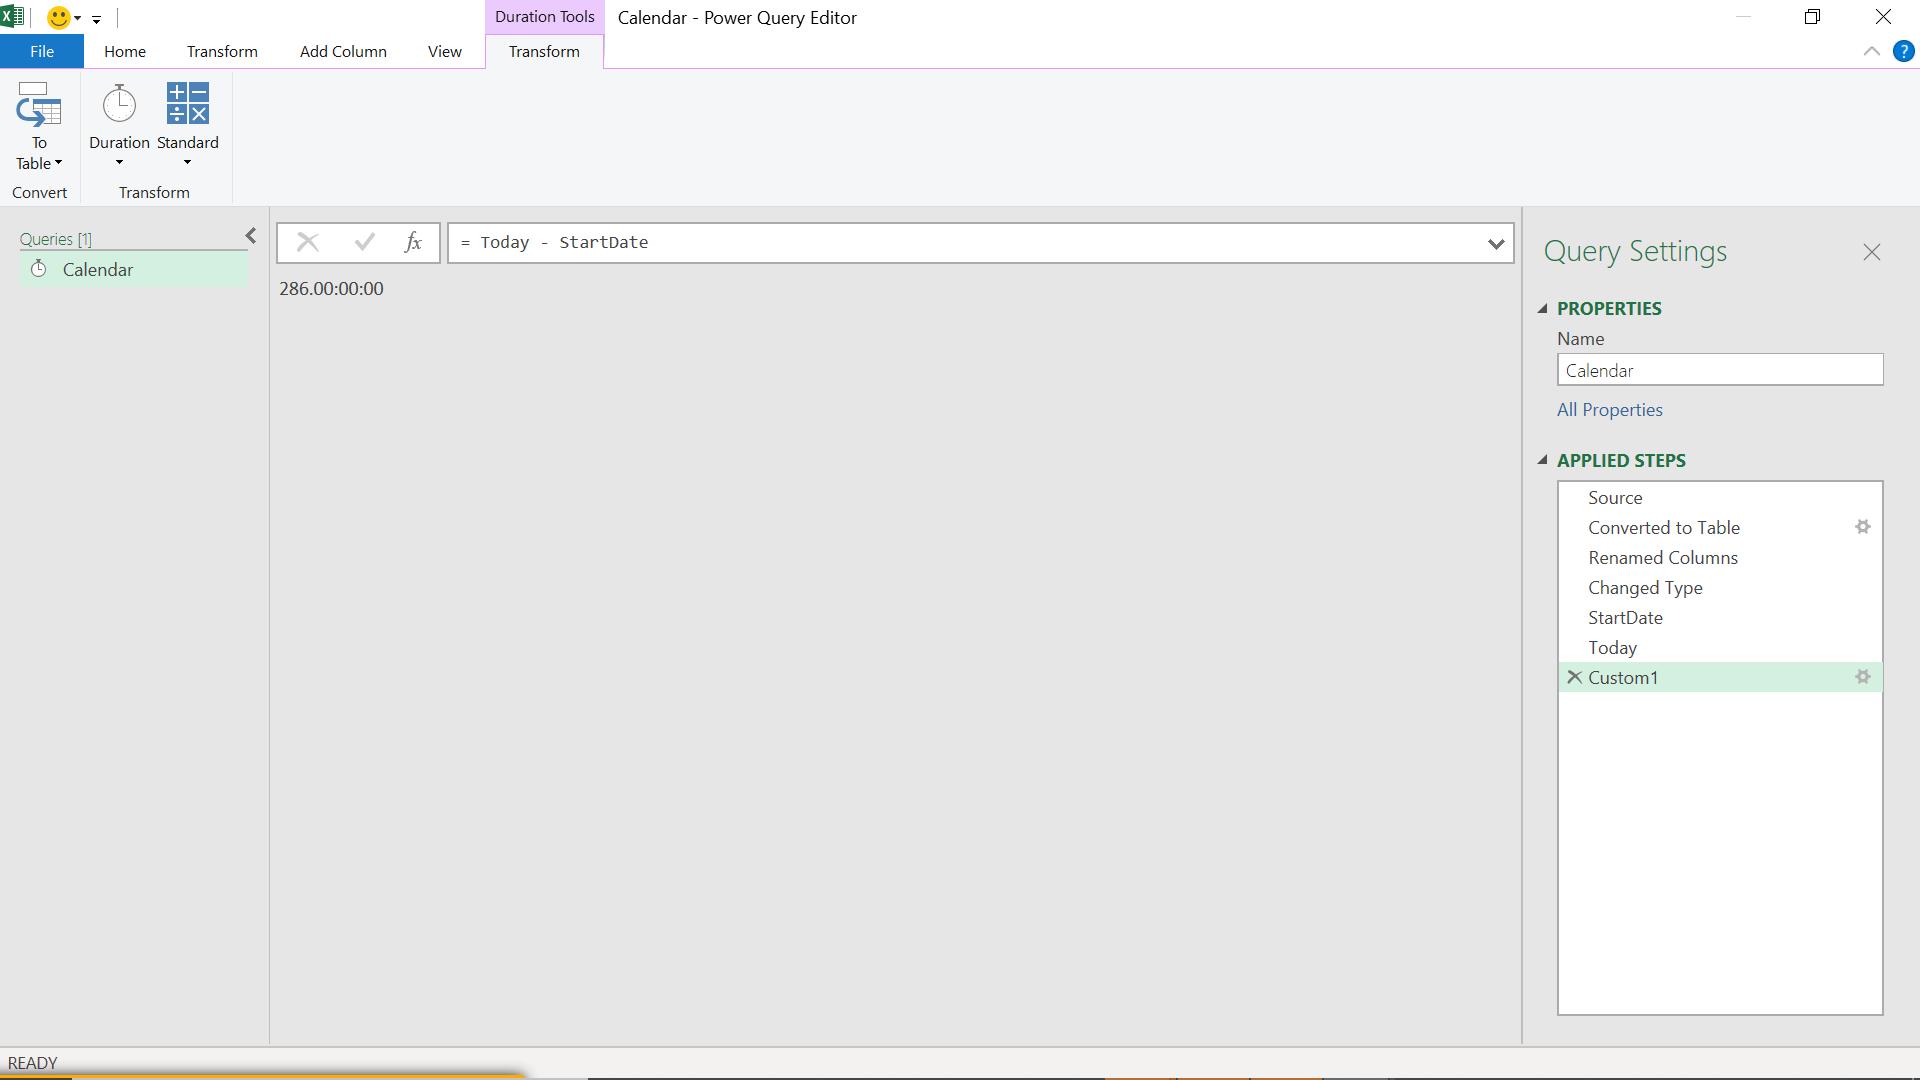
I have too much information again, so I need to use Duration.Days() to get the section I want.
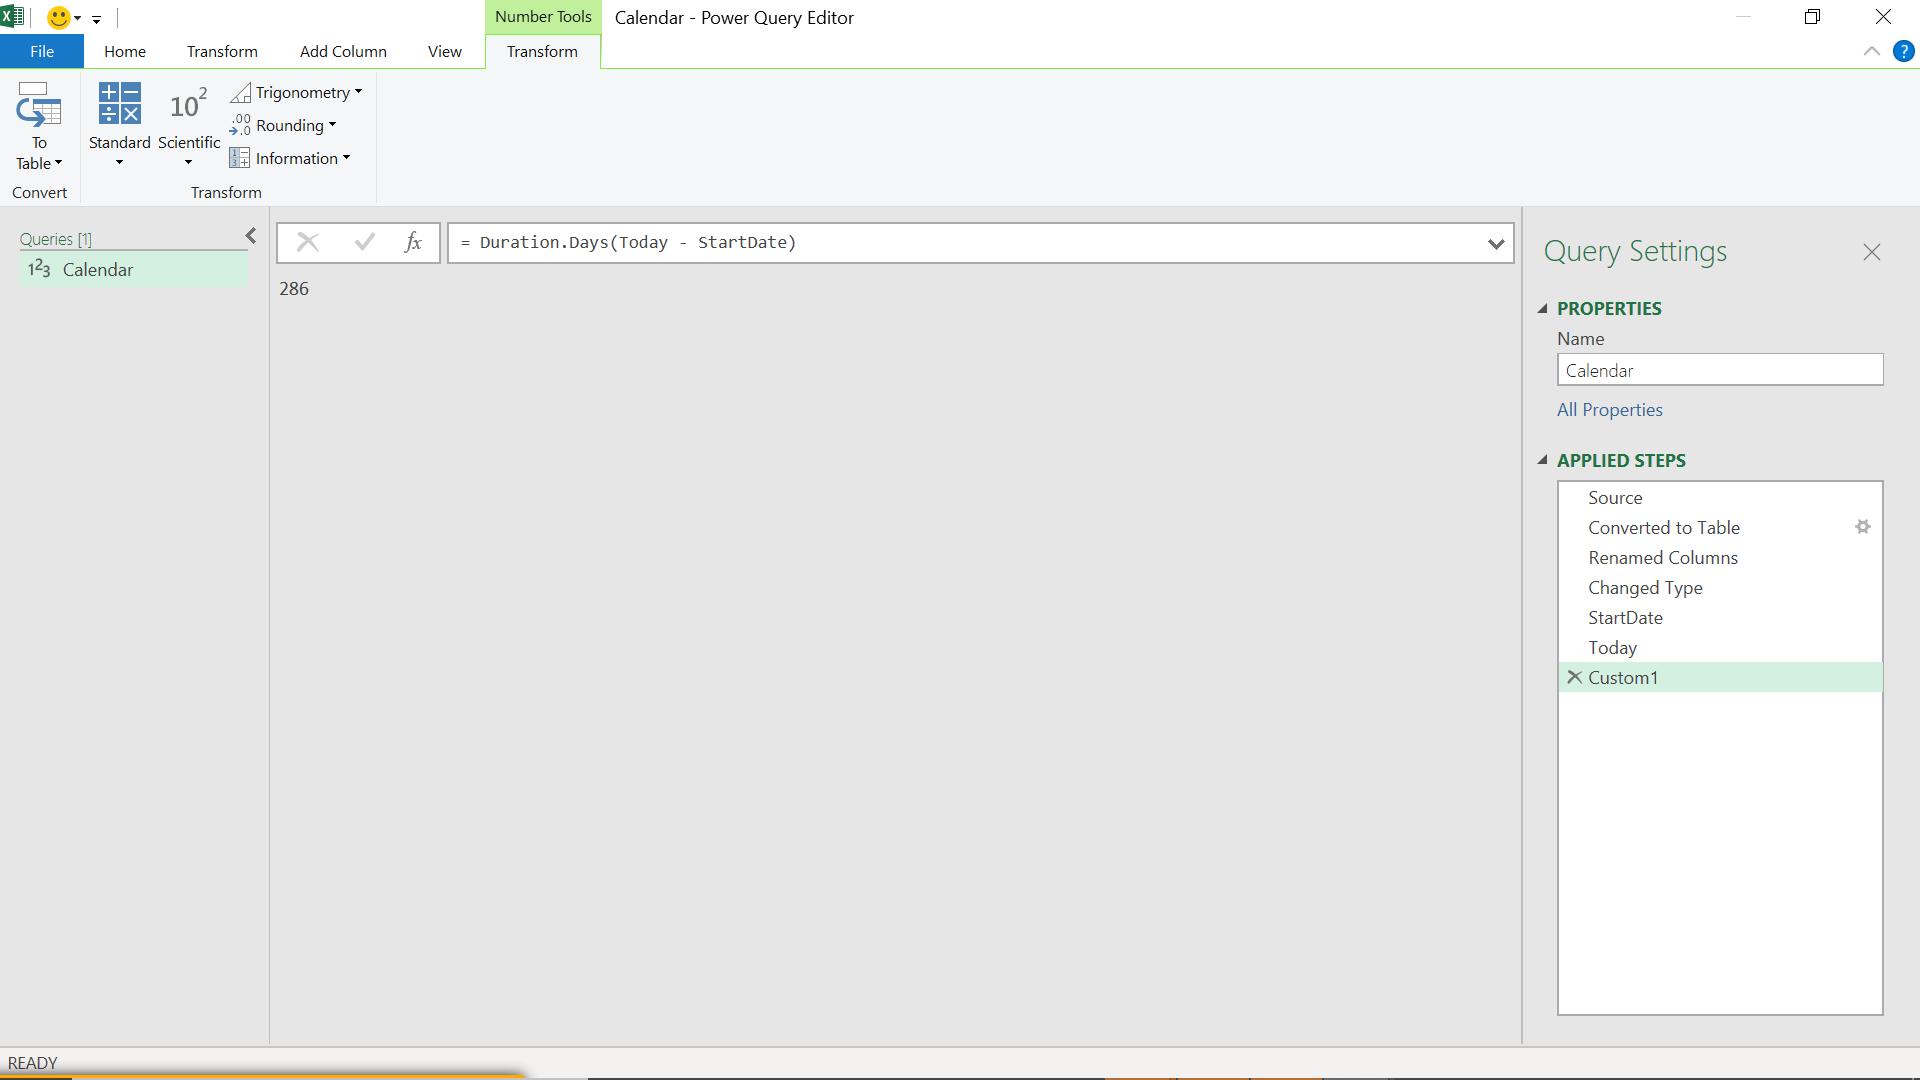
The M code I have used is:
= Duration.Days(Today - StartDate)
I can rename my step Calendar_Length. I need to change the Source step to use Calendar_Length.
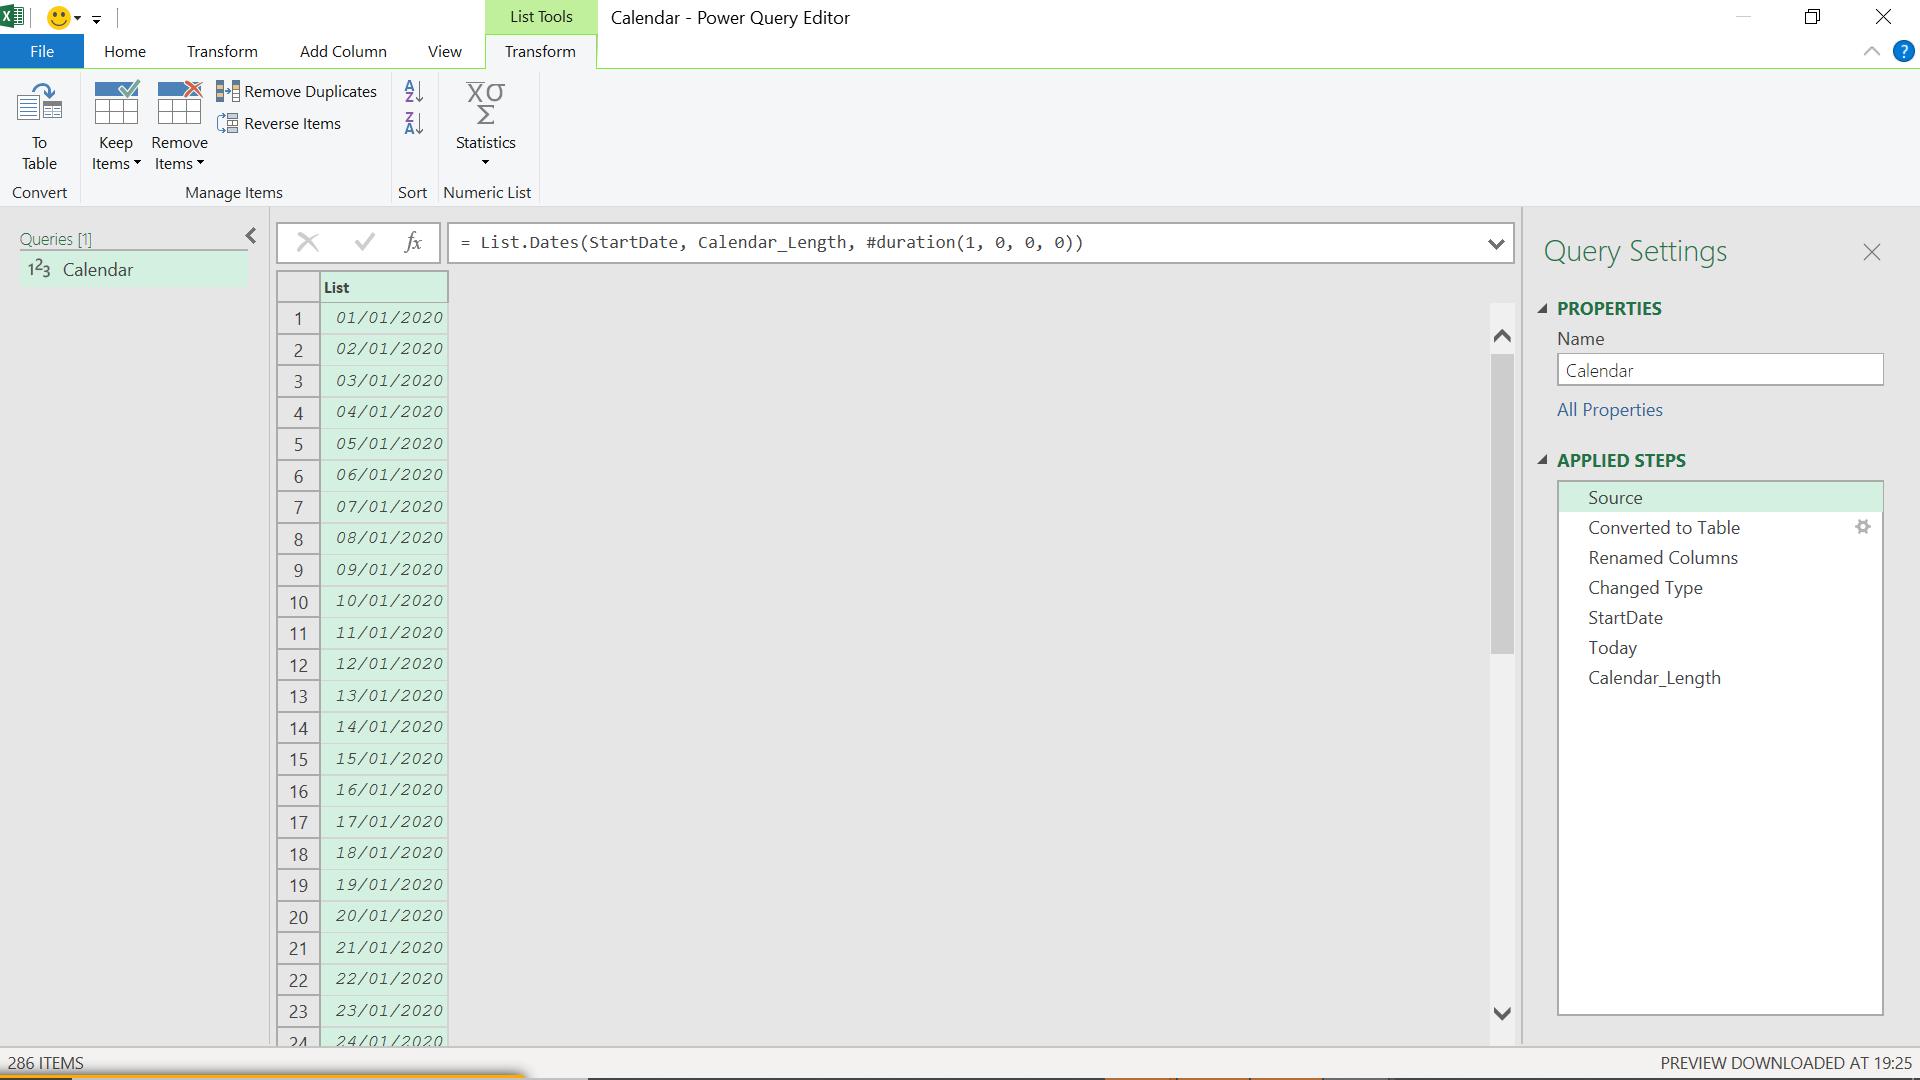
The M code is now:
= List.Dates(StartDate, Calendar_Length, #duration(1, 0, 0, 0))
I have the basis for my calendar, and I can easily identify and change the start date. Next time, I’ll expand the calendar to make it more useful. I’ll also point out the deliberate mistake in the Calendar_Length.
Come back next time for more ways to use Power Query!