
Power BI Blog: Power BI Report Builder – Part 7 (Built-in Fields)
23 April 2020
Welcome back to this week’s edition of the Power BI blog series. This week, we take a look at how to enhance your printed report.
Last week, we looked at creating a dynamic filter for our report so that we could filter different field values within our data. This week, we will look at polishing our report before printing it out.
For example, looking at our report, there are a few things missing:
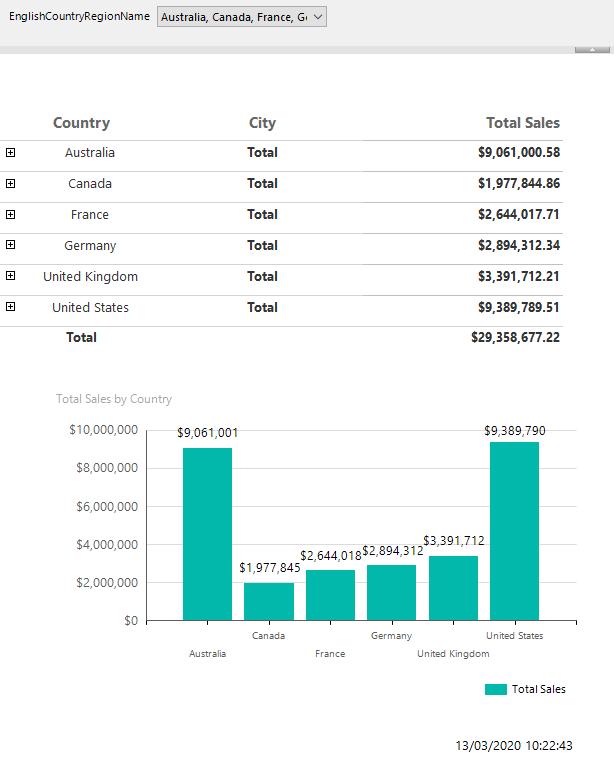
Where is our title, page number, and possibly other footnotes that we wish to include?
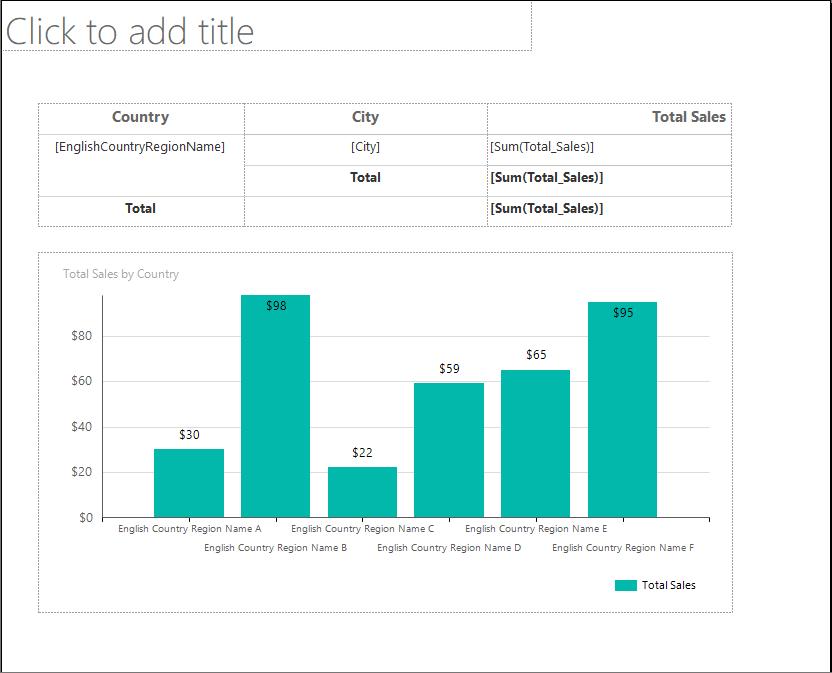
First things first, let’s add a title. To add a title, we double click on the ‘Click to add title’ header:
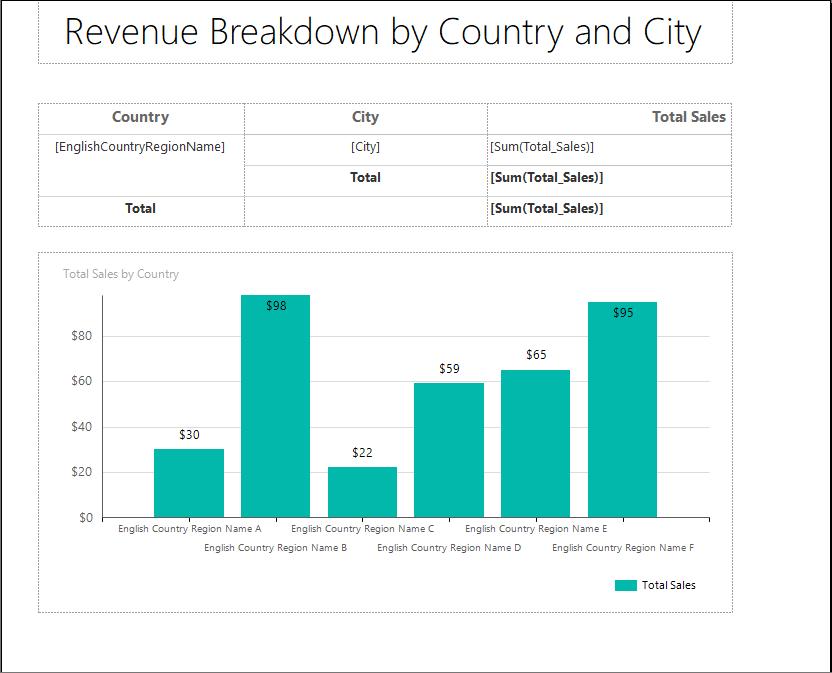
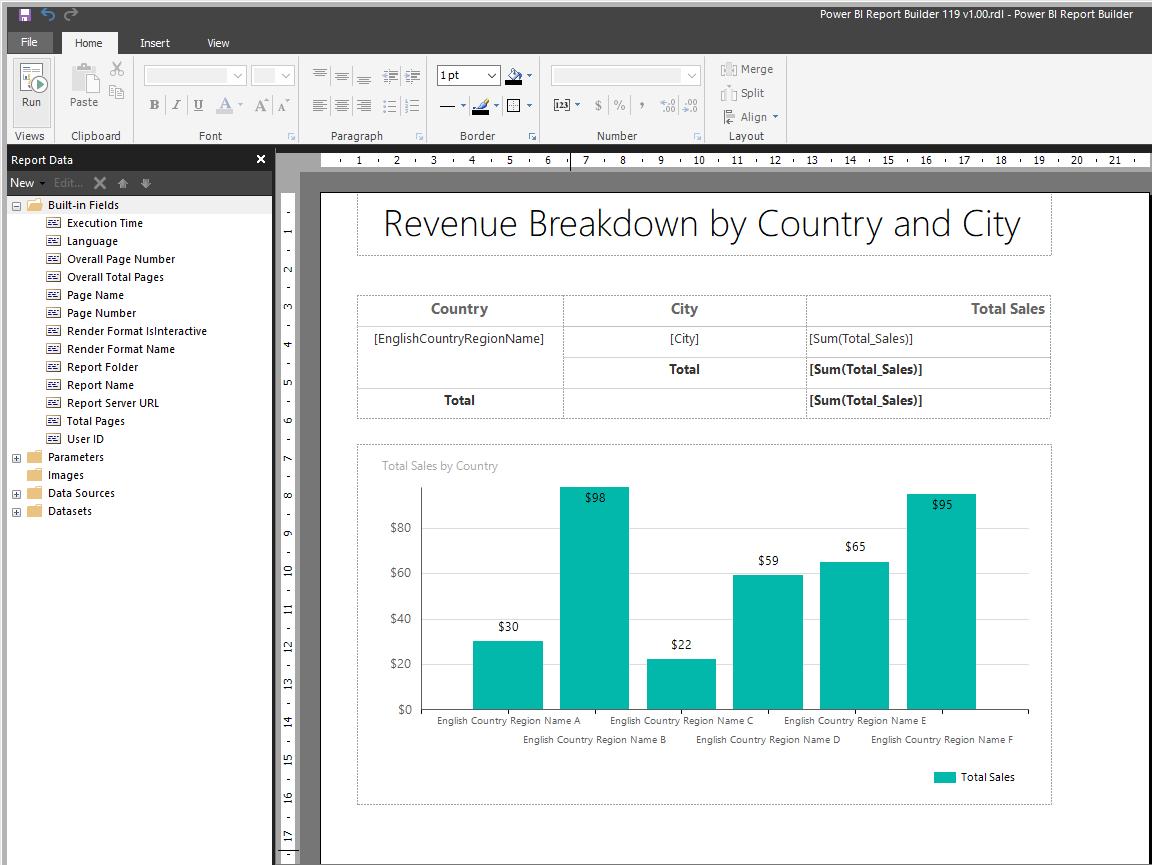
I have given the report a title of ‘Revenue Breakdown by Country and City’. Zero points for being original, but 10 out of 10 for clarity.
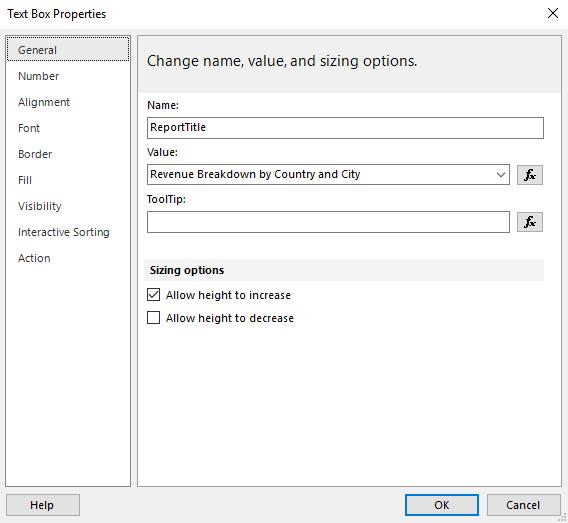
We can right click on the textbox to reveal further customisable properties:
What about page numbers? If we look at the left-hand side of the Power BI Report Builder window, we can see the ‘Report Data’ side panel. Here, we may expand the ‘Built-in Fields’ option, revealing a whole set of page elements that we can drag into the report.
For this example, I am going to add the ‘User ID’ and ‘Page Number’ fields into my report. To do this I have to first insert a text box, then drag the fields into this text box.
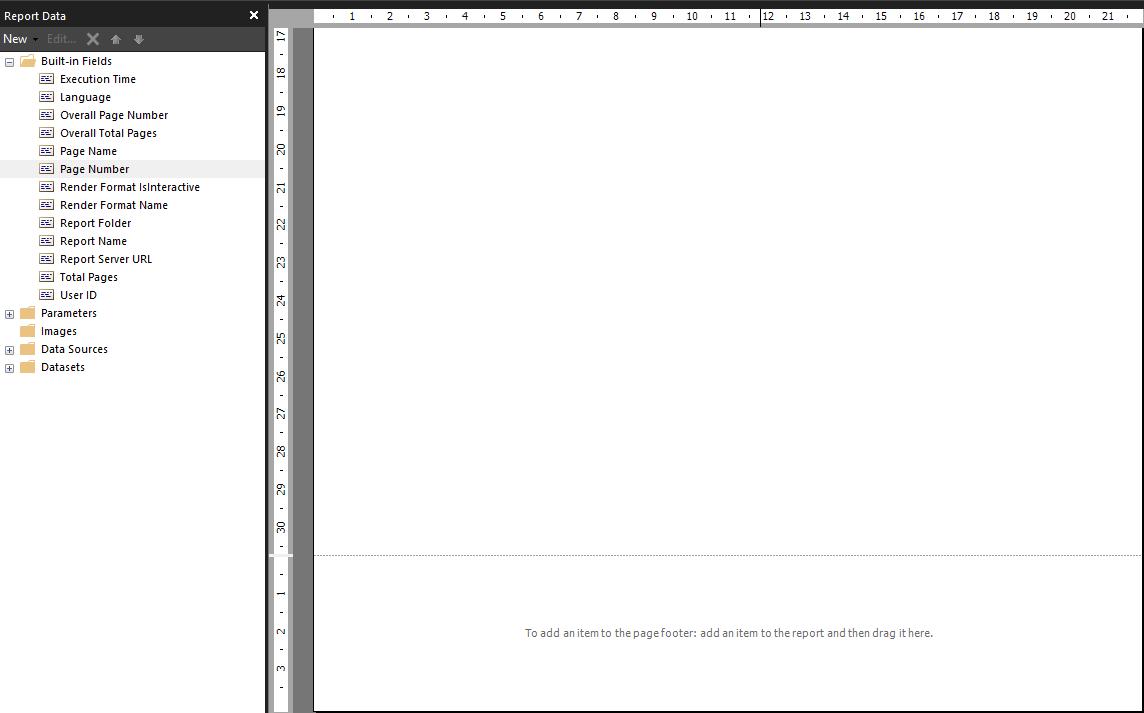

Adding the page number this way will ensure that the page number will automatically be counted for each subsequent page.
Running the report will yield this result:
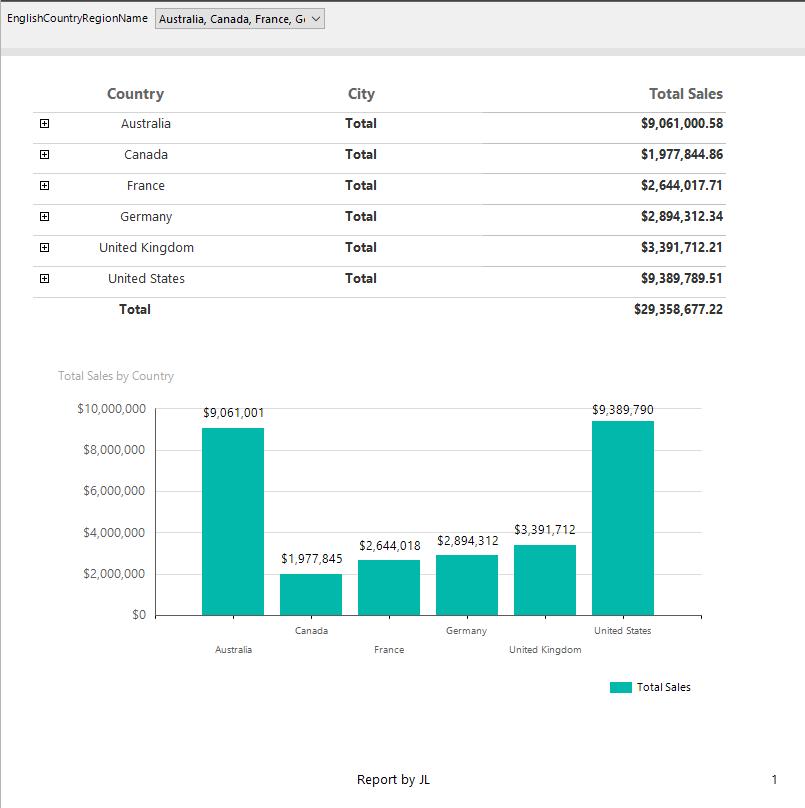
But where is our title? Let’s check the print layout to see if it appears there:
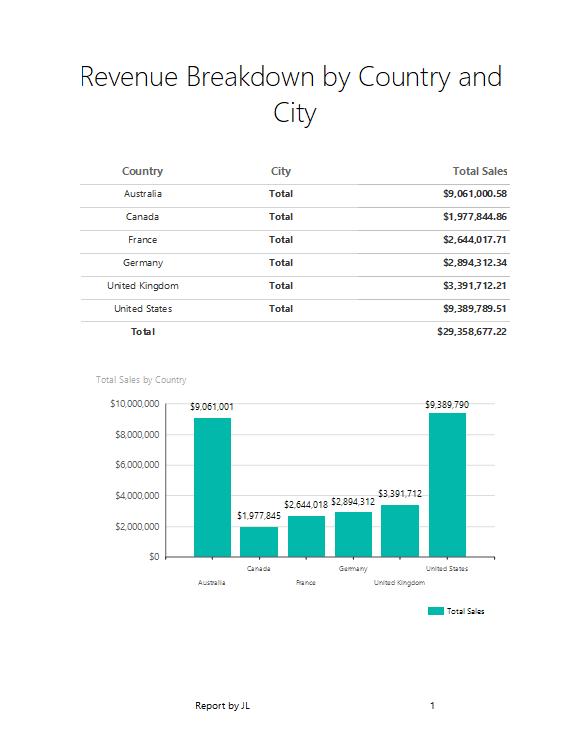
Always check the ‘Print Layout’!
That’s it for this week. Come back next week for more on the Power BI.
In the meantime, please remember we offer training in Power BI which you can find out more about here. If you wish to catch up on past articles, you can find all of our past Power BI blogs here.