
Power BI Blog: Power BI Dataflows – Part 2
11 May 2023
Welcome back to this week’s edition of the Power BI blog series. This week, we look at how we may use Power BI dataflows.
In Power BI Desktop, we use Power Query to extract, transform and load the data needed for our reports. In Power BI Service, dataflows allow us to manage group of tables in a similar way to Power Query, but dataflows run on the cloud using Power Query Online.
Last time, we looked at how to create a dataflow.
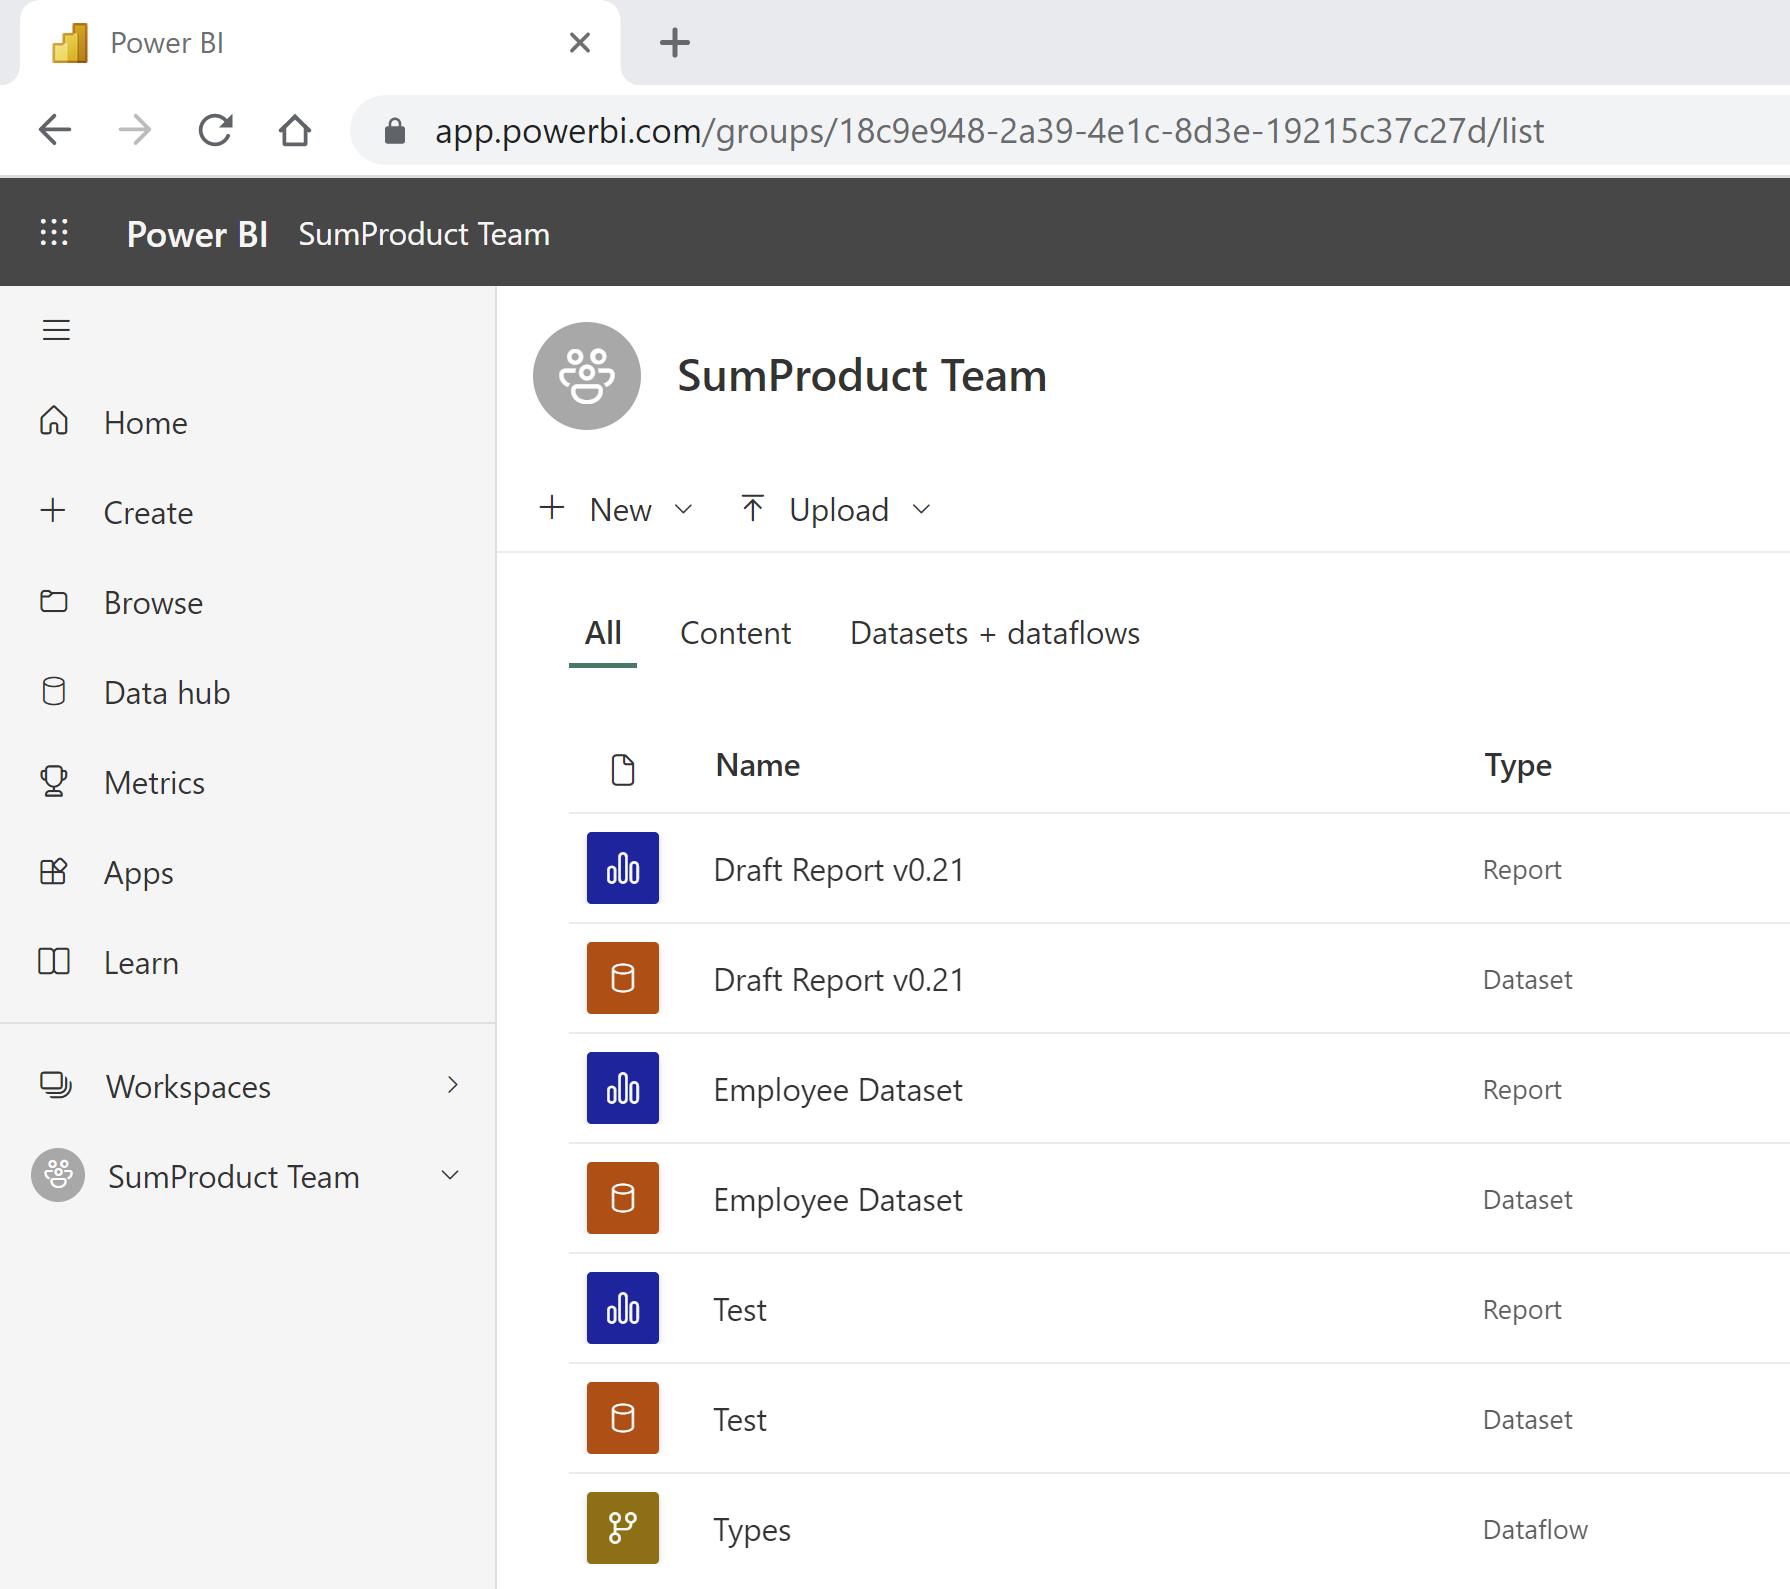
We saved the Types dataflow in our workspace:
This week, we will look at how to use the dataflow we have created, and how to create a new dataflow from it.
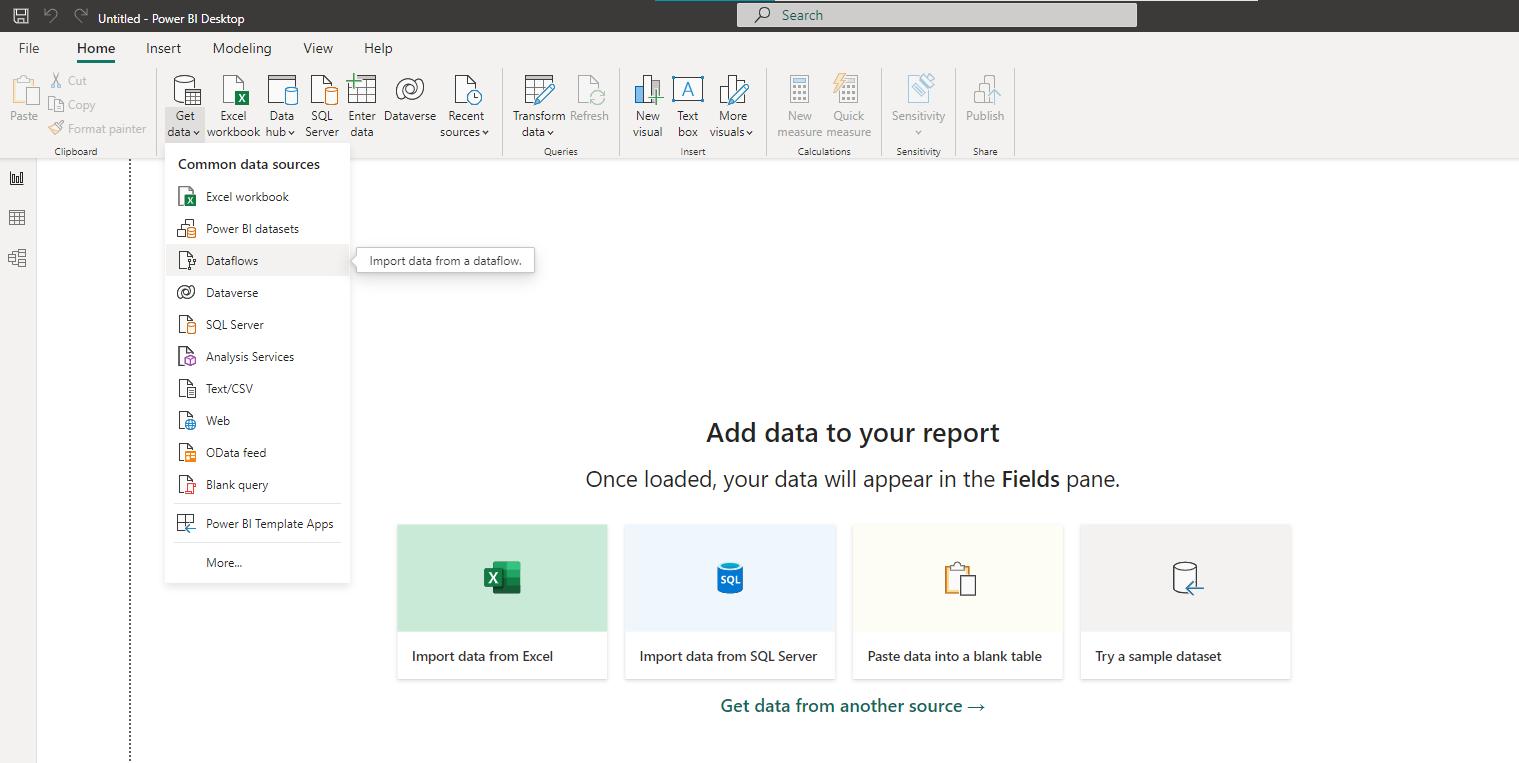
We can use the dataflow in reports and dashboards. In the Home tab of Power BI Desktop, we can click on ‘Get Data’ to see the dropdown. We select Dataflows:
We locate the dataflow we created last week, and we can choose to Load or ‘Transform Data’. Since we have already transformed our data in Power Query Online, we can simply Load, and start working with our data.

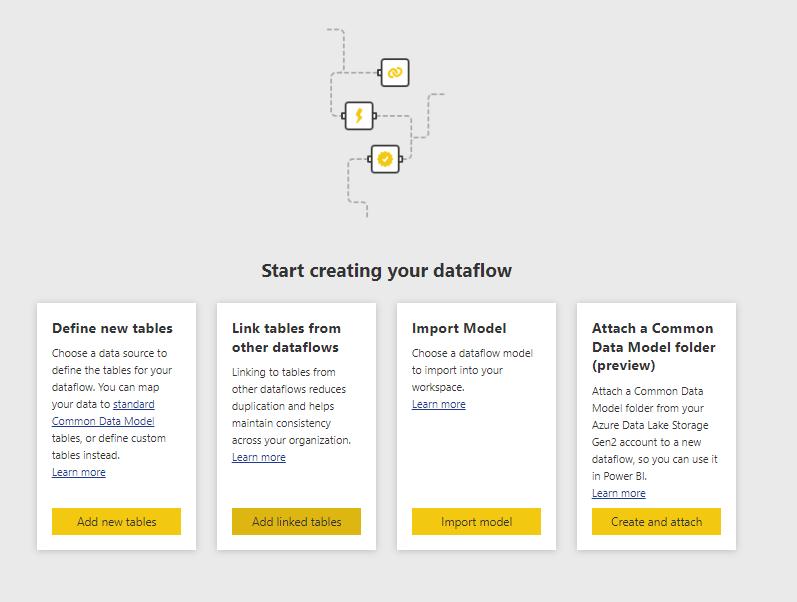
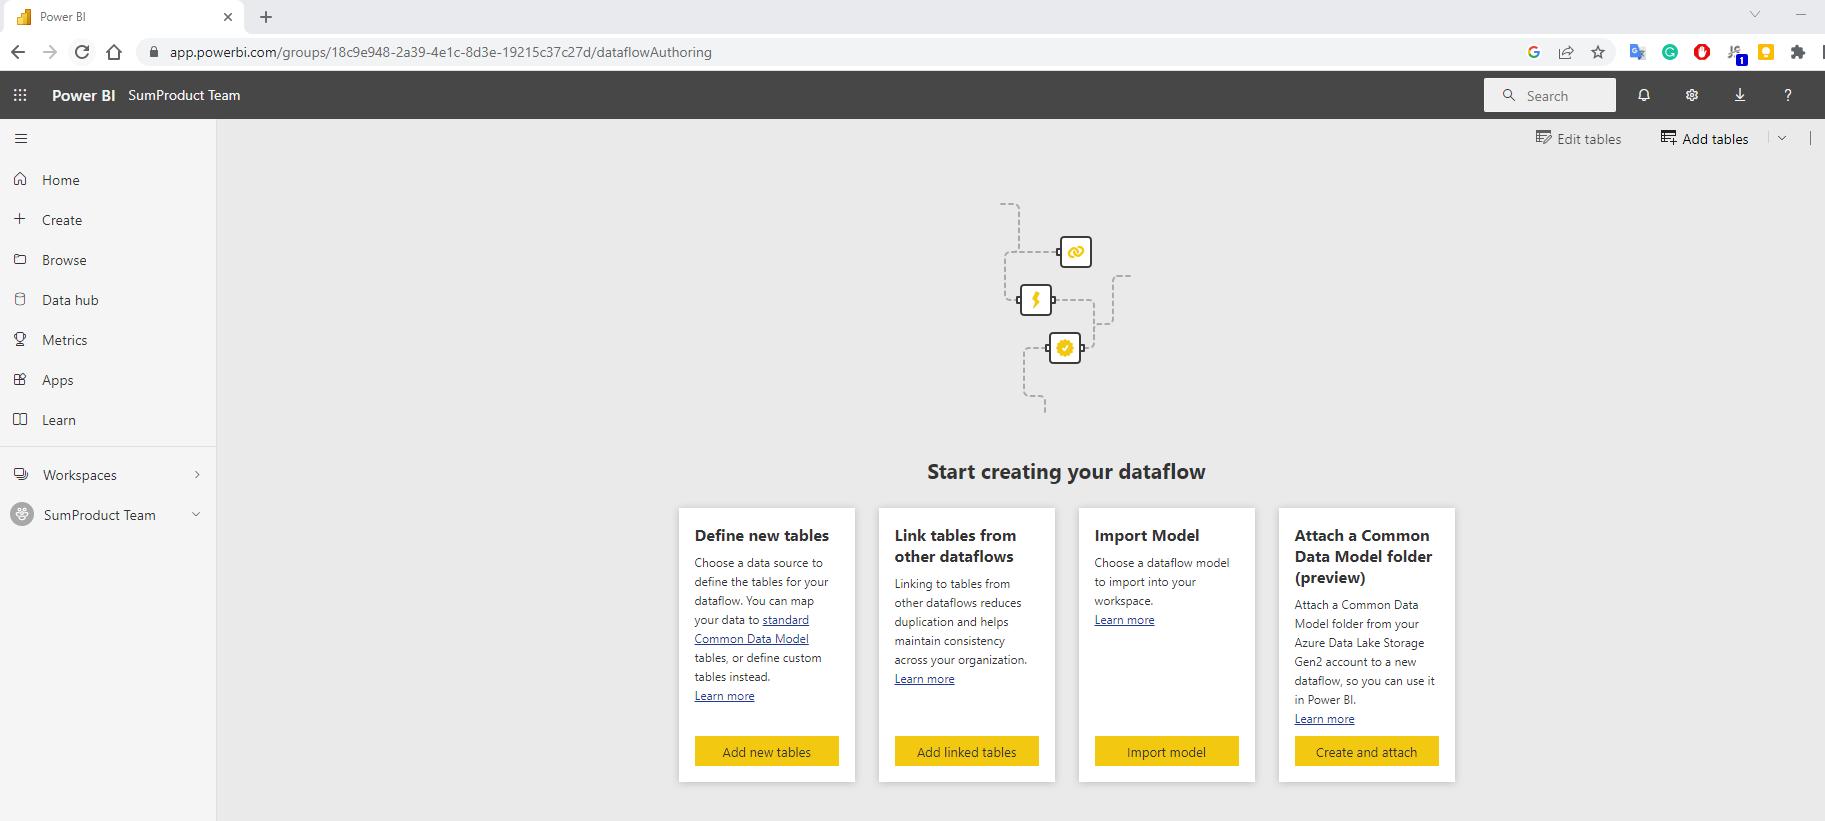
We will explore the other methods of creating a dataflow that we looked at briefly last week, by using our existing dataflow: ‘Types’. Linking tables from other dataflows in Power BI Service allows us to consolidate data from multiple data sources into one dataflow which can then be shared across workspaces and teams. In addition to the advantages of using a dataflow discussed previously, the linked dataflows can be refreshed automatically, ensuring that reports and dashboards always have the latest data. You should note that a Premium licence is required to refresh linked tables, and that the linked tables are read-only.
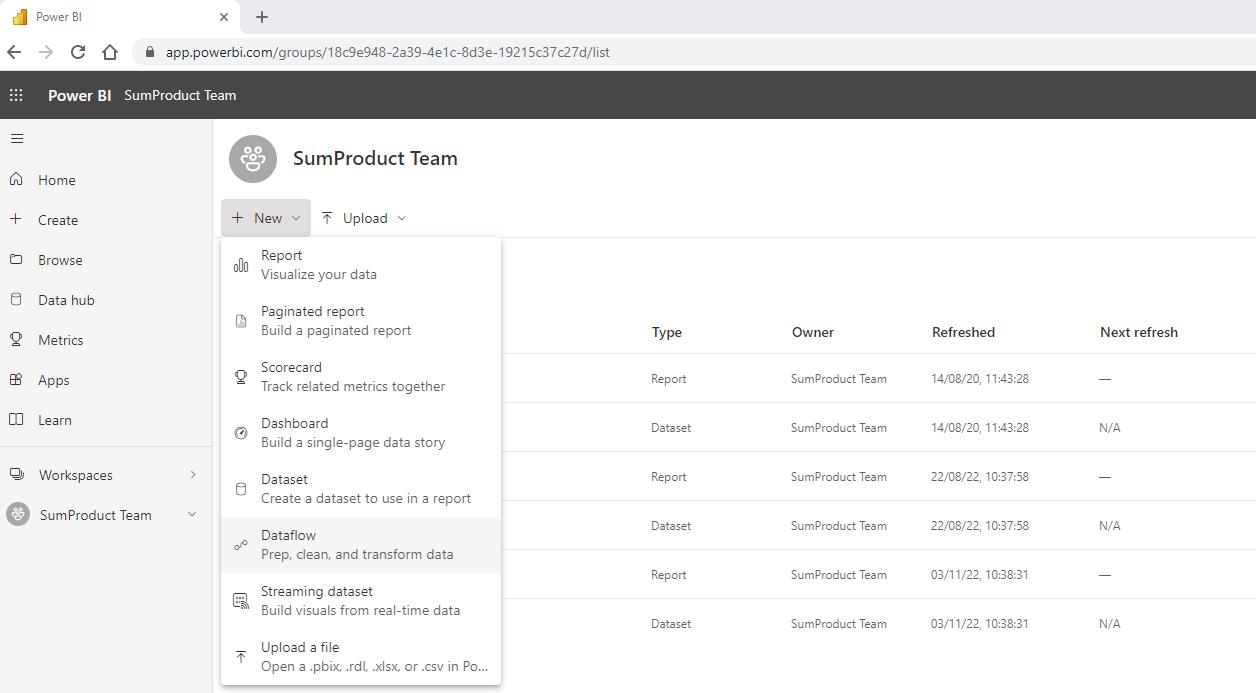
To create a dataflow in this way, we click on the ‘+ New’ button on the workspace and select Dataflow.
This time, we select the second option ‘Link tables from other dataflows’.
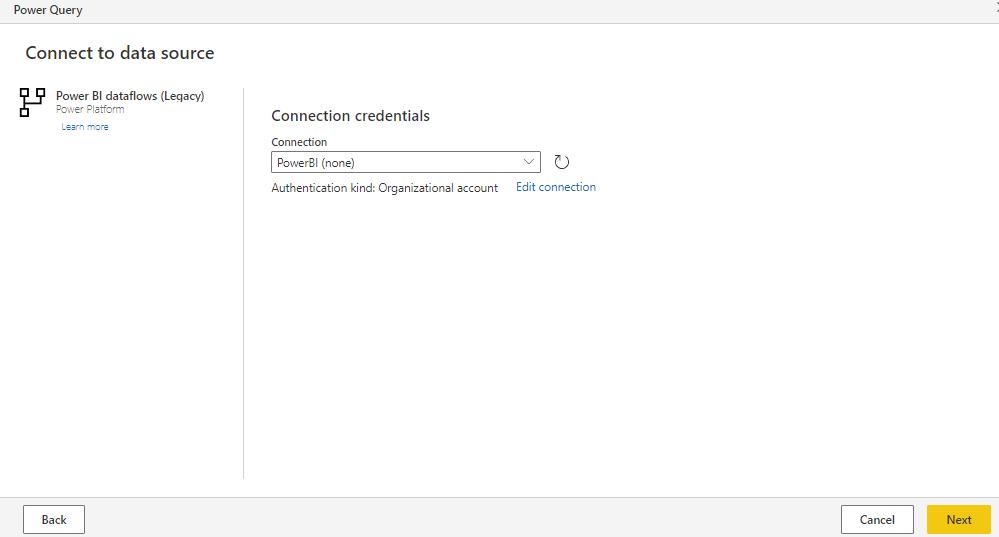
We are prompted for our ‘Connection credentials’, which we enter, and then we click Next.
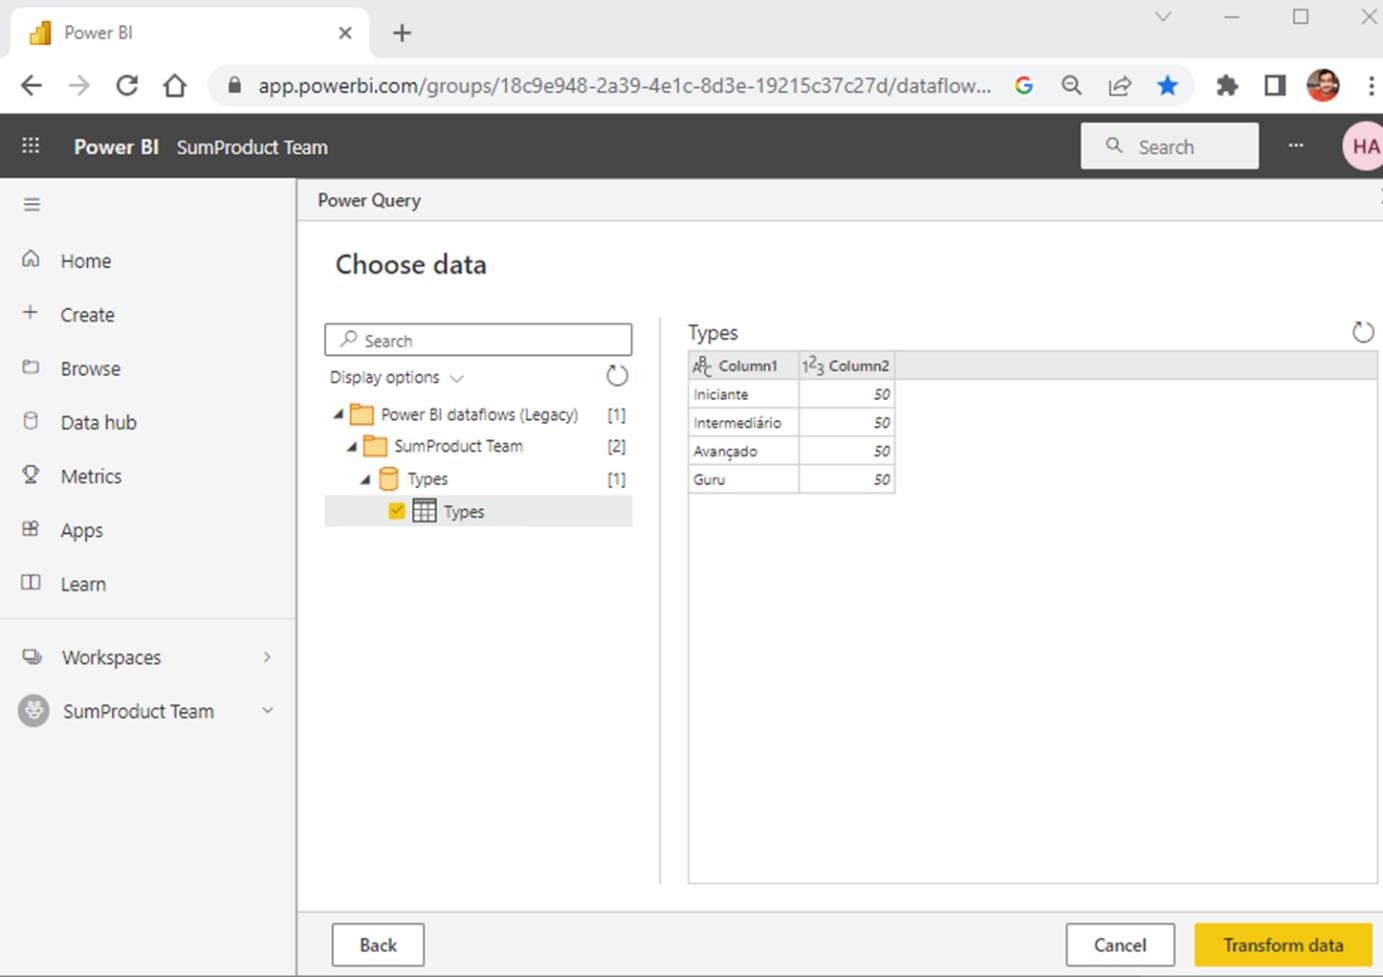
We can select our dataflow 'Types' and choose to ‘Transform data’.
The linked tables will be added to our workspace as a new dataflow. Any changes made will not affect the original dataflow.
Another way to create a dataflow is by importing an exported dataflow. This feature can be used to transfer data between workspaces, move data between Power BI and other platforms, or simply have a dataflow copy offline.
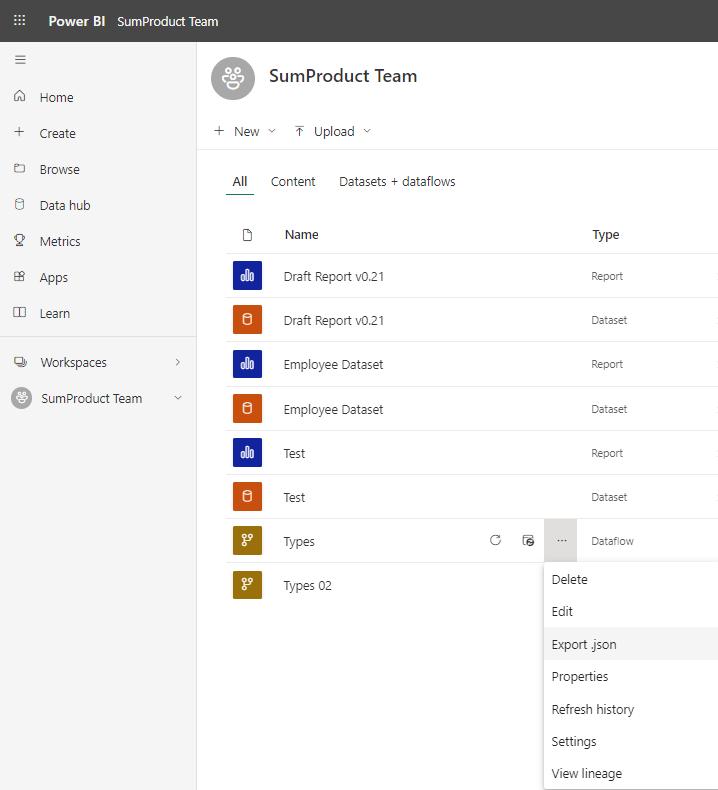
We can export our dataflow ‘Types’ by selecting it and clicking on the ‘More’ menu […] to expand the options. The option we select is ‘Export .json’.
We are prompted to start downloading the dataflow in CDM format.
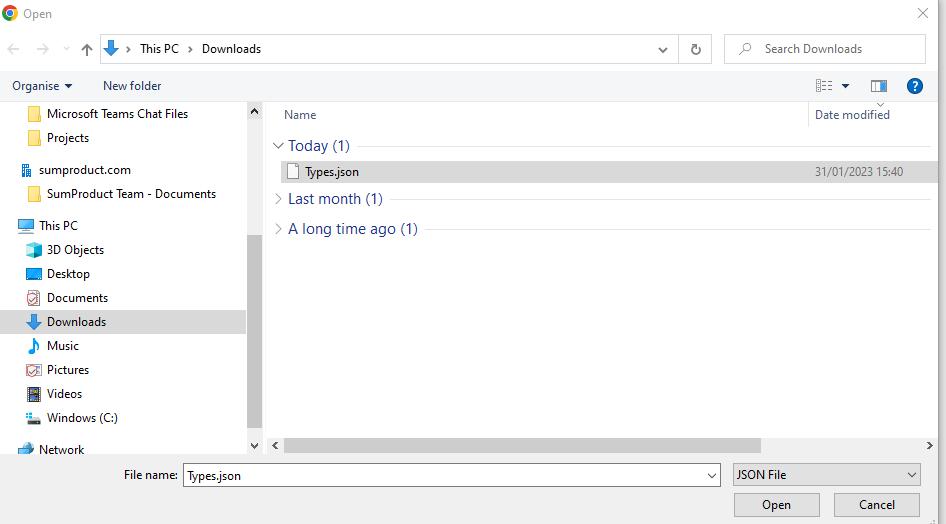
To import the dataflow we have exported, we click on the ‘+ New’ button on the workspace area and select Dataflow. This time, we choose to ‘Import Model’.
We are prompted to select the appropriate .json file by browsing to the location.
Having selected the file, it is imported into Power BI, and we see the message ‘Your dataflow has been imported successfully’. We can then name the new dataflow and use it in our reports.
Check back next week for more Power BI tips and tricks!