
Spreadsheet Skills: The Object of Your Affliction
When hiding / grouping rows and / or columns some objects refuse to go quietly. How can you hide those objects which insist on staying put? By Liam Bastick, Managing Director (and Excel MVP) with SumProduct Pty Ltd.
Query
I have created several combo boxes in Excel to manage input choices for various calculations. However, I wish to group the rows where these combo boxes are situated in order that they may be hidden from summary print-outs. However, when the rows are hidden, these combo boxes remain visible. Can they be hidden?
Advice
We will use the humble combo box as an example of an object that refuses to go quietly into the night.
Combo boxes are a built-in user form which are inserted using the ‘Developer’ tab in Excel 2007 onwards. The ‘Developer’ tab is not displayed on the Ribbon by default, but it is easy enough to display it:
Excel 2007
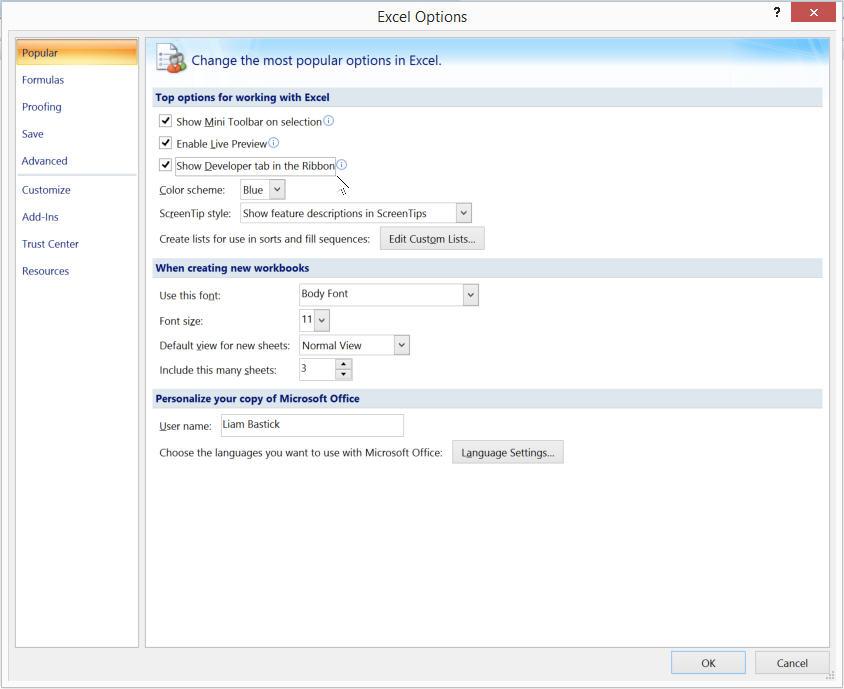
- Go to Excel Options (ALT + T + O)
- Select ‘Popular’ in the left-hand column
- In the ‘Top options for working with Excel’ section, check the third check box ‘Show Developer tab in the Ribbon’
- Click ‘OK’
Excel 2010 onwards
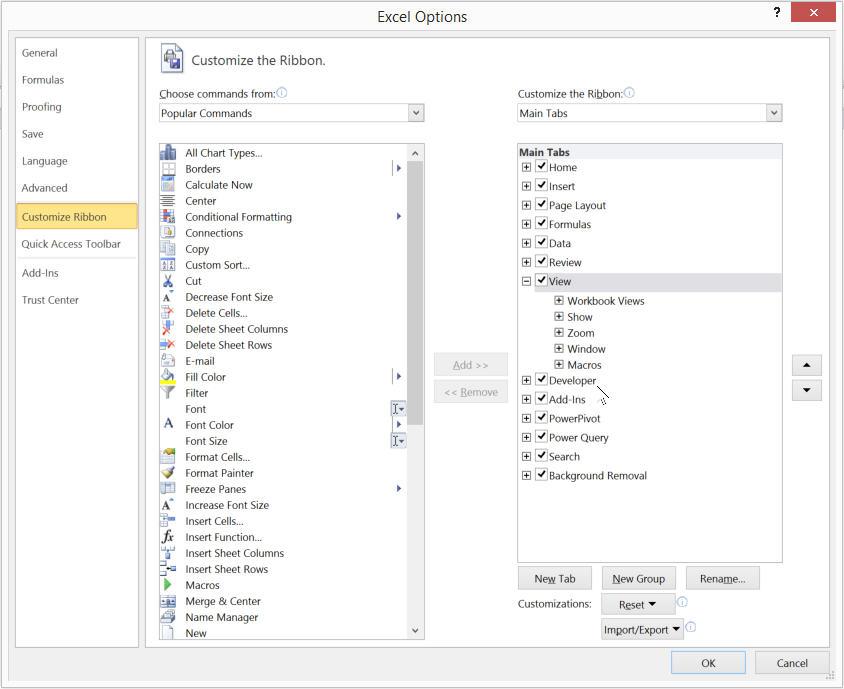
- Go to Excel Options (ALT + T + O)
- Select ‘Customize Ribbon’ in the left-hand column
- In the ‘Main Tabs’ window, check the ‘Developer’ tab
- Click ‘OK’
Once the ‘Developer’ tab is displayed, a combo box is easily selected:
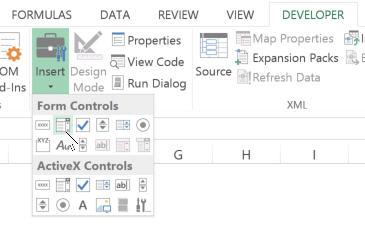
From the ‘Developer’ tab on the Ribbon, select the ‘Insert’ dropdown button from the ‘Controls’ group and then select the combo box from the ‘Form Controls’ section (as pictured above) (ALT + L + I + C).
Next, draw where you wish the combo box should be positioned with the mouse using the left mouse button. Once positioned in the required location, the combo box may be populated by right clicking on the image and selecting ‘Format Control…’ from the resultant shortcut menu:

This produces the following dialog box:
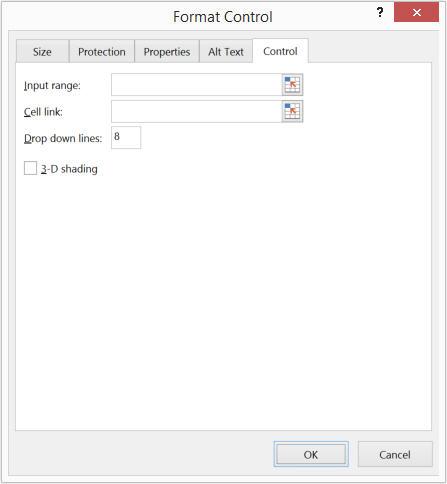
The fifth tab on the dialog box is “Control’. Sometimes, modellers cannot locate this tab (they see only the first four tabs). If you find this happens to you, delete the inserted combo box and start again. In this instance, the combo box from ‘ActiveX Controls’ (used for macro coding) has probably been selected rather than the one for Excel (from the ‘Form Controls’ section).
Once you have selected this tab, enter the ‘Input range’ you wish to use for the list, which may be a row or column of cells. Depending upon which version of Excel you are using, you may find you have to use a range name to refer to the source cells if they are on another worksheet.
‘Cell link’ is the cell that will store the item selected from the dropdpwn list. For example, if the list {a,b,c,d,e} were used as the dropdown list and ‘c’ had been chosen, the cell link would display the value ‘3’ (i.e. third in the list). This cell link is very important as it is what connects the dropdown image to the Excel worksheet. It is often referred to as a ‘two-way link’ because if this cell were typed over with a ‘2’ (say) the selection would change to the second item in the list (in this instance, ‘b’).
Once these two boxes have been populated, input the maximum number of rows to be displayed and then click ‘OK’.
Combo boxes are a particular type of object that restricts user inputs. Like various other objects they have one annoying property which can be seen from the third tab of the ‘Format Control’ dialog box, viz.
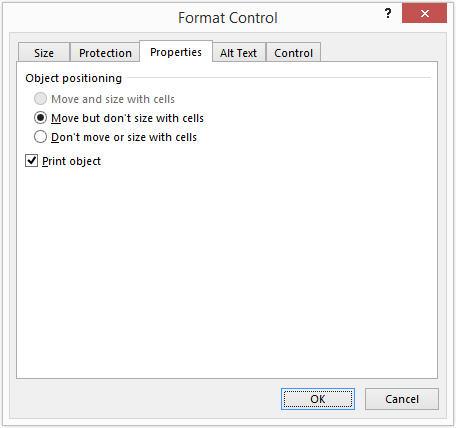
A combo box is just one type of object that may not be moved and sized with cells. Essentially, this means if you were to hide the row or column containing this combo box, the box would remain visible – which is the issue described in the Query.
There are others and the following trick works equally well with them too. Consider hiding:
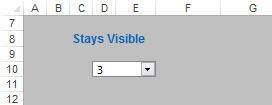
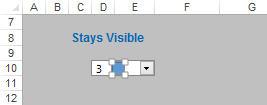
Rows 9:10 Unhidden
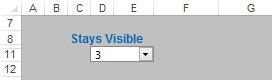
Rows 9:10 Hidden
There is a way to circumvent this: you need a “friendly” shape. From the ‘Illustrations’ group on the ‘Insert’ tab, choose a shape:
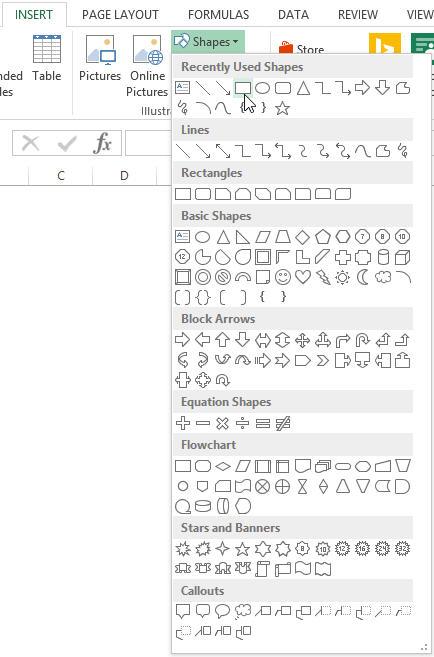
No doubt some reader will write in to state what I am about to say is incorrect, but you can just about select any “dummy” shape from here and draw it on top of the combo box:
This may require the shape being drawn elsewhere to begin with and then moved into place as illustrated above.
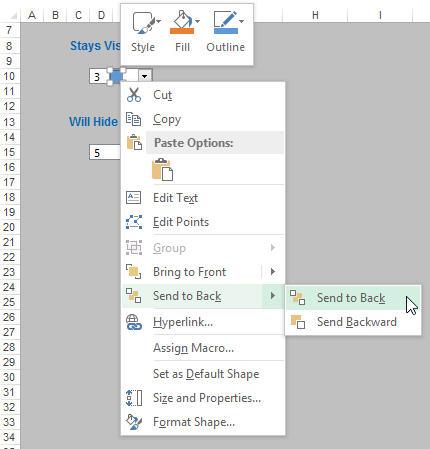
Next, with this arbitrary shape still selected, right-click with the mouse and select ‘Send to Back’:
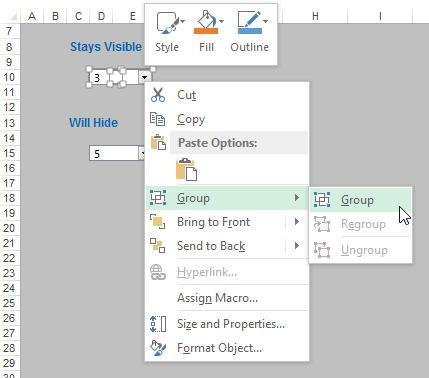
Whilst this shape is still selected, holding the CTRL key down, select the combo box as well and then right-click and select ‘Group’:
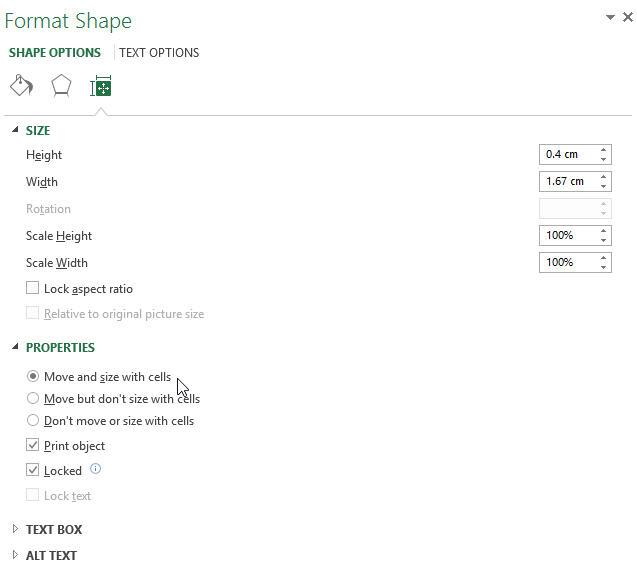
Right-clicking on these grouped objects, now select ‘Format Shape…’, which gives rise to the ‘Format Shape’ task pane. In the ‘Size & Properties’ section of the ‘Shape Options’ aspect of the task pane, select ‘Move and size with cells’:
That’s it – you are all good to go. Hiding and unhiding rows now works:
Rows 9:10 Unhidden

Rows 9:10 Hidden
Once one of these objects has been created, they can be copied as required with similar properties.
Word to the Wise
There are simpler methods of doing the above in certain versions of Excel, but the method explained works in all versions from Excel 2007 onwards. Some tricks revolve round using the ‘Properties’ dialog box rather than the task pane and others allow the grouped arbitrary shape to be ungrouped and removed afterwards.
An example using the above method may be found in this month’s attached Excel file.
If you have a query for the Spreadsheet Skills section, please feel free to drop Liam a line at liam.bastick@sumproduct.com or visit the SumProduct website.