Extracting Pictures from Excel
Excel is frequently used to create charts and graphs. Sometimes we need to save these visualisations as files for board reports or images on websites, which may prove a little awkward when there are many charts to save. Here, I shall use the Windows Command Line (CMD) tool together with Excel to solve this problem.
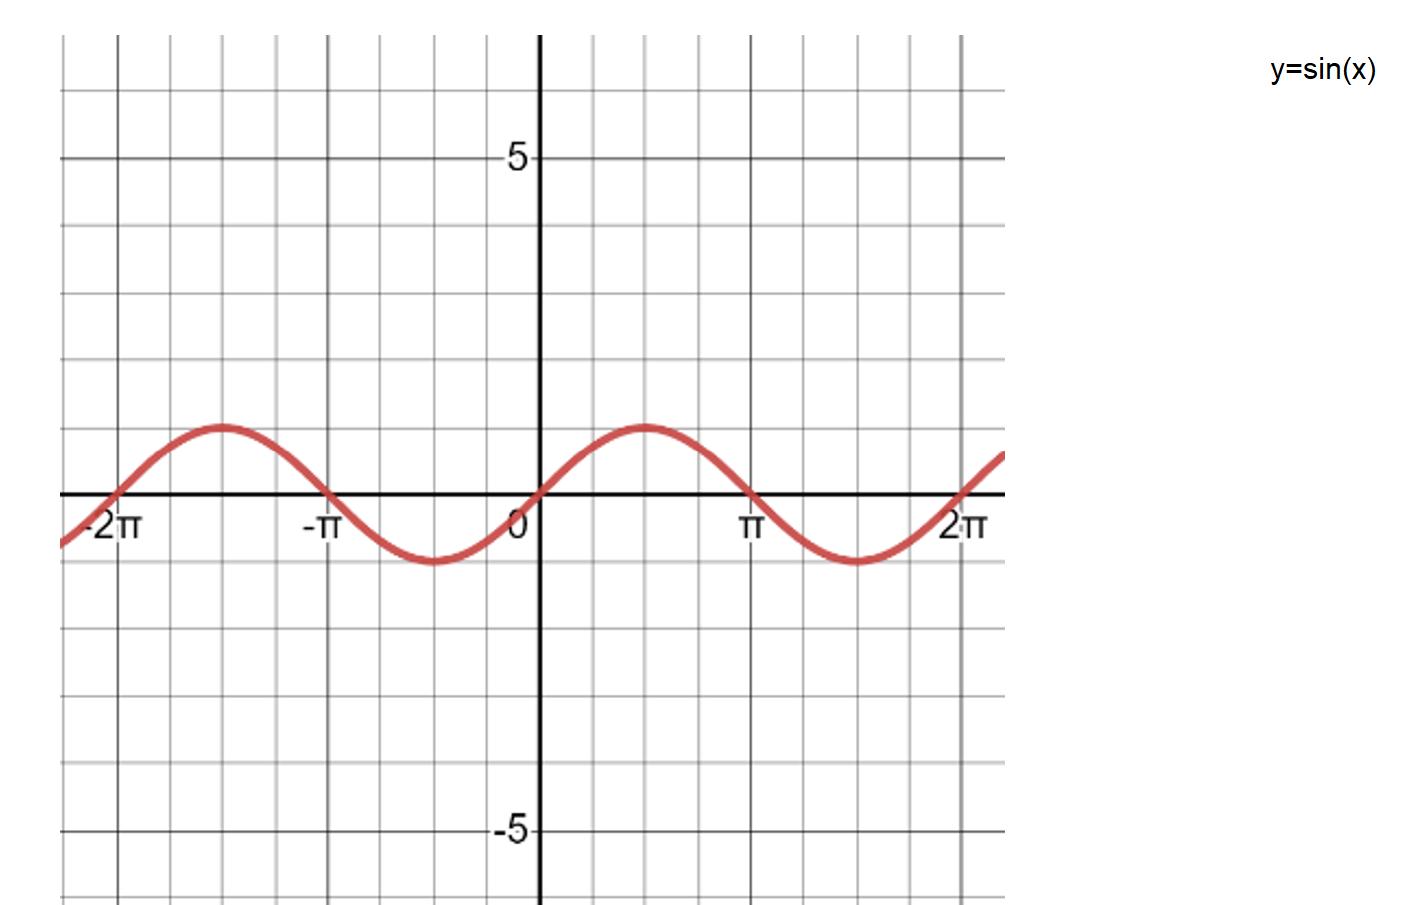
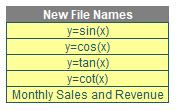
Let’s consider an example (as always!). In the attached Excel file, I have multiple pictures stored in a worksheet. The corresponding graph names are labelled in column I, next to the graphs. I want to save these pictures with their names.

Imagine there were many, many such images. I may extract all the graphs from Excel first, and then use the Windows Command Line (CMD) tool to move and rename these files.
Therefore, let’s first extract the pictures. An Excel file may be saved as a Web Page file (e.g. *.html, *htm), so that then the graph content will be extracted and saved in the designated folder. To do this, go to File -> Save As -> Web Page (*.html, *htm) -> Save.

A dialog box, similar to the one below, will appear, stating that some features might be lost, will appear. Never mind; we shall still click ‘Yes’ in order to extract our pictures.

Then, in the location selected, we can see there will be a folder and a web page file, viz.

Now, if we open the folder (full name in our example is ‘SP_Extract_Excel_Graphs’), we can see all the pictures are in this folder. For each graph, there are two files in the folder. Upon closer examination, I can see the file with the associated odd number is larger than those with the counterpart even number. For example, image003.png and image004.png have a similar appearance, but the file size of image003.png is larger.

Assuming you are intending to save the graphs with the best quality here, I will use all the “odd” files, so to speak.
After extracting the files, I want to copy them to another folder. This is where the CMD tool comes into play. While we are in this folder where all the files are to be stored, we can type “CMD” (upper or lower case will work) in the directory box to open CMD:

CMD uses one line of command to perform operations. In our example, we want to copy the graph files into another folder. The syntax for this command will be
copy “File Name” “Destination Path”
In our example, the command will be copy "image003.png" "C:\Users\Liam\Desktop\New folder". Now we can use Excel to populate the commands for files:

And now we may get extremely lazy with a concatenation function using the ampersand (&) operator, e.g.
=$F11&" "&$J11&$I11&$J11&" "&$J11&$K11&$J11
This allows us to generate the following commands:

After pasting these commands in CMD, we can see multiple lines like the following.

Before we may rename all the files, we need to gather all the names for the charts. Using the dynamic array function UNIQUE (assuming you are working with Office 365) in the original file, we can extract all names with formula:
=UNIQUE(FILTER(Graph!$I:$I,Graph!I:I<>""))
where it is assumed all charts are in a worksheet called Graph, with the required image names in column I. This can provide a summary table, with spilled results, as follows:

Like the copy command, there is another command to rename files. The syntax for this is
ren “Old File Name” “New File Name”
For our example, the command will be ren "image003.png" "y=sin(x).png", and again, we may use concatenation formulae to derive our commands.
Once again, we type “cmd” in the folder where the files are to open the CMD tool. Then we can paste all the rename commands into CMD. When all the commands finish running, we have all the files named and stored appropriately.

Word to the Wise
It may seem like overkill if you have only two charts, but you will be more thankful should you have hundreds of such images!
Above, I have discussed just one of many methods available. Using this approach, all graphs line up in the one column. If your graphs line up in two or more columns, the graphs will be taken from the top row first, then move on to later rows subsequently. You would then need to adjust the new names accordingly.

