
Office Scripts Goes Local
17 April 2020
We have mentioned Office Scripts previously, which is a new feature for Excel on the web. However, we thought we would revisit this as it is now available for users in what Microsoft calls “country / region specific data centres”, also known as “Go Local data centres”. This means that although a Preview rolled out in January, certain territories (e.g. Australia, Canada, New Zealand) could not access it – well now you can!
Users with any of the following licenses:
- Office 365 Business
- Office 365 Business Premium
- Office 365 Enterprise E3
- Office 365 Enterprise E5
(subject to the name changes!) may now access Office Scripts in Excel on the web.
This is provided your administrator has opted in. To opt into Office Scripts in the Microsoft 365 Admin Center, if you haven’t already:
- sign in to Office 365 with your work or school account as a global administrator
- in the Microsoft 365 admin center, choose Settings -> Settings (you may need to select ‘Show all’ first)
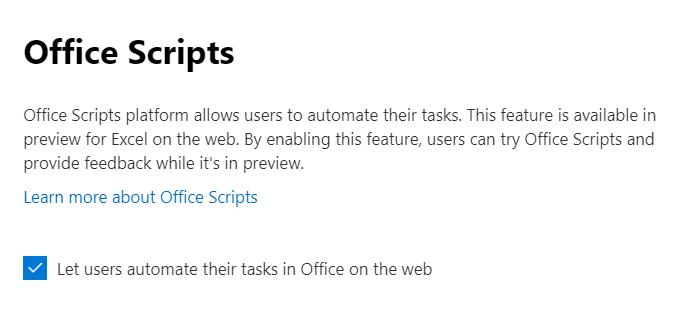
- select Office Scripts
- check the box for ‘Let users automate their tasks in Office on the web’ to activate Office Scripts.
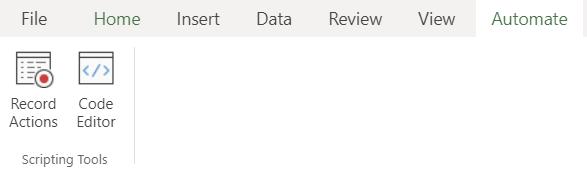
The new feature is incorporated in the Automate tab on the Ribbon for Excel on the web:
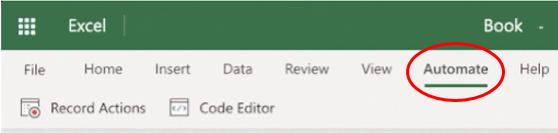
This feature allows users to automate some repetitive day-to-day tasks, but in locations where VBA can’t. We can record our Excel actions with the Action Recorder and create scripts based on actions. We can also create and edit scripts with the Code Editor. Office Scripts makes the record and replication of Excel actions on different workbooks and worksheets possible, and it may also help you to reduce your whole workflow to a single button press.
The language supporting Office Scripts is JavaScript / TypeScript. Over the past few years Microsoft has been heavily investing in JavaScript as it moves to unify Office across all devices (PC, Mac, Browser, and Mobile), including automating Excel. With JavaScript, you may theoretically write a single script that would work on any device. Also, JavaScript is extremely fast at pulling data from outside sources, and is especially useful for seamless data integration from different sources. For example, the Google Suite (G Suite) has been using JavaScript as the scripting language, so it is possible to integrate the data stored in Google with API.
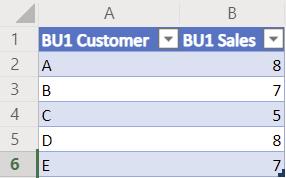
Let’s have a look at one simple example to understand how Office Scripts works in Excel on the web. Suppose we have six Sales tables with different business units.
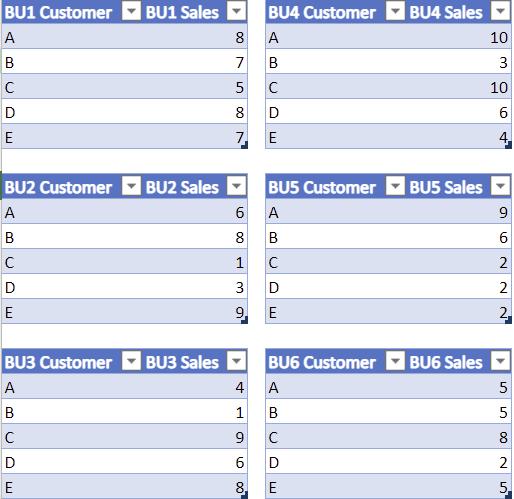
We want to generate charts for each individual business unit Sales table. We can do this by going to the Automate tab and click ‘Record Actions’.
Then, we can start recording our actions in Excel and create our first chart based on the sales data for business unit one (1). In this example, we choose the range A1:B6.
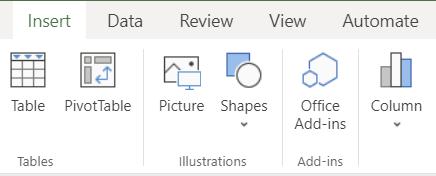
Click on the Insert tab and choose the Column chart in this case.
Next, we will have our first simple column chart for business unit one (1) like:
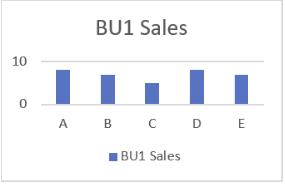
Yes, we can now make the chart prettier by formatting all elements, but that’s another example for another day. Here, we simply wish to show you how Office Scripts works. Therefore, at this point, we will stop recording the code and save the recording with the name ‘My Script’ for the scripts we created.
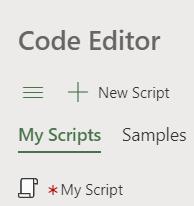
In the Code Editor, we can see the code in more detail:
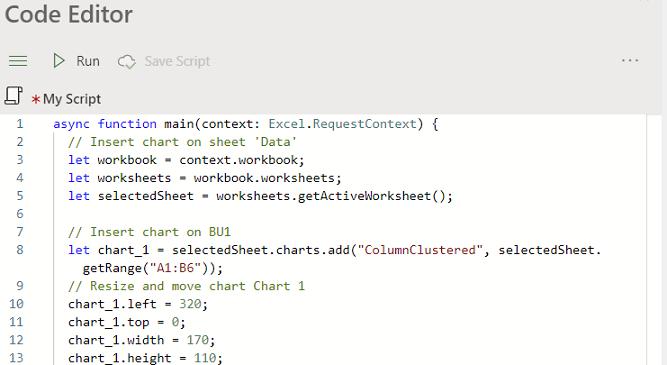
In the code above, variables for workbook and active worksheet have been defined. The chart has been added by defining the type of the chart and the range of data source. We may move the chart to its “proper” position by assigning values to different parameters (e.g. left, top, width and height).
If we want to create the same chart for the other five (5) business units, we can simply copy and rewrite the code to create more charts based on the existing code and apply changes to the data sources and position of the chart. You could write the code as follows, for example:
async function main(context: Excel.RequestContext) {
// Insert chart on sheet 'Data'
let workbook = context.workbook;
let worksheets = workbook.worksheets;
let selectedSheet = worksheets.getActiveWorksheet();
// Insert chart on BU1
let chart_1 = selectedSheet.charts.add("ColumnClustered", selectedSheet.getRange("A1:B6"));
// Resize and move chart Chart 1
chart_1.left = 320;
chart_1.top = 0;
chart_1.width = 170;
chart_1.height = 110;
// Insert chart on BU2
let chart_2 = selectedSheet.charts.add("ColumnClustered", selectedSheet.getRange("A8:B13"));
// Resize and move chart Chart 2
chart_2.left = 320;
chart_2.top = 120;
chart_2.width = 170;
chart_2.height = 110;
// Insert chart on BU3
let chart_3 = selectedSheet.charts.add("ColumnClustered", selectedSheet.getRange("A15:B20"));
// Resize and move chart Chart 3
chart_3.left = 320;
chart_3.top = 240;
chart_3.width = 170;
chart_3.height = 110;
// Insert chart on BU4
let chart_4 = selectedSheet.charts.add("ColumnClustered", selectedSheet.getRange("D1:E6"));
// Resize and move chart Chart 4
chart_4.left = 500;
chart_4.top = 0;
chart_4.width = 170;
chart_4.height = 110;
// Insert chart on BU5
let chart_5 = selectedSheet.charts.add("ColumnClustered", selectedSheet.getRange("D8:E13"));
// Resize and move chart Chart 5
chart_5.left = 500;
chart_5.top = 120;
chart_5.width = 170;
chart_5.height = 110;
// Insert chart on BU6
let chart_6 = selectedSheet.charts.add("ColumnClustered", selectedSheet.getRange("D15:E20"));
// Resize and move chart Chart 6
chart_6.left = 500;
chart_6.top = 240;
chart_6.width = 170;
chart_6.height = 110;
}
In this routine, we repeat the steps in creating a column chart for each business unit and make adjustments to the parameters of that chart’s position. Then, we click the ‘Run’ button in the Code Editor.
The result dashboard would be like:
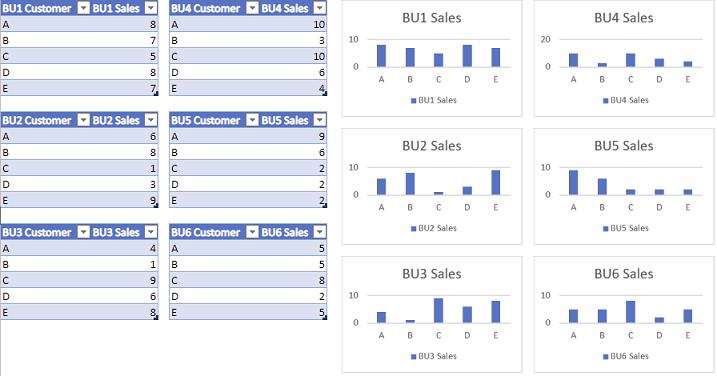
We can update the Sales data on the left side of the dashboard and open the Code Editor to run the scripts to update the charts on the right side automatically.