
Power Query: Row Together Part 4
16 July 2025
Welcome to our Power Query blog. This week, I look at how to keep a group in order.
Over the last few weeks, I have been looking at how to solve tasks involving the manipulation of data to form new rows. When I was grouping the data I was reminded of an issue and a trick that I haven't covered in this blog series. Let's start with the SalesRegionsColumns query I created in Part 2. I have filtered on Region to remove region data that is blank or null.
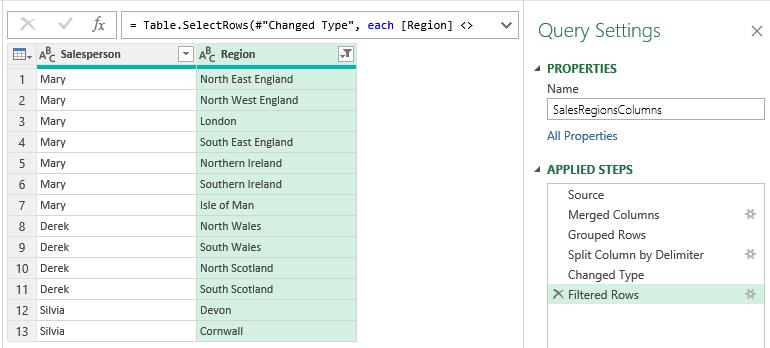
The task is to create a row for each Salesperson containing all the regions, but with the regions in alphabetical order.

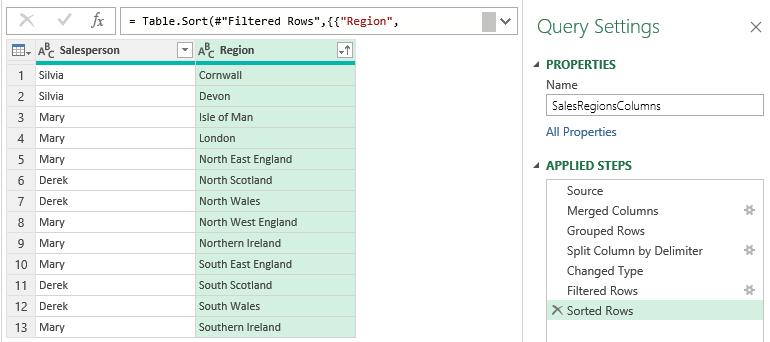
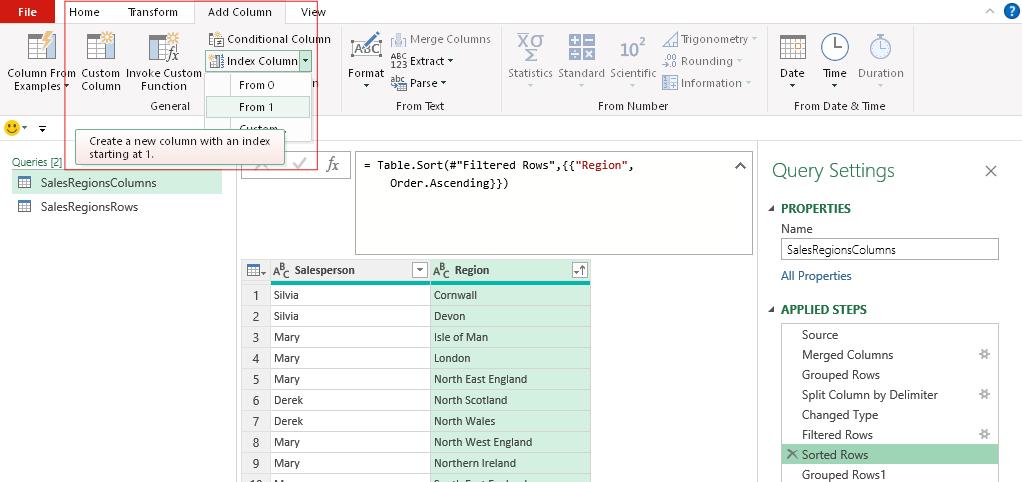
I will use the same approach I used in Part 1. First, I sort the data in alphabetical order by Region.
Next, I group the regions by 'summing' them for each Salesperson:
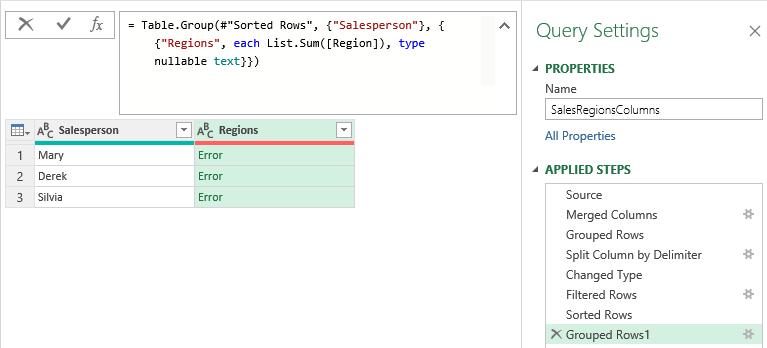
I change the M code from:
= Table.Group(#"Sorted Rows", {"Salesperson"}, {{"Regions", each List.Sum([Region]), type nullable text}})
to:
= Table.Group(#"Sorted Rows", {"Salesperson"}, {{"Regions", each Text.Combine([Region],", "), type nullable text}})
I check the results:
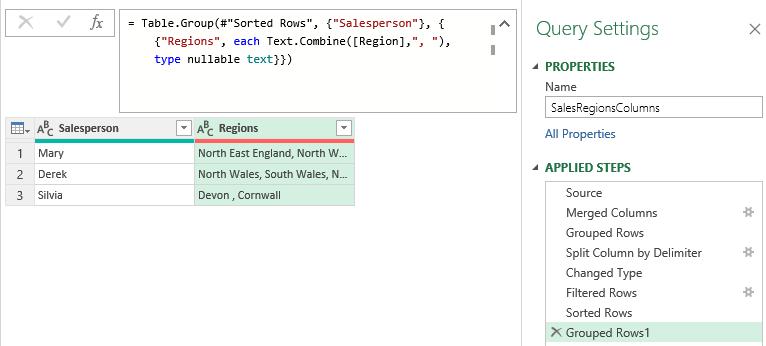
They are not in alphabetical order! Now for the trick. Insert a step before the 'Grouped Rows1' step by selecting to view the 'Sorted Rows' step and then choosing to add an 'Index Column' from the 'Add Column' tab:
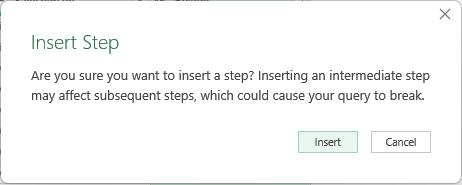
Ignore the warning that you are inserting a step and choose to Insert.
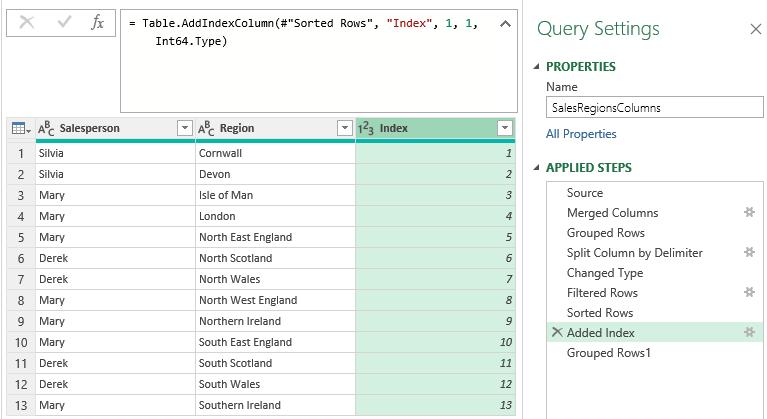
This creates an Index column.
Go back to step 'Grouped Rows1' and view the data:
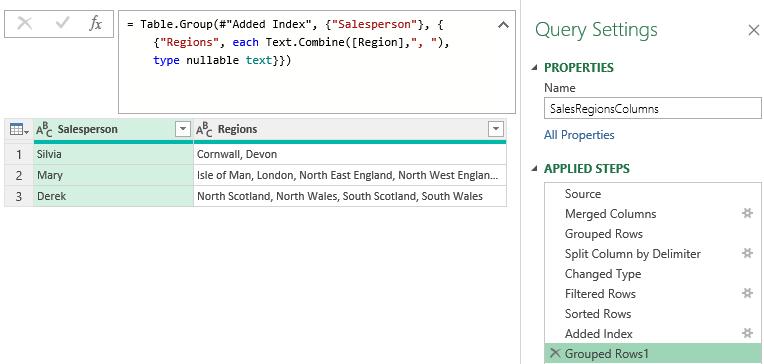
The Regions data is now in alphabetical order. The reason is not obvious and probably has something to do with the language used to create M code. I think you'll agree it is a useful trick to know about.
Come back next time for more ways to use Power Query!