
Power Query: Returning to the Folder
23 March 2022
Welcome to our Power Query blog. This week, I revisit extracting from a folder, as the process has improved since I first blogged about it!
If you are one of “those readers” who have followed this series since the beginning, you will appreciate how Power Query has moved on since the early days. This week, I return to the process of extracting data from a folder. I first looked at this in Power Query: One Folder, One Query in early 2017. This week, I will show how Power Query has helped to reduce the number of steps I need to take to transform my data.
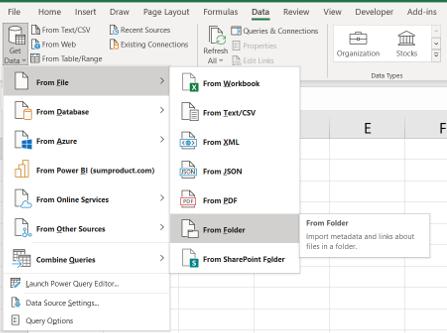
In this example, I have 10 expense files in a folder called PQ_StandardExpenses. In a blank workbook, I choose the ‘From File’ Option, and drop down to select ‘From Folder’.
A simple browse window appears, and having chosen the correct folder, the metadata is displayed:
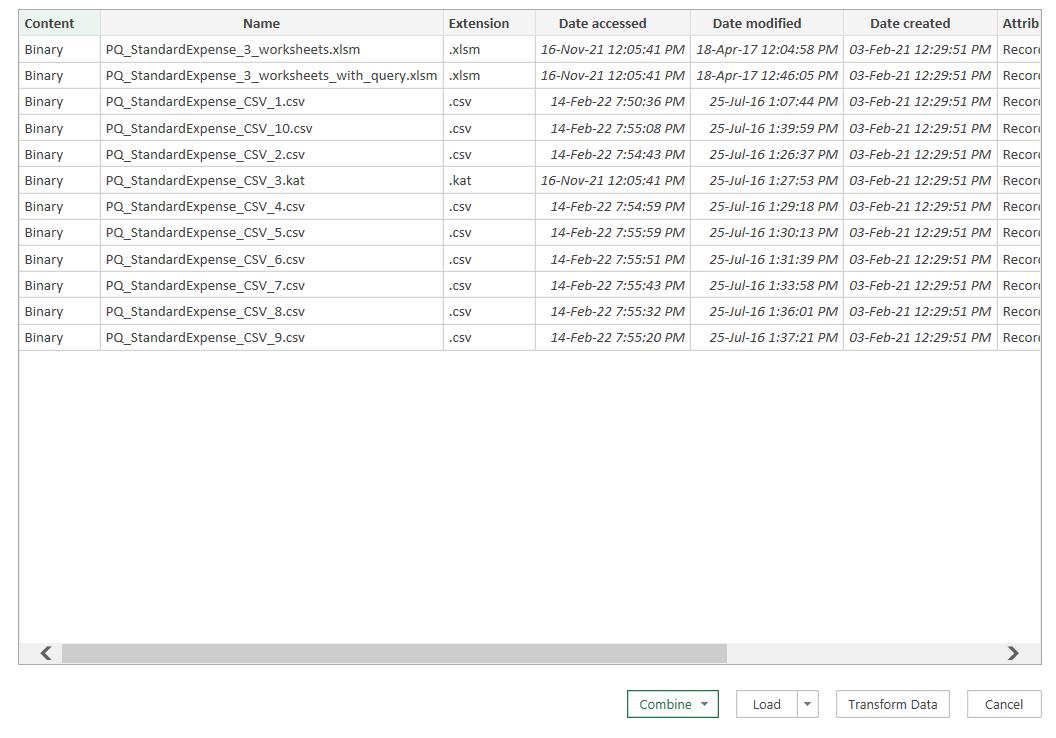
At this point, I could choose to combine these files and I’d be done, but editing allows the data to be transformed, and some safety features to be added too.
Some kind person has added several Excel workbooks into the folder, not to mention a strange file extension ‘kat’! I need to make sure nothing added to the folder in the future will mess up my query. I can also allow for users typing in csv or CSV when they create their files. I opt to ‘Transform Data’:
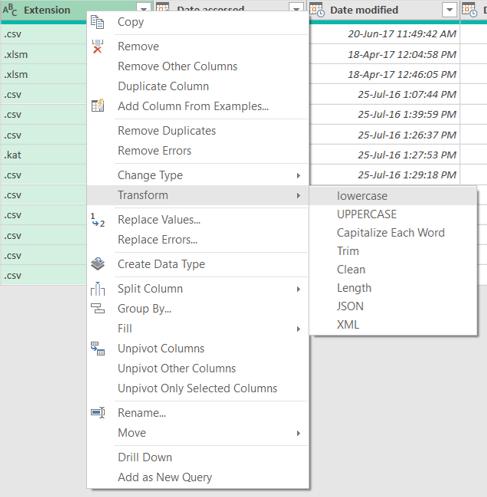
Bearing in mind Power Query is case sensitive, I start by transforming the Extension data to lowercase. I select the column and right-click to find the ‘Transform’ to ‘lowercase’ option.
I can filter to just get those files with file extension ‘csv’. At the top of the Extension column there is a standard filter arrow: clicking on this reveals a number of options to transform the data in the column.
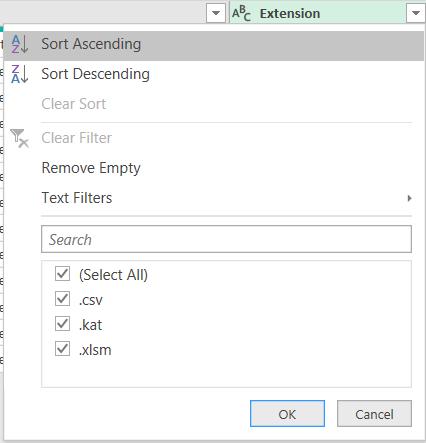
I could use the ‘Text Filter’, but instead, I will choose ‘csv’ from the radio list:
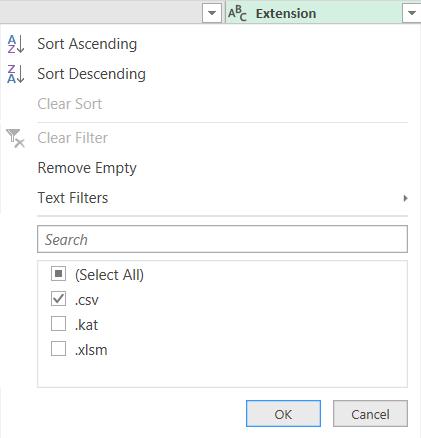
This generates a step to filter on ‘.csv’:
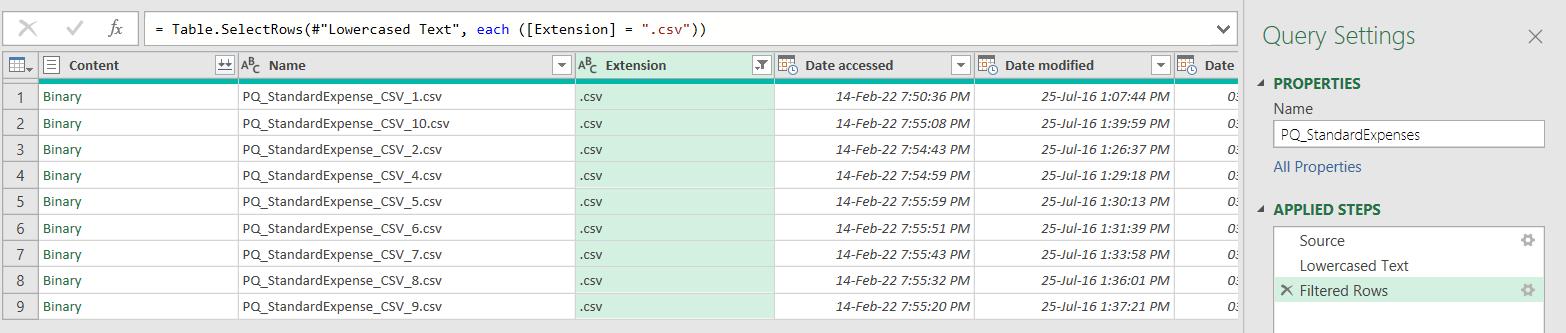
The query is now protected from stray workbooks and will include files with .csv and .CSV extensions. Simple!
In order to transform the data in the files, I need to see the table contents, and not just the metadata. Next to the content column header is an icon which appears for binary files, and allows the binary to be combined:
Pressing the button with this icon makes the contents of each table appear under the table headings:
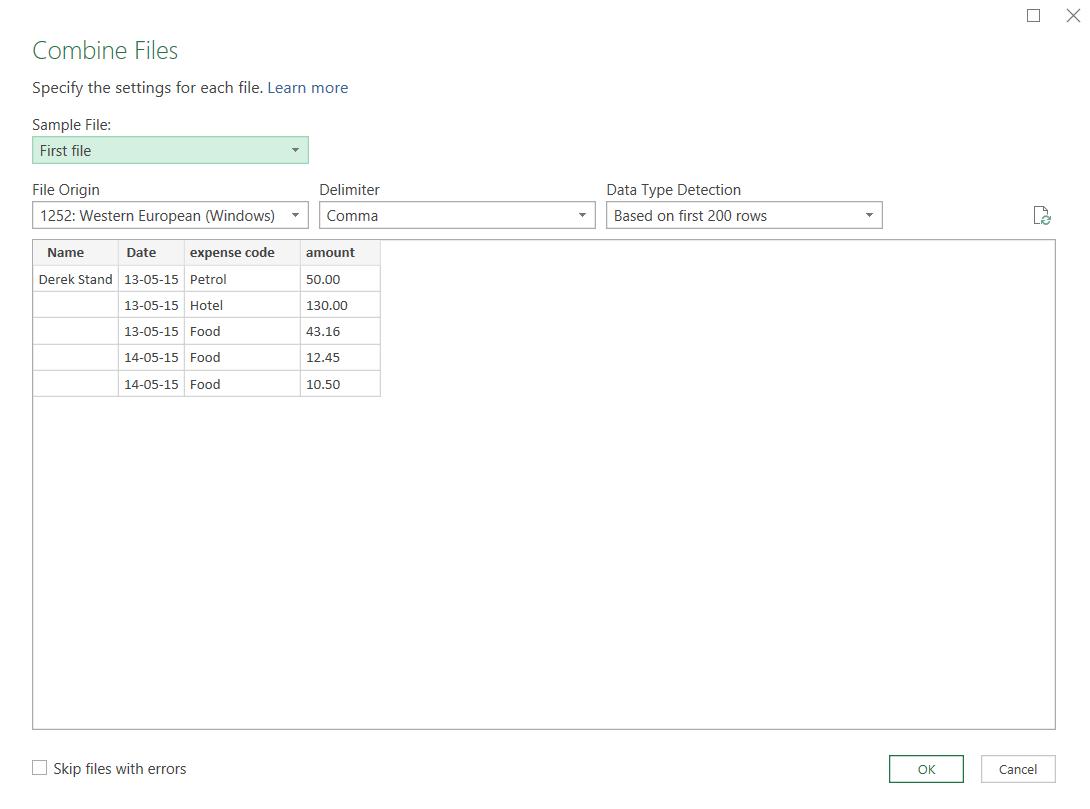
This is just showing me the first file; I am happy with the layout, so I click OK:
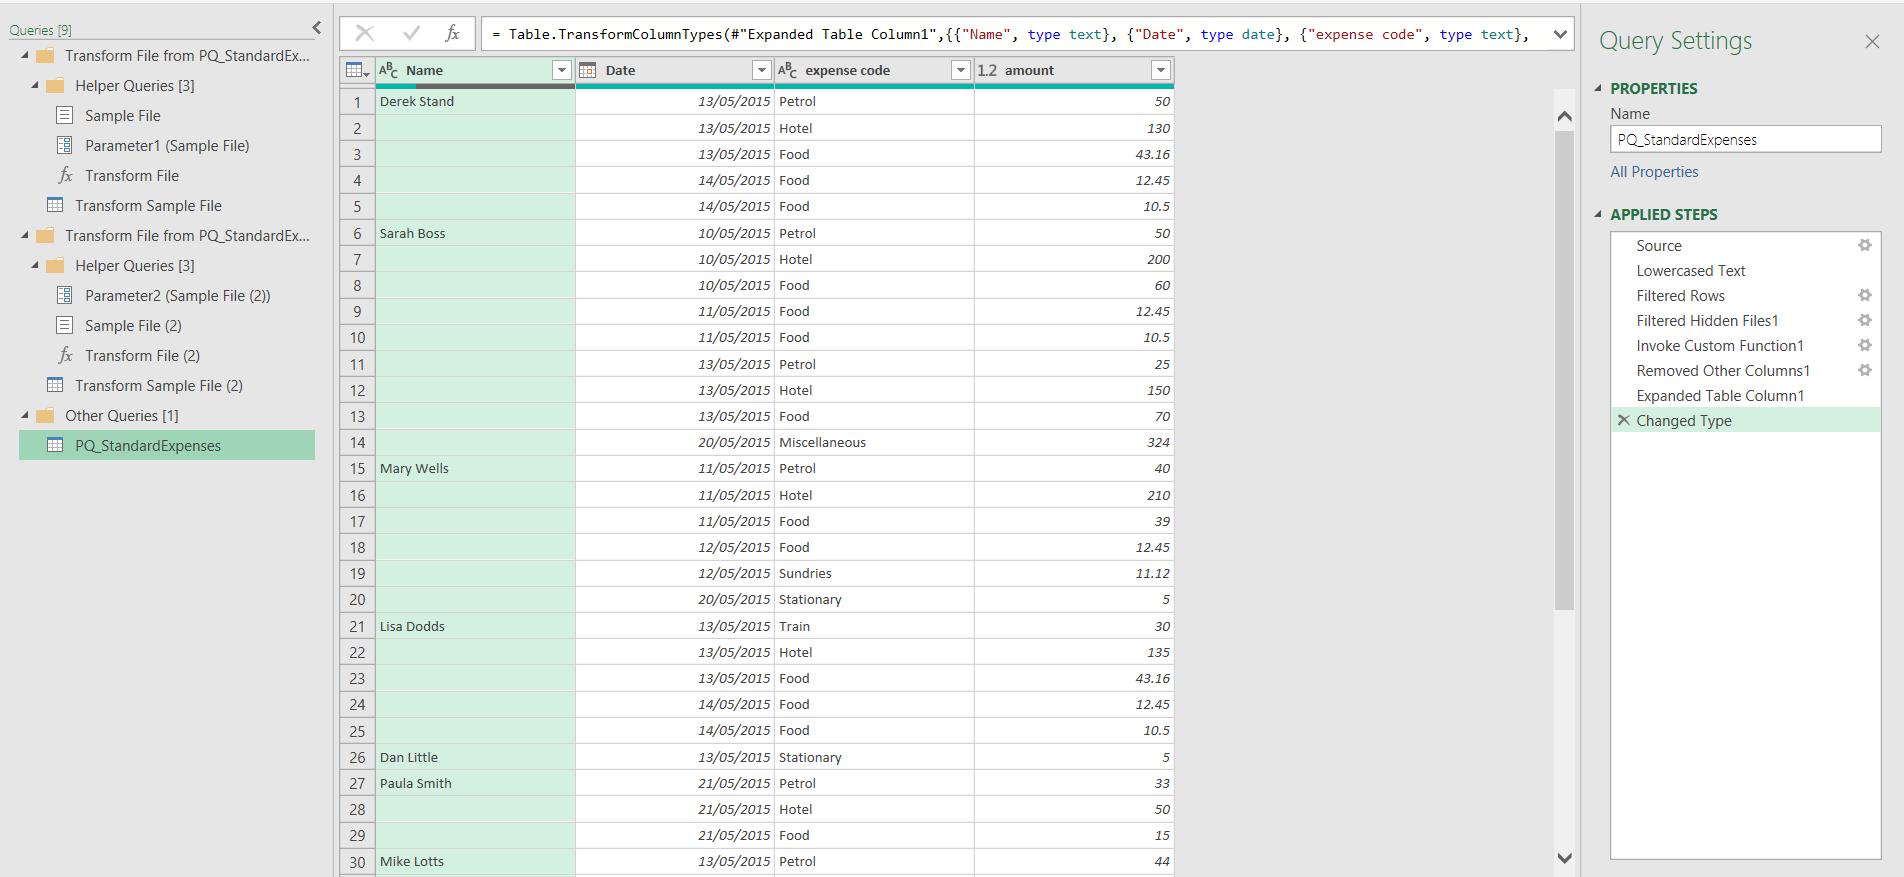
This process has been improved over time, and Power Query creates a ‘Helper Queries’ folder in the Queries tab to help to transform my data.
In previous versions, I had to promote headings and remove heading rows from each appended file, but all of this has been done for me. All I need to do is ‘Fill Down’ on the Name column using the same method as before, by replacing blanks with null values and right-clicking to ‘Fill Down’. I also rename expense code and amount to ‘Expense Type’ and ‘Amount’, so that I will be able to append to other expense files with no duplication.
My data is now ready for me to ‘Close & Load’ to the workbook:

Extracting from a folder is now an even more efficient process when uploading multiple expense files in a similar format.
Come back next time for more ways to use Power Query!