
Power Query: Re-returning to the Folder
7 September 2022
Welcome to our Power Query blog. This week, I revisit extracting from a folder (yet) again, to show another approach.
Those readers who have followed this series since the beginning will appreciated how Power Query has moved on since the early days. This week, I return to the process of extracting data from a folder. I first looked at this in Power Query: One Folder, One Query in early 2017. I revisited this topic again to show how Power Query has helped to reduce the number of steps I needed to take to transform my data.
In this example, I have 10 expense files in a folder called PQ_StandardExpenses. In a blank workbook, I choose the ‘From File’ Option, and drop down to select ‘From Folder’:

A simple browser window appears. Having chosen the correct folder, the metadata is displayed:
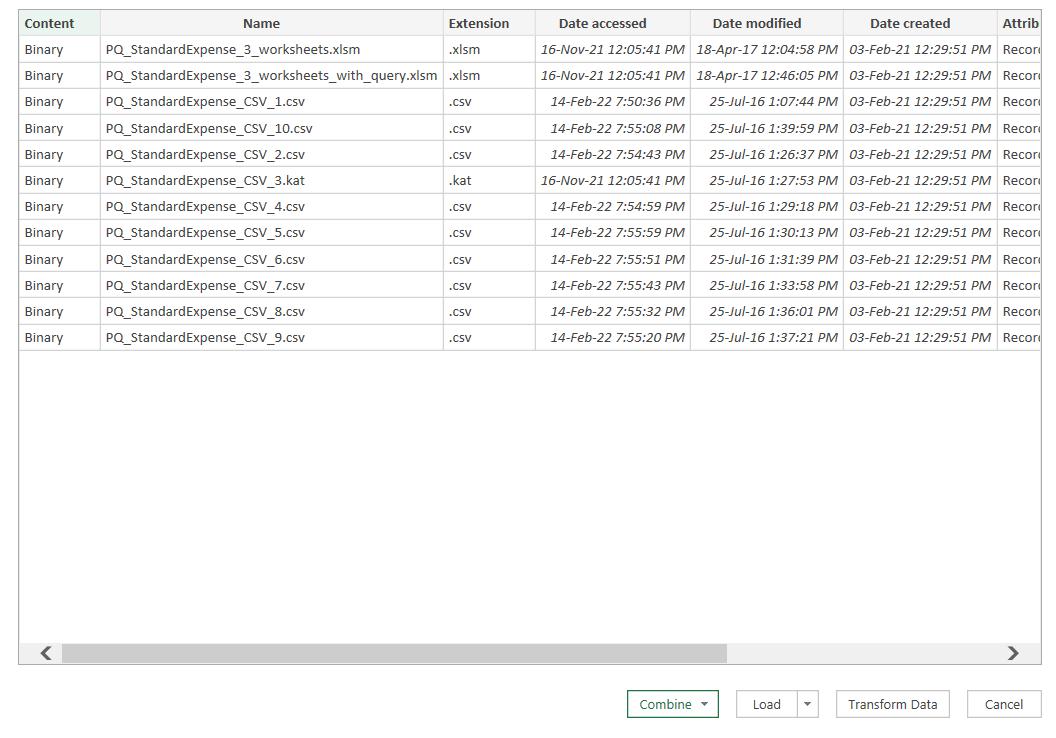
At this point, I could choose to combine these files and I’d be done, but editing allows the data to be transformed, and some safety features to be added.
Some kind person has added some Excel workbooks in the folder, not to mention a strange file extension ‘kat’! I need to make sure nothing added to the folder in the future will mess up my query. I can also allow for users typing in csv or CSV when they create their files. I opt to ‘Transform Data’:
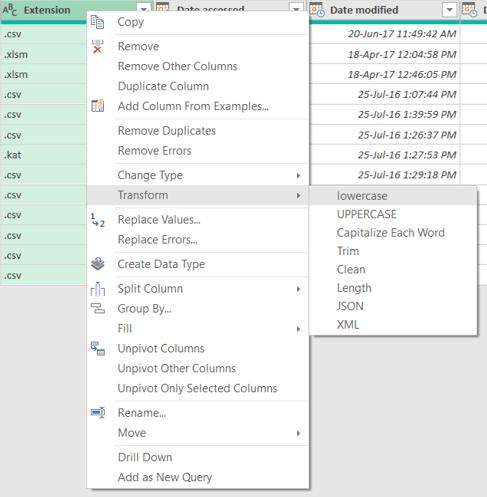
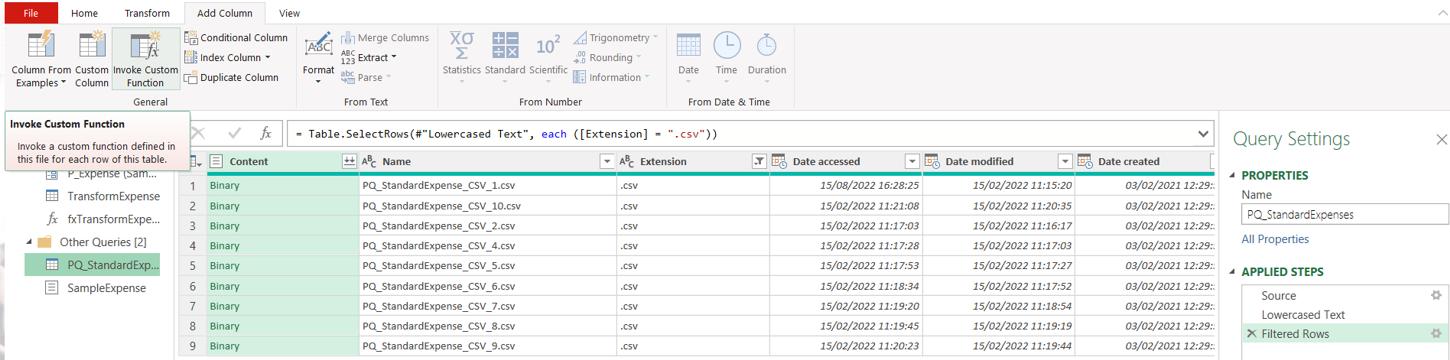
I start by transforming the Extension data to lowercase. I select the column and right-click to find the ‘Transform’ to ‘lowercase’ option.
I can filter to just get those files with file extension ‘csv’. At the top of the Extension column there is a standard filter arrow: clicking on this reveals a number of options to transform the data in the column.

I could use the ‘Text Filter’, but instead, I will choose ‘csv’ from the radio list:
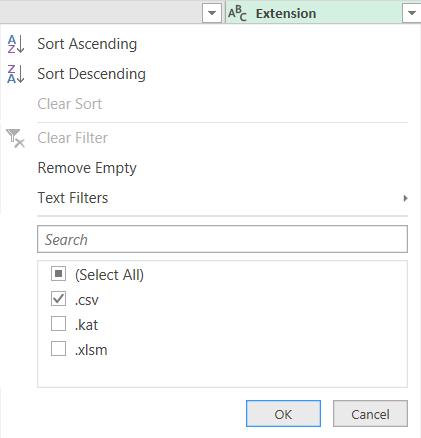
This generates a step to filter on ‘.csv’:
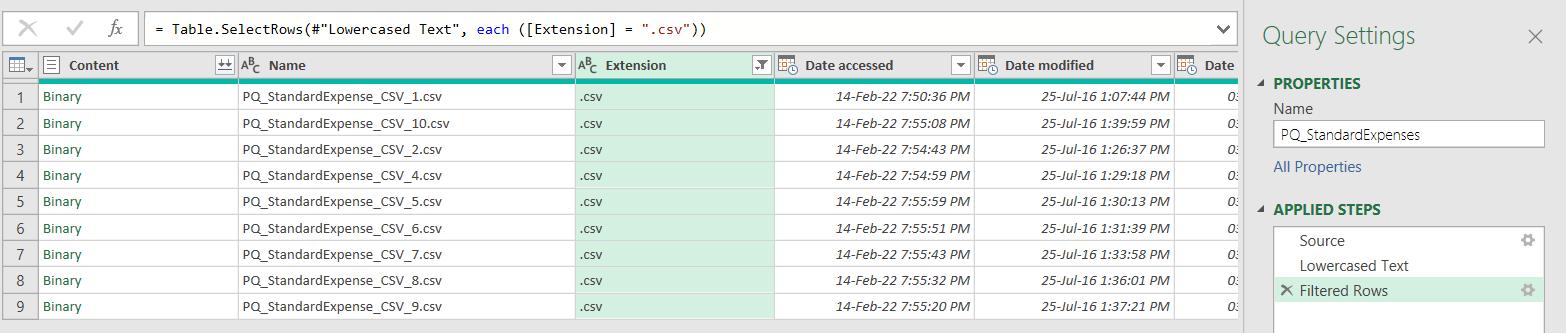
The query is now protected from stray workbooks and will include files with .csv and .CSV extensions. Simple!
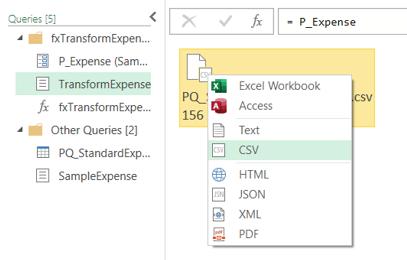
Last time, I used the icon next to the Content column header. This is an icon () which appears with Binary files so that they may be combined. However, this time, I am going to take a slightly different approach. I shall create a function to transform all the files and extract the data from them. I right-click on the first cell in the Content column.
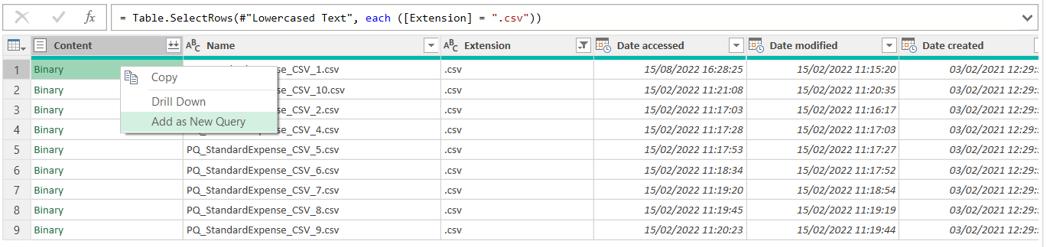
I choose to ‘Add as New Query’:
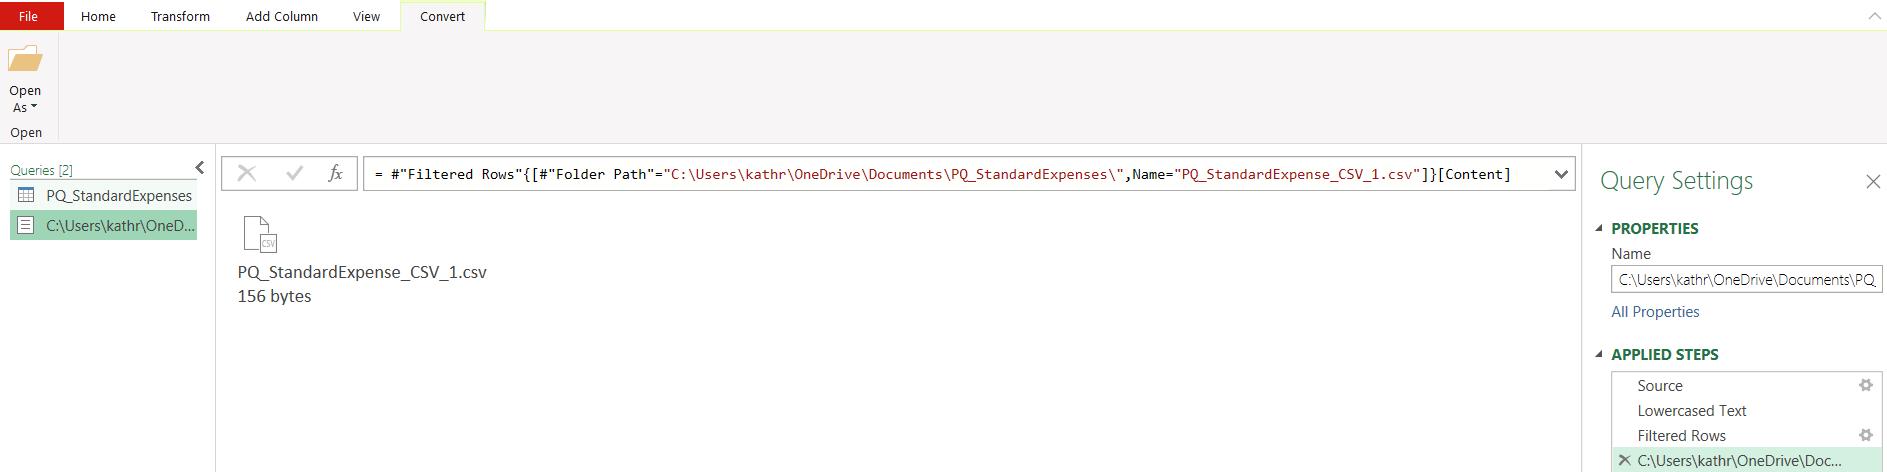
This has created a new query that points directly to the binary file I selected. The name is a little on the long side, so I rename it ‘SampleExpense’.
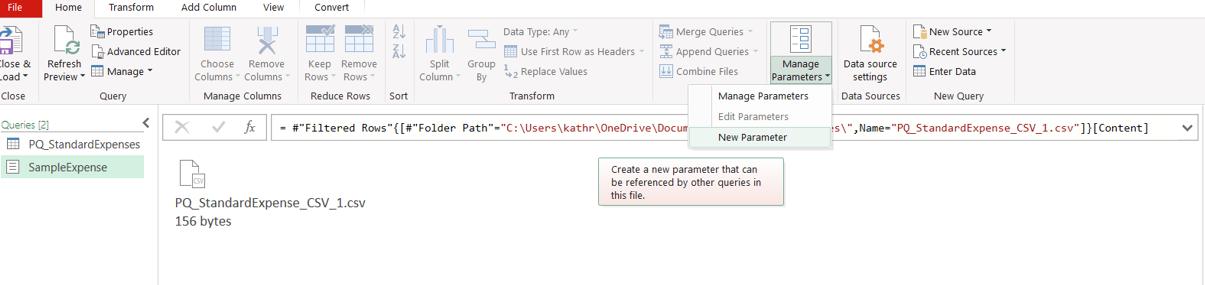
In the Parameters area of the Home tab, from the ‘Manage Parameters’ dropdown I choose to create a ‘New Parameter’:
I call the new parameter P_Expense:
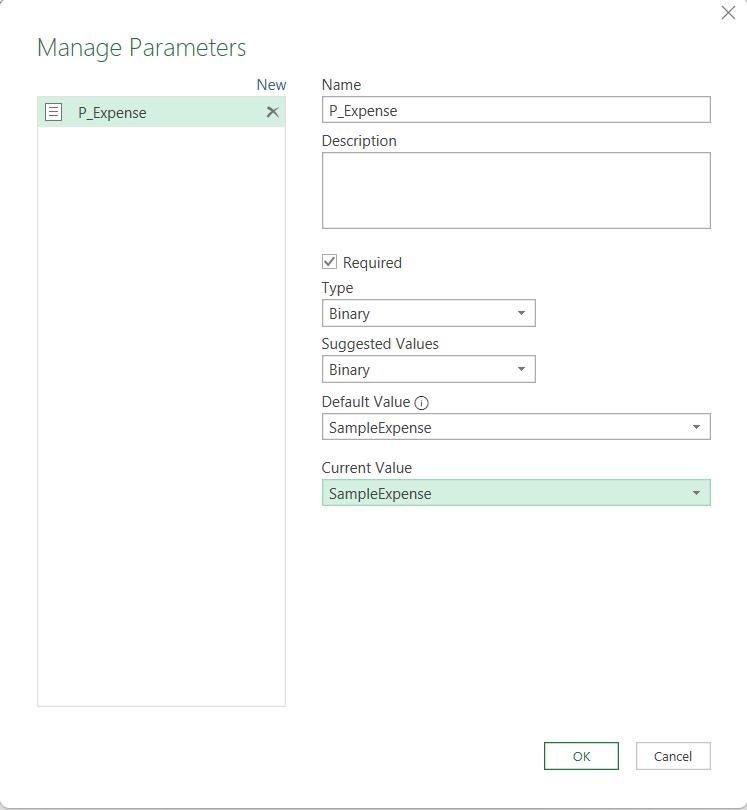
Since I have set it to type Binary, I can only select the SampleExpense query from the dropdowns for ‘Default Value’ and ‘Current Value’. I click OK and the parameter appears in the query list, and I can right-click on it to create a Reference copy:
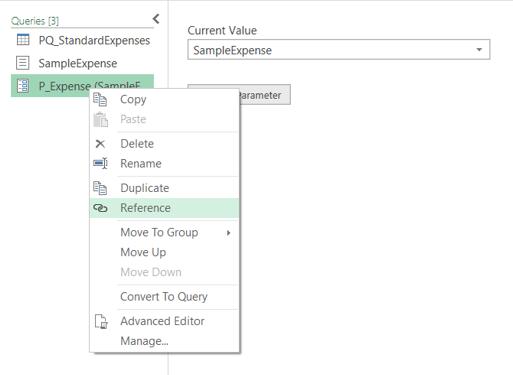
I rename the referenced copy to TransformExpense:

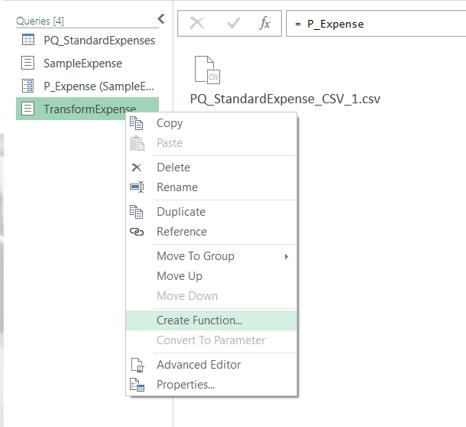
I right-click on TransformExpense and choose to ‘Create Function…’:
I am prompted for a name for the function:
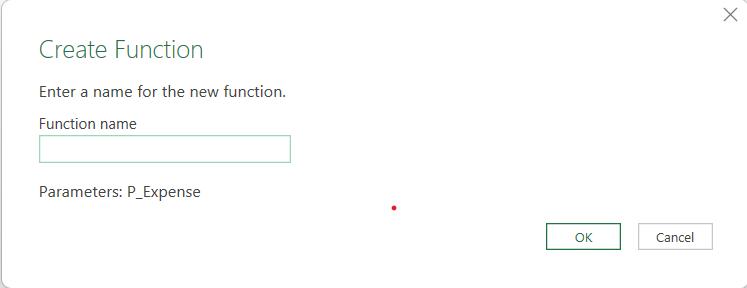
I call it ‘fxTransformExpense’ and click OK:

This may not seem like a useful function yet, as it isn’t doing anything. However, since it is linked to TransformExpense, I can make changes to that query which will be picked up by the function. I start by interpreting the binary as a CSV file:
This gives me the data in the file:

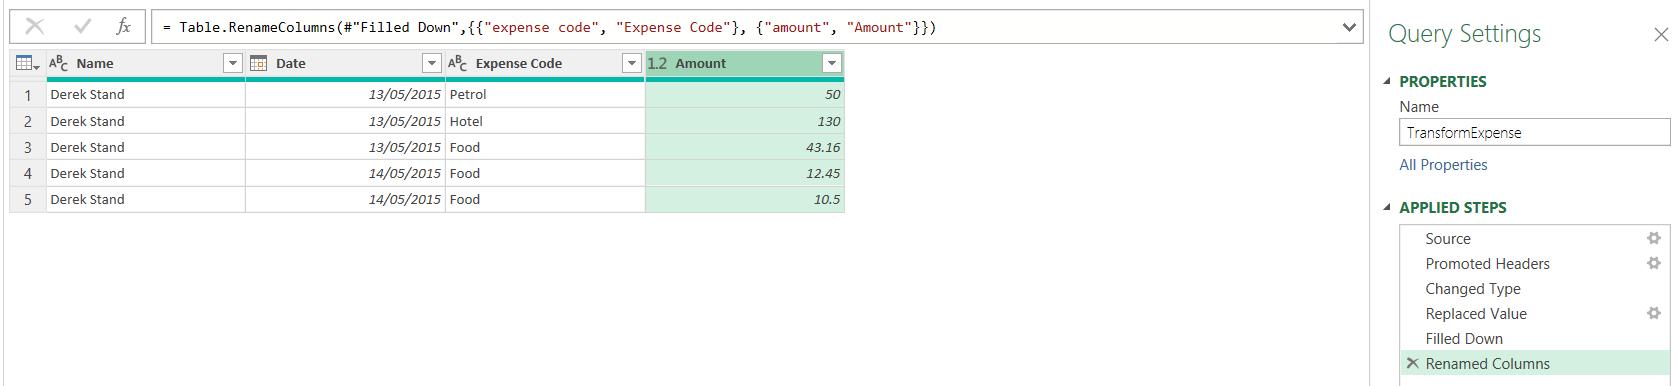
I transform the file, filling down the Name and renaming ‘expense code’ to ‘Expense Code’ and amount to Amount.
Now I am ready to go back to the original query with the list of Binary files. I choose to ‘Invoke Custom Function’ from the ‘Add Column’ tab:
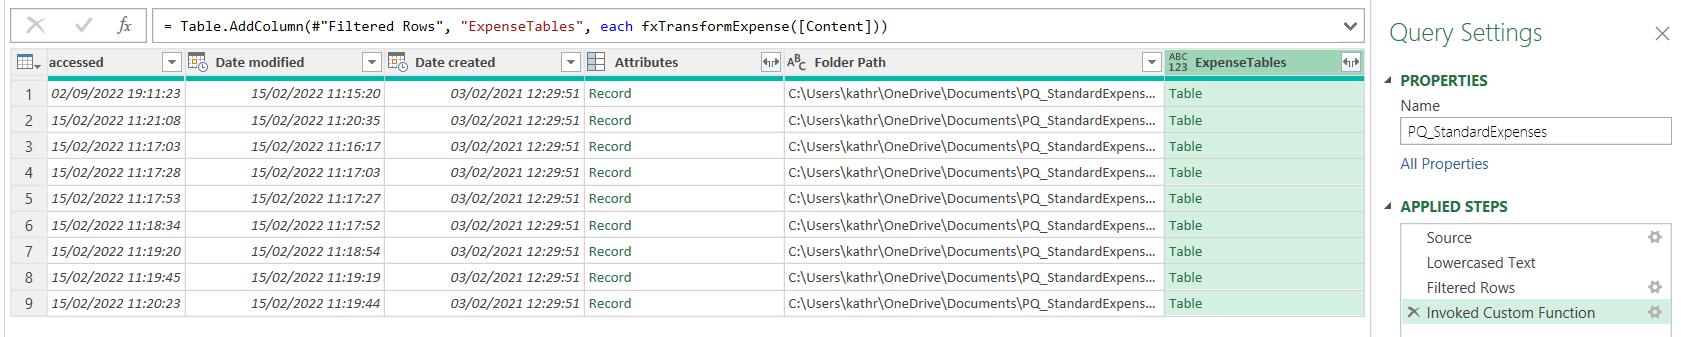
I choose the function I created and name the column. I want the function to act on the binary files in Content:

This gives me a new column:
The column has all the data I want, so I right-click and remove other columns, then I extract the data using the icon next to the title:
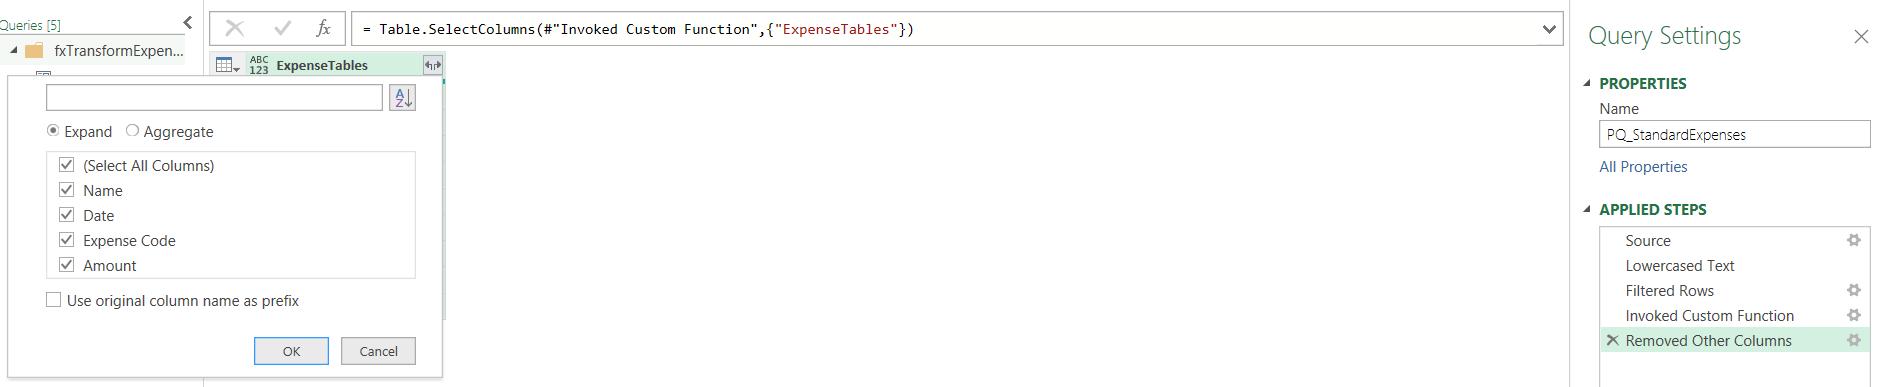
I want to keep all the columns, and use their original names with no prefix:
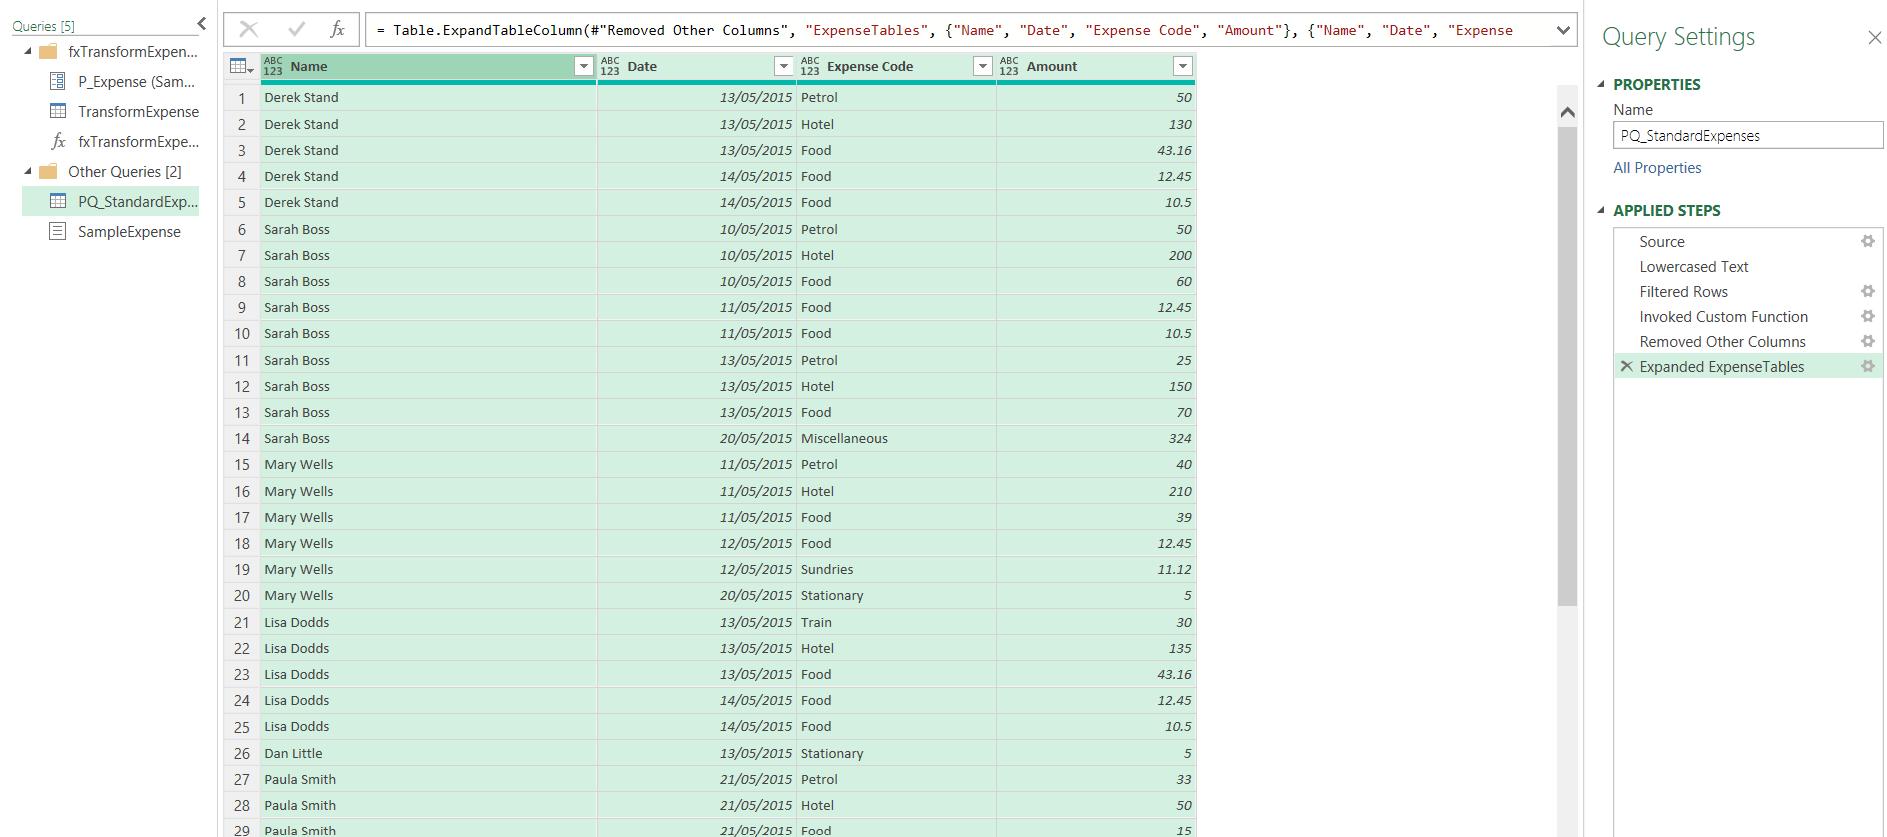
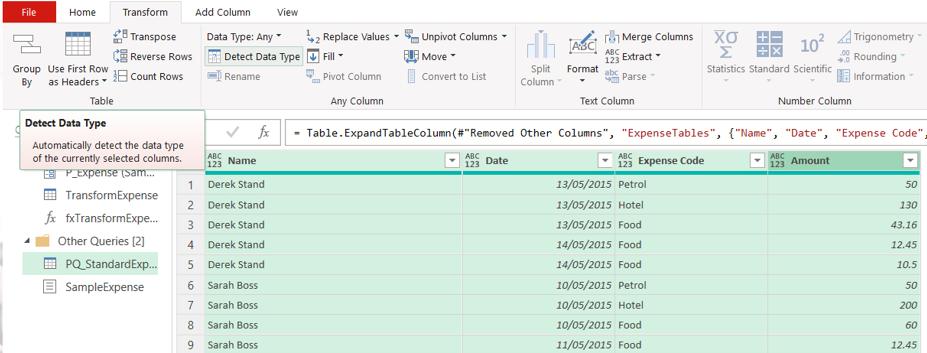
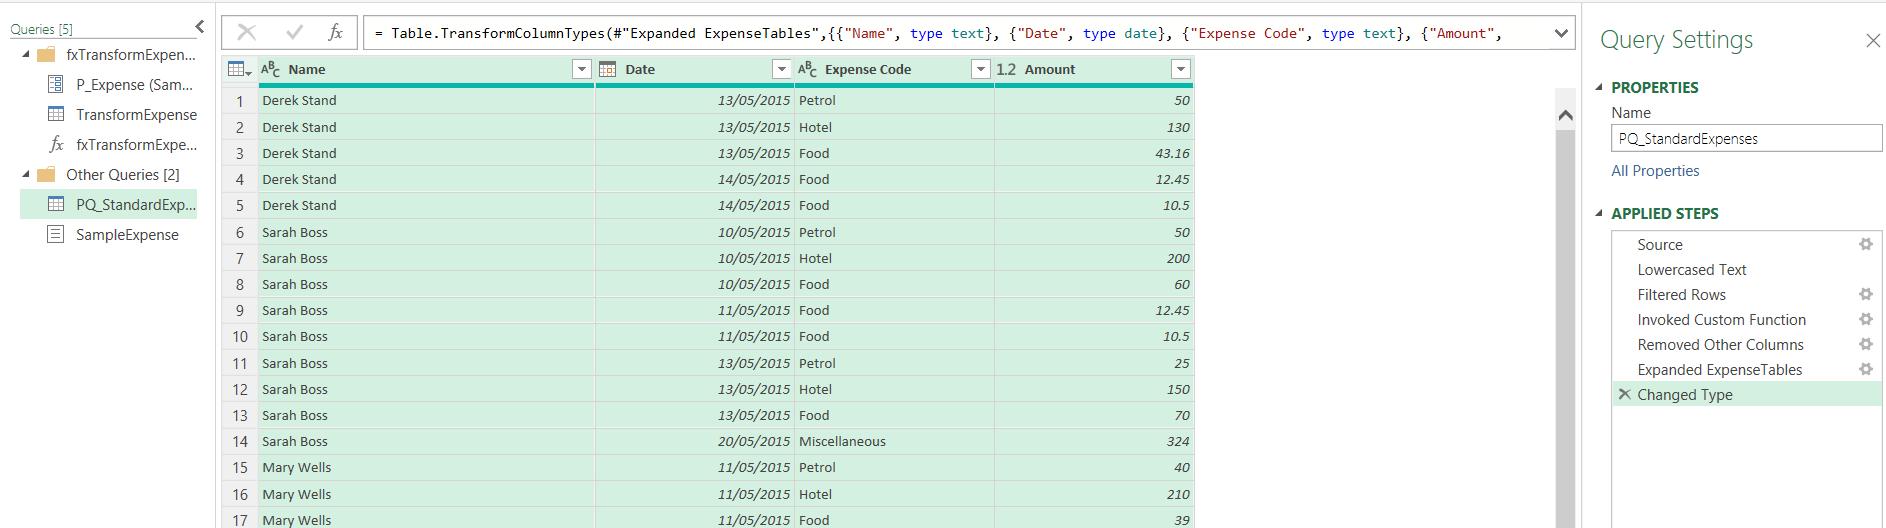
I have all my data, but I notice that the columns have not been given the correct Data Type, so I need to correct this before I load my data. Since this affects all the columns, I use ‘Detect Data Type’ from the Transform tab:
My data is now ready to load. Obviously for this data, creating a function and changing the files this way may seem like overkill, but the aim was to show the method for files requiring more transformations.
Come back next time for more ways to use Power Query!