
Power Query: Let It Be
3 October 2018
Welcome to our Power Query blog. This week, I look at (some of the most) simple M statements.
In readiness for the Intellisense, which is already in the Power BI M editor and hopefully coming to the Power Query / Get & Transform M editor very soon, I am looking at how to get to grips with M. I first visited the M language and the syntax required in Power Query: M-Body Personified, but the focus then was on understanding the M code generated. For this blog, I’ll start by looking at how basic a piece of M code can be.
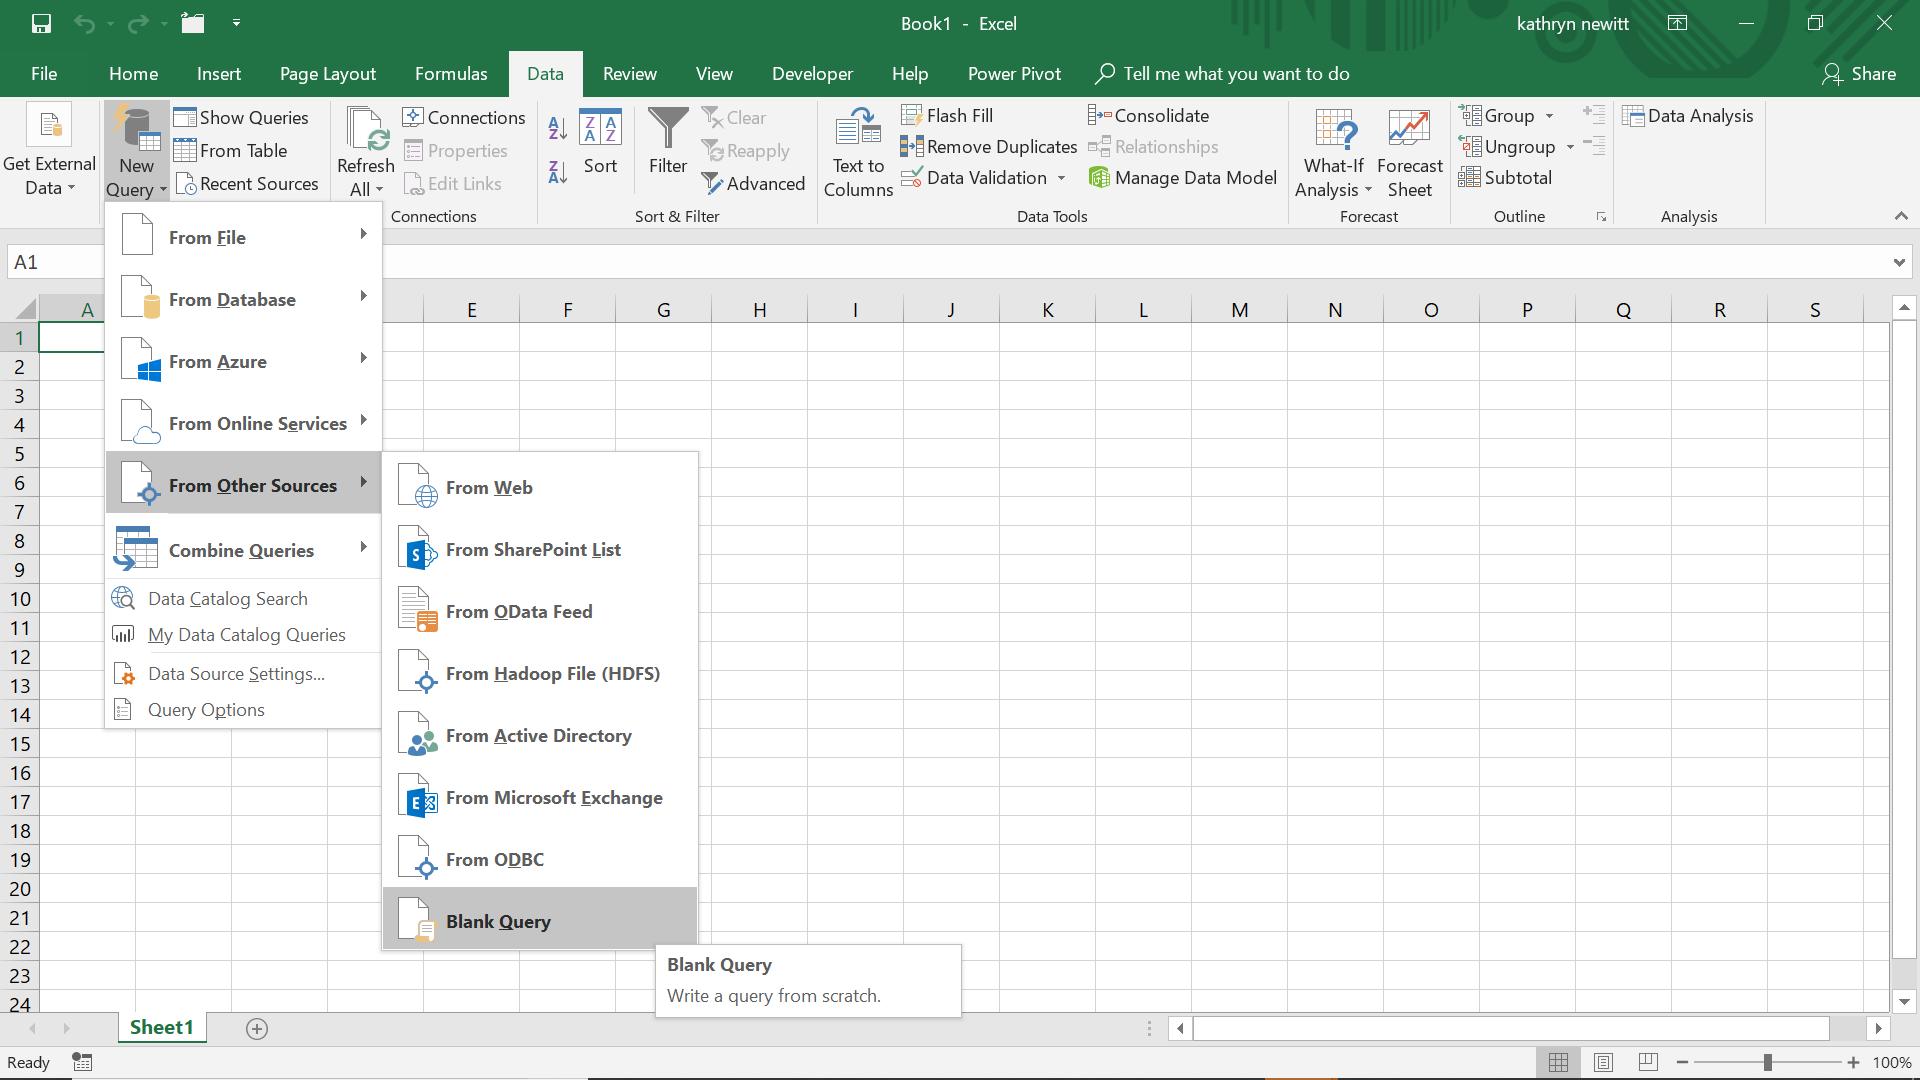
I start by creating a new blank query from the ‘New Query’ option on the ‘Get & Transform’ section of the ‘Data’ tab. In the ‘From Other Sources’ dropdown, I can choose to create a new ‘Blank Query’, viz.
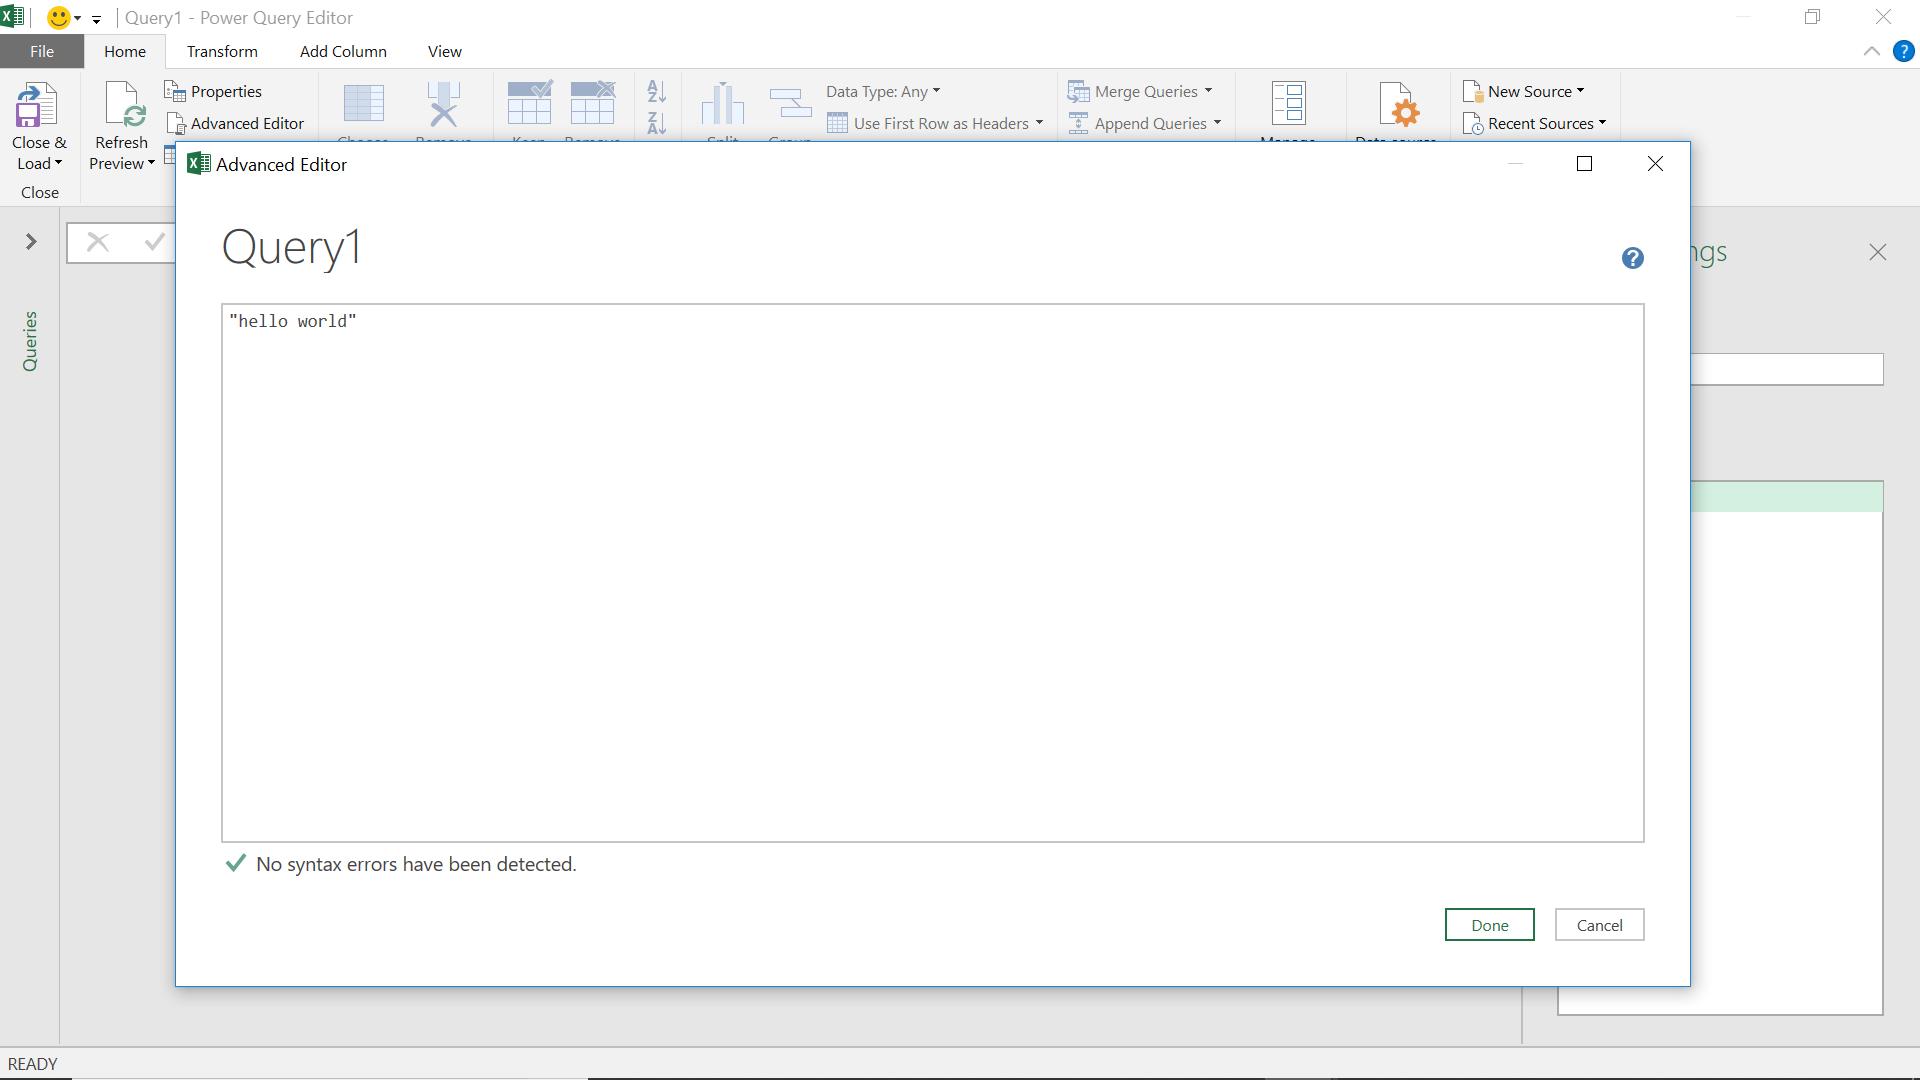
This gives rise to the following screen:

In the Advanced Editor, Power Query has automatically tried to define a source – this is because Power Query is most often used to clean up existing data from other sources. However, the source definition, and even a ‘let’ and ‘in’ statements, are not actually required.
So, what shall I do instead?
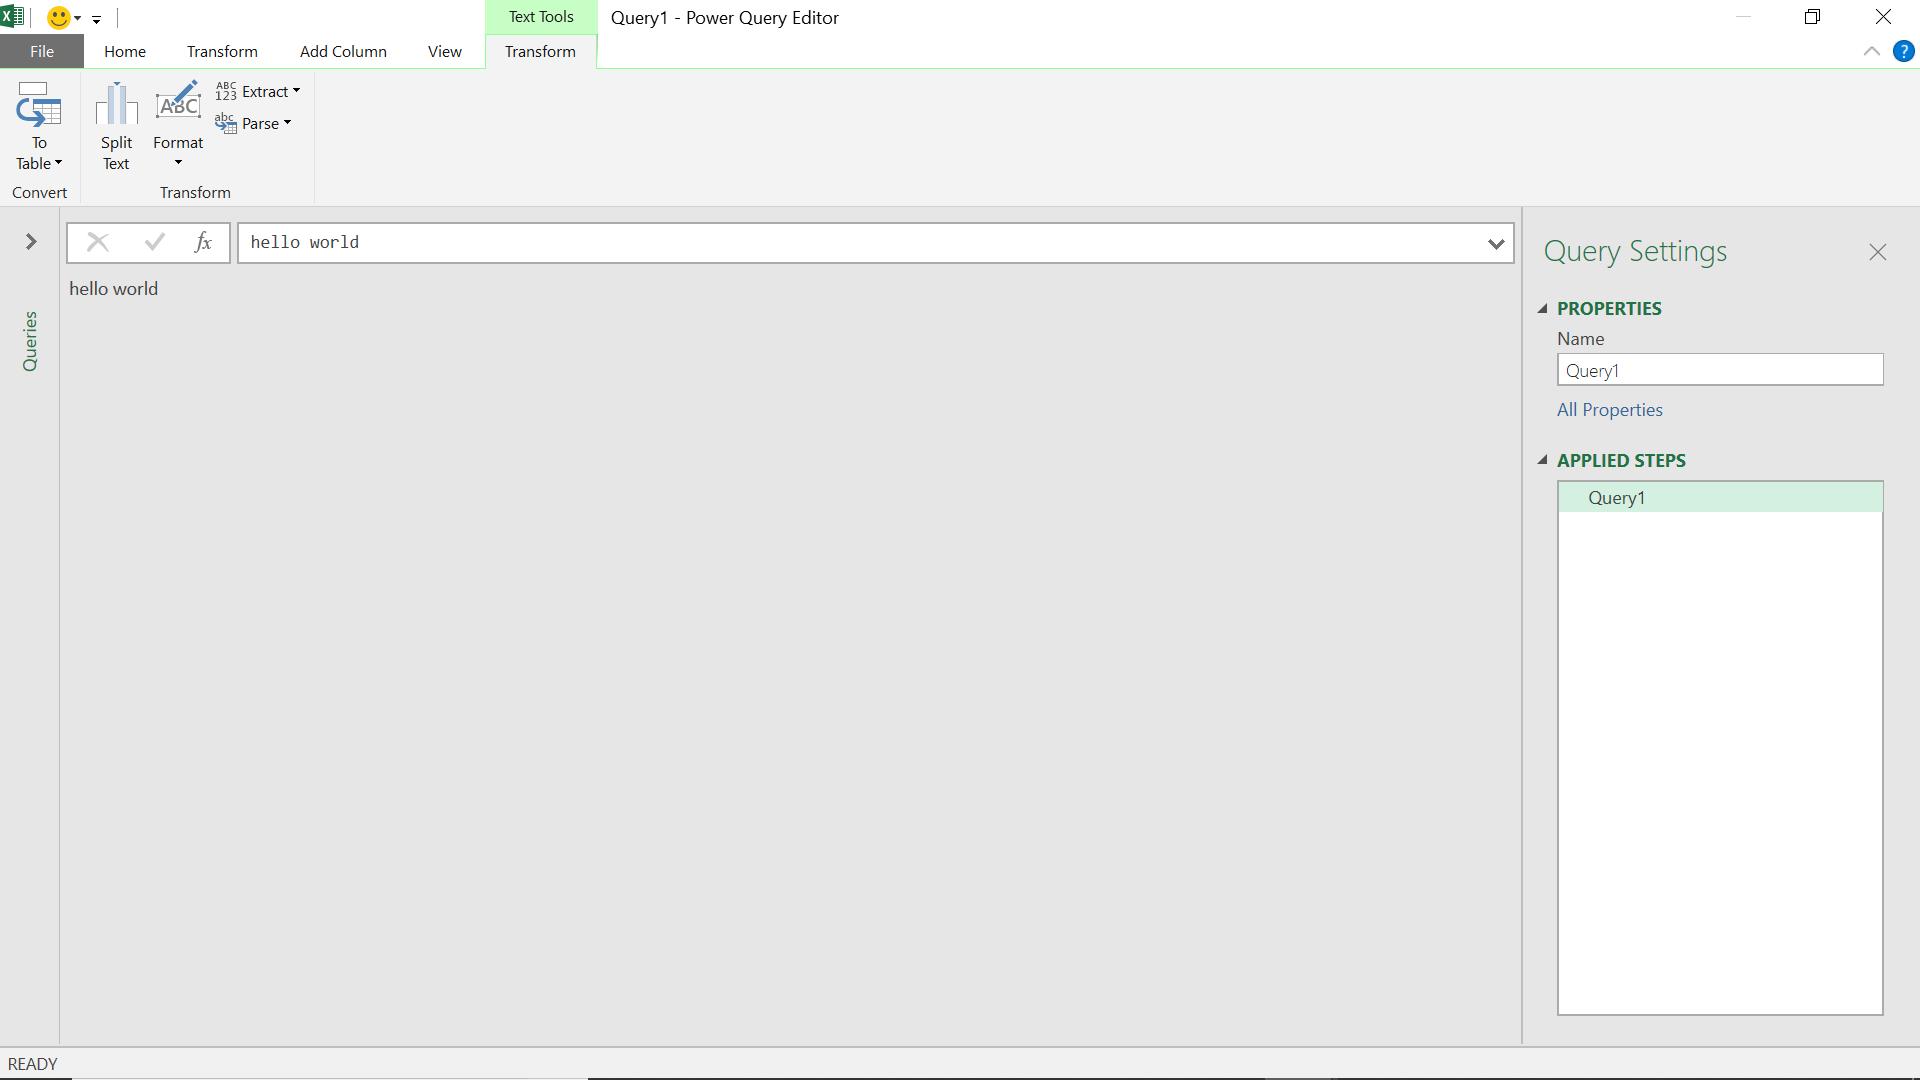
It’s good to stick with the classics! This is enough to be a complete piece of M code. If I click ‘Done’, the code will be executed:
So, the scarily complex M code can actually be very simple. I can make it slightly more complex…
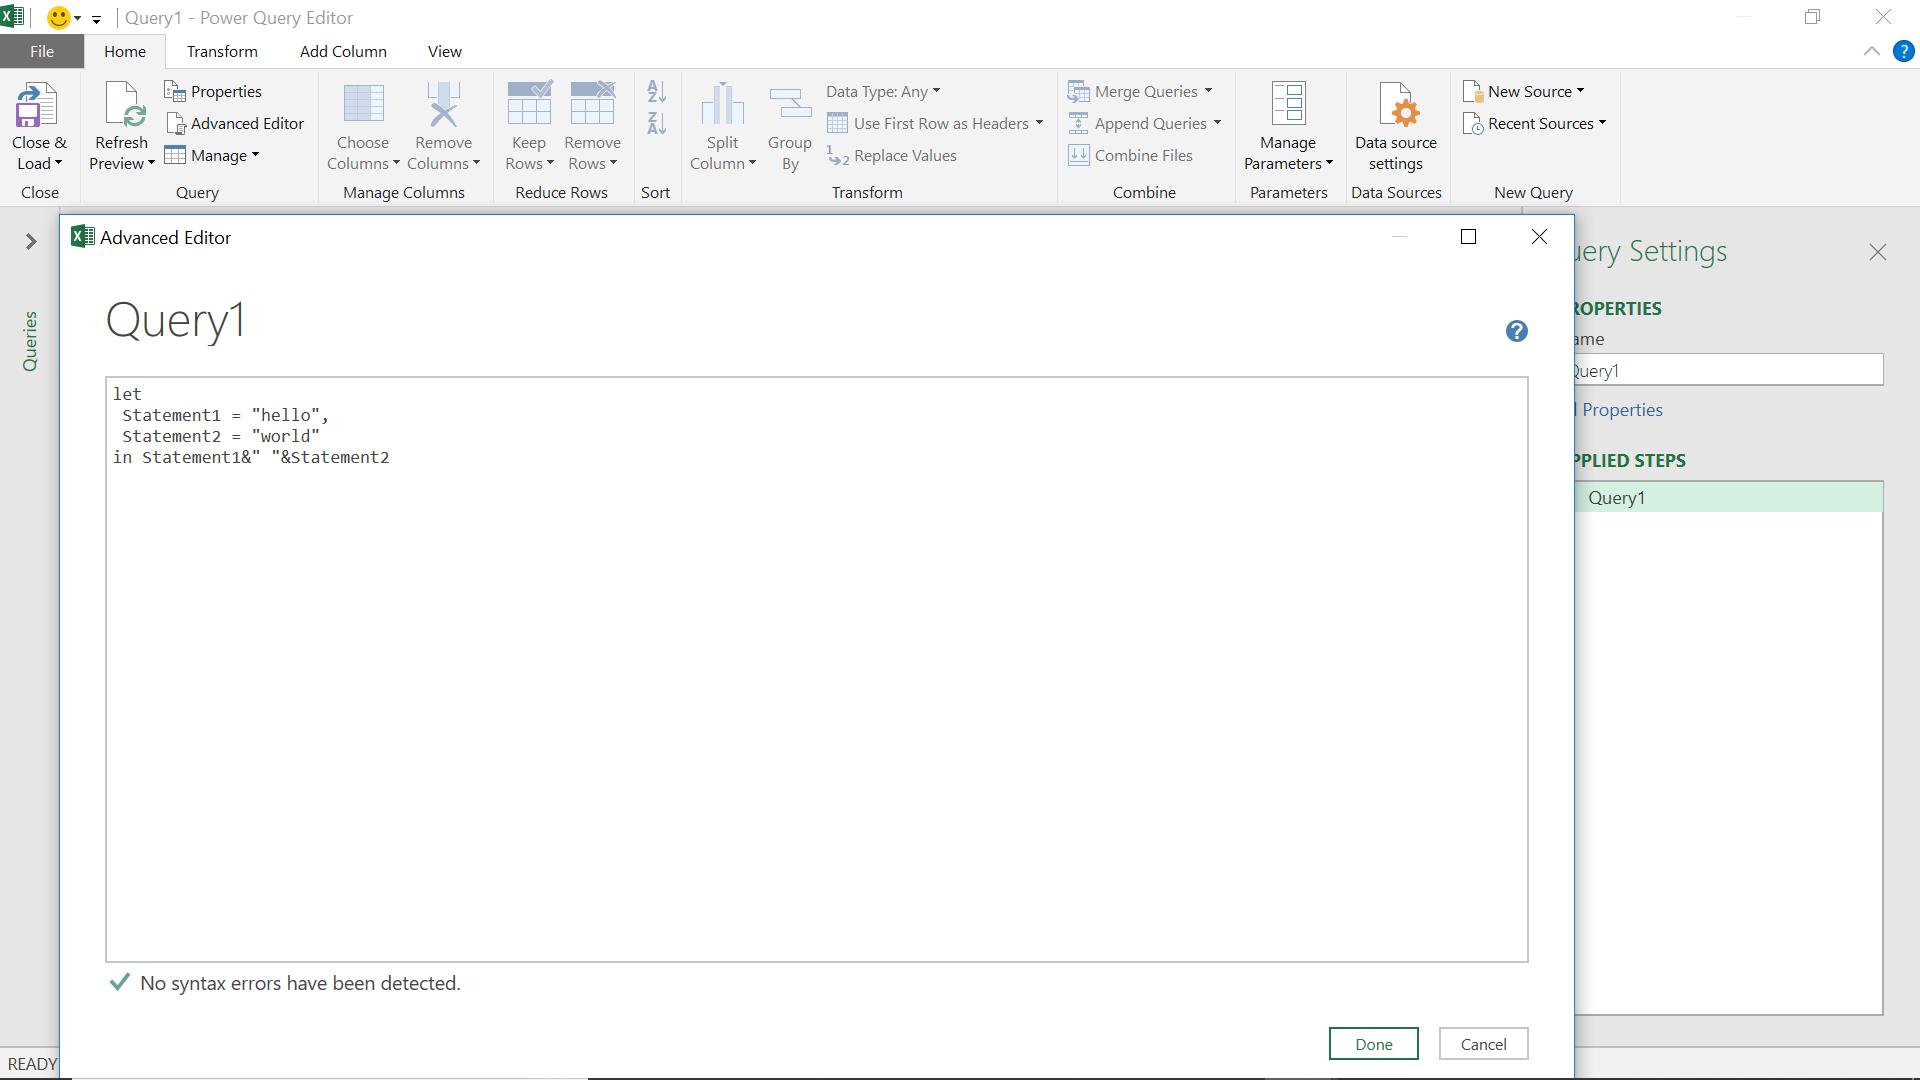
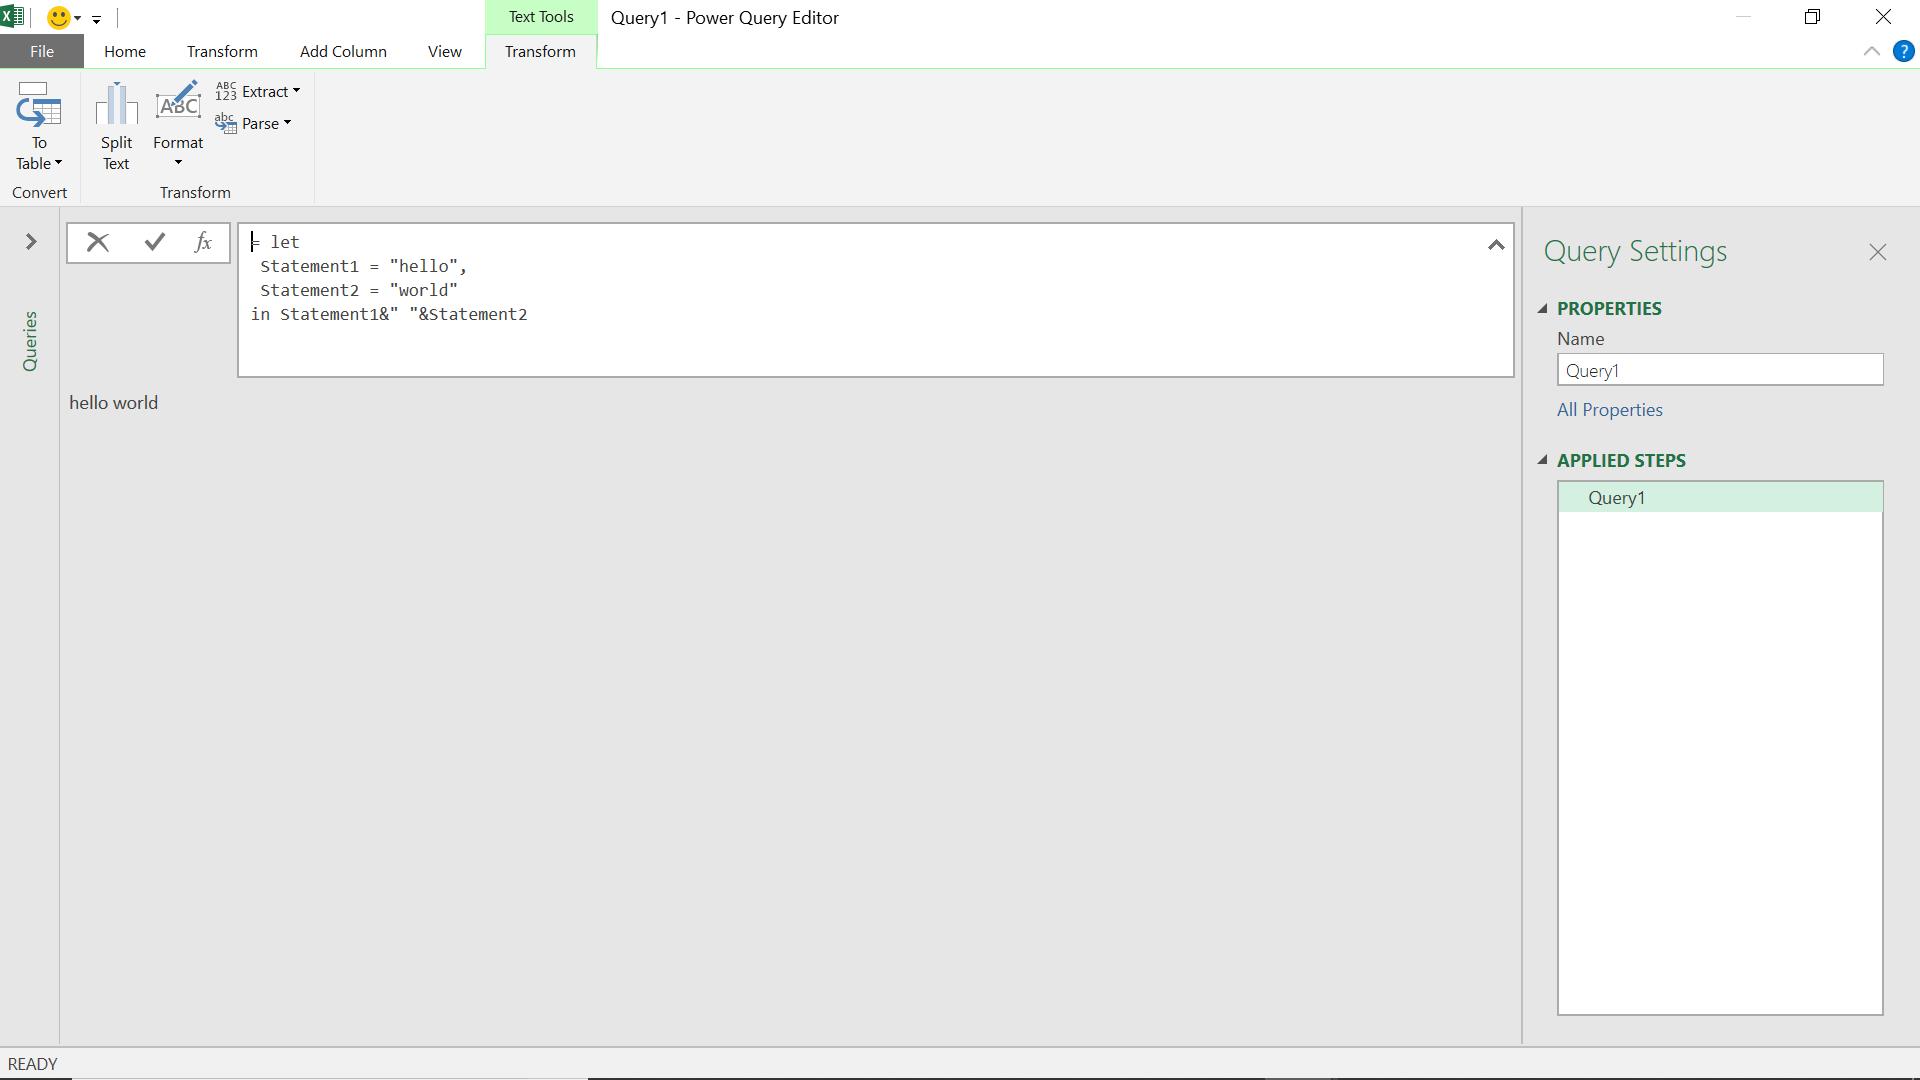
I have used the following M code
let
Statement1 = “hello”,
Statement2 = “world”
in Statement1&” “&Statement2
This creates variables – items which can have different values assigned to them. I create a variable called Statement1, which I give the value “hello” and then I create a variable Statement2, which I give the value “world’. The final ‘in’ statement contains the function, where I combine the variables, inserting a blank space between them. When I click ‘Done’ the result looks familiar:
I have created the same result using variables. However, in typical generated code, the ‘in’ statement doesn’t usually contain a function. So, let’s make amends.
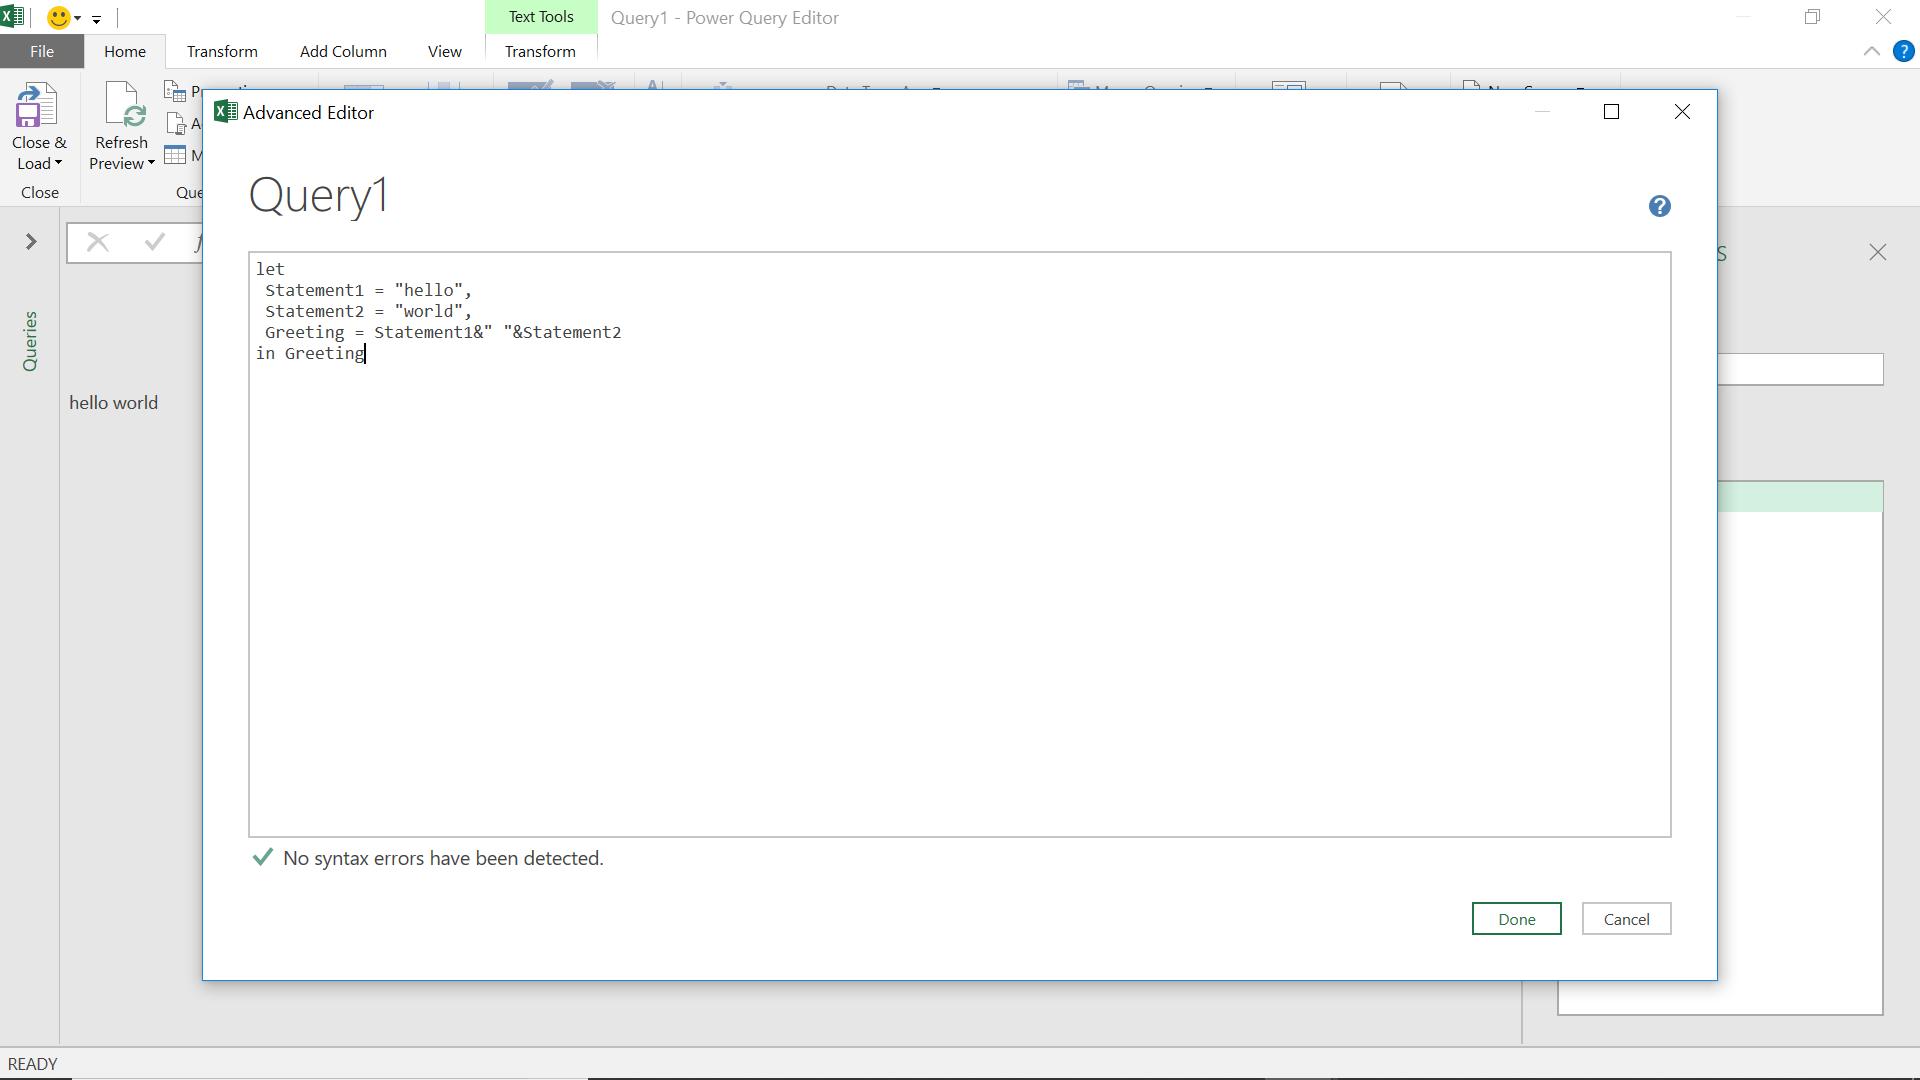
let
Statement1 = “hello”,
Statement2 = “world”
Greeting = Statement1&” “&Statement2
in Greeting
This format looks more like the Power Query generated code, and should give the same result when I click ‘Done’:
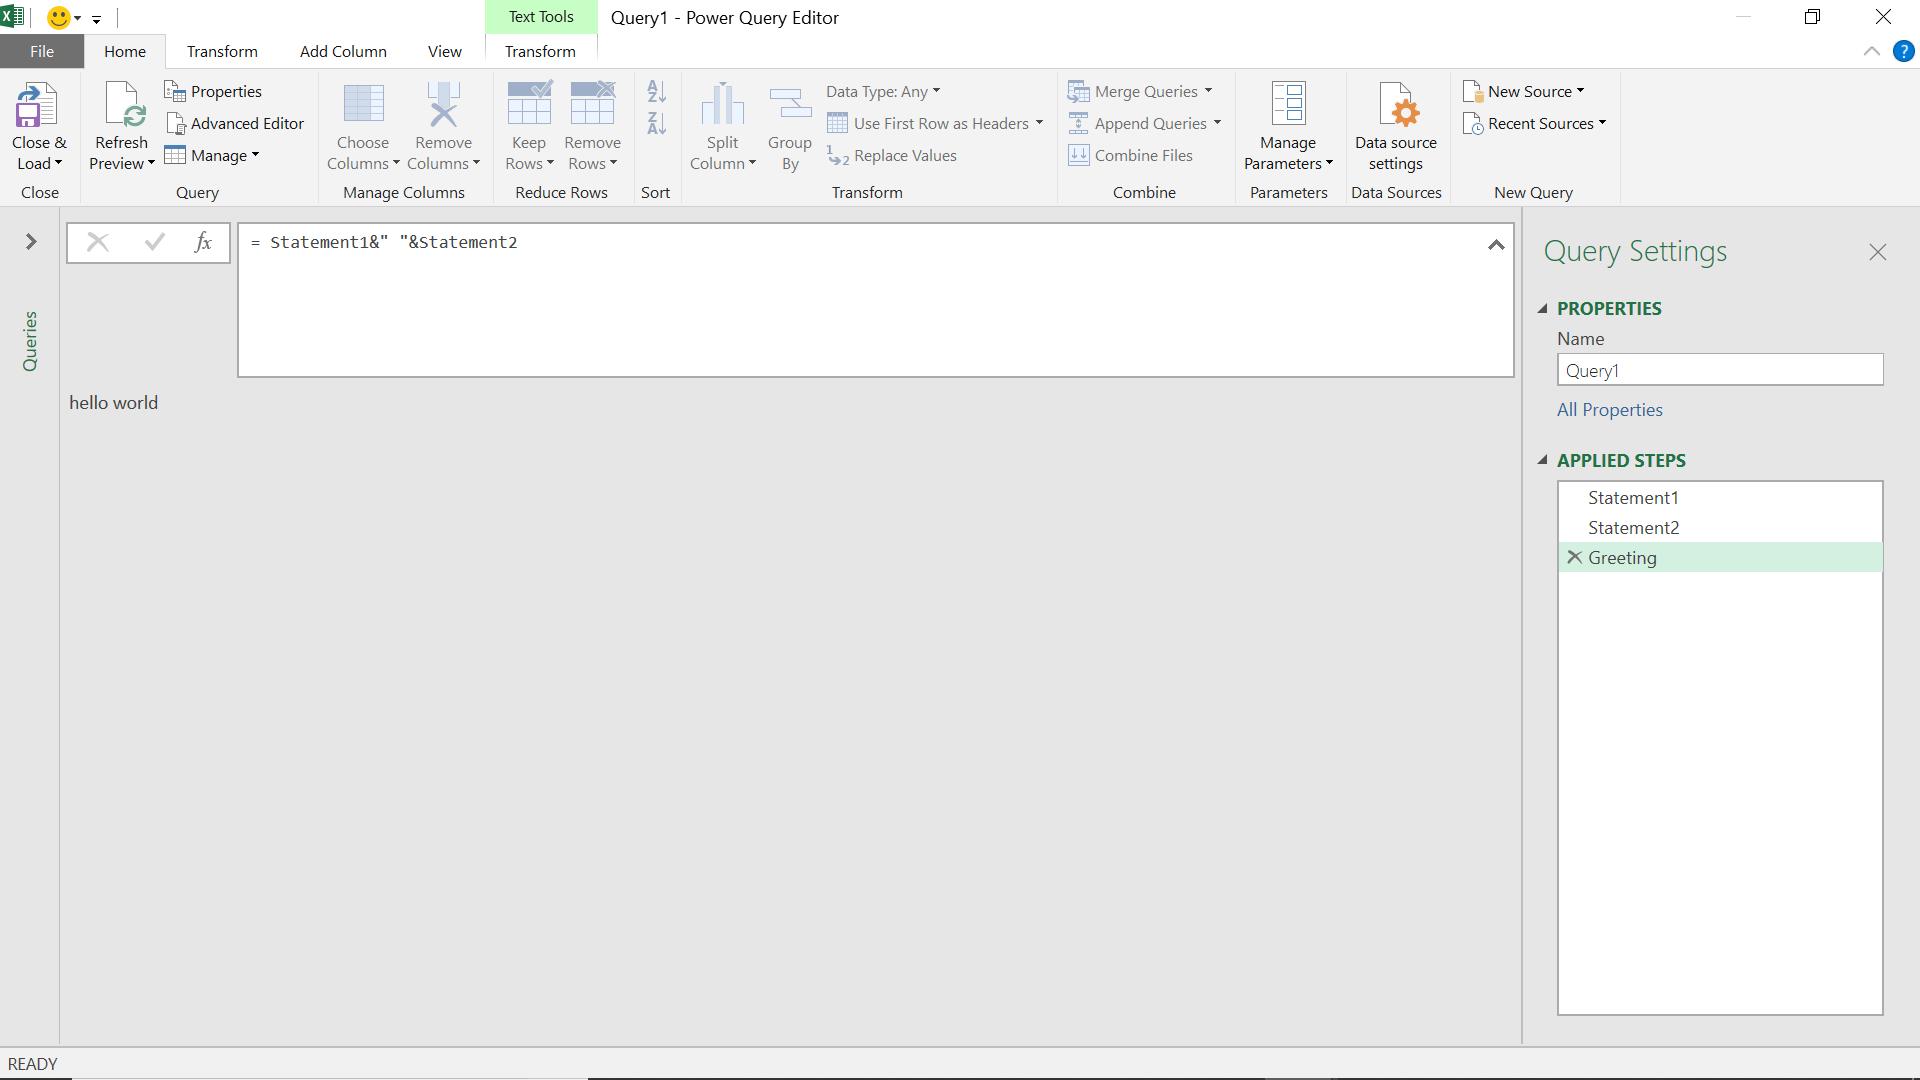
It is the same result on the main screen, but in the applied steps, there are now three – I define Statement1, then I define Statement2, then I put them together in Greeting. This makes it much easier to edit my steps without going to the main editor, and the sequence of my logic is clear to other users. These steps are created by Power Query if the ‘in’ step has a single function associated with it. In order to get the most out of Power Query’s built-in features, it’s best to mimic the way that Power Query creates M code.
Variable creation can be nested – this is like having boxes within boxes. I can take my ‘hello world’ box and put in in another variable:
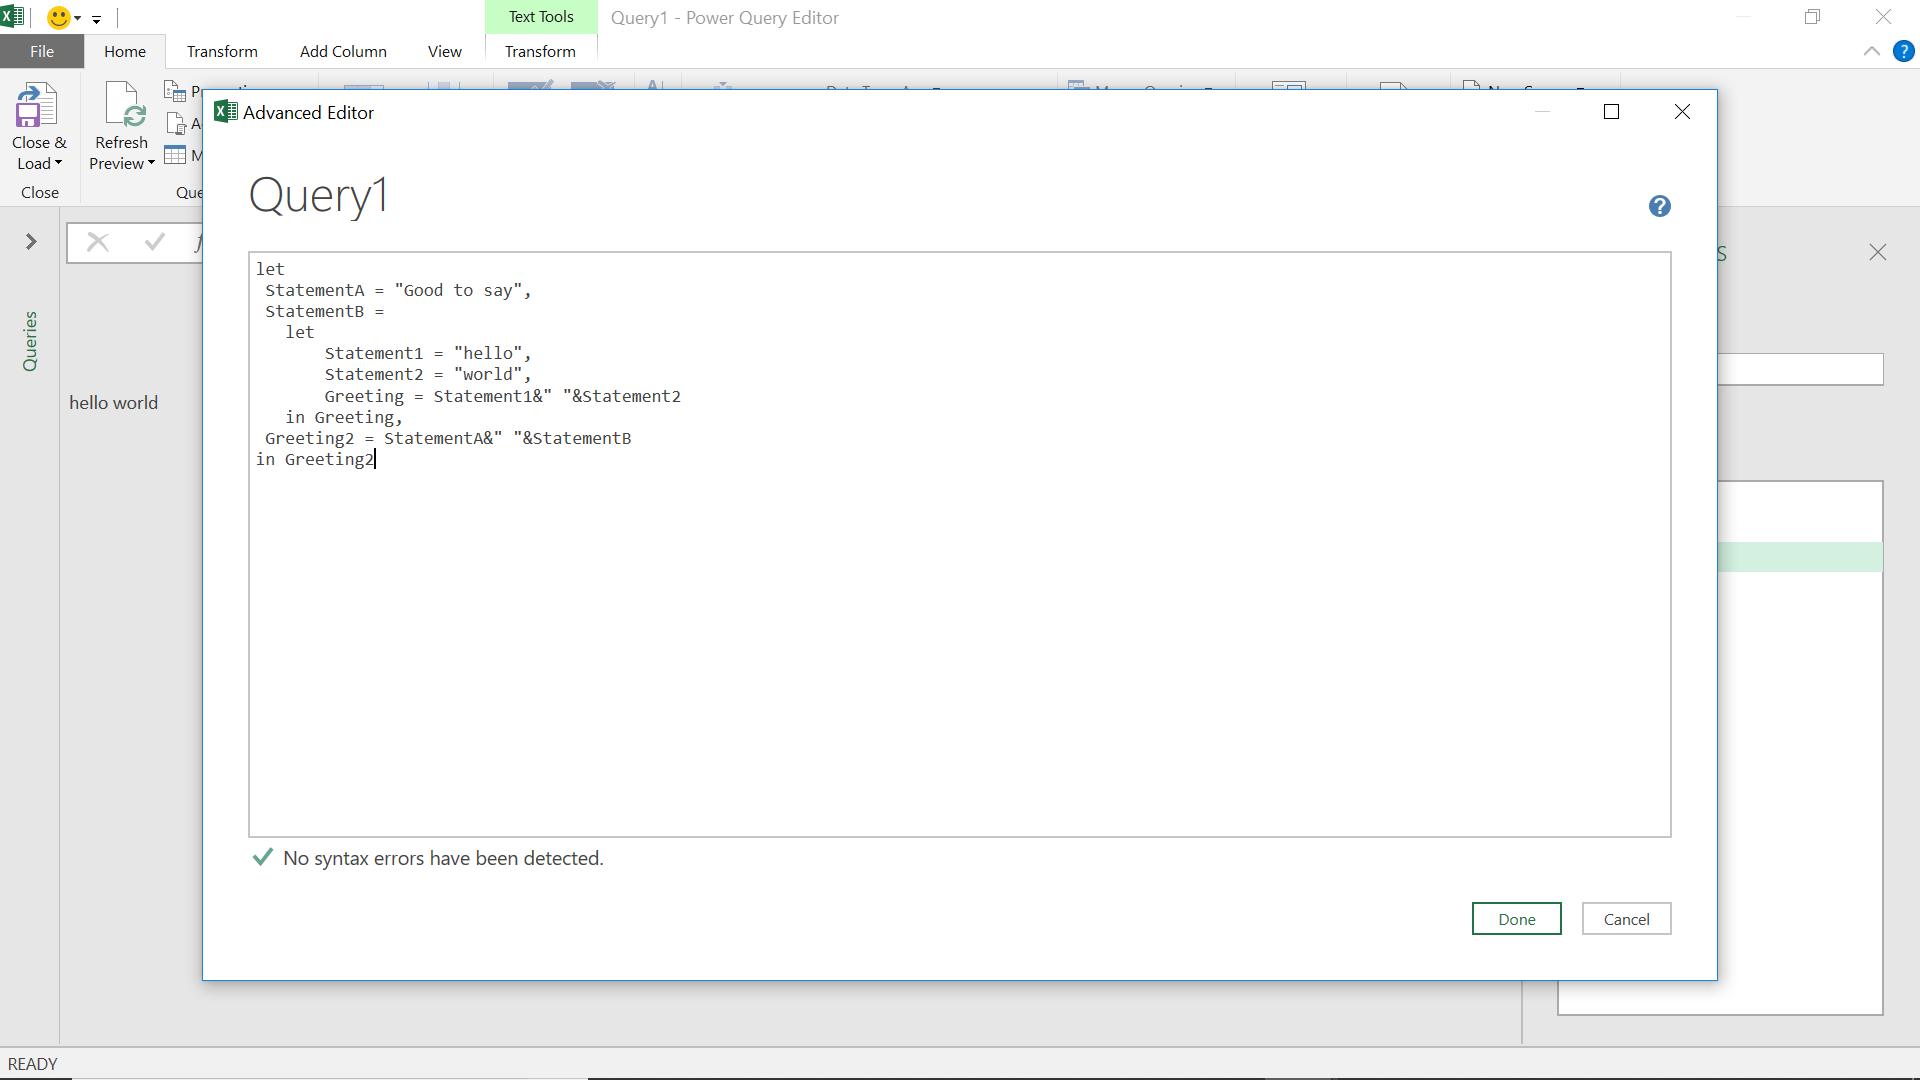
let
StatementA = “Good to say”
StatementB =
let
Statement1 = “hello”,
Statement2 = “world”
Greeting = Statement1&” “&Statement2
in Greeting,
Greeting2 = StatementA&” “&StatementB
in Greeting2
I have nested my ‘hello world’ box in a bigger statement.
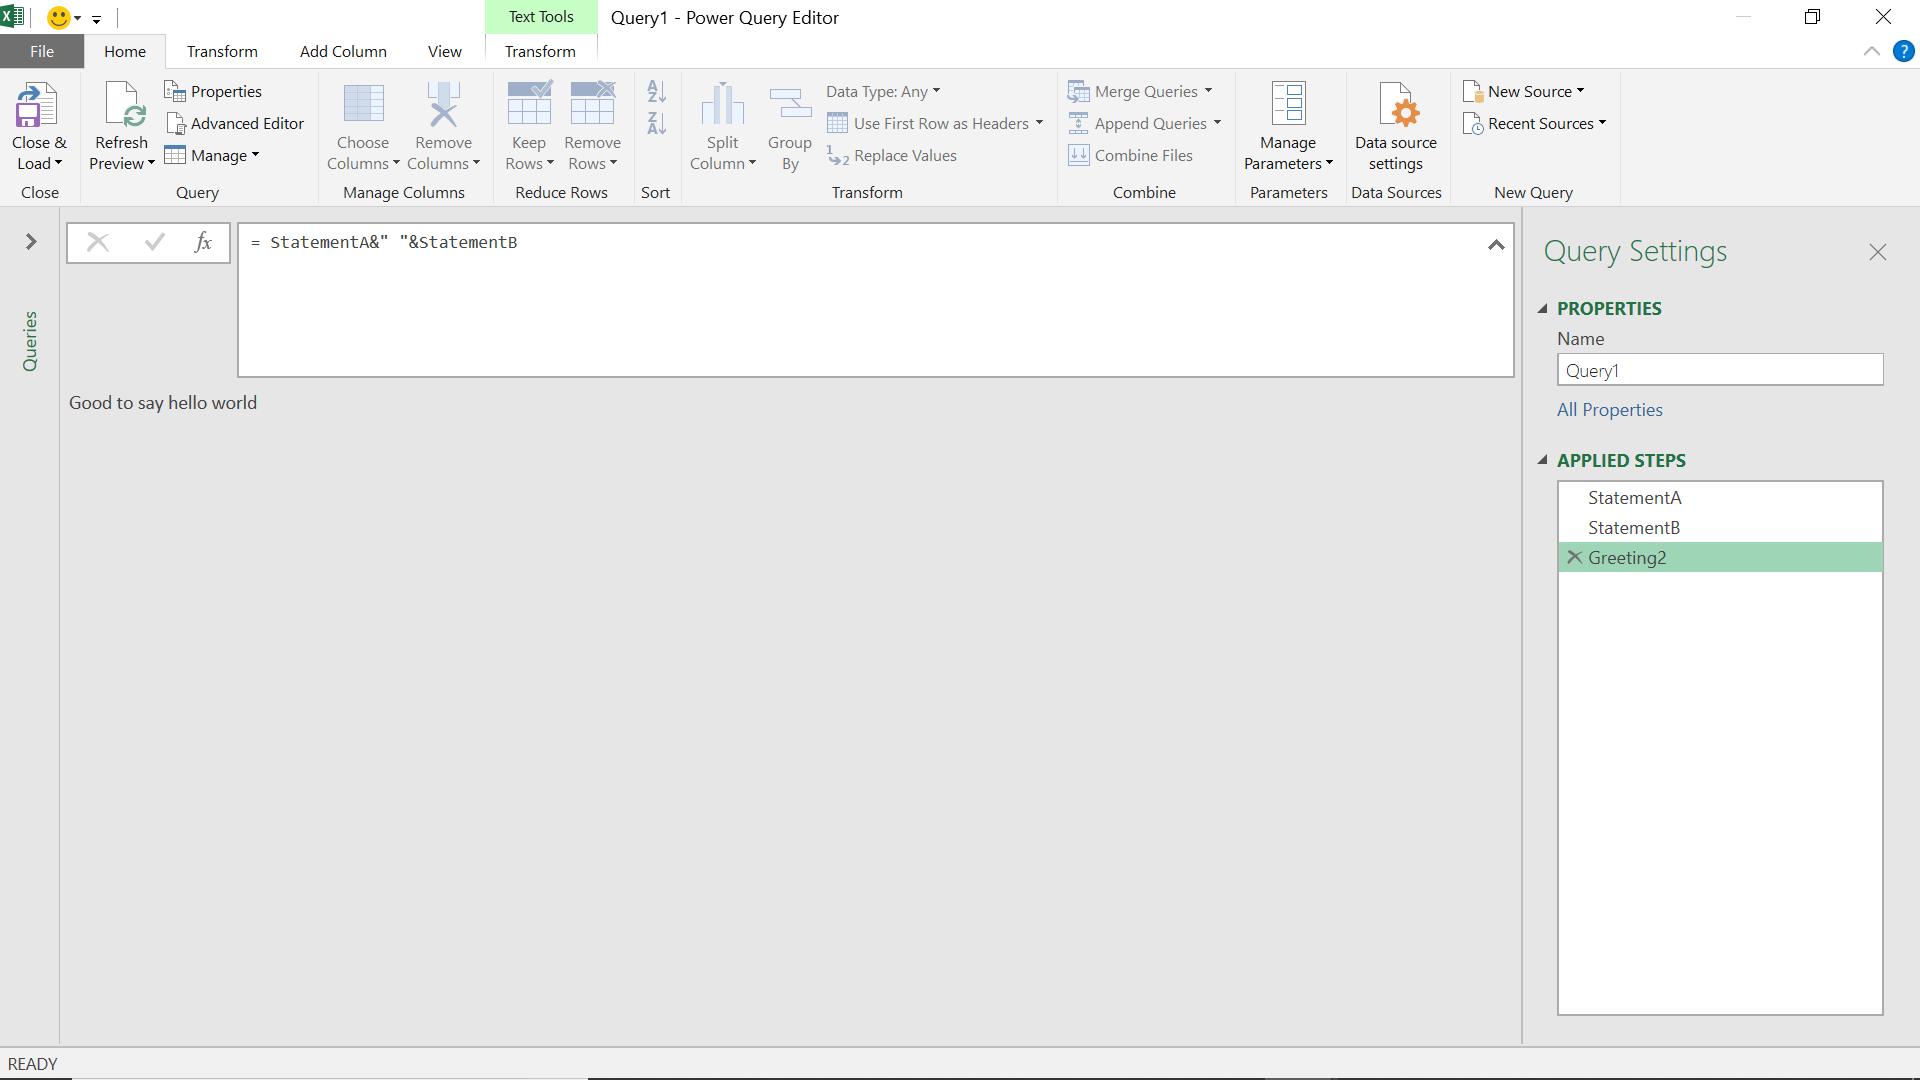
My longer phrase appears. Nesting removes the steps in the nested box from the ‘Applied Steps’ list. This can make queries appear simpler as well as organising the M code in the editor – it really depends upon what I am trying to achieve.
There is of course much more to M code, and I will be demystifying other aspects in future blogs.
Come back next time for more ways to use Power Query!