
Power Query: Even More Fun with (Un)Pivot
25 December 2019
Welcome to our Power Query blog. This week, I look at another example of unpivoting.
John, my imaginary salesperson, has been creative with his accounts yet again.
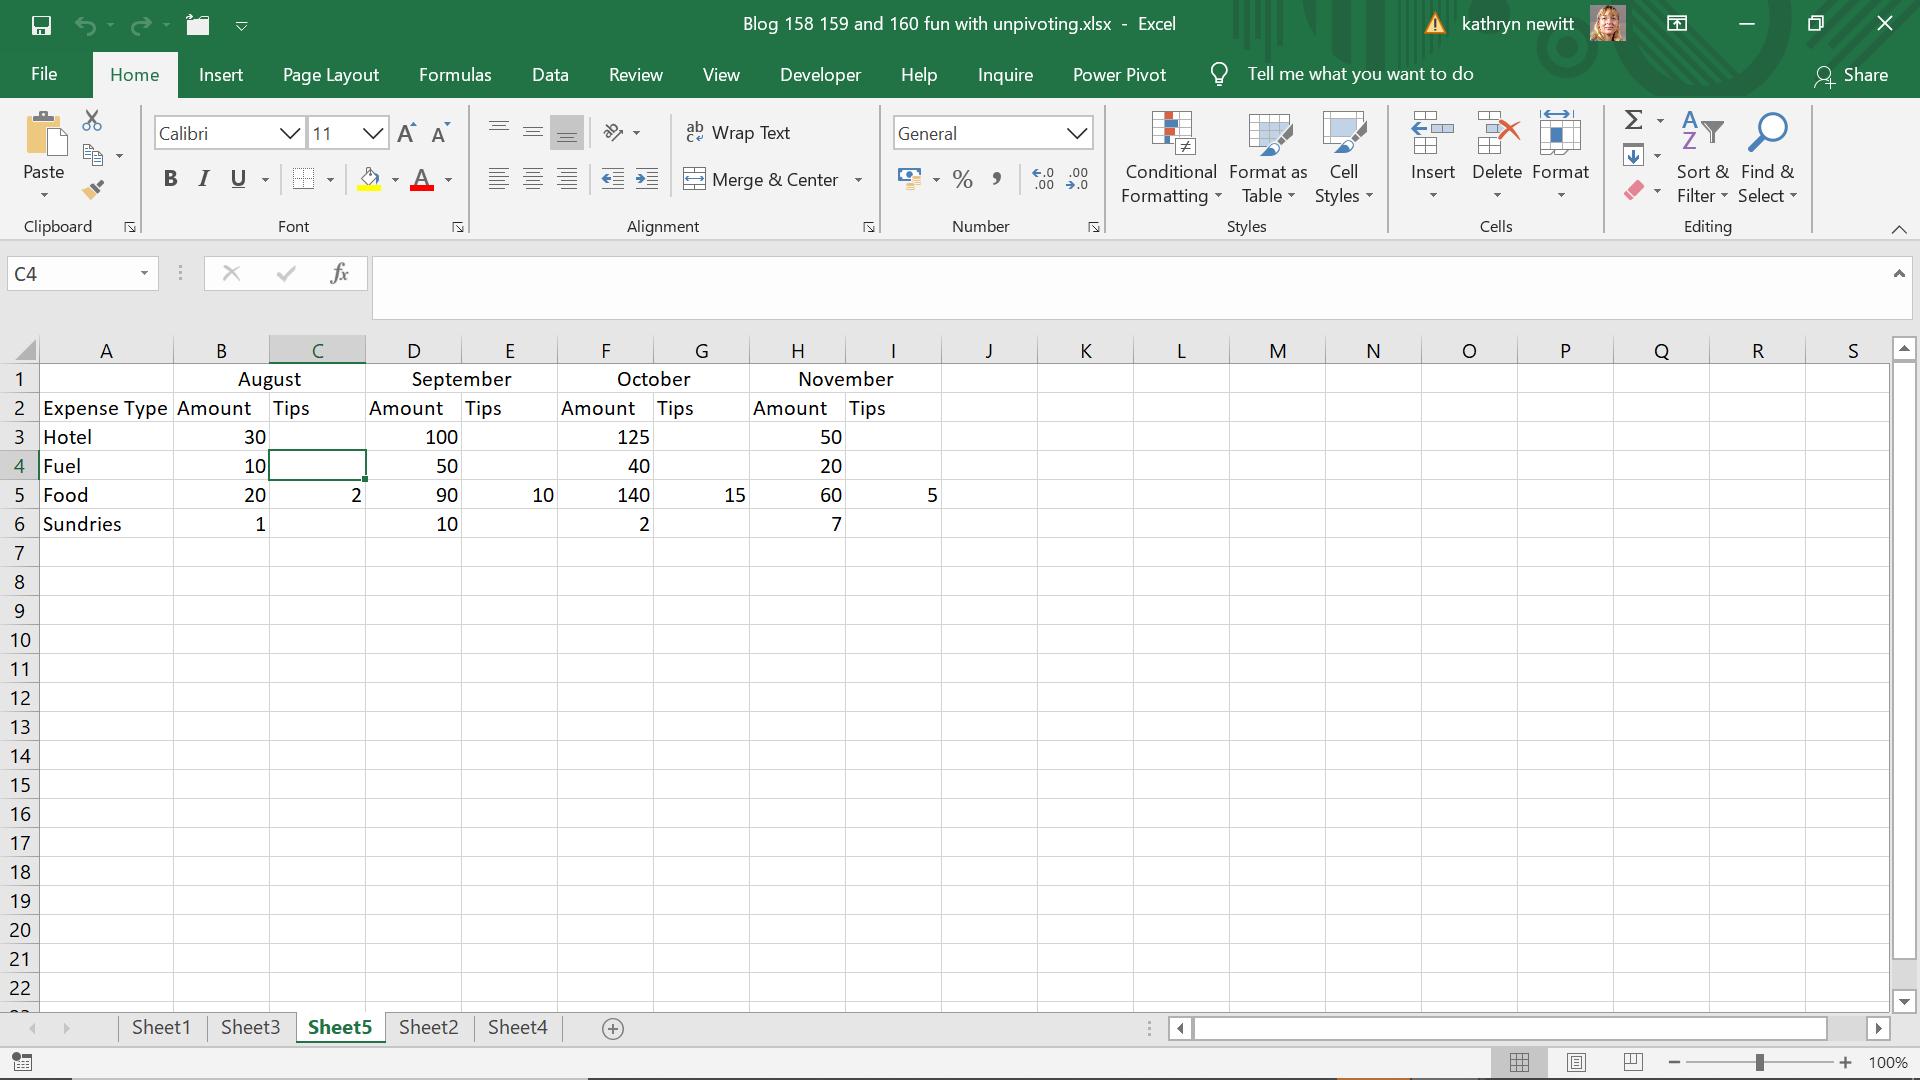
This time, John has decided to use two layers of titles. This does not work well with Excel or Power Query tables, so I have some transforming to do. I’d like to see a column for months, a column for amount and a column for tips – that way it’s much easier to add future data.
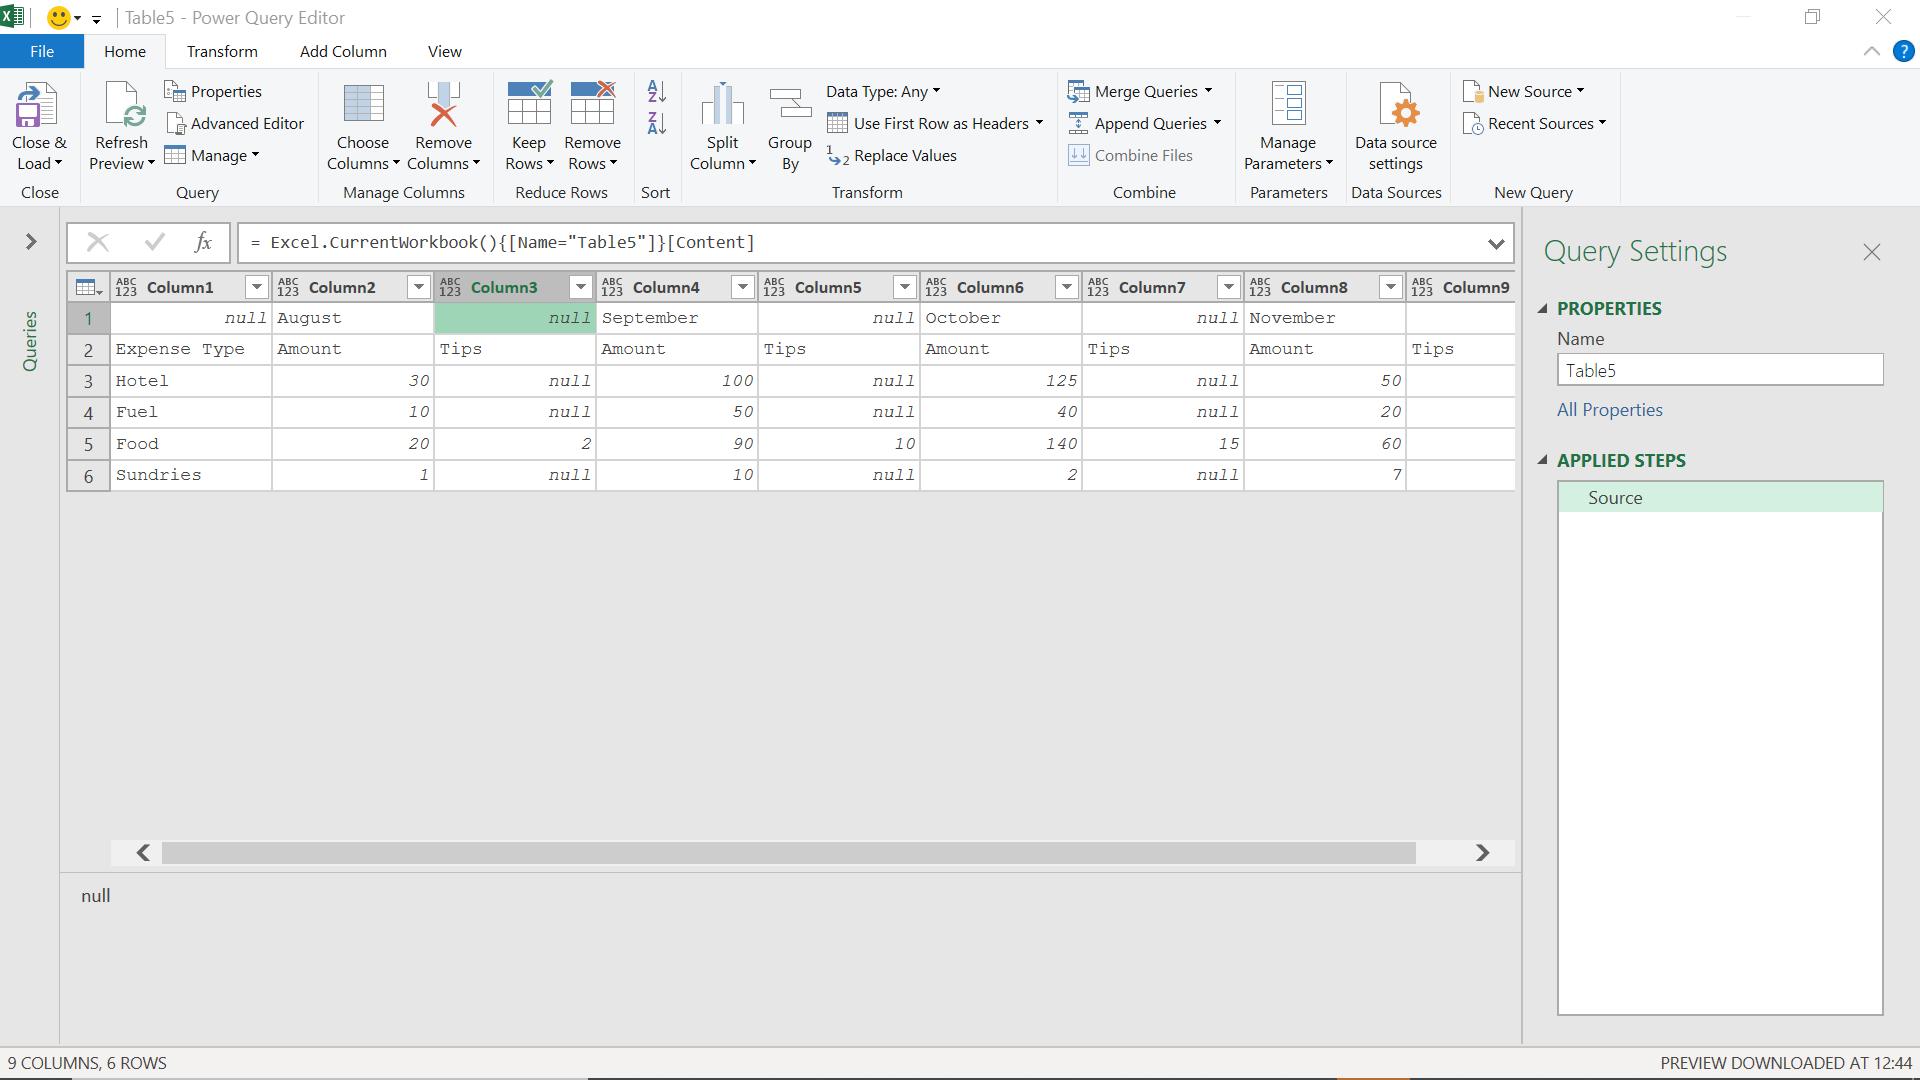
I start by extracting the data into Power Query using the ‘From Table’ option on the ‘Get & Transform’ section of the ‘Data’ tab. Since there are two layers of titles, I opt not to set anything as the column headers at this point.

This gives me all my data in columns.
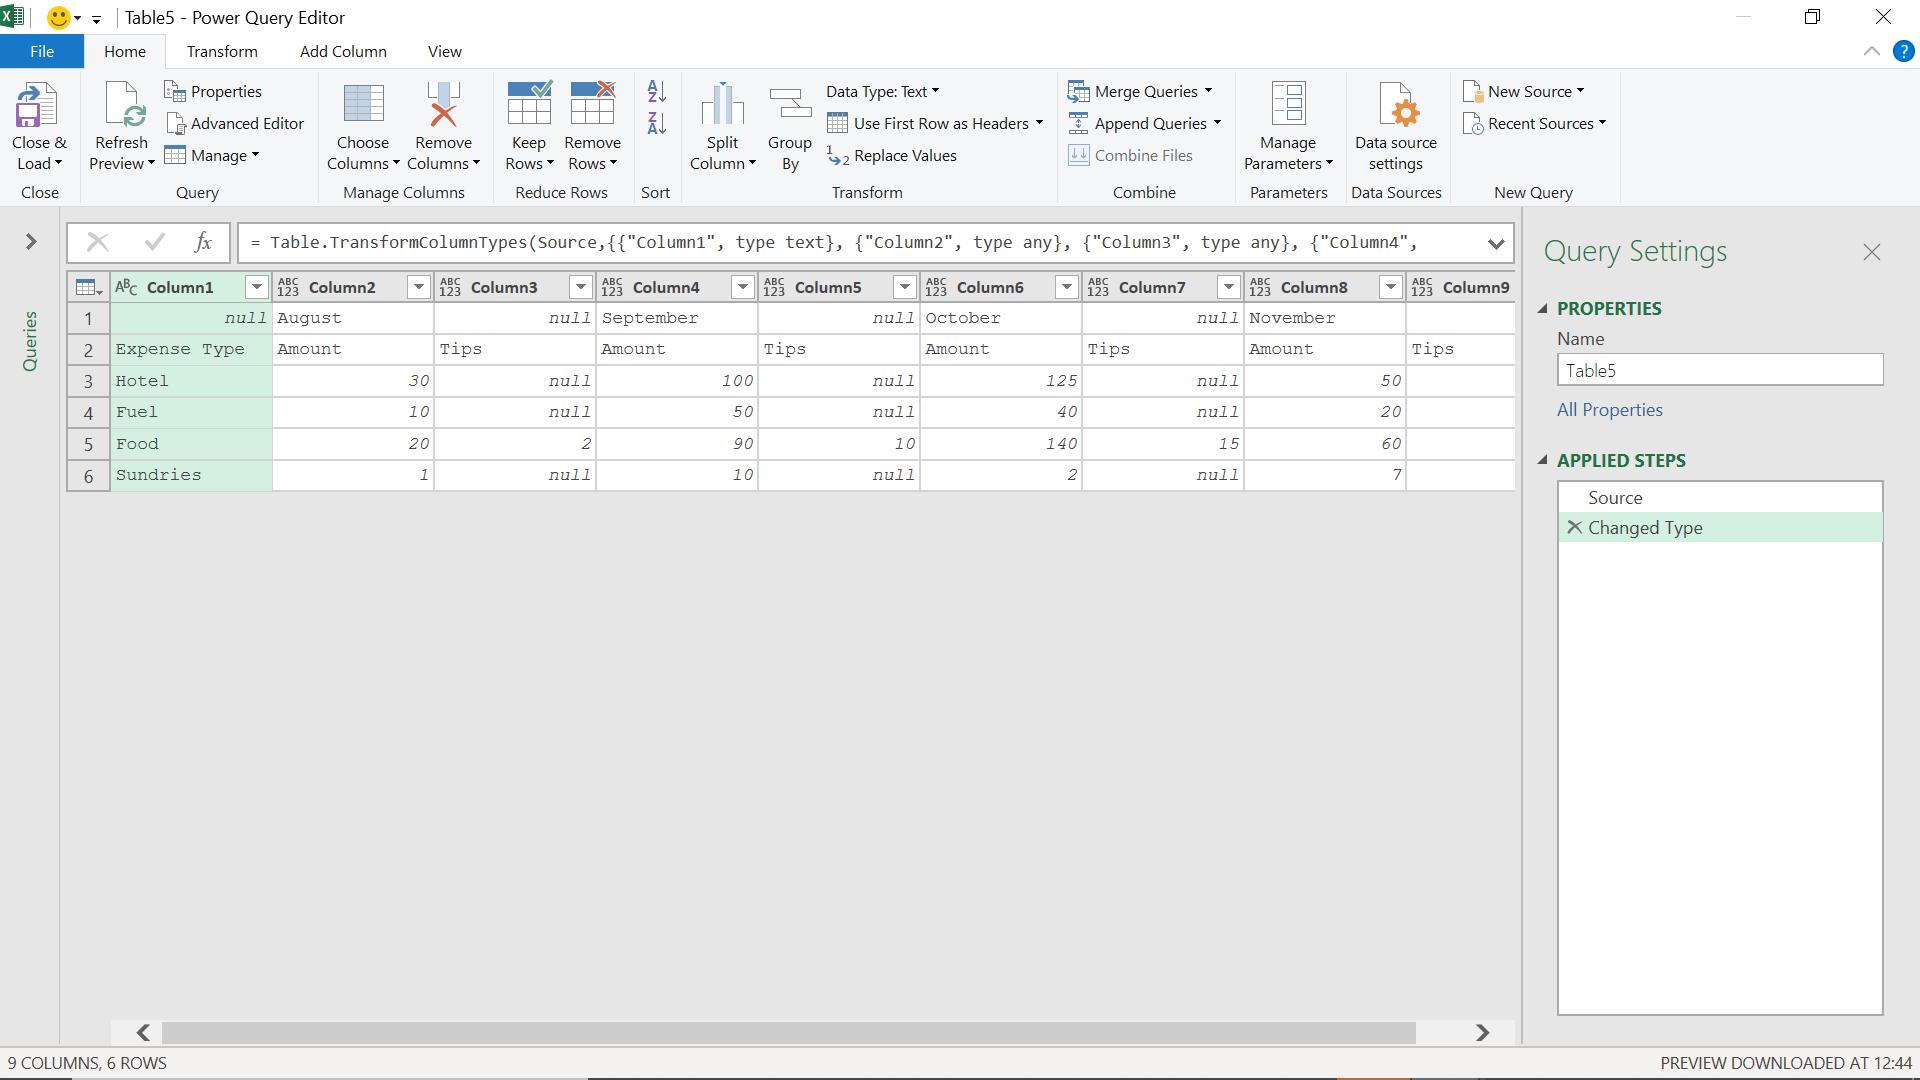
As last week, I will remove the ‘Changed Type’ step. It really doesn’t have much value since I have so much transforming to do, and it refers to specific column names – I need to allow for adding extra columns for other months.
= Table.TransformColumnTypes(Source,{{"Column1", type text}, {"Column2", type any}, {"Column3", type any}, {"Column4", type any}, {"Column5", type any}, {"Column6", type any}, {"Column7", type any}, {"Column8", type any}, {"Column9", type any}})
I delete this step.
I need to fill across my months so that each month is attached to the ‘Tips’ title as well as the ‘Amount’. However, there is no ‘Fill Across’ that I can use. I need to transform my data so that I can fill it.
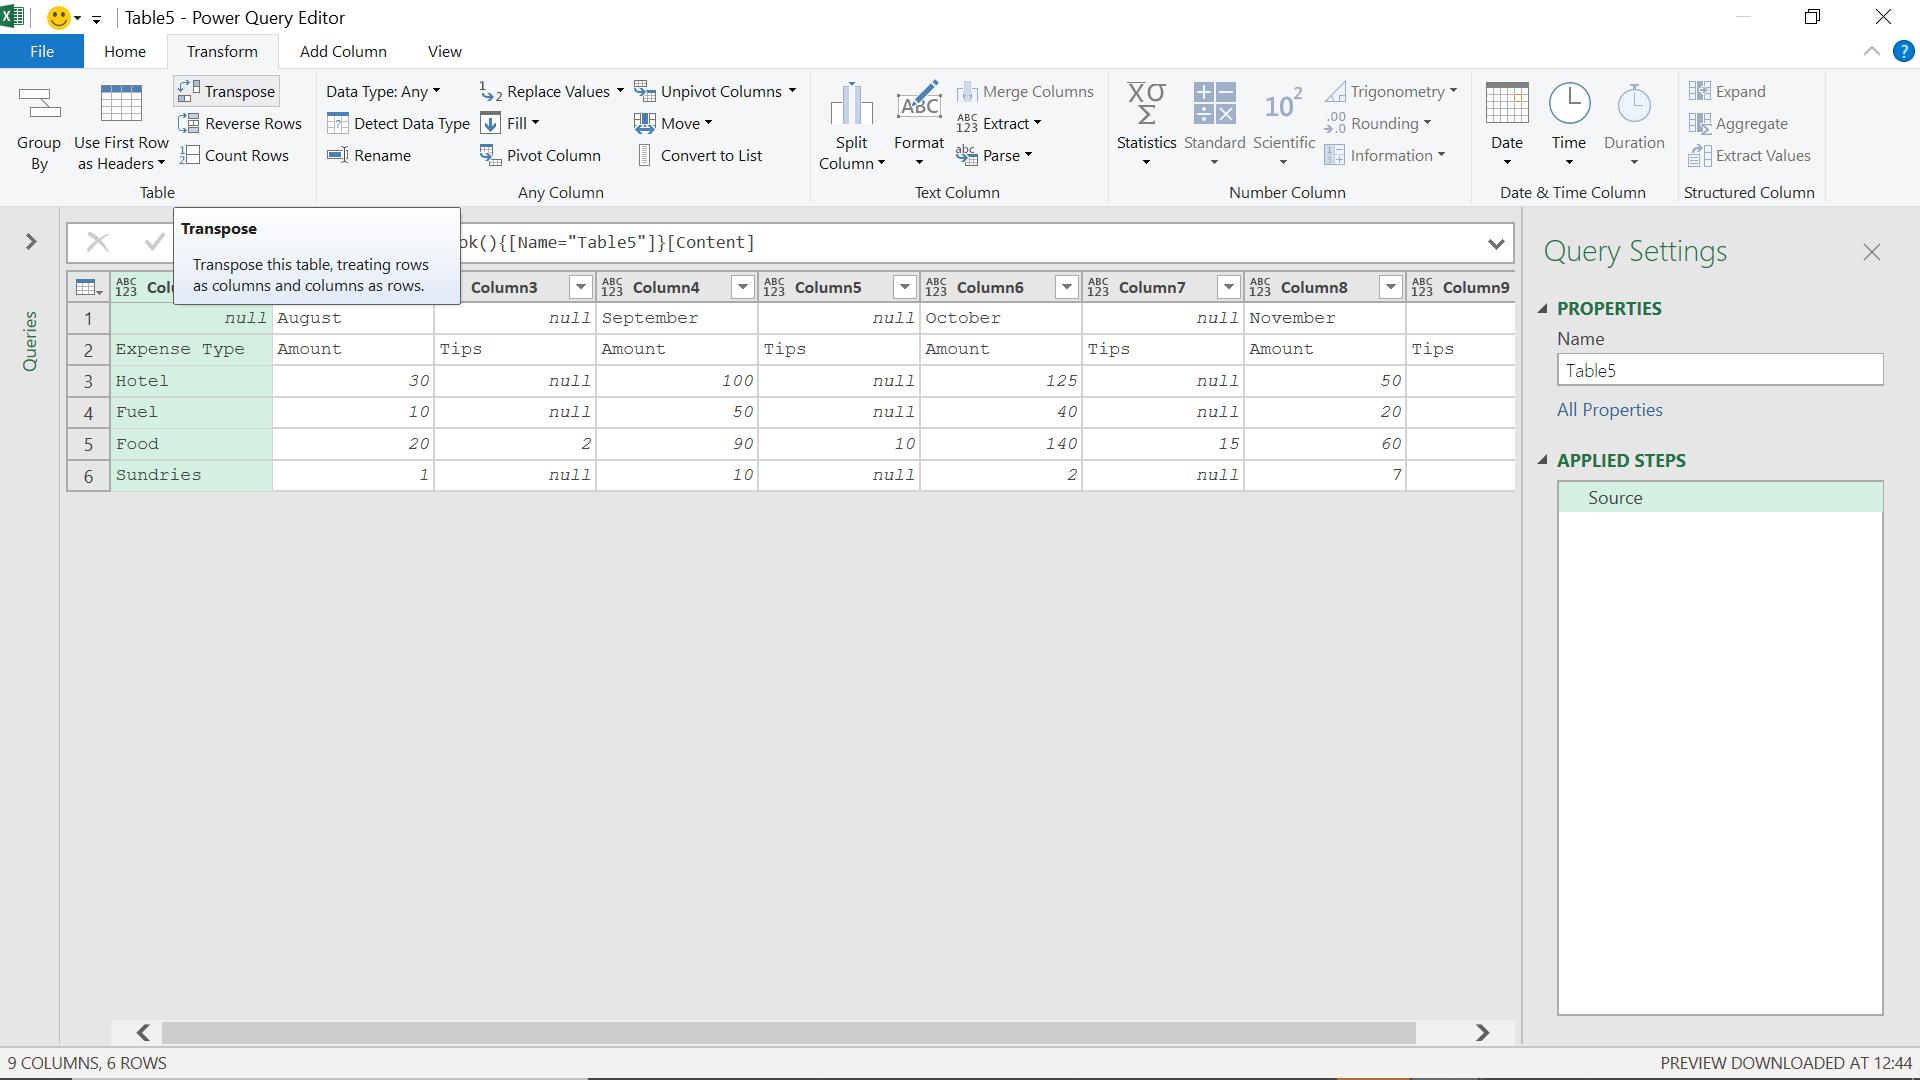
On the ‘Transform’ tab, I have the option to ‘Transpose’ which will swap rows for columns. I use this.
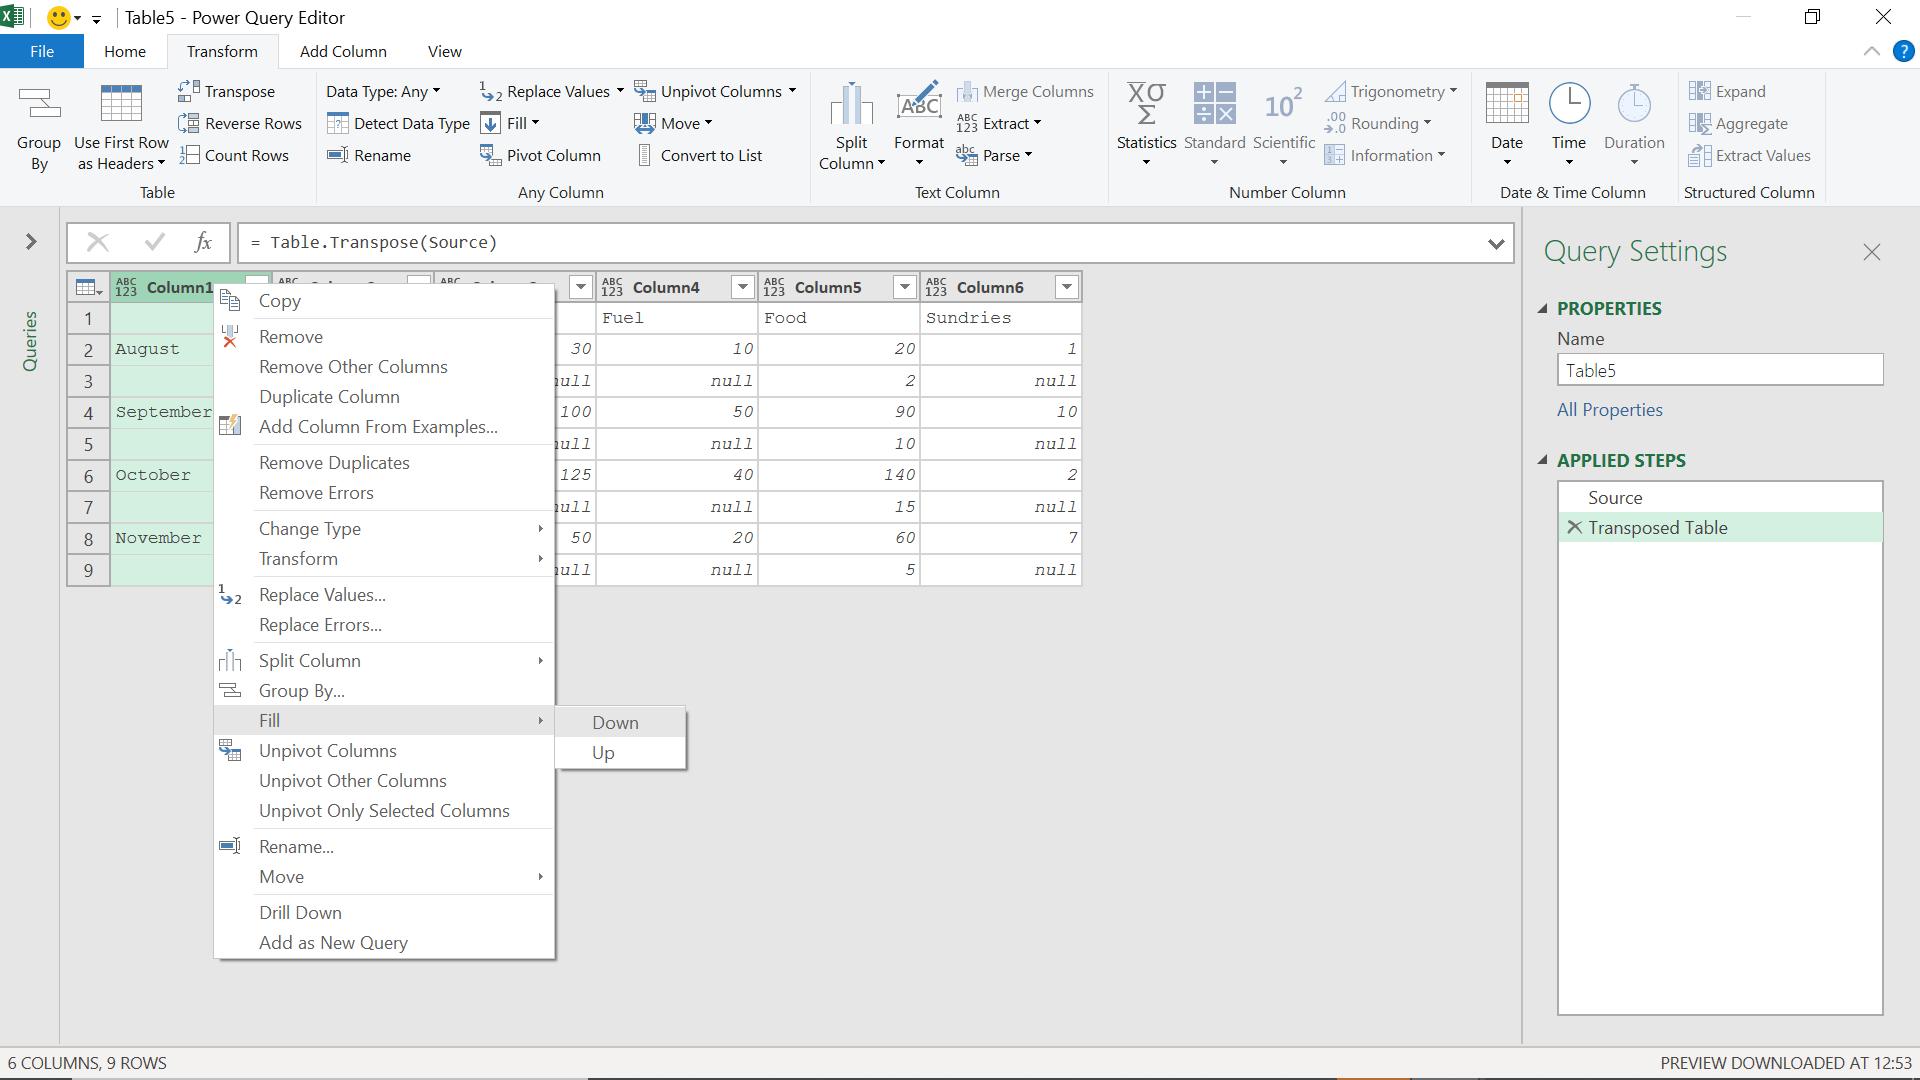
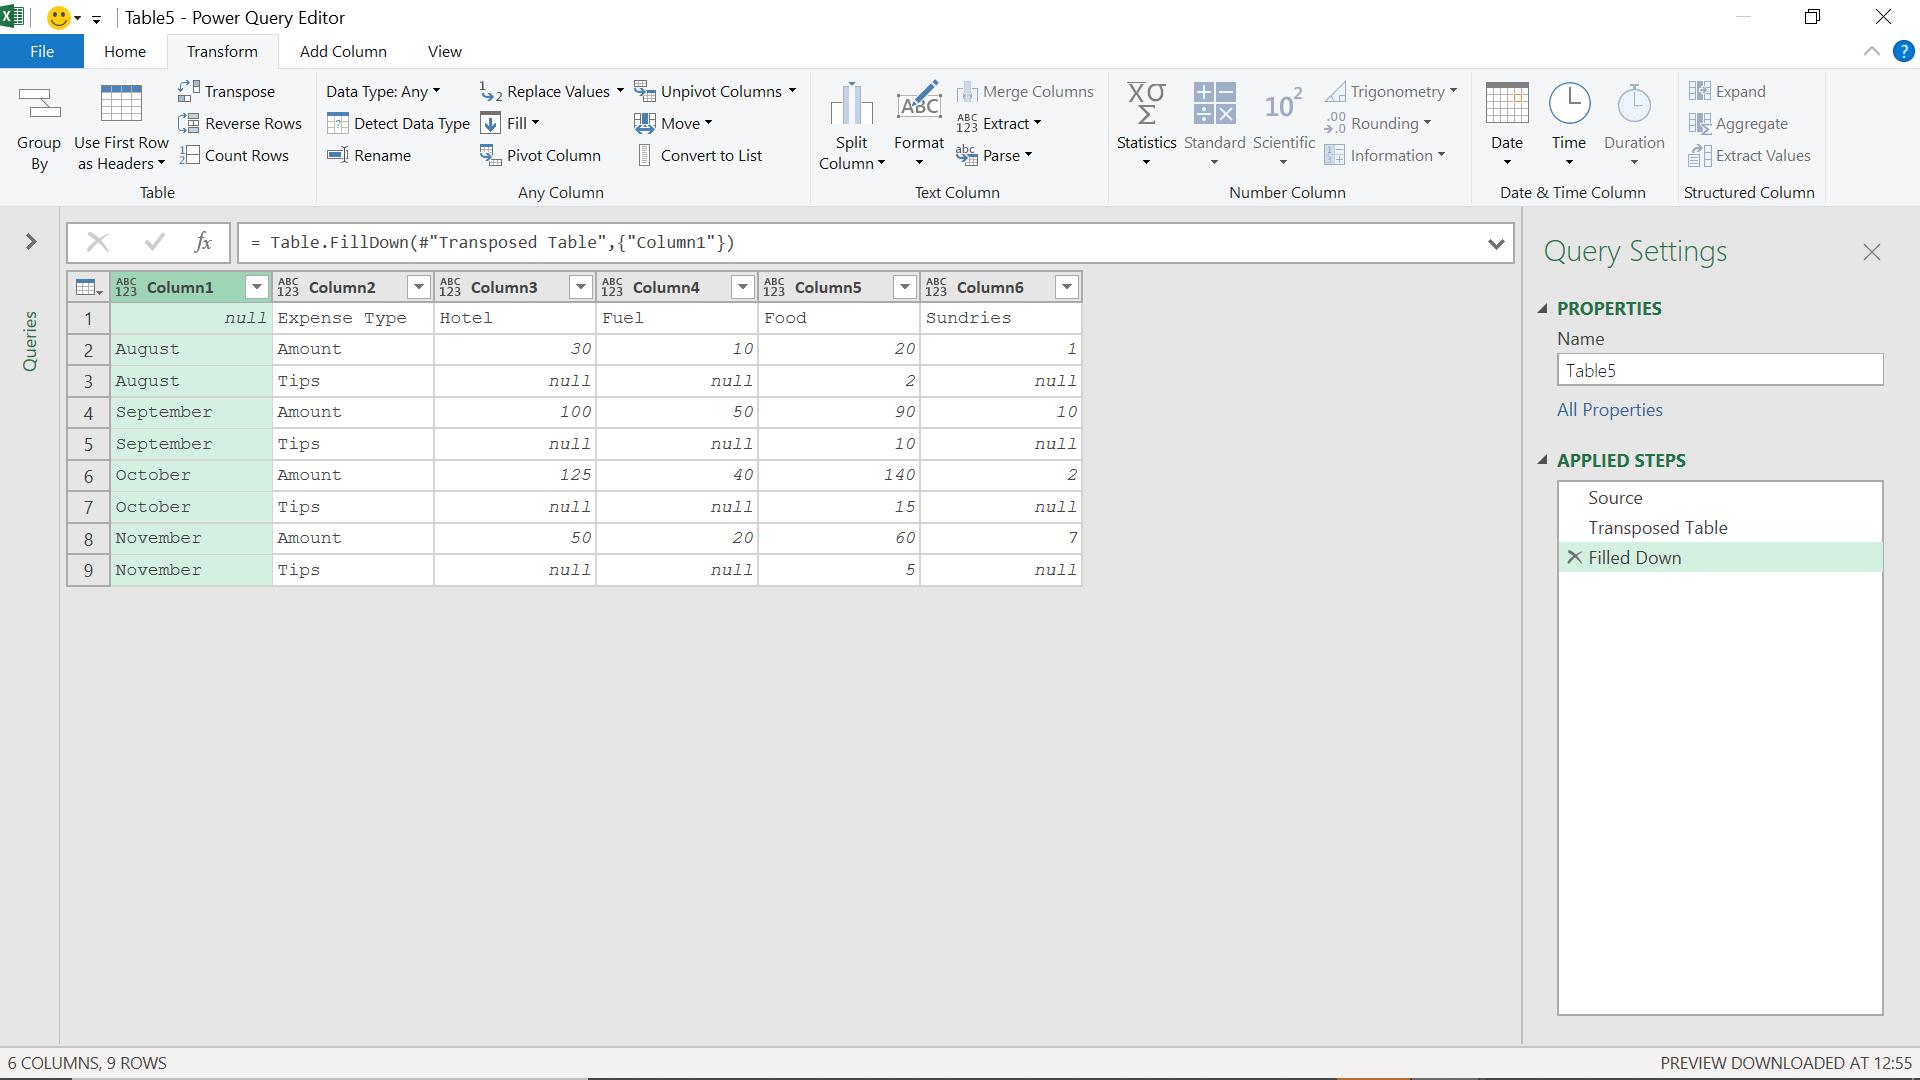
I can now right click on Column1 and ‘Fill Down’.
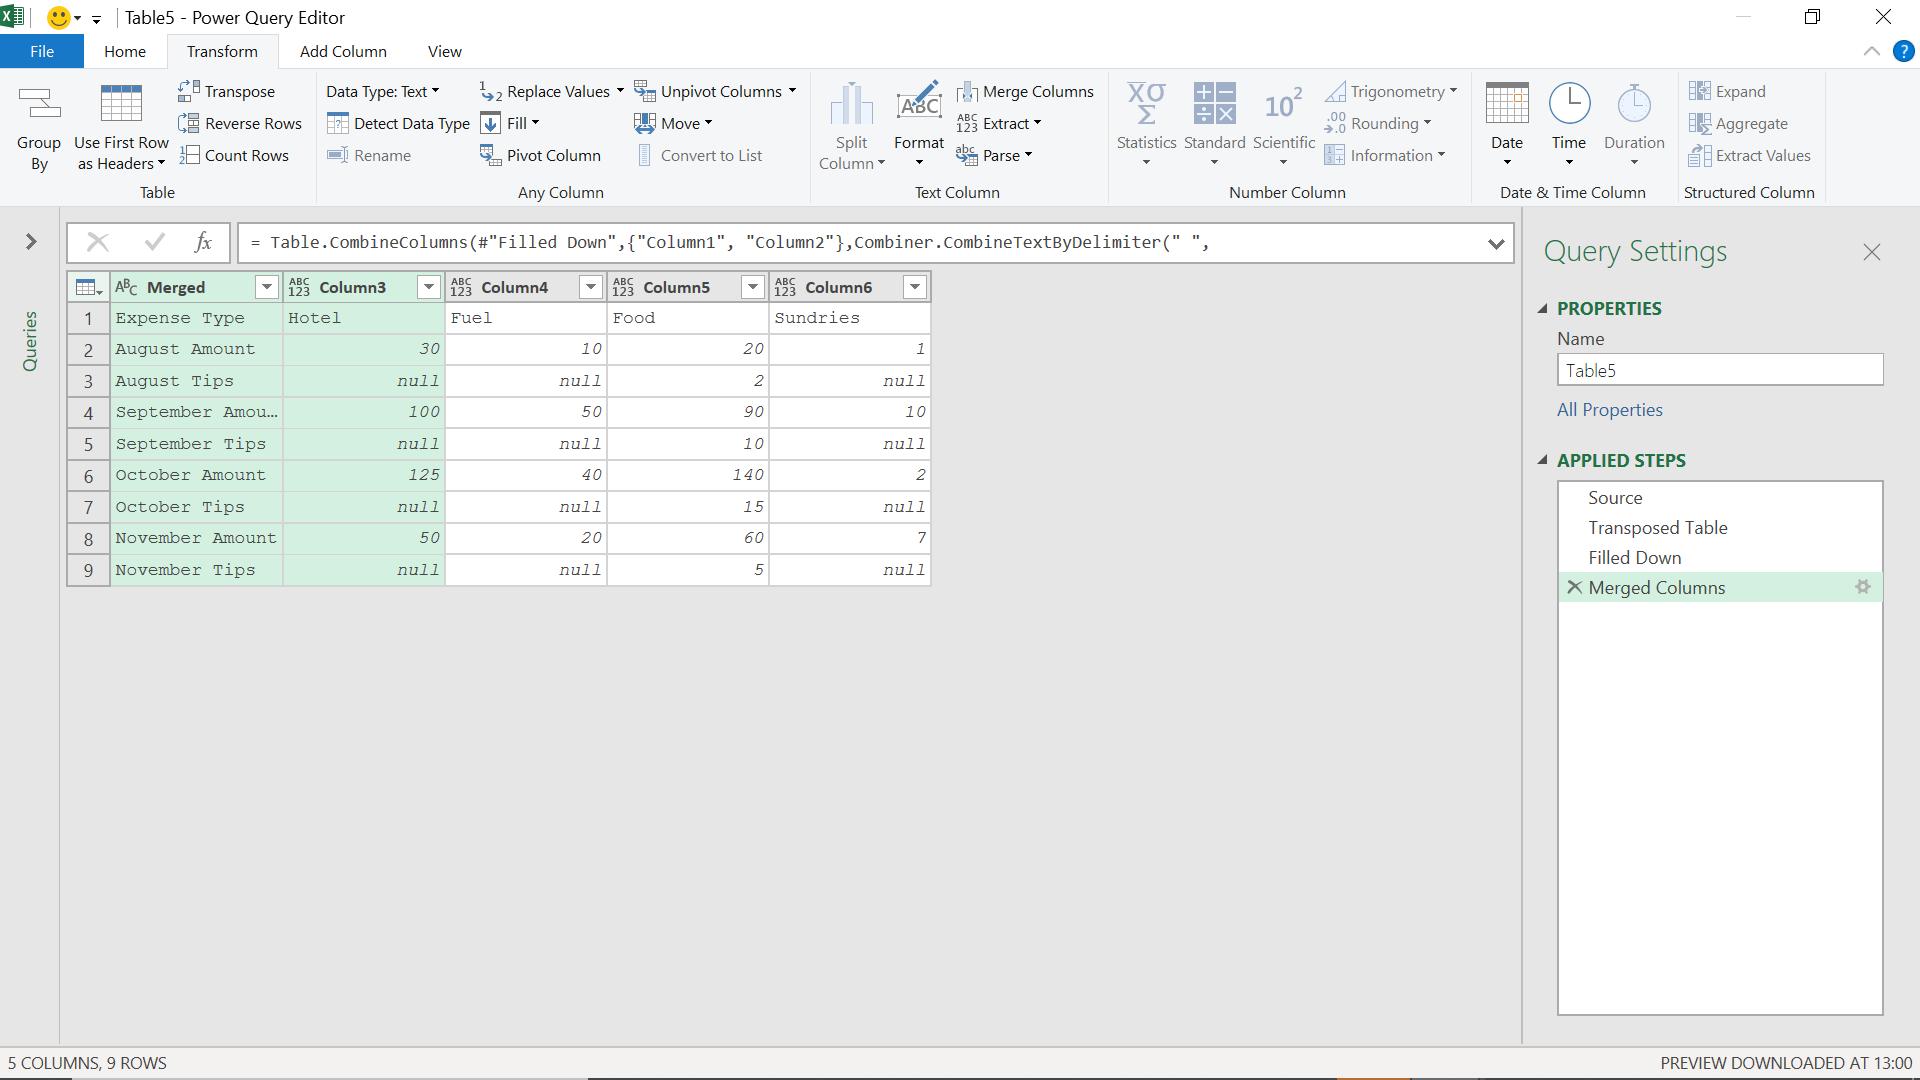
I want to create one column which contains all my heading information, so I choose to transform my data by merging Column1 and Column2.
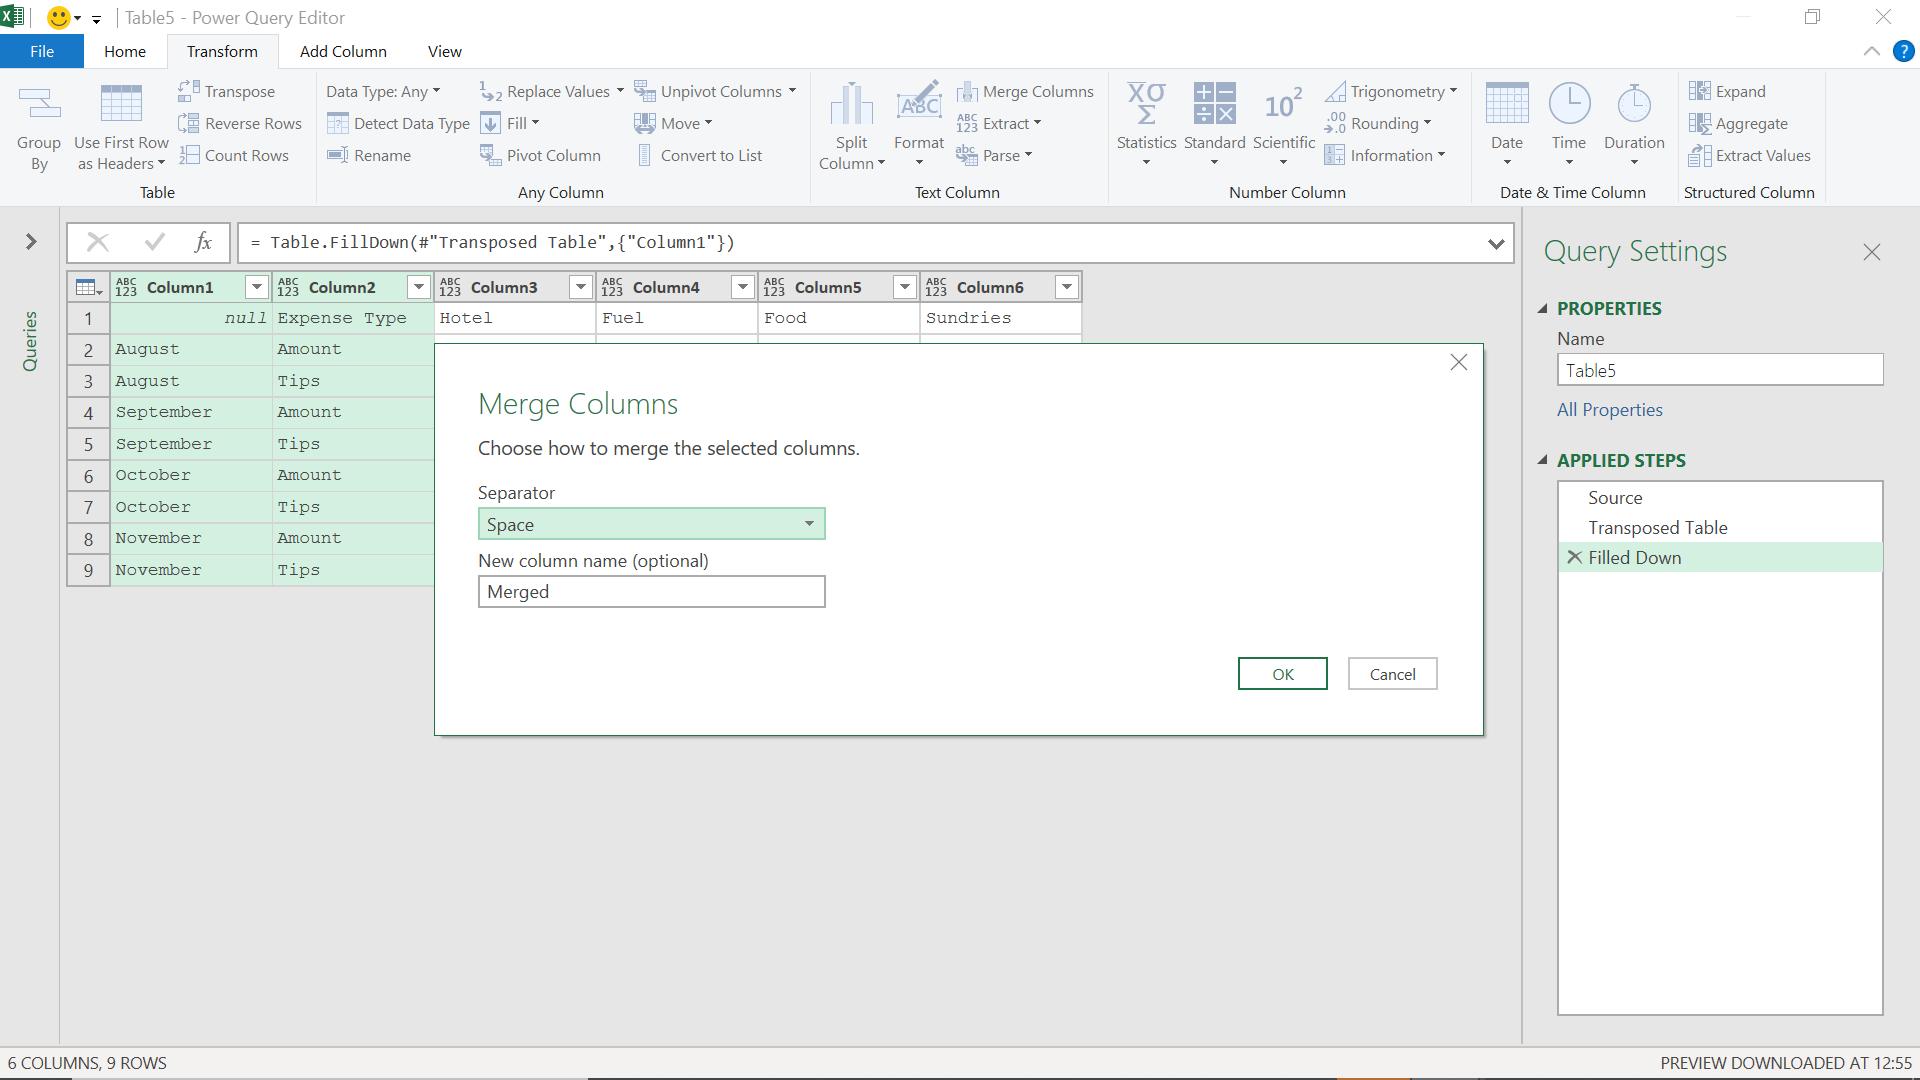
I choose to use a space to separate my headings, but as long as I pick a separator, it doesn’t really matter what I use as long as it isn’t in either of the headings. I can remove the separator when I split the data later.
I transpose my data so that the headings are at the top.
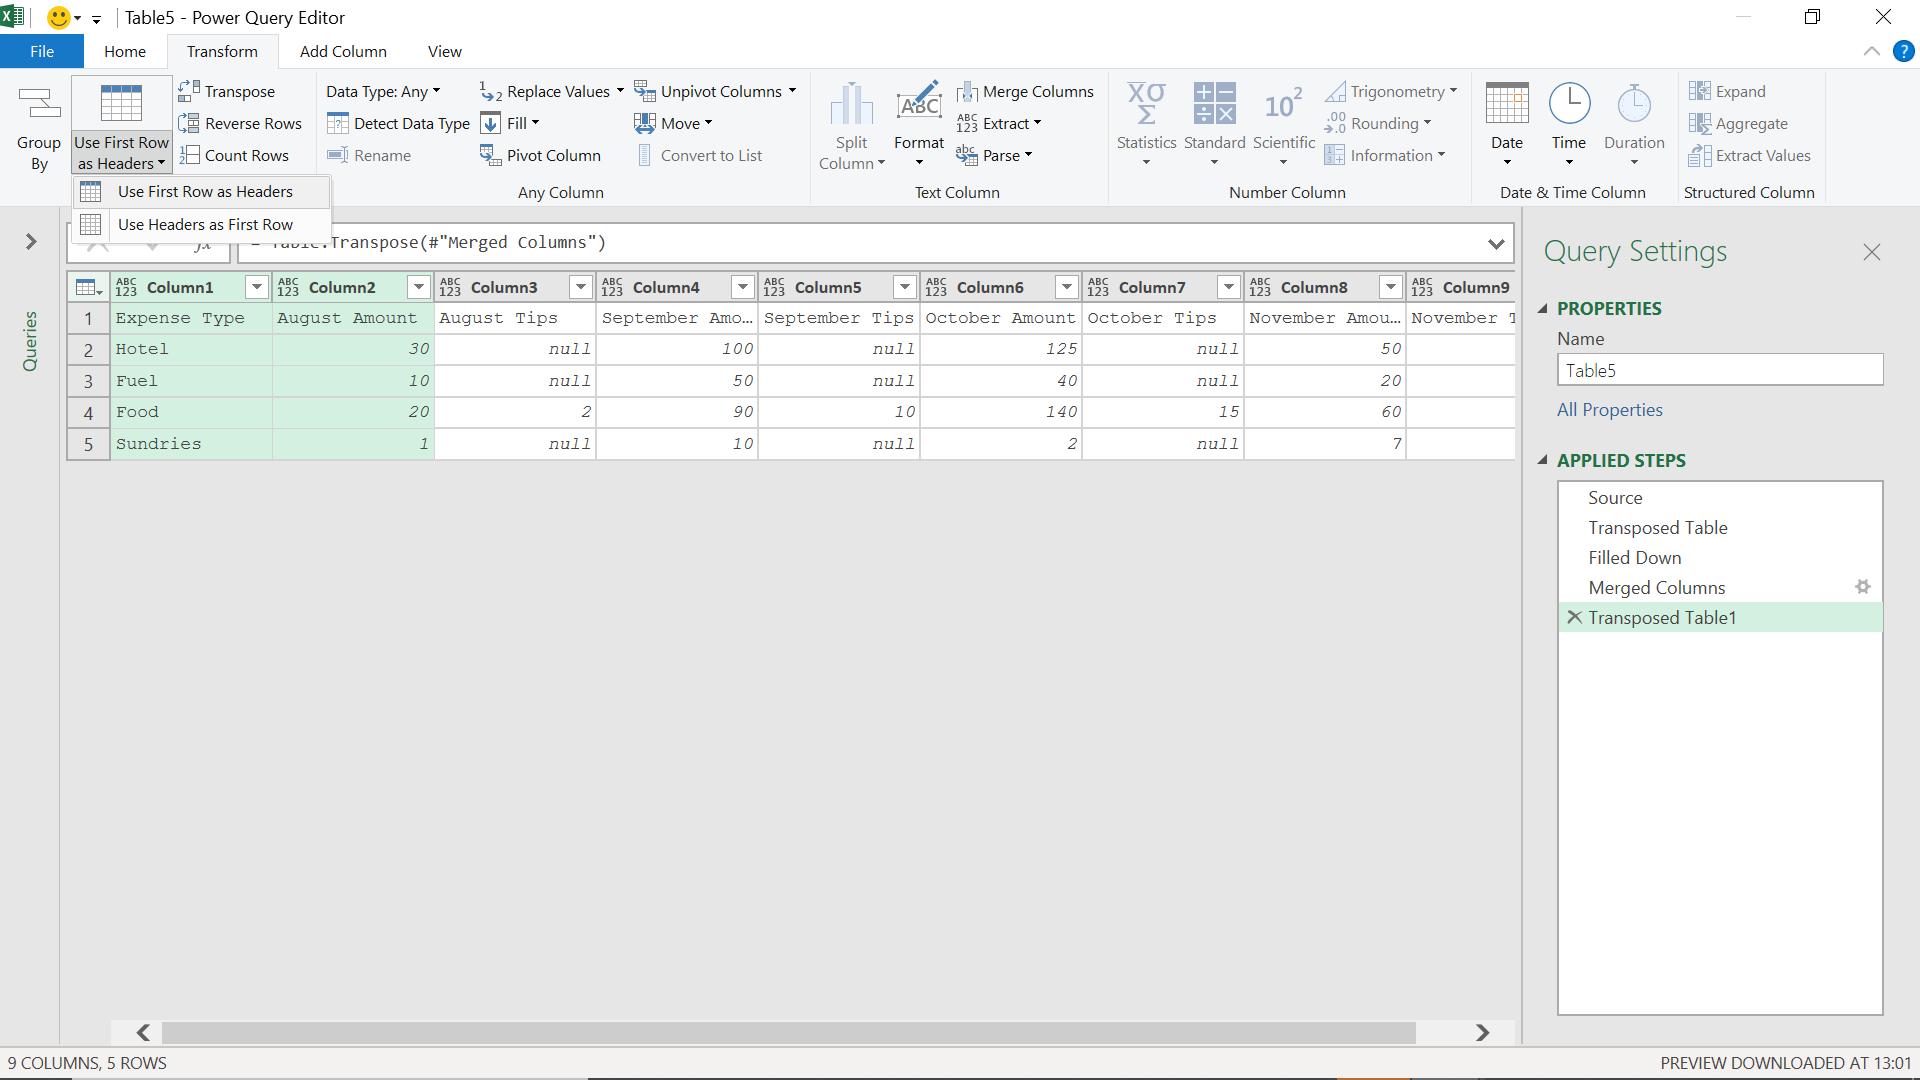
I can now ‘Use First Row as Headers’.
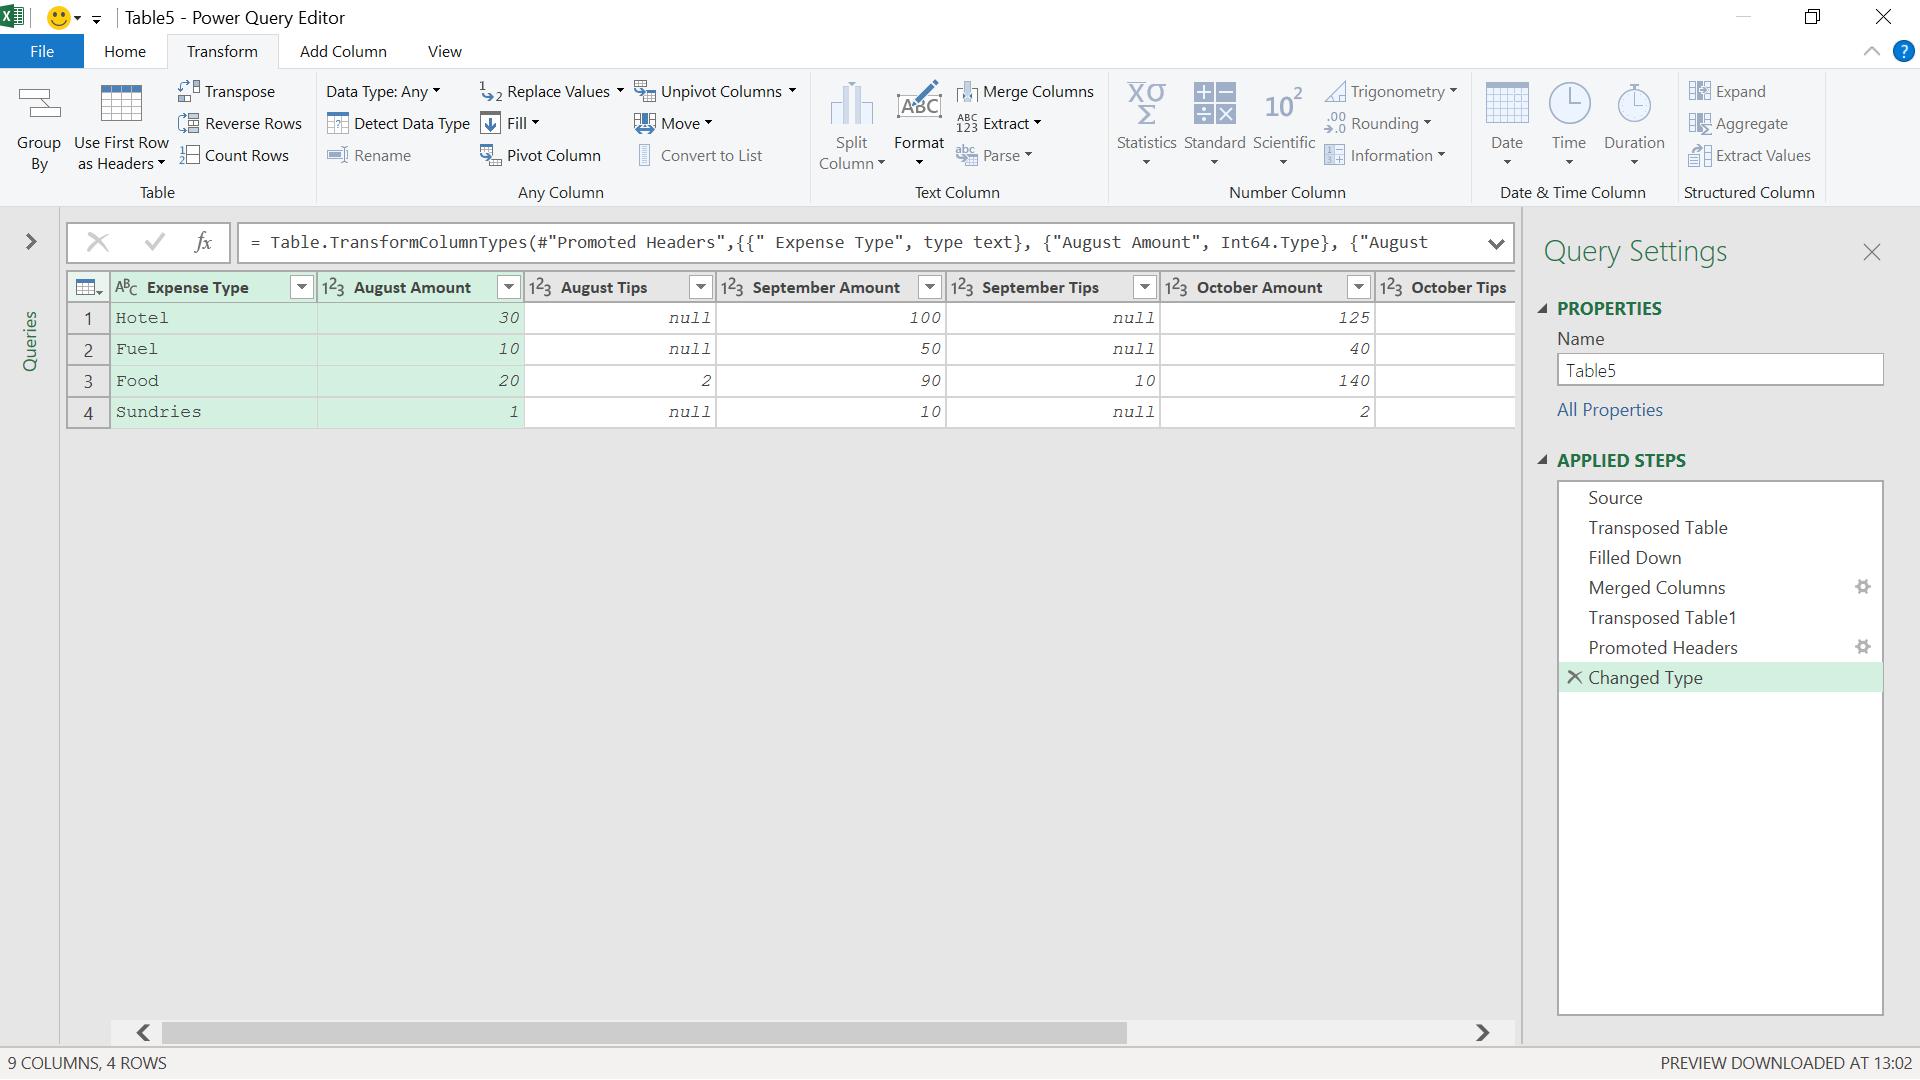
The data is now in the same format as last week’s example. However, Power Query has added a ‘Changed Type’ step again:
= Table.TransformColumnTypes(#"Promoted Headers",{{" Expense Type", type text}, {"August Amount", Int64.Type}, {"August Tips", Int64.Type}, {"September Amount", Int64.Type}, {"September Tips", Int64.Type}, {"October Amount", Int64.Type}, {"October Tips", Int64.Type}, {"November Amount", Int64.Type}, {"November Tips", Int64.Type}})
This references the months, so I need to remove this step.
As I did last week, I need to avoiding referencing month names in the columns. To do this, I select the Expense Type column, and opt to unpivot the other columns.
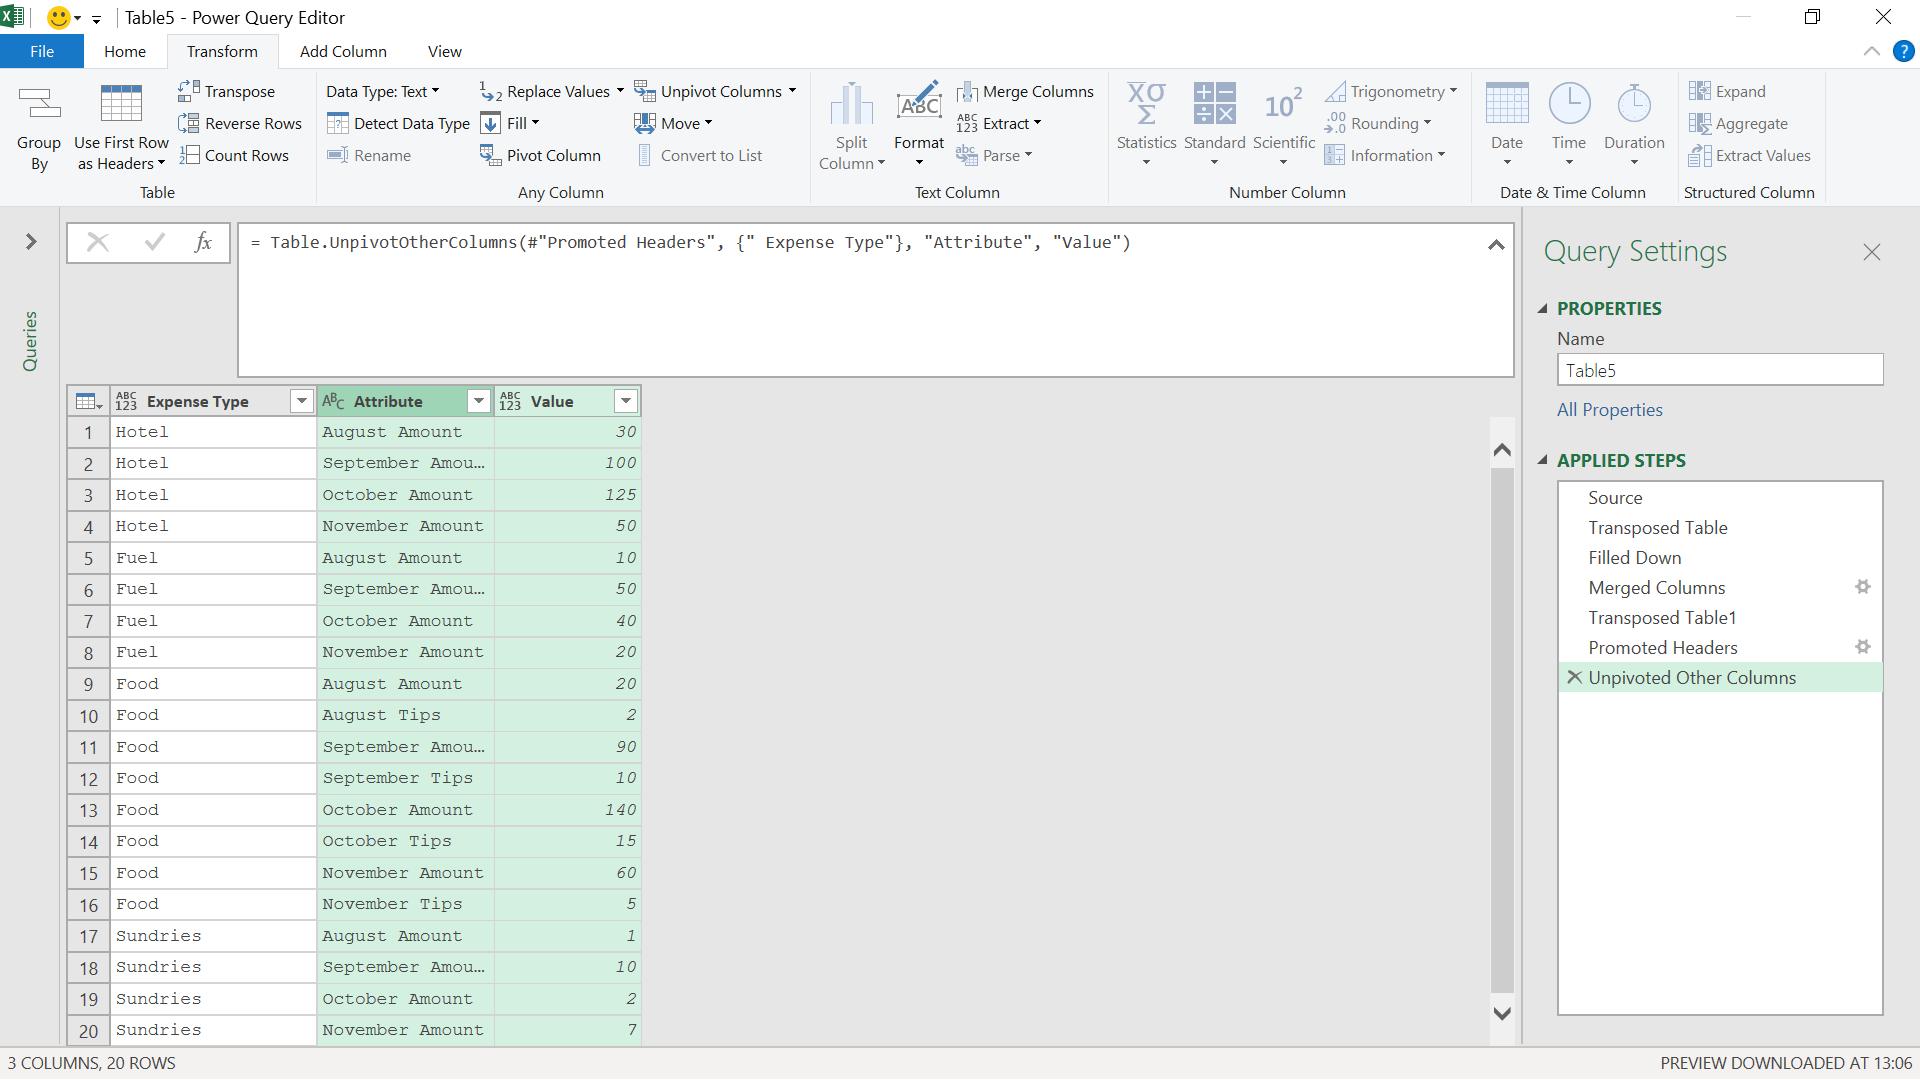
The M code generated is:
= Table.UnpivotOtherColumns(#"Promoted Headers", {" Expense Type"}, "Attribute", "Value")
This is good because there is no mention of the month columns. The months, amounts and tips titles now appear as data under the Attribute column. I need to perform further transformations to sort out this column. I begin by splitting the Attribute column into the separate titles.
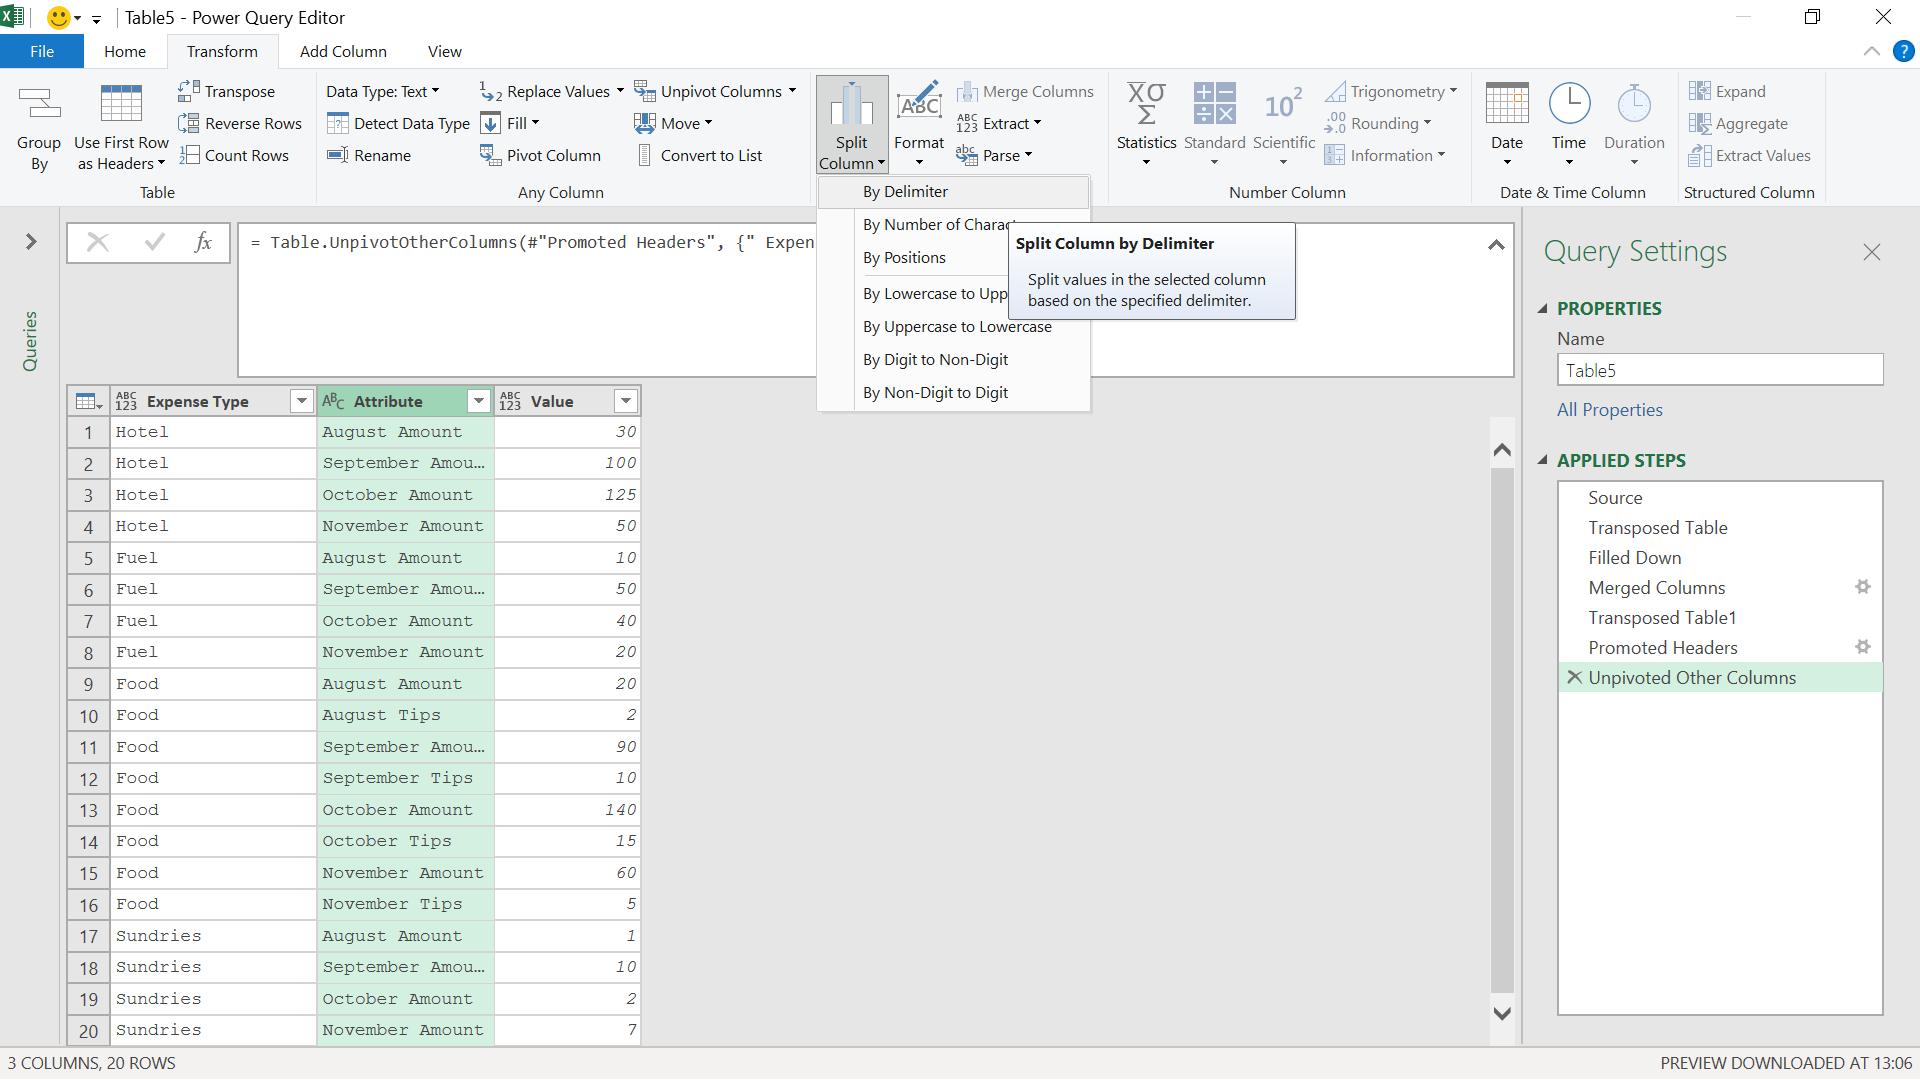
I opt to use ‘Split Columns’ on the ‘Transform’ tab, and choose ‘By Delimiter’
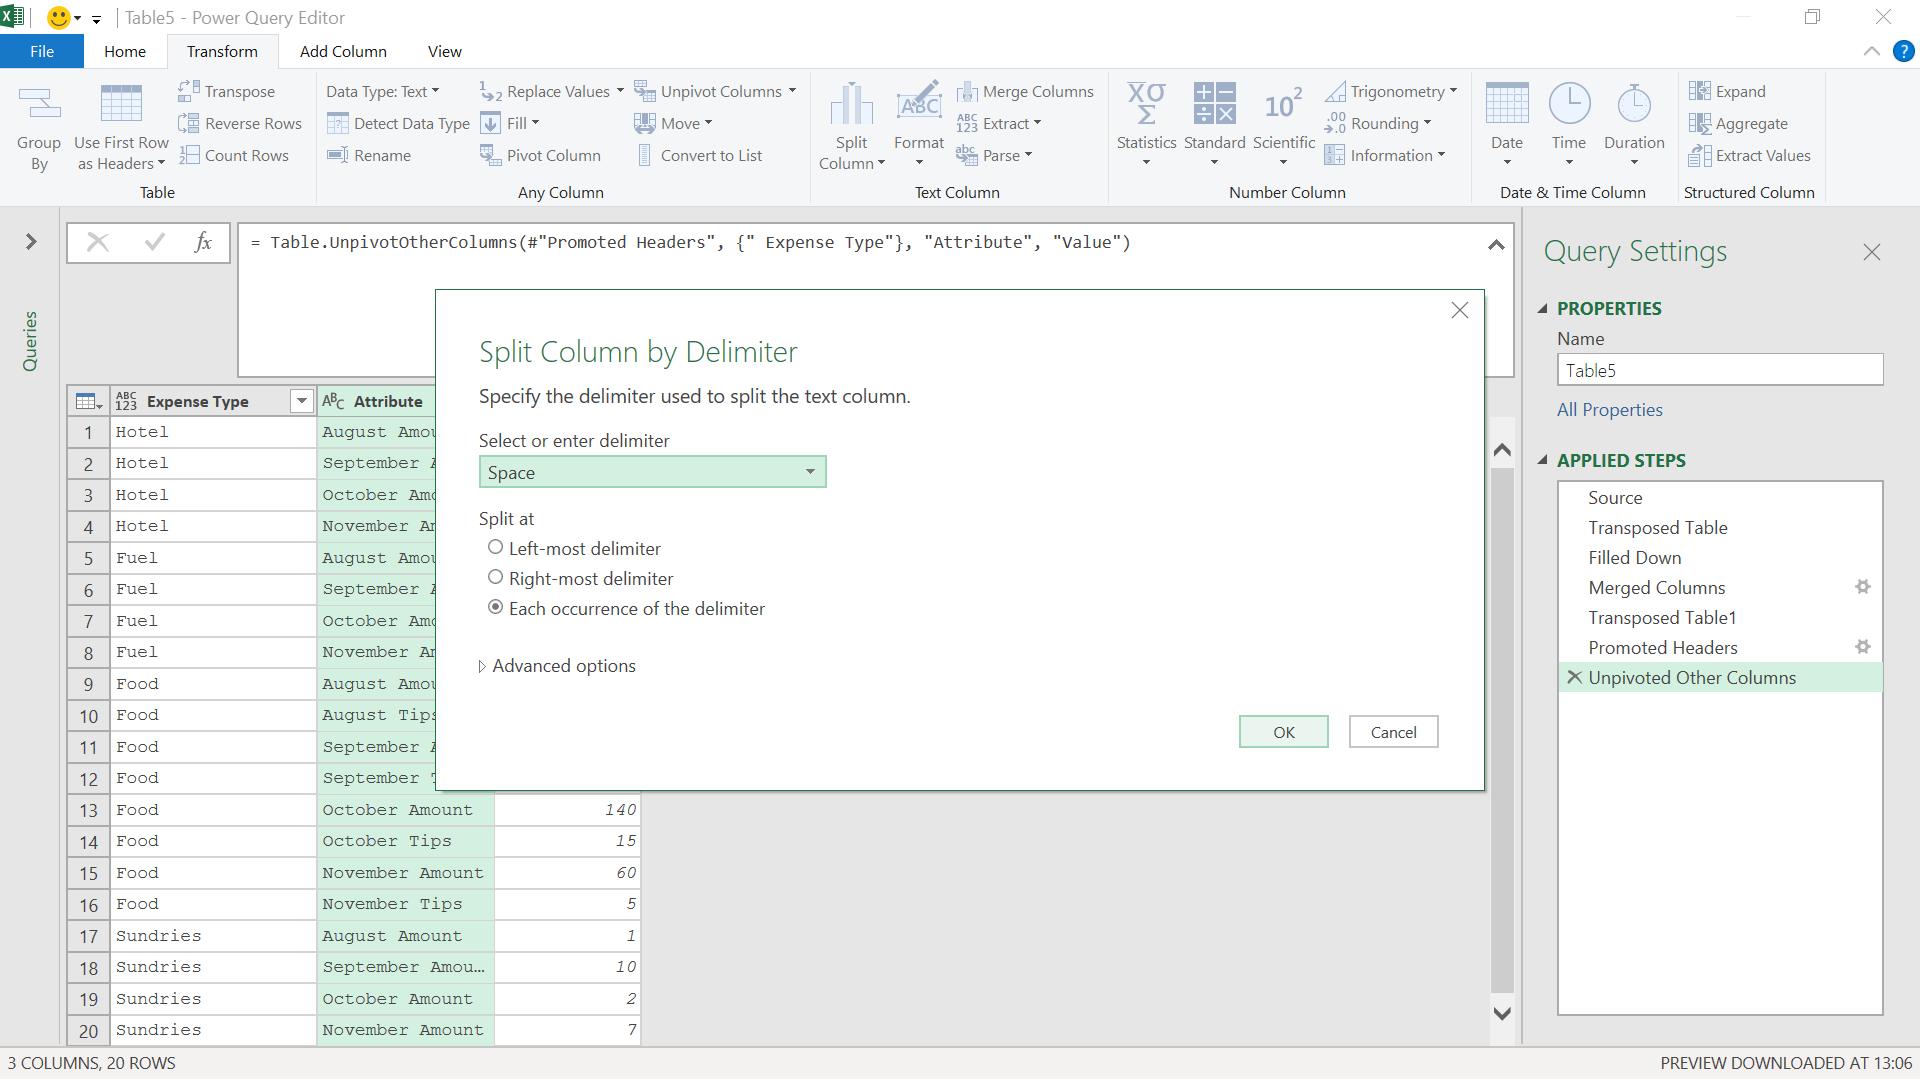
I choose to split at ‘Space’, since this is the delimiter I introduced earlier.
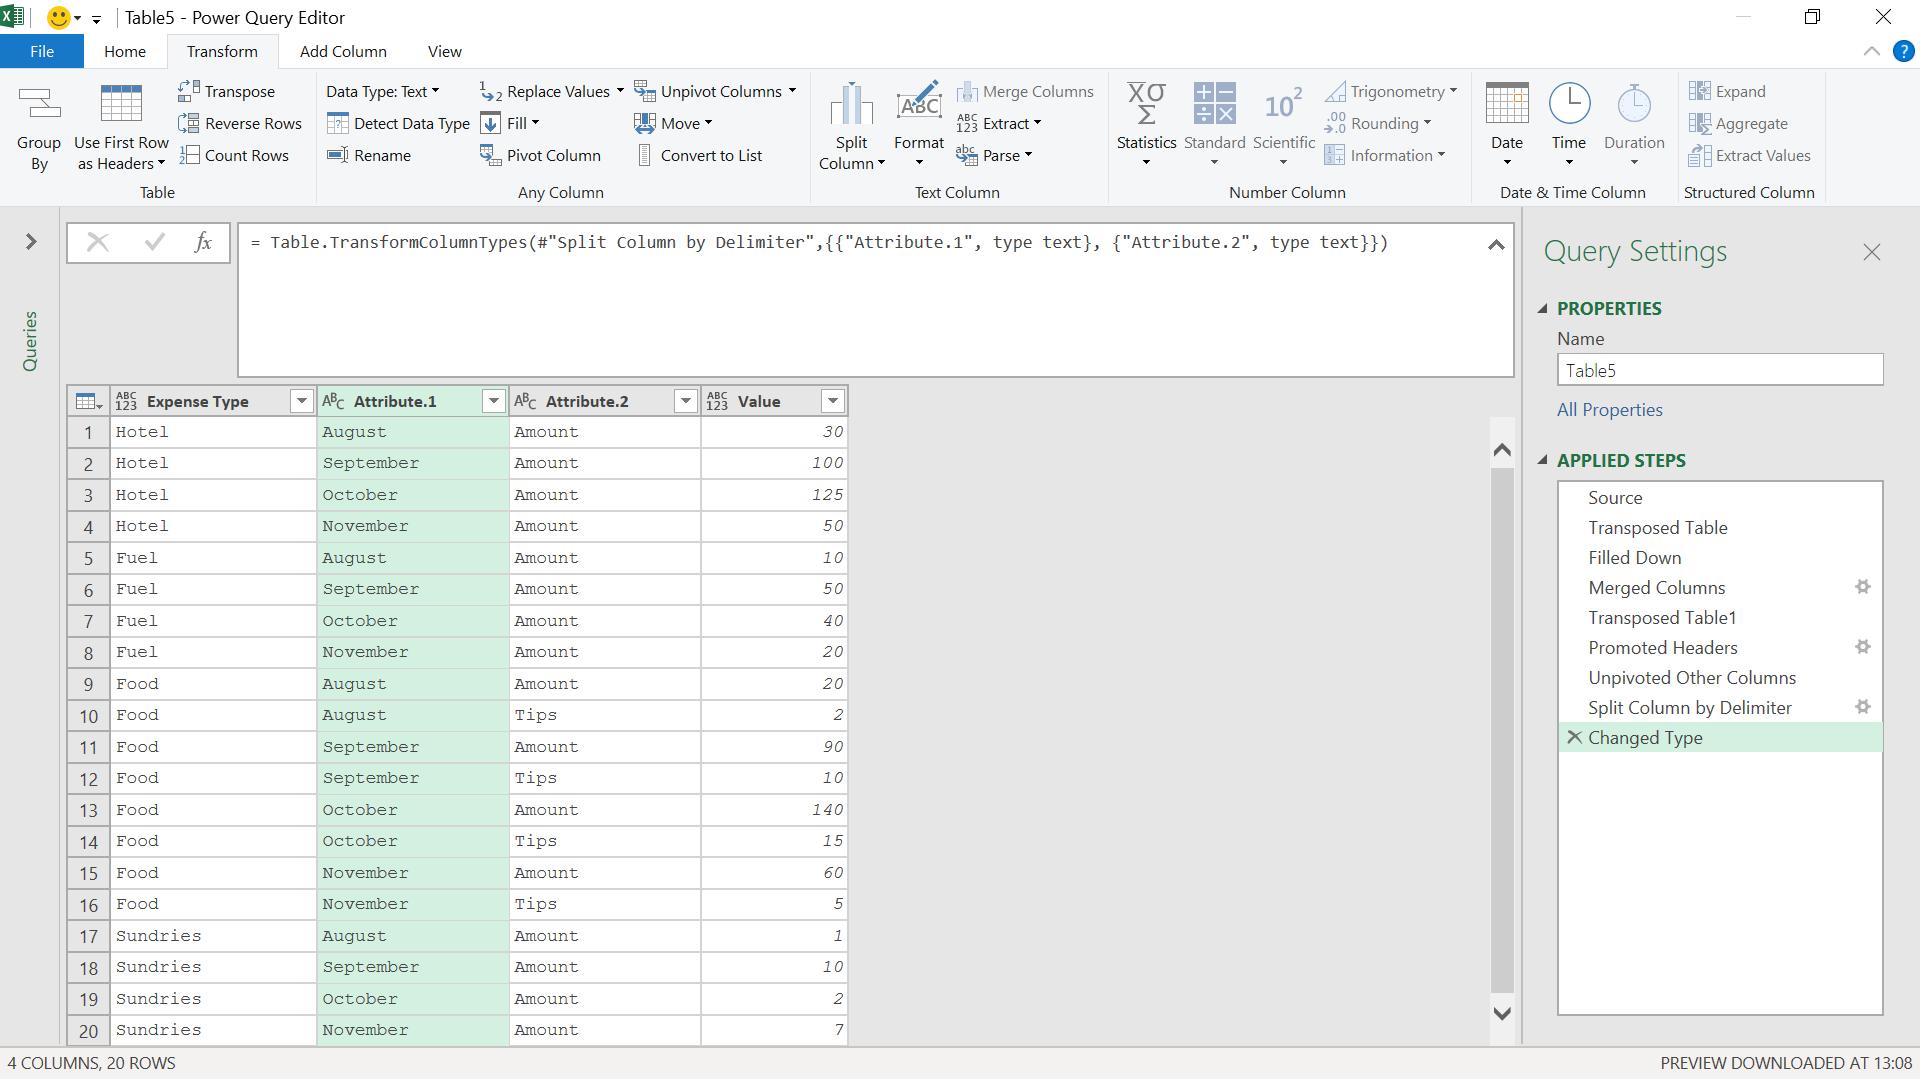
I can rename Attribute.1 to Month. Attibute.2 contains my two other column headings, so I need to pivot this column by selecting it and using the ‘Pivot’ option on the ‘Transform’ menu.
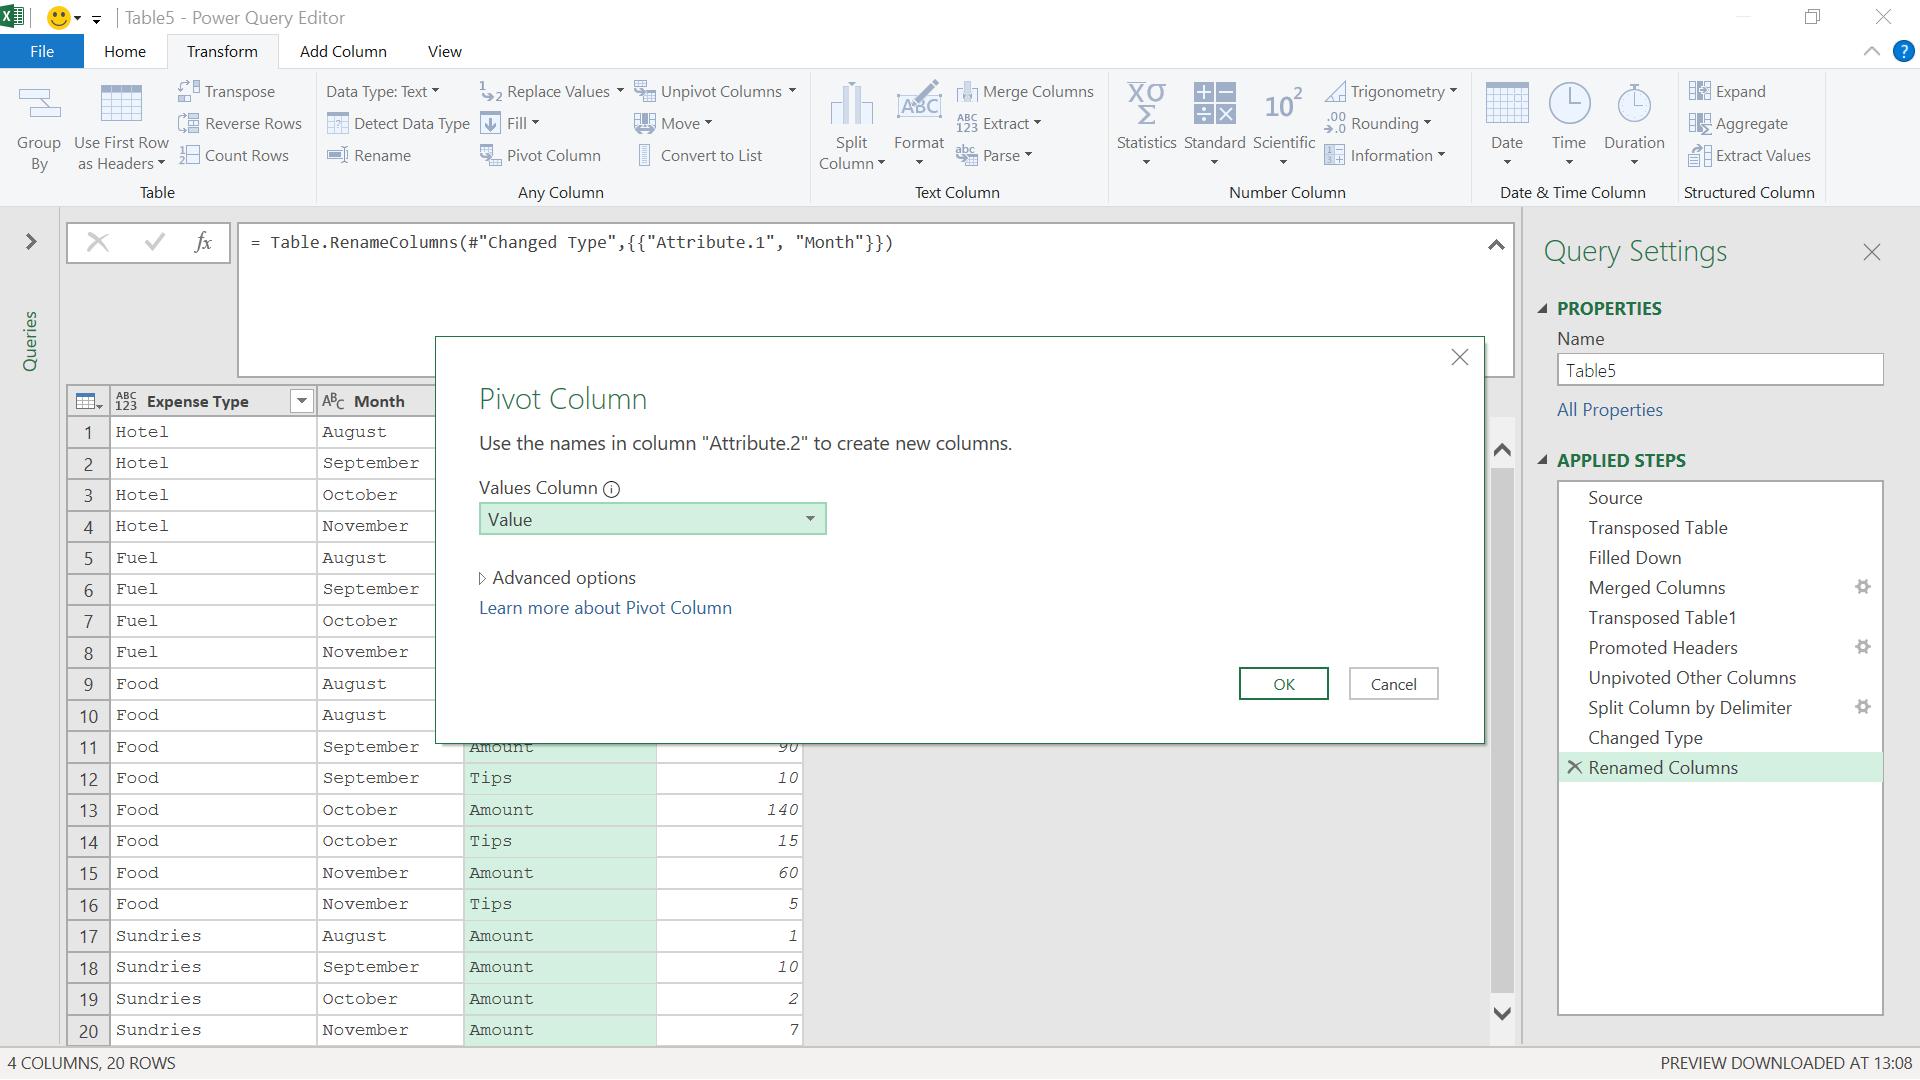
I need to choose what to put in my new columns; they should contain the associated Value, since that contains the amount.
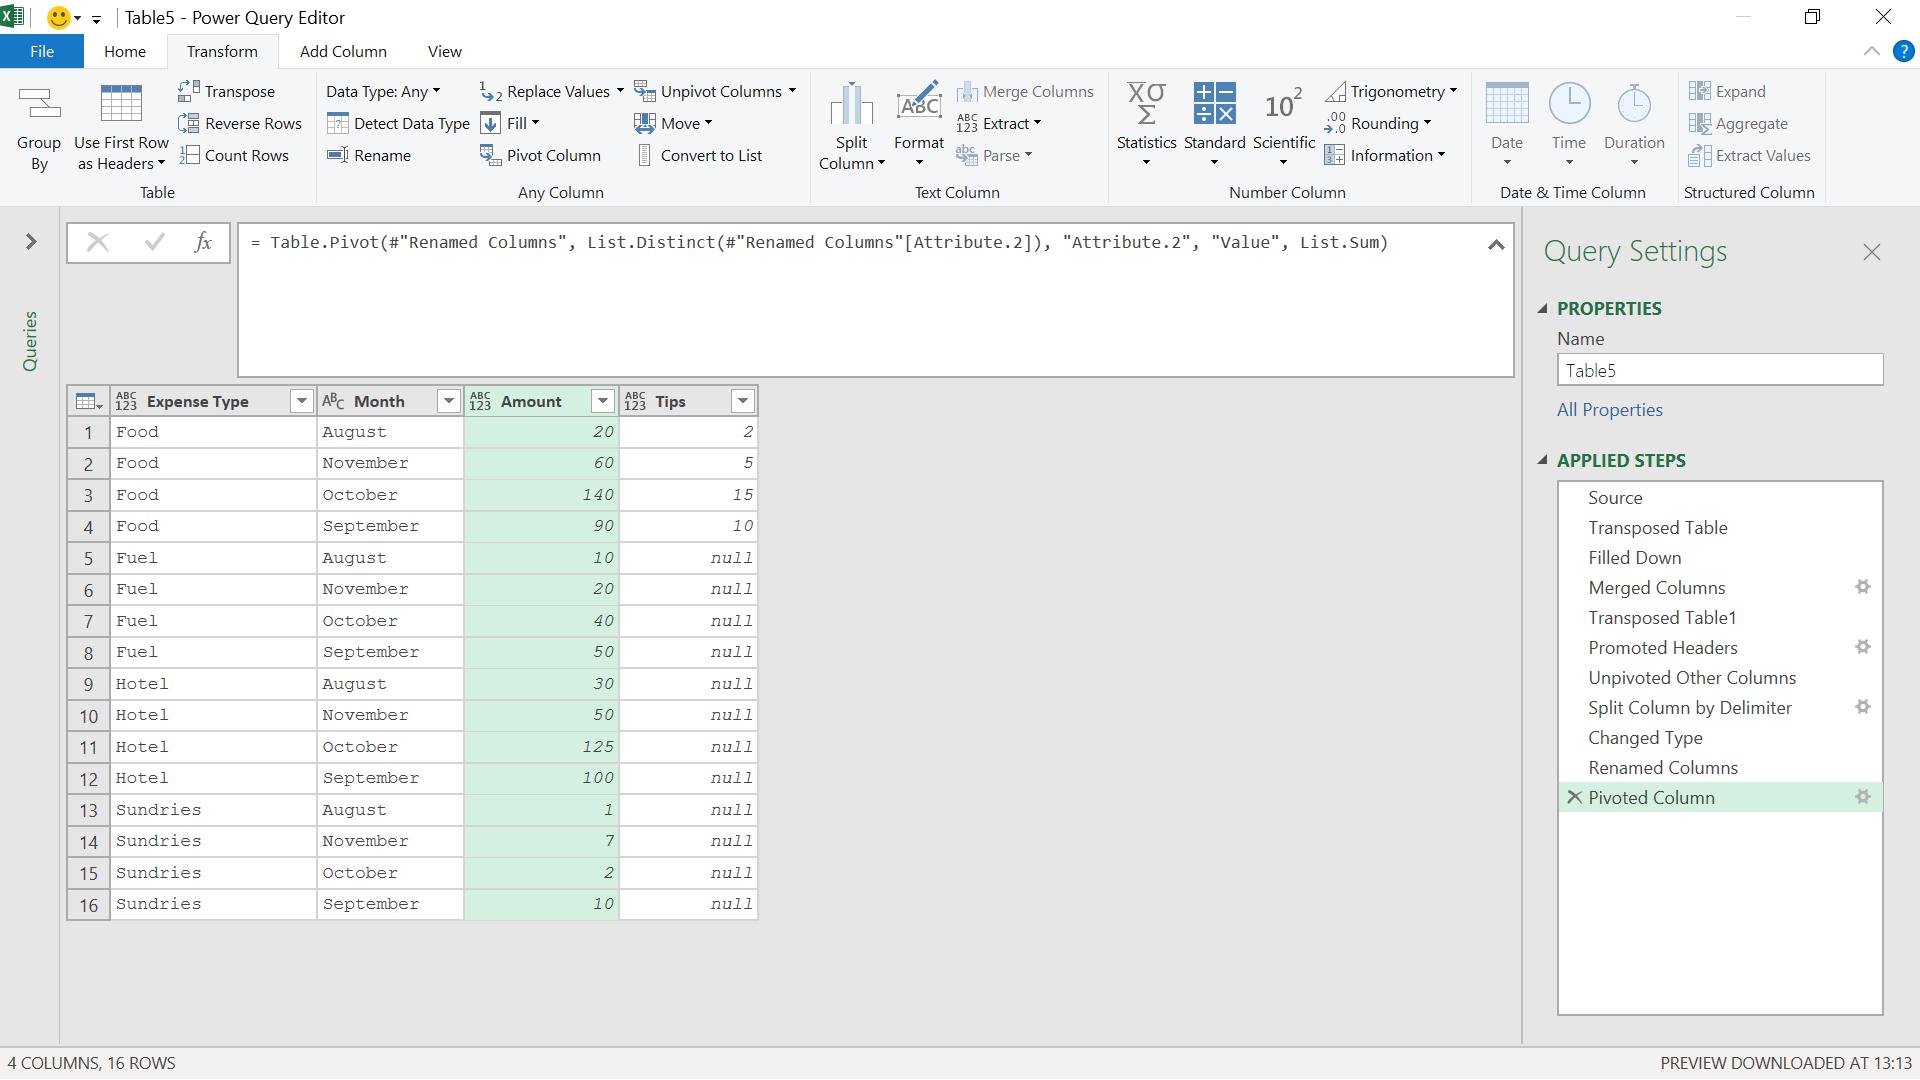
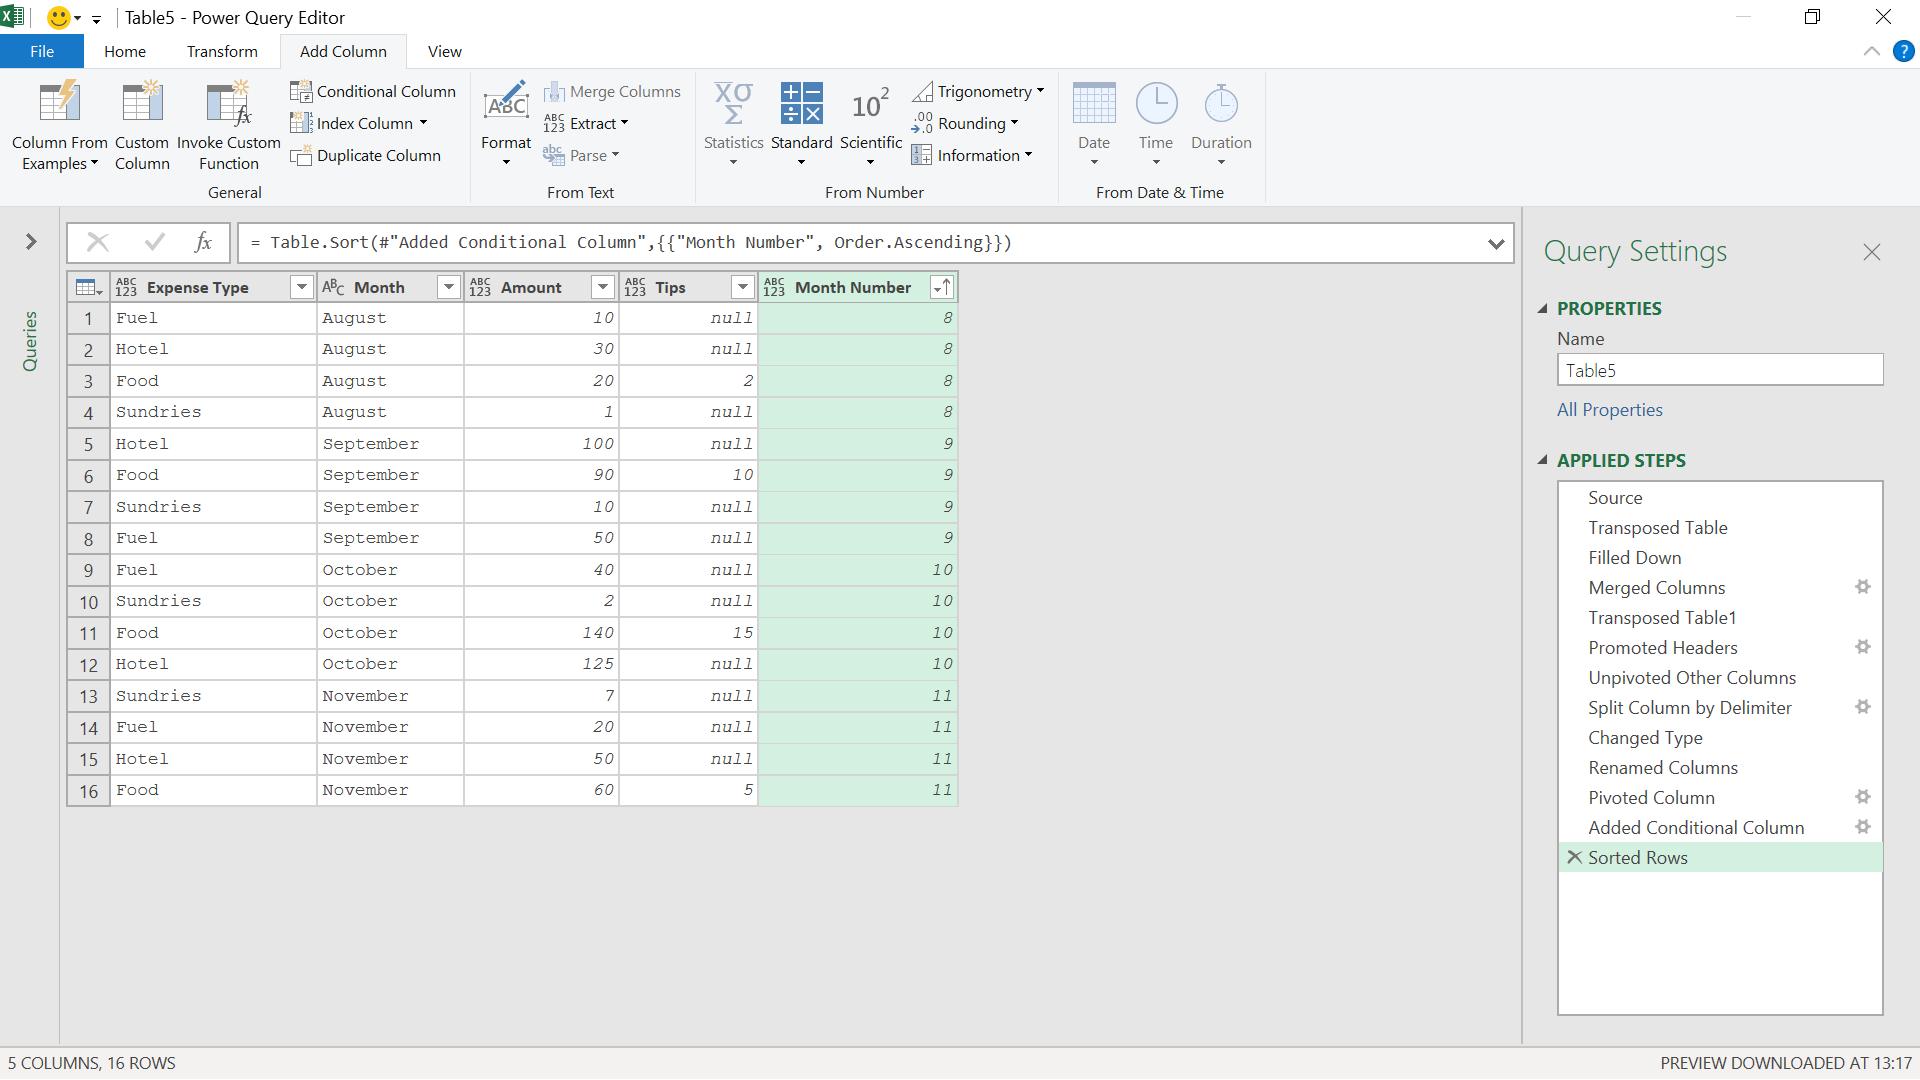
Finally, I choose to order by month (just like last time), since that makes the data easier to read. I need to create a temporary column with month number in order to do this, as I don’t want the months in alphabetical order!
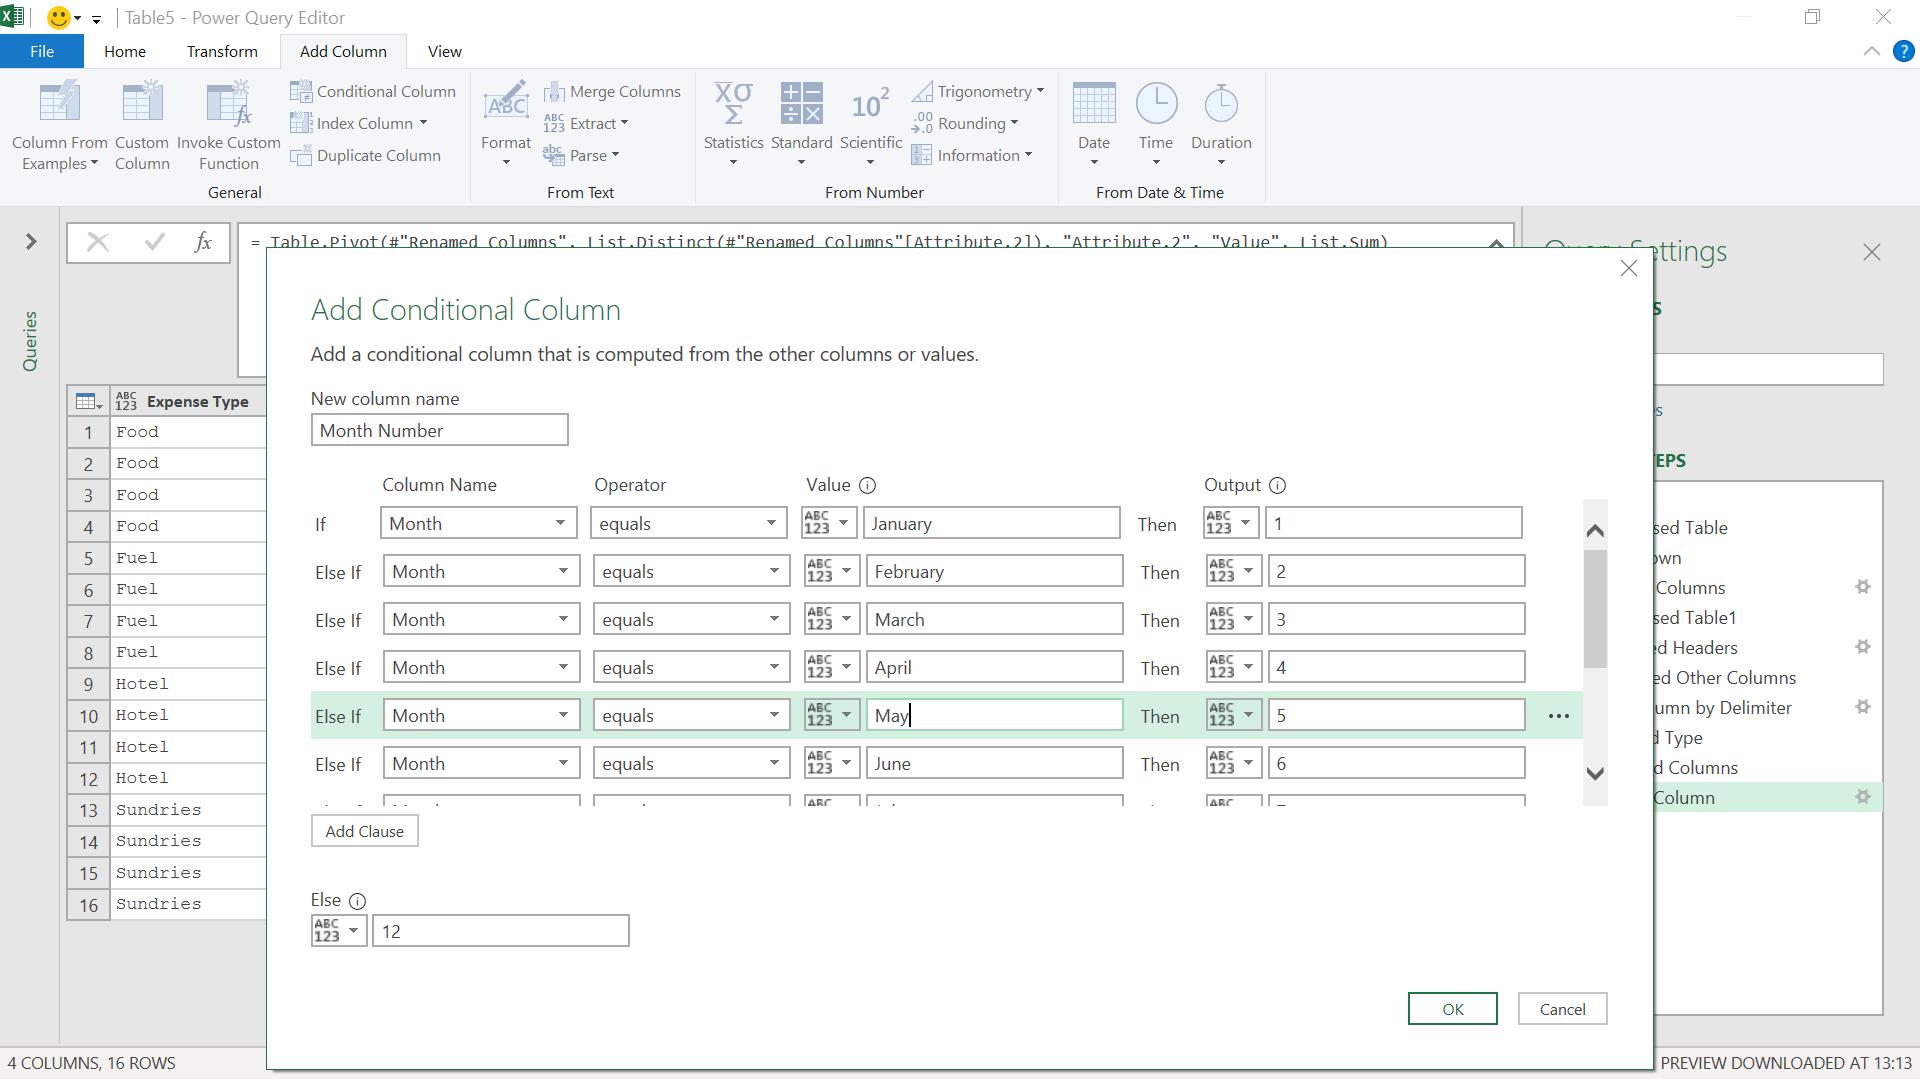
I create this column and sort by it.
I can now delete the Month Number column.
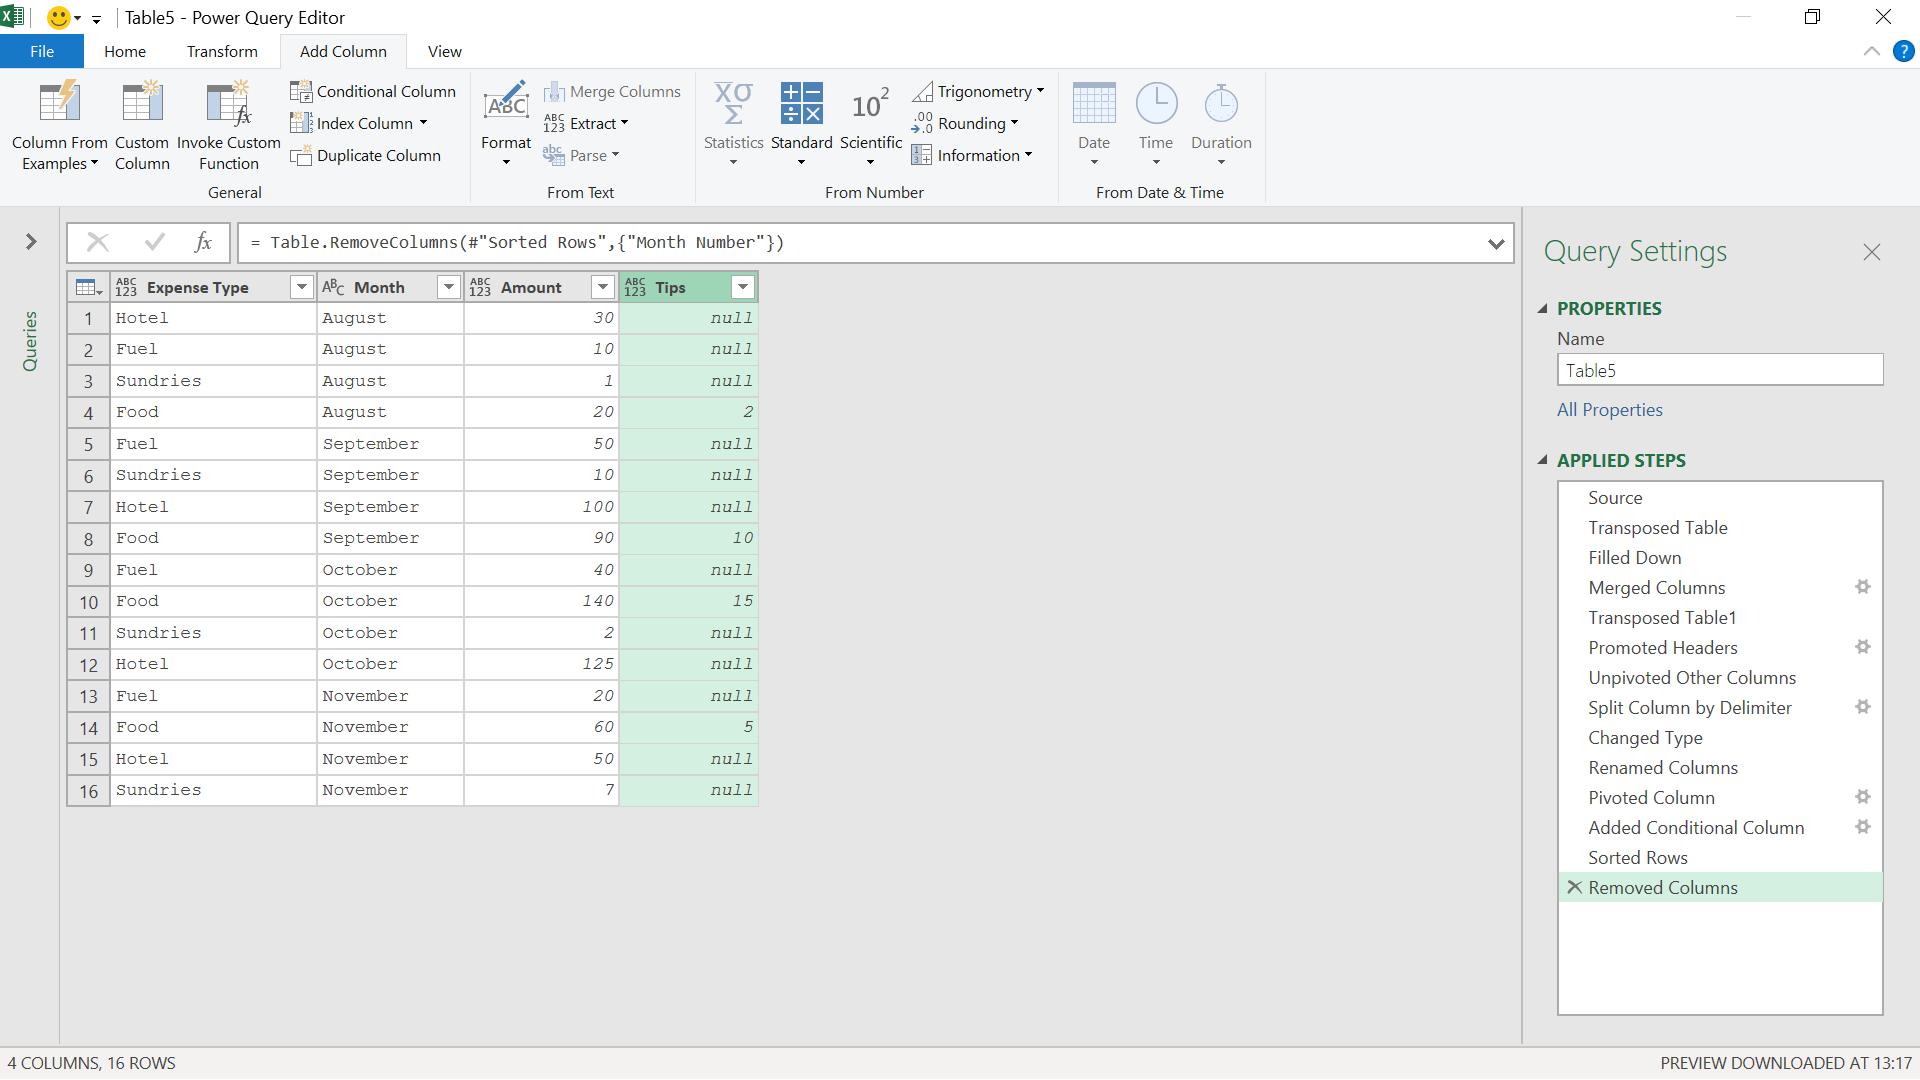
My data is now ready to append and update if further months are added.
Come back next time for more ways to use Power Query!