
Power Query: Common Merging
1 January 2020
Welcome to our Power Query blog. This week, I look at a common problem.
John, my imaginary salesperson, has supplied some data showing which suppliers he has contacted recently.

I want to show which suppliers have been contacted in both months. I begin by extracting ‘September Contacts’ to Power Query.
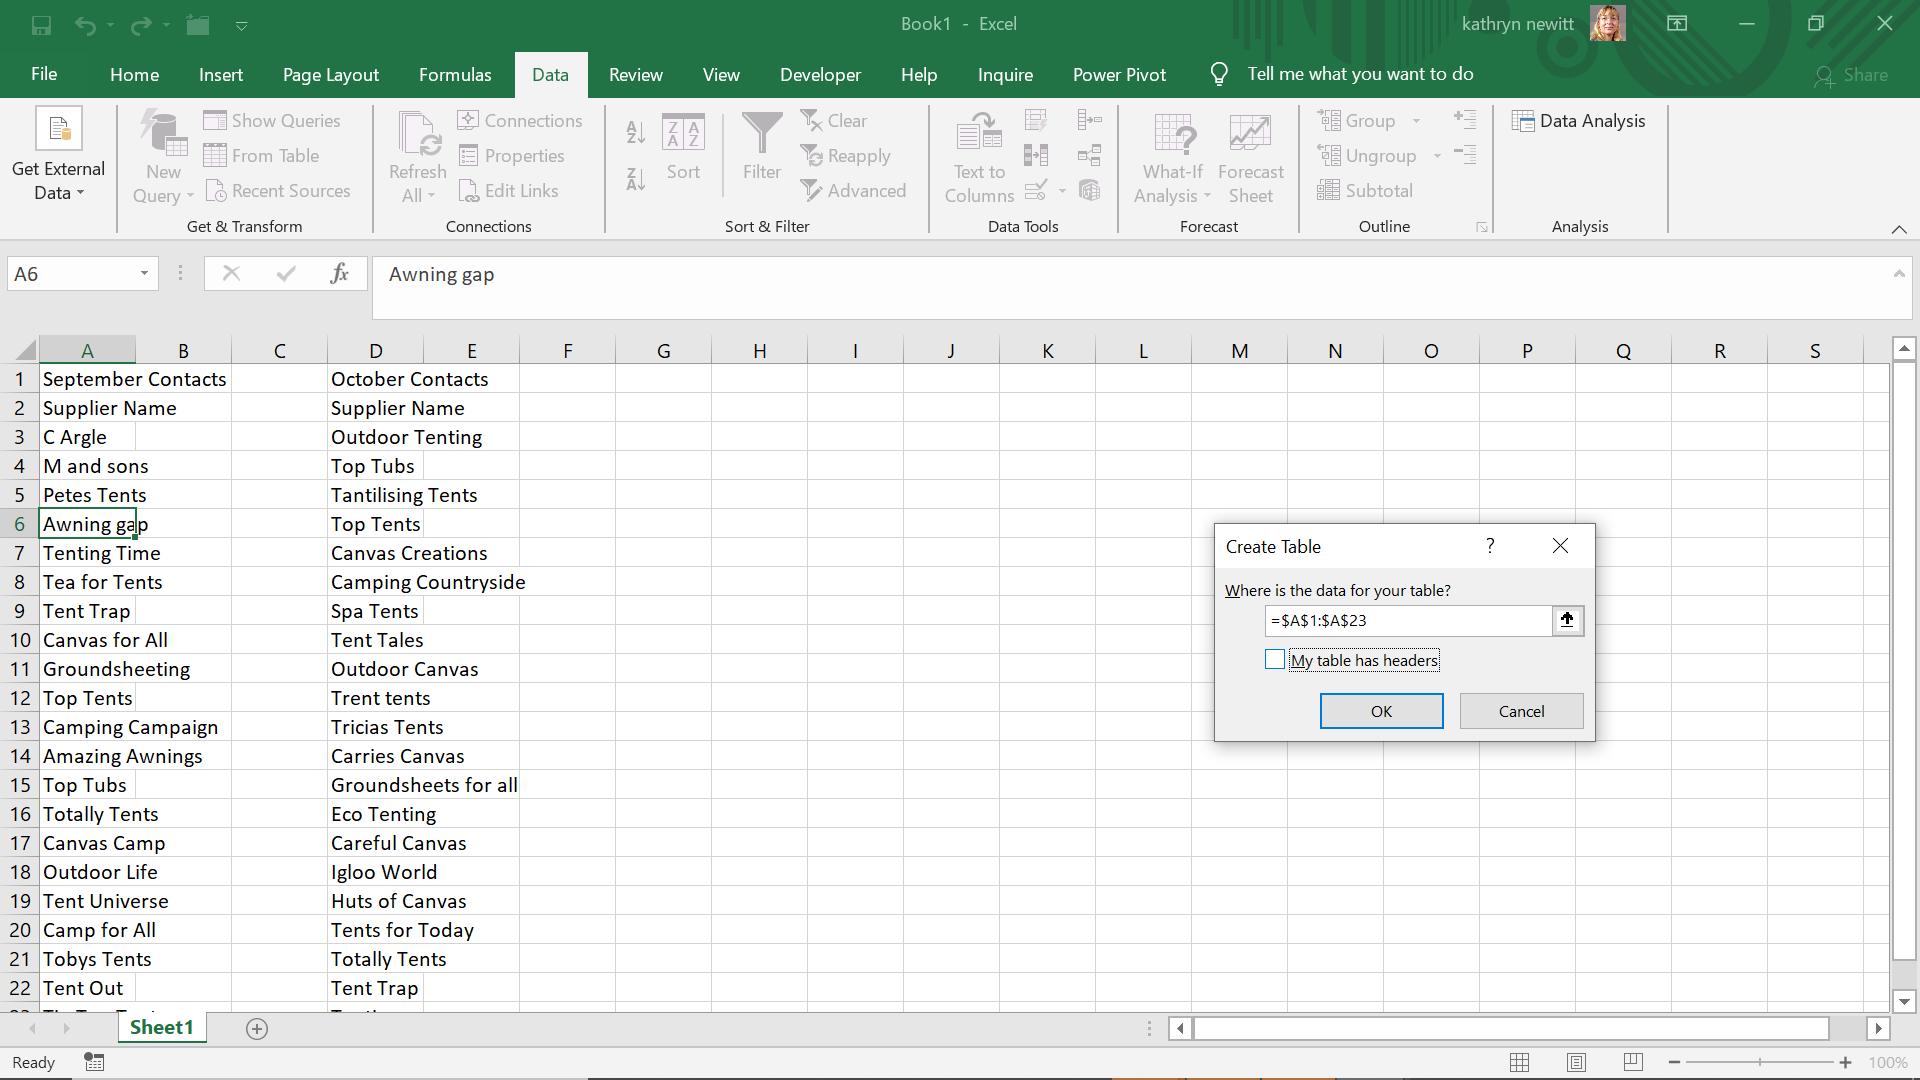
In this case I don’t want to take the defaults for the location of my table. I have no need for the top heading, it will only cause problems. Instead, I alter the reference to point at the second line, and tick the ‘My table has headings’ box.
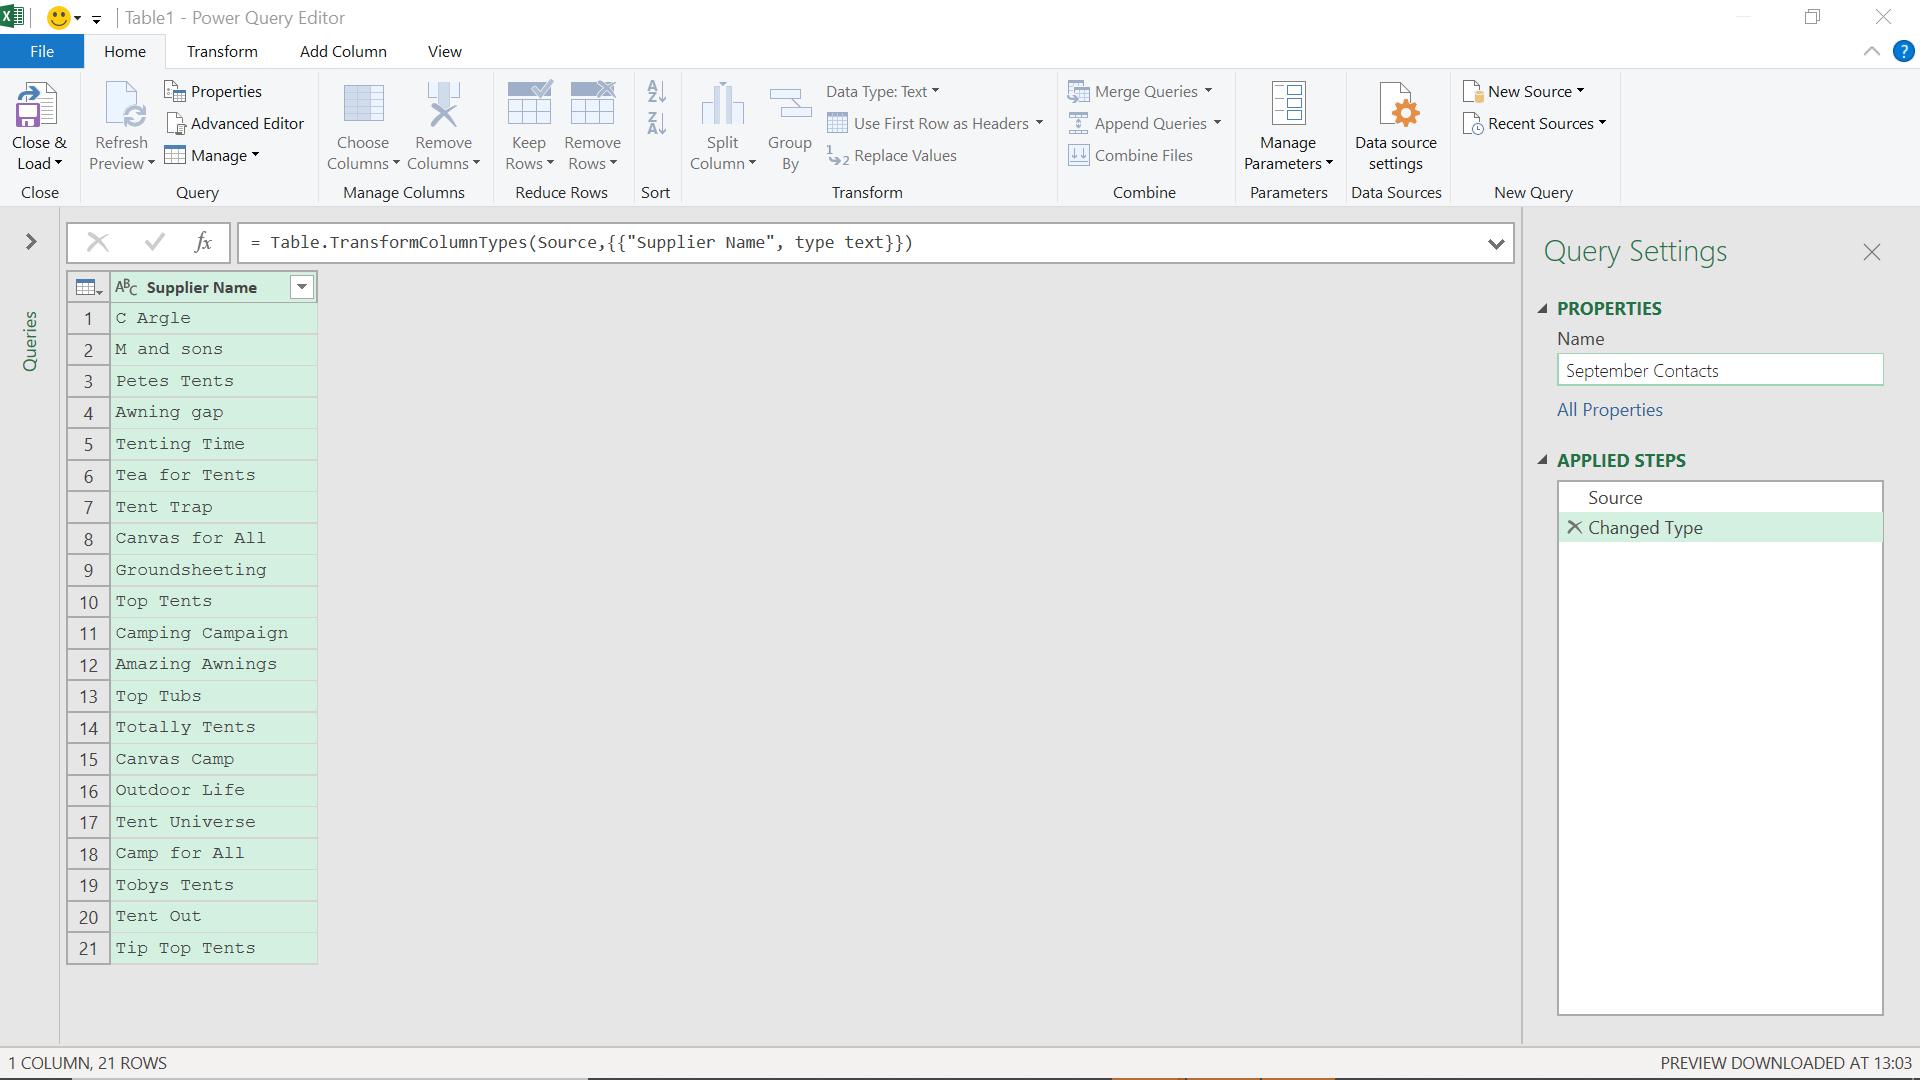
I rename my query ‘September Contacts’ and ‘Close & Load To’ from the ‘Home’ tab.

I opt to create only a connection, as I just want to write the suppliers that are common to September and October contacts in my spreadsheet.
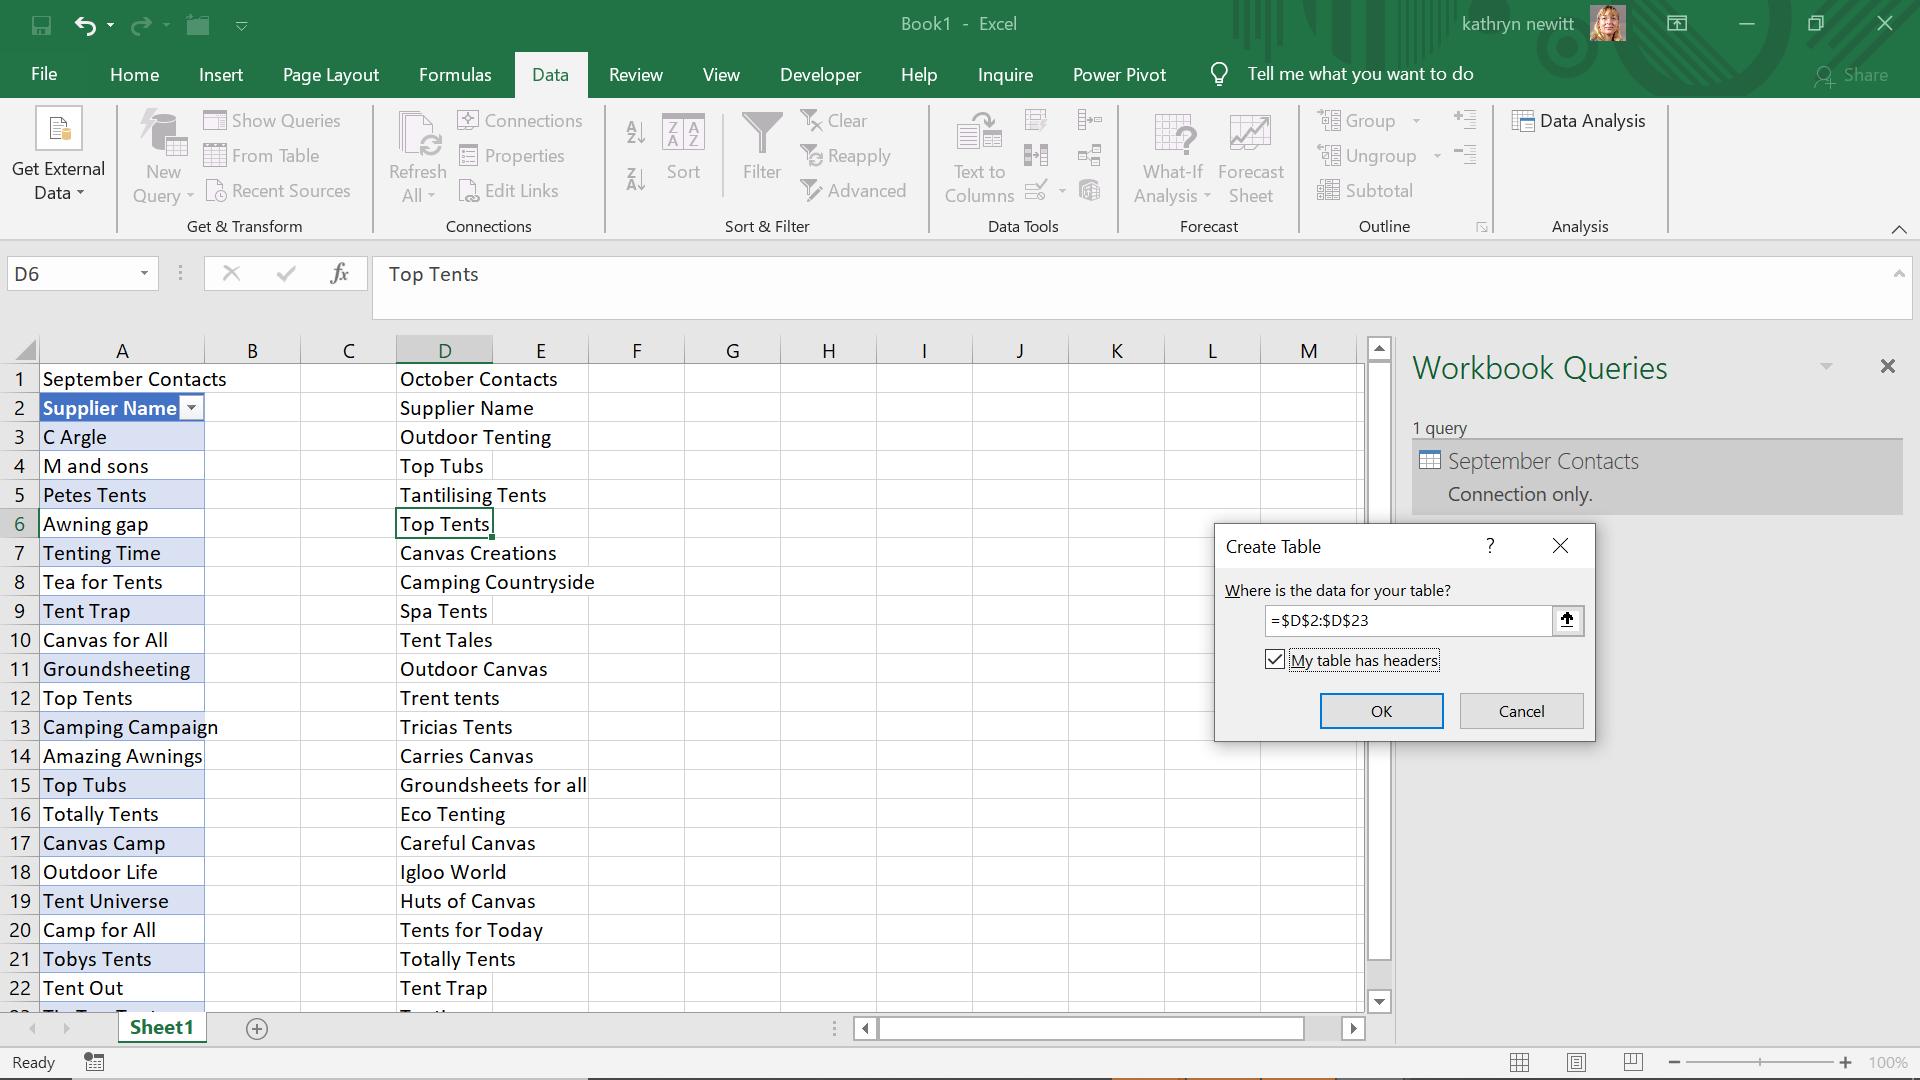
I repeat this process for ‘October Contacts’.
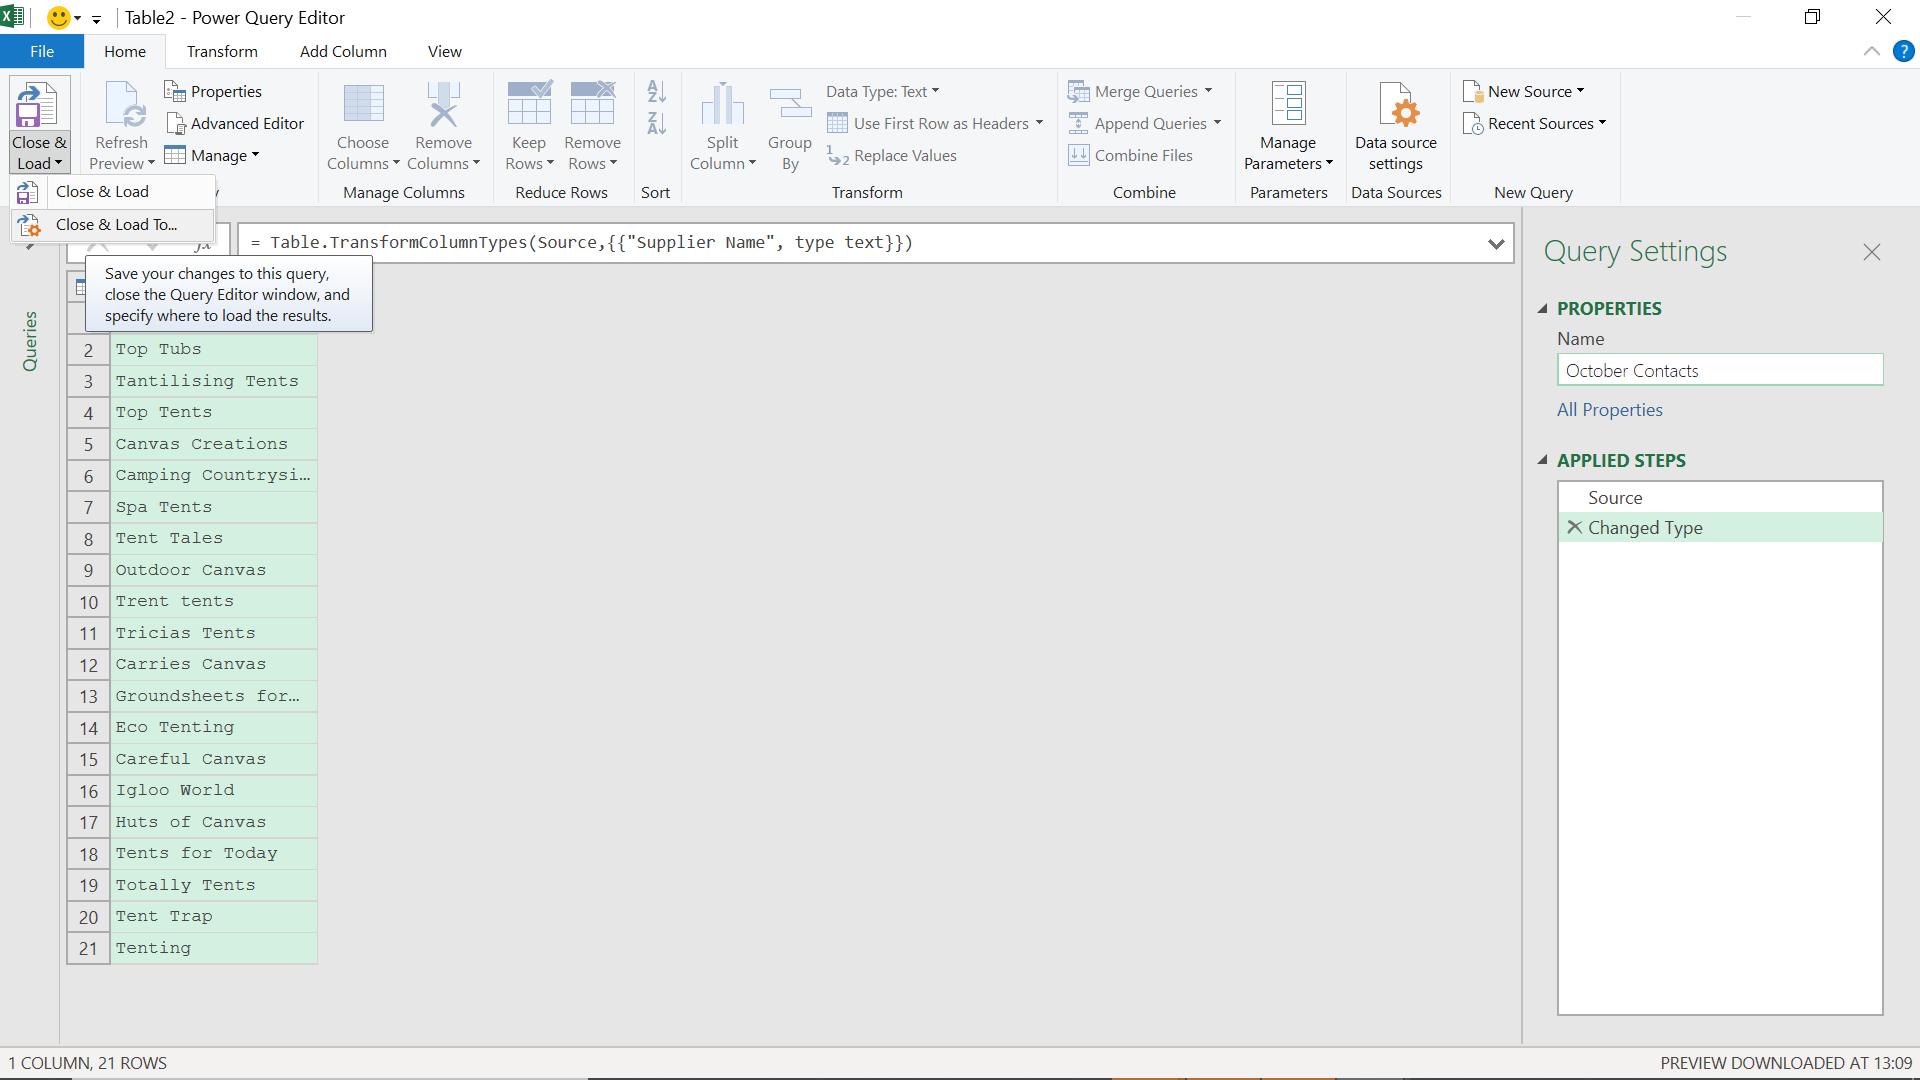
I create this query as ‘Connection Only’ too.
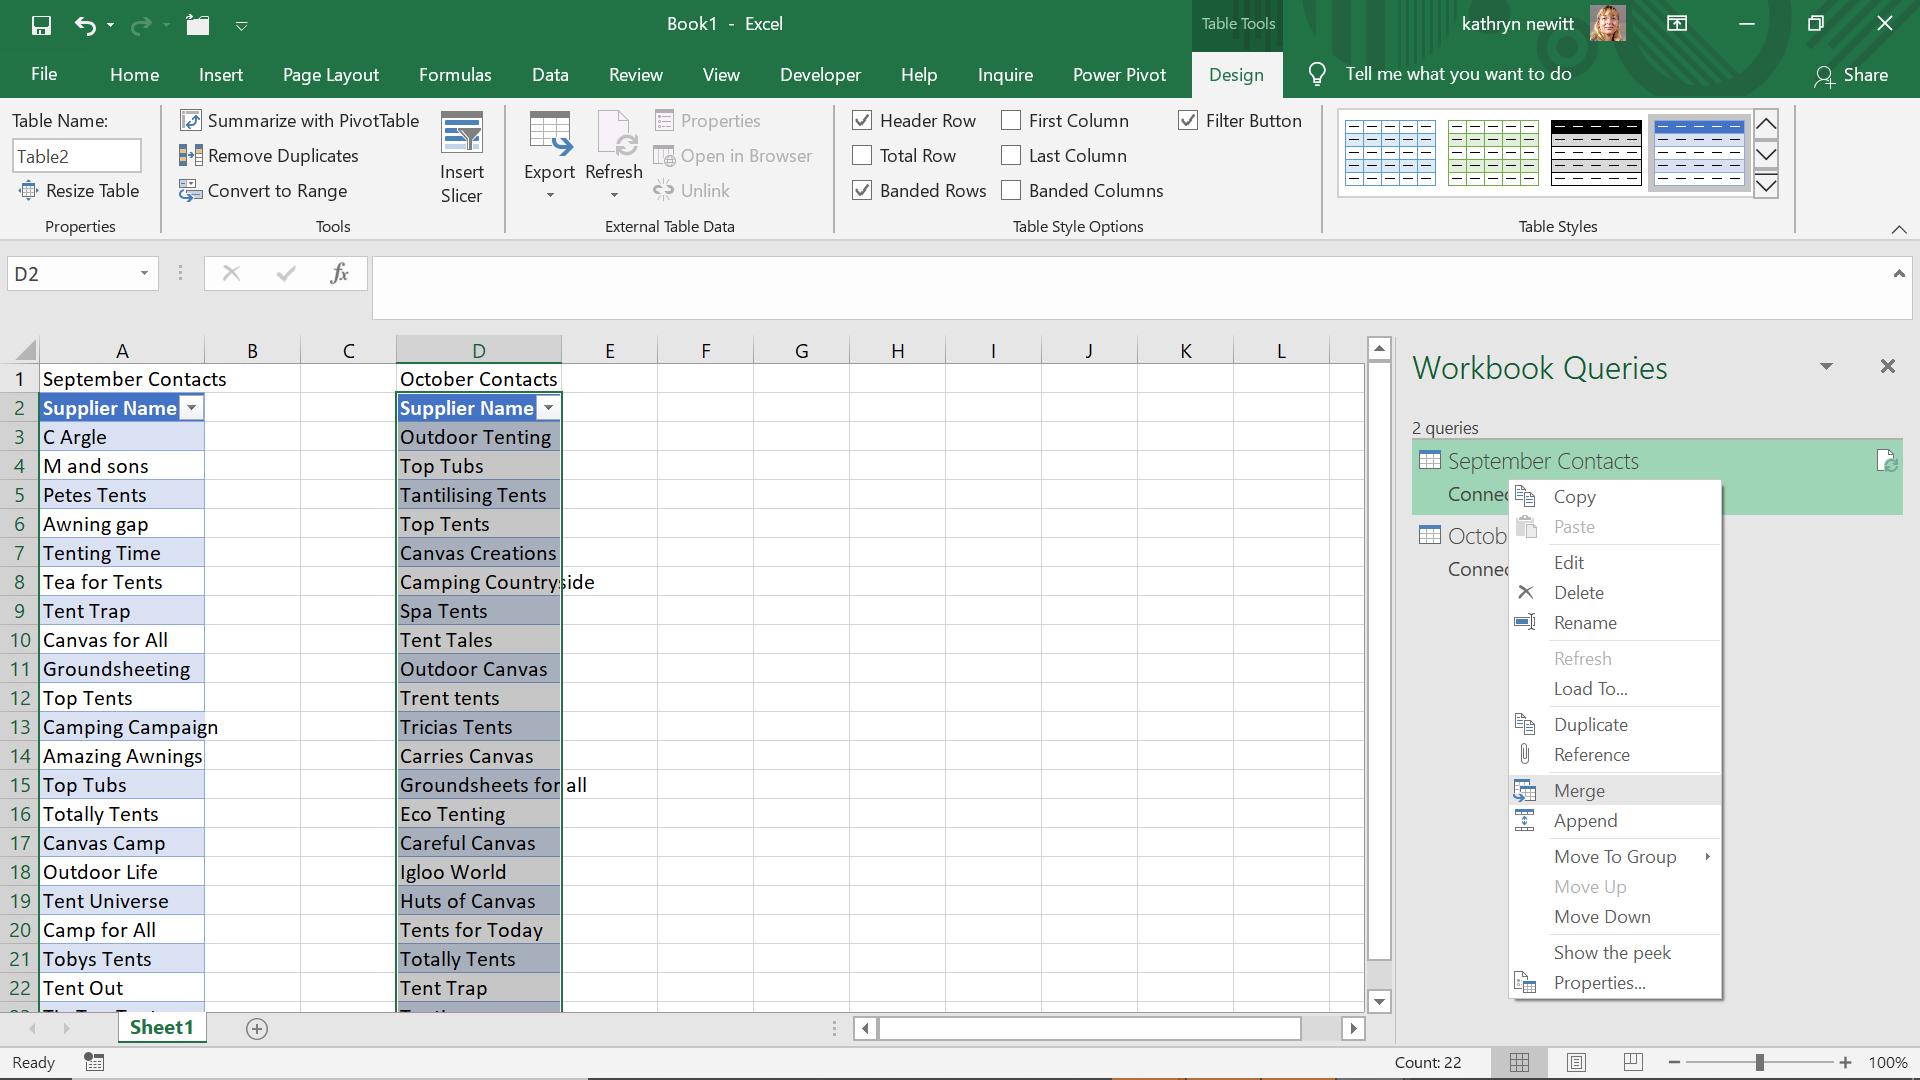
I can now right click ‘September Contacts’ and right click on it. I choose the ‘Merge’ option.
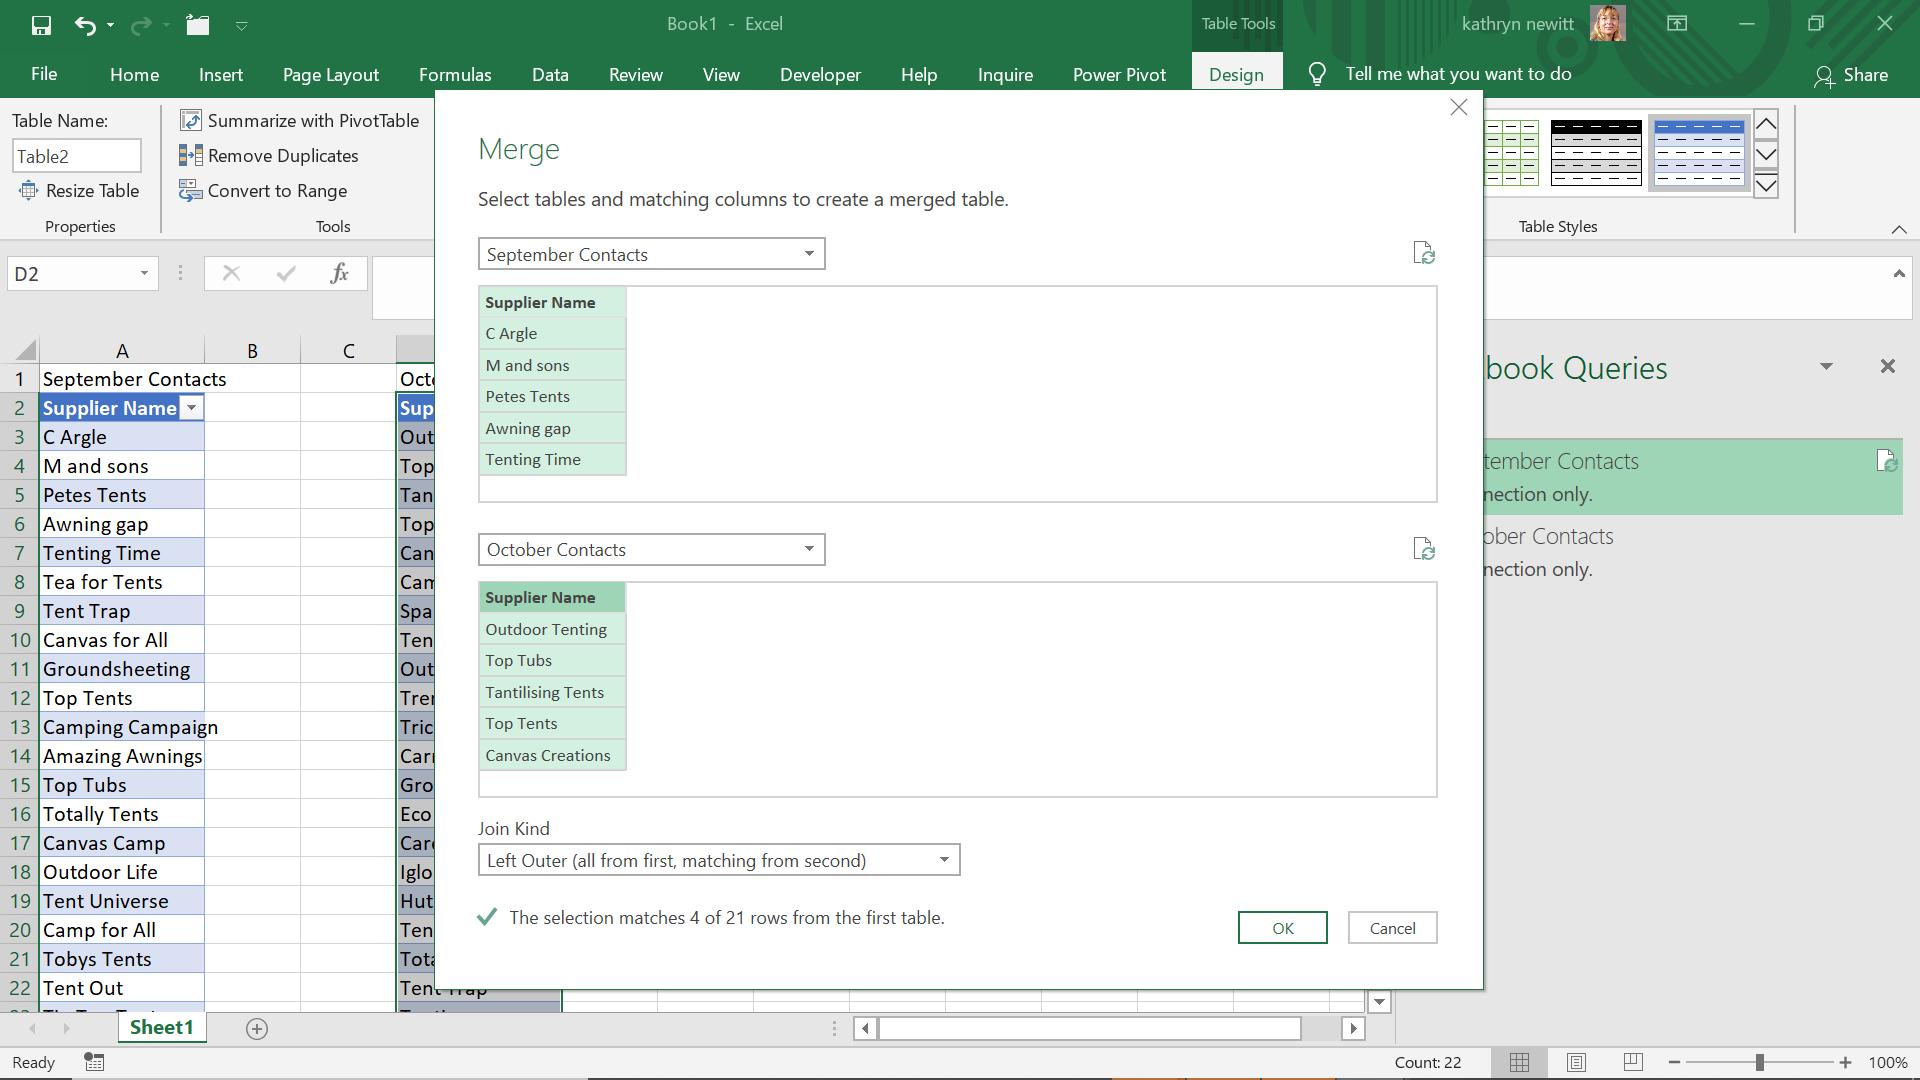
I choose to merge by linking on Supplier Name. I can view the possible types of join.
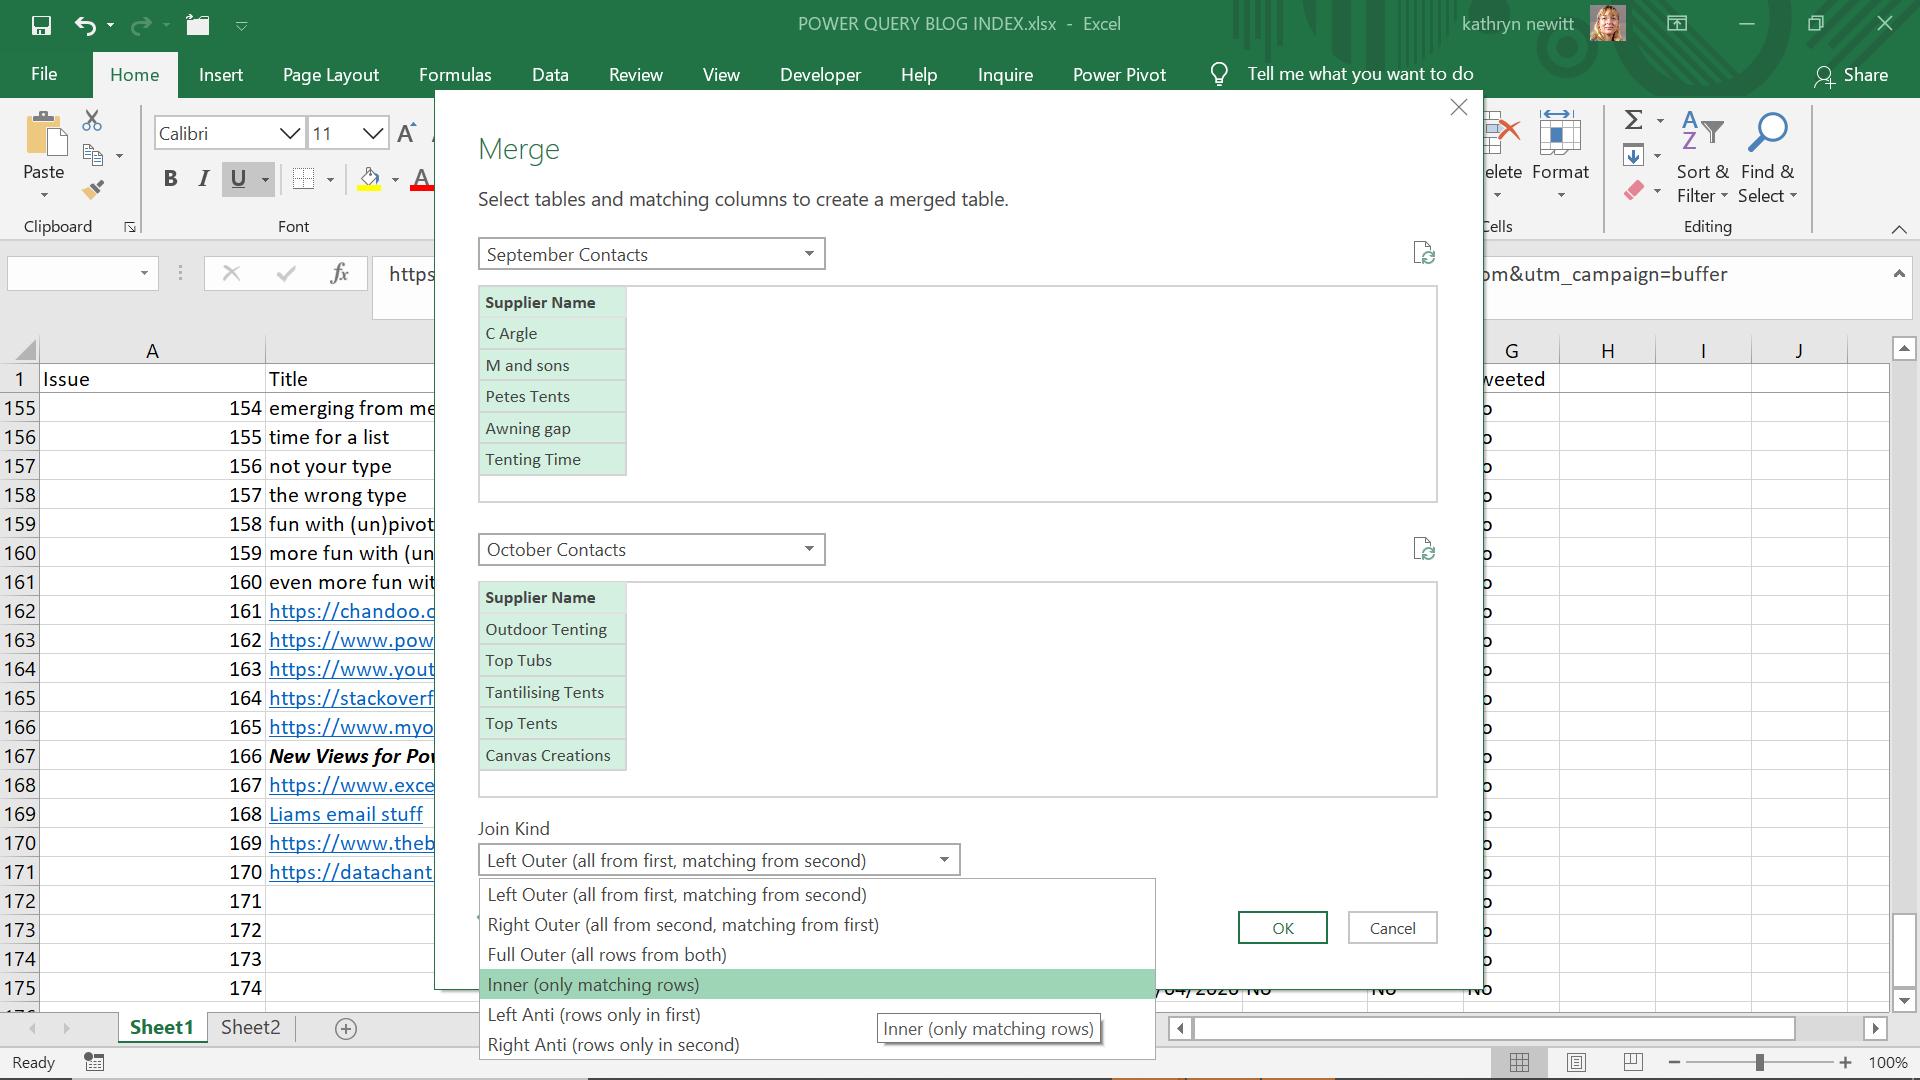
In this case, the best join for my purposes, is to choose the ‘Inner’ join which will give me ‘only matching rows’, i.e. rows of data where the data in the selected column is common to both tables.
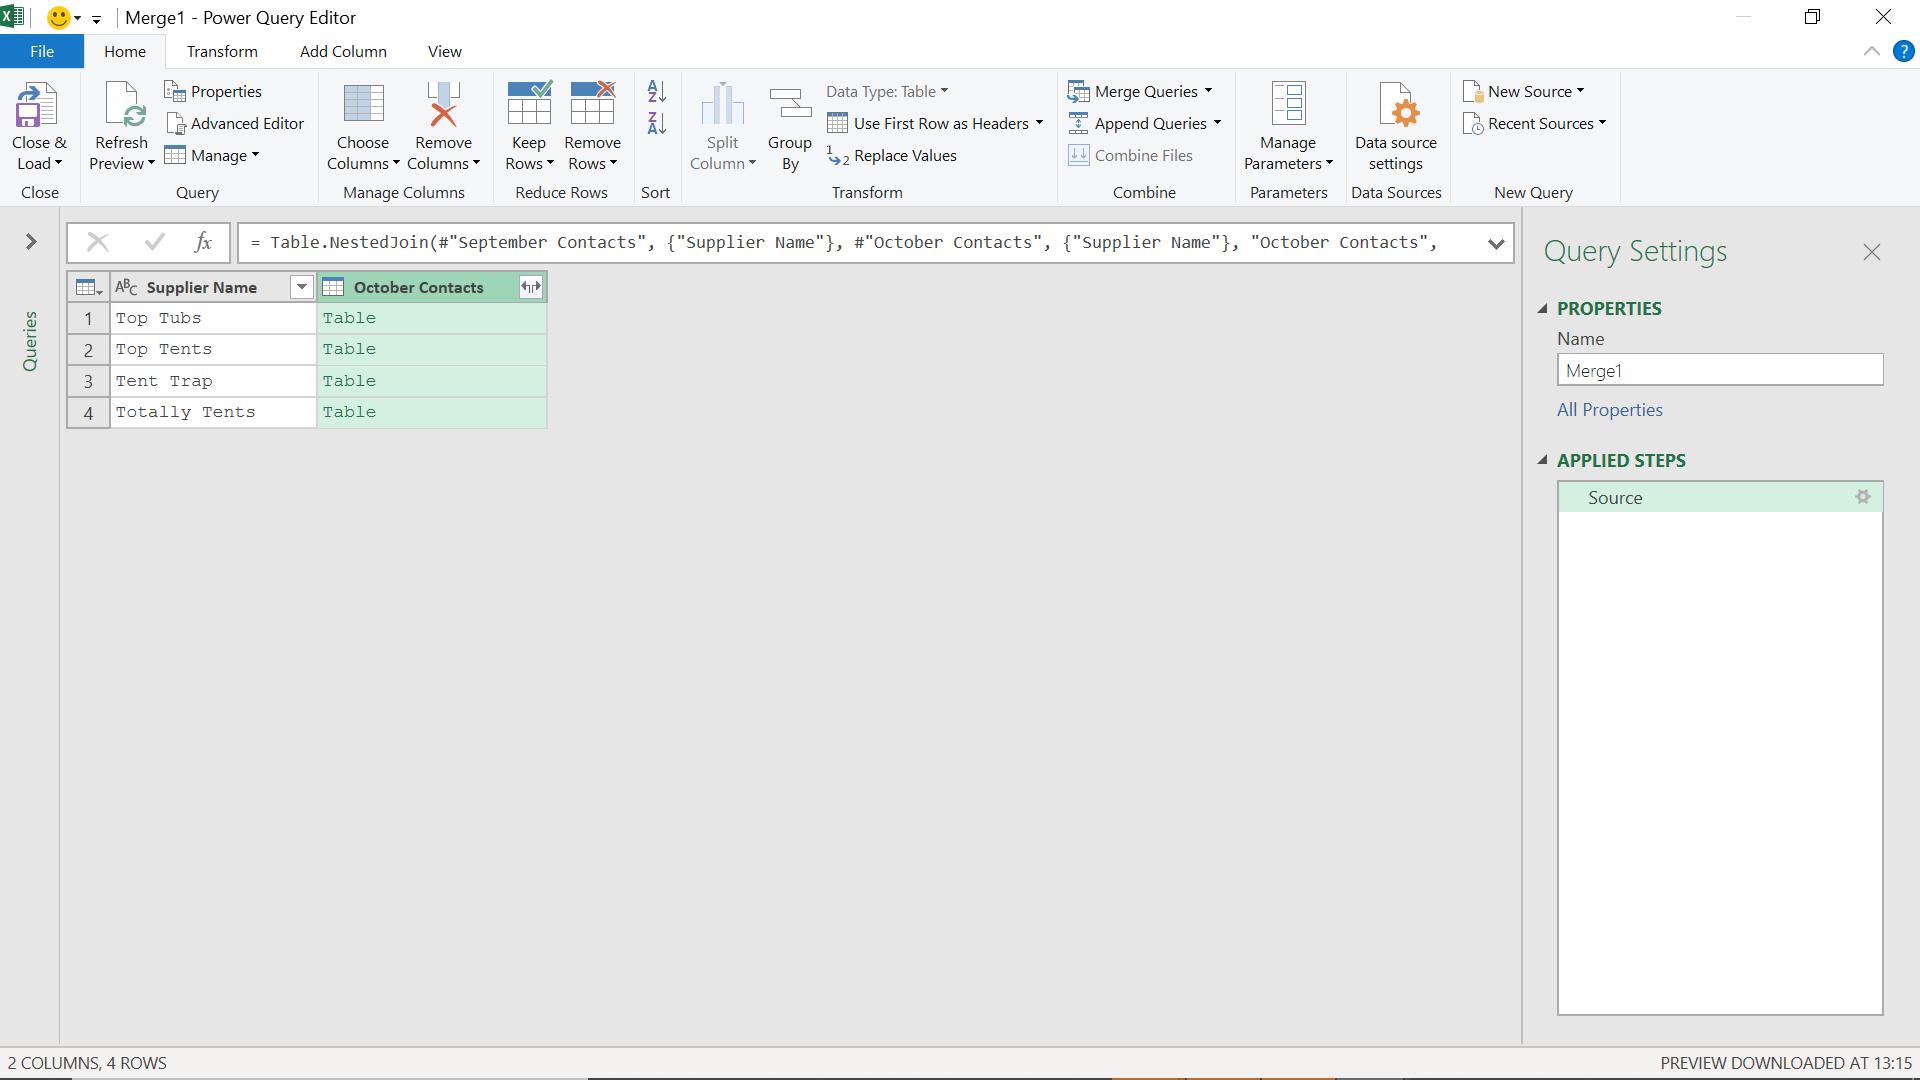
The result of the merge is a query with two columns. I can expand October Contacts to check the data.
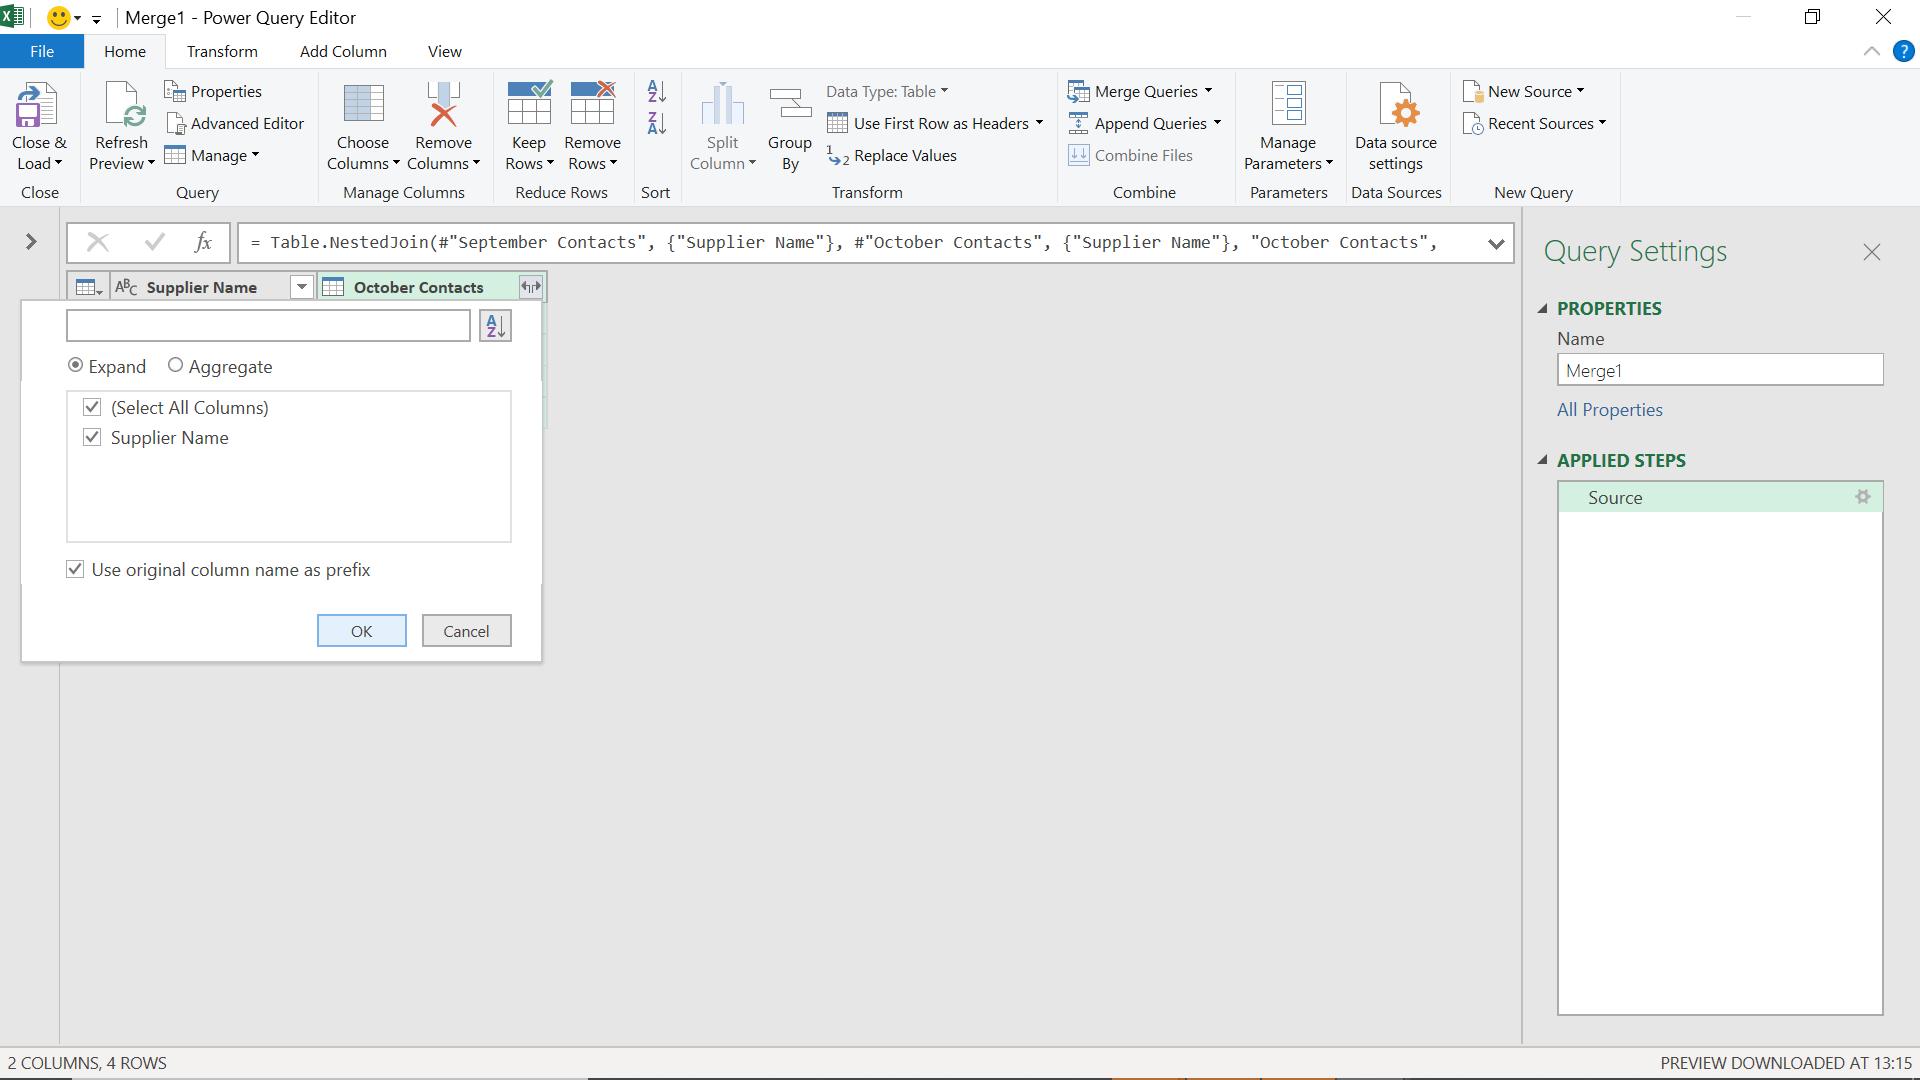
I take the defaults and expand the data.
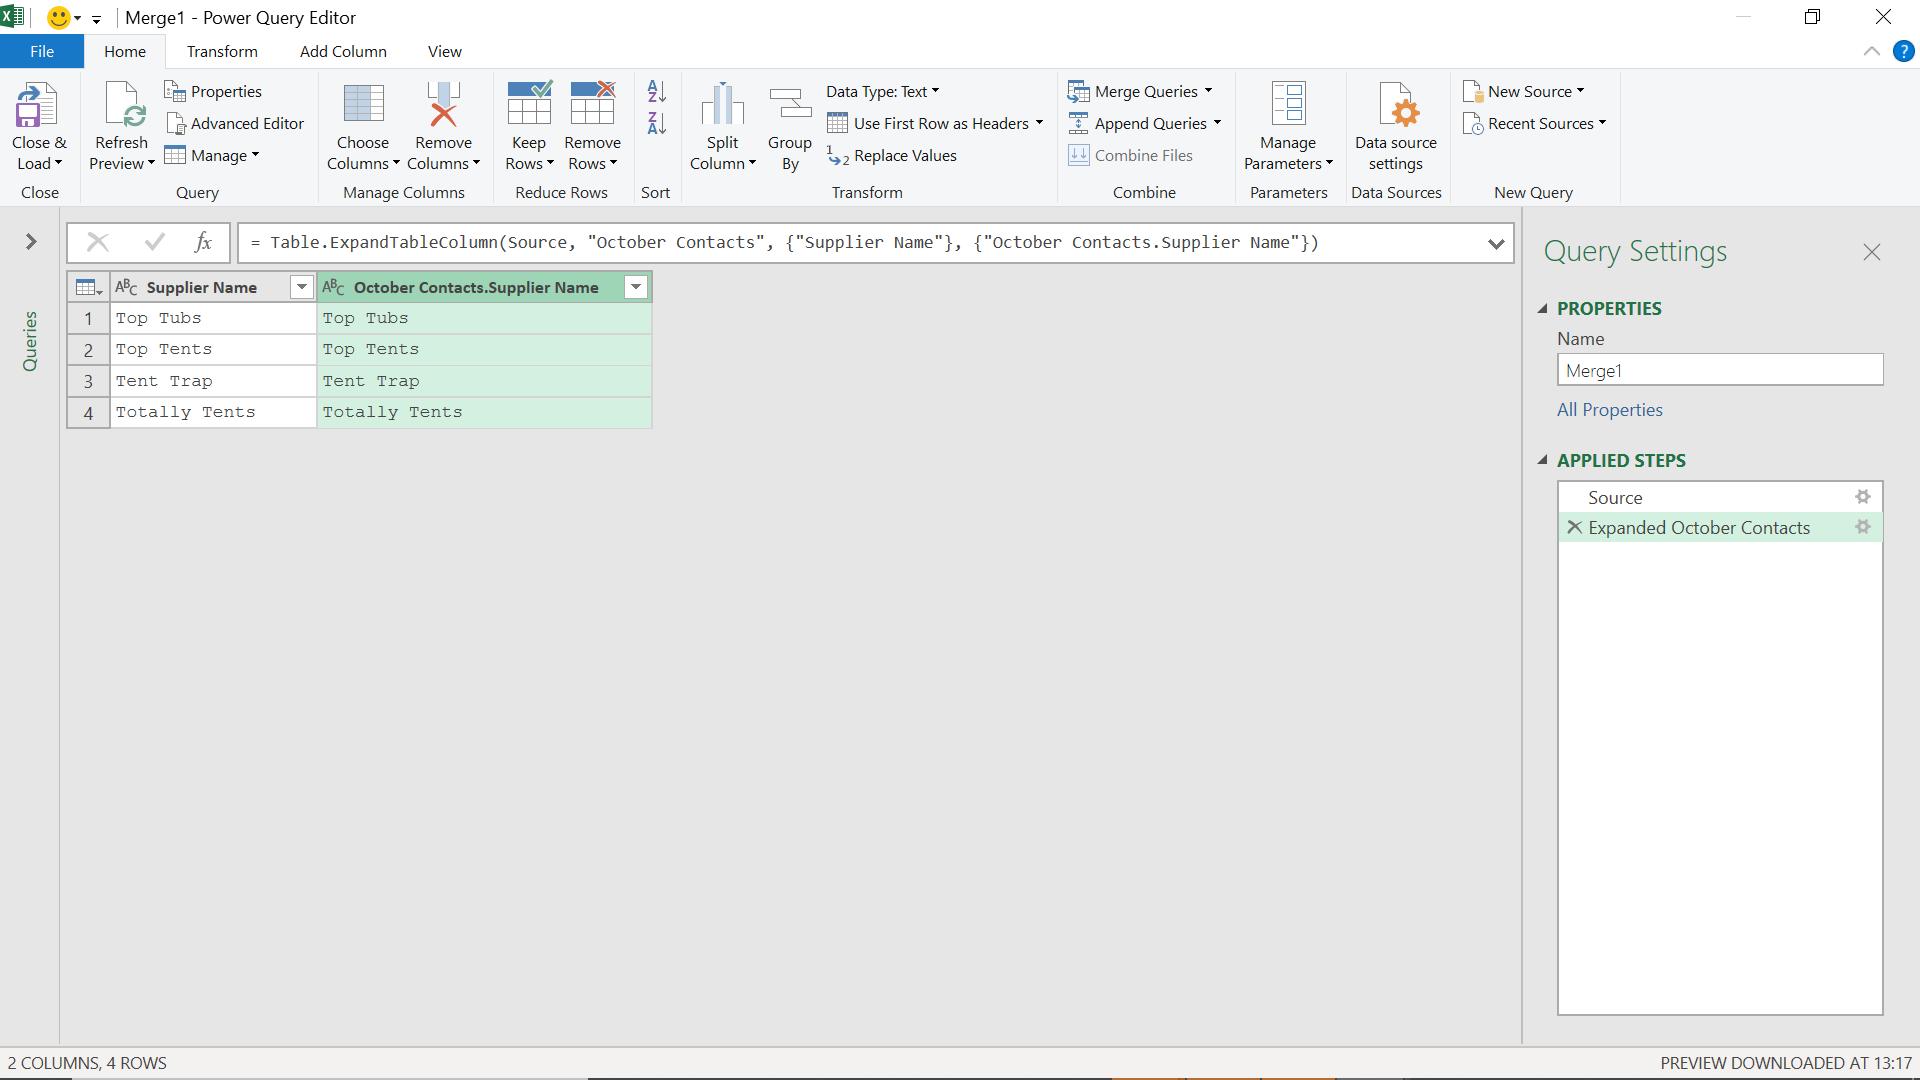
I can see the data matches, so I remove the second column and rename my query to ‘Contacted in September and October’. This time, when I ‘Close & Load’, I want to write to the spreadsheet.
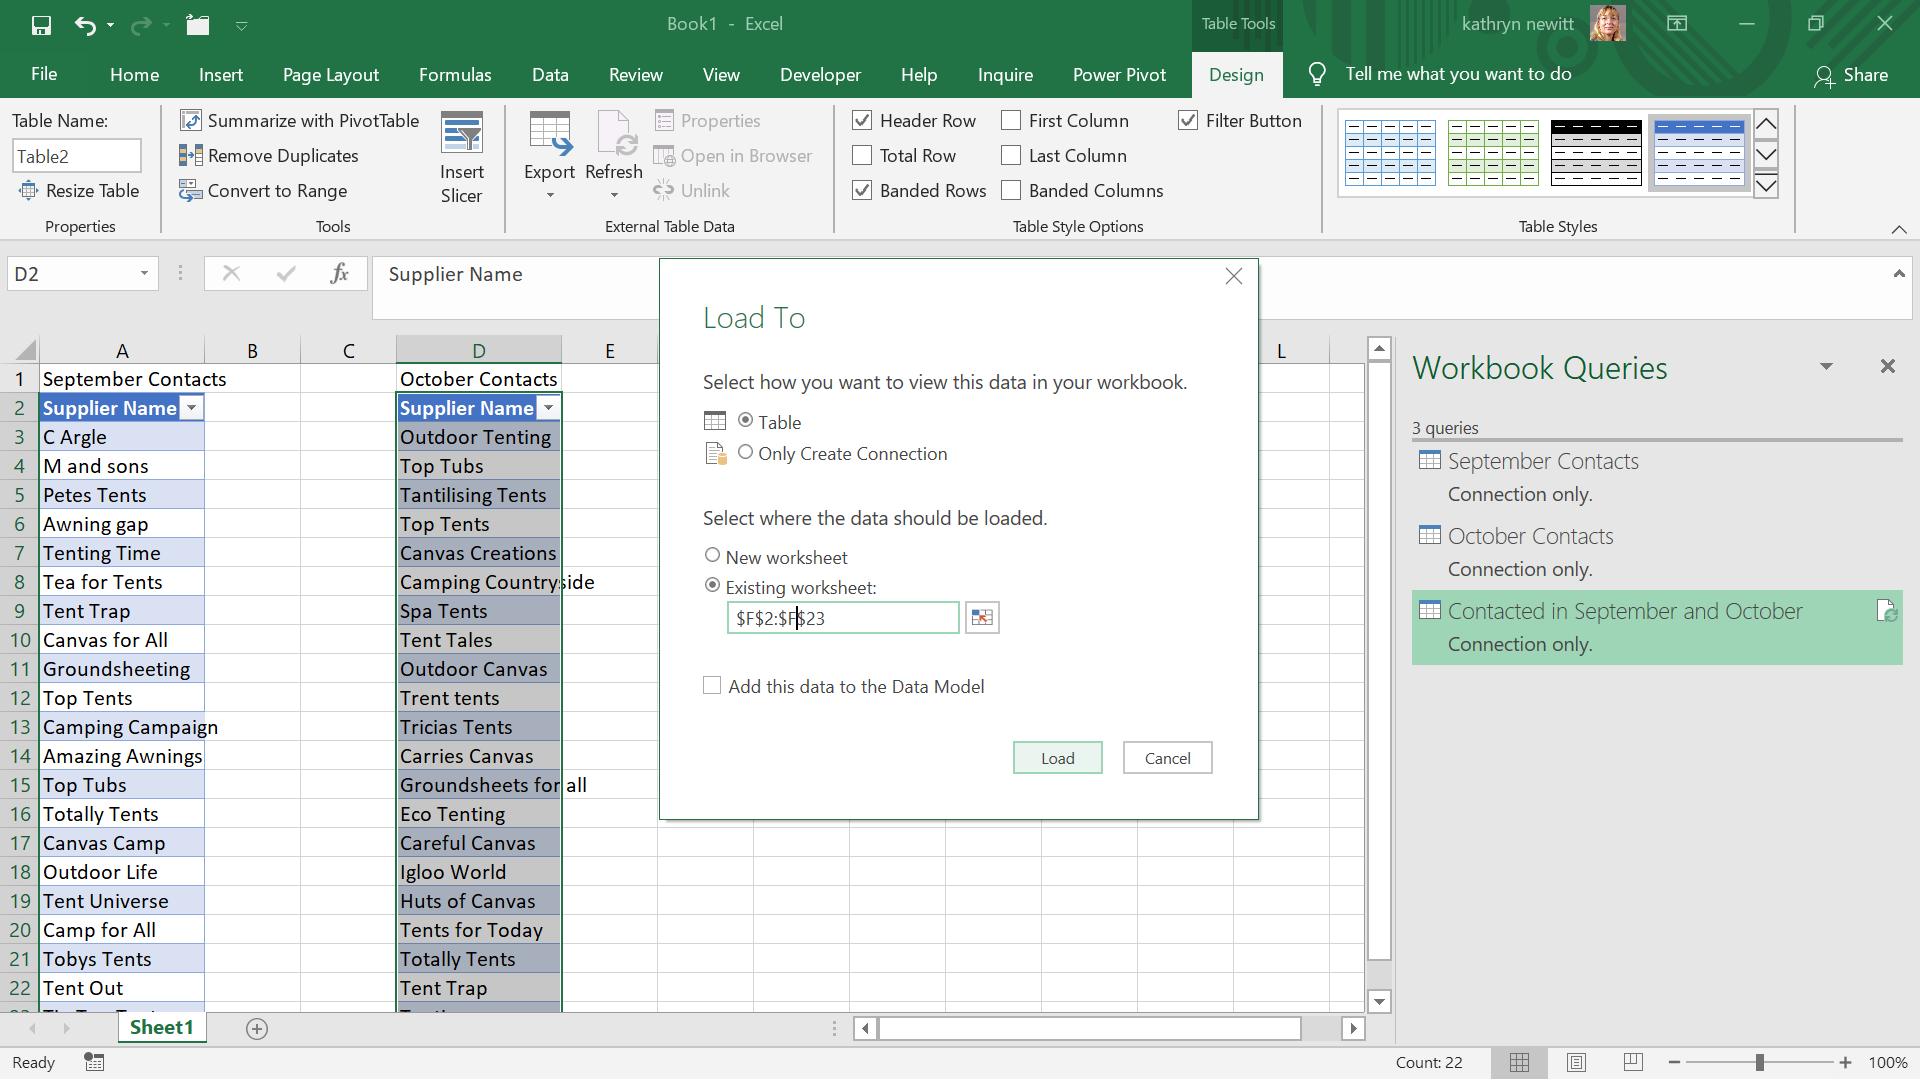
I want this table to appear next to my original data.
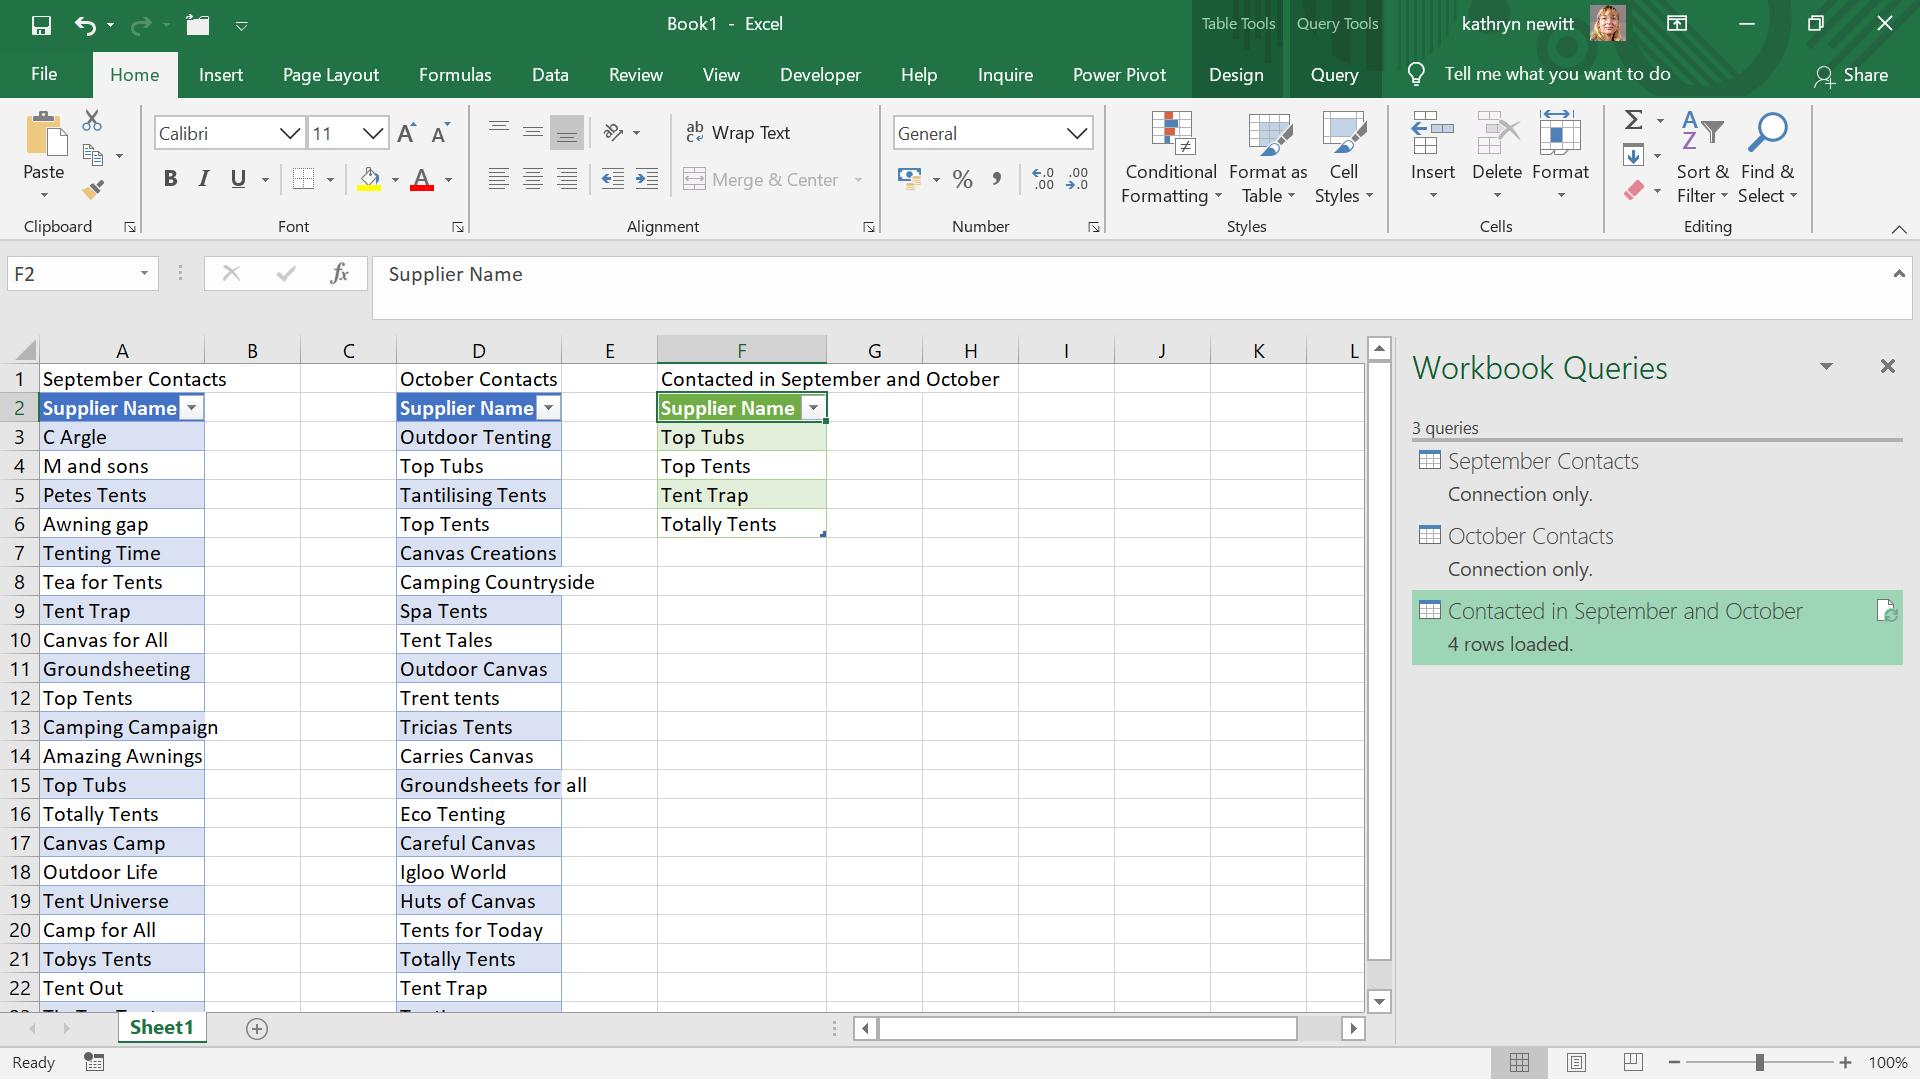
I now have all the information available on one sheet.
Come back next time for more ways to use Power Query!