
Power Query: 10 Top Tips
19 September 2018
Welcome to our Power Query blog. This week, I take a look at some tips to help get the best out of Power Query.
Power Query can be used to upload data from a wide range of sources, and it is an excellent tool for cleaning up and formatting data. Here are some ideas that can help along the way to clean and useful data.
1. Quickly rename a column
I spend a lot of time renaming columns – here is the quickest way.
Double left-click on the title of any column, and the default action is to rename a column. Not the most exciting tip, but it saves on mouse clicks.
2. Quickly rename a column without a mouse!
Keyboard shortcuts are always very popular with Excel users! So here’s one: to rename a selected column with no clicks, I can use F2 on the keyboard.

If I have several columns selected, then F2 will only allow me to rename the last column I selected.
3. Re-write history
I’ve gone off on something of a tangent in the next example!
The point where I actually went wrong is at ‘Removed Columns1’, so I could delete each step in reverse order until I have deleted that step, or I could exit my query and discard the changes if these are the only changes I have made. However, there is an easier way…
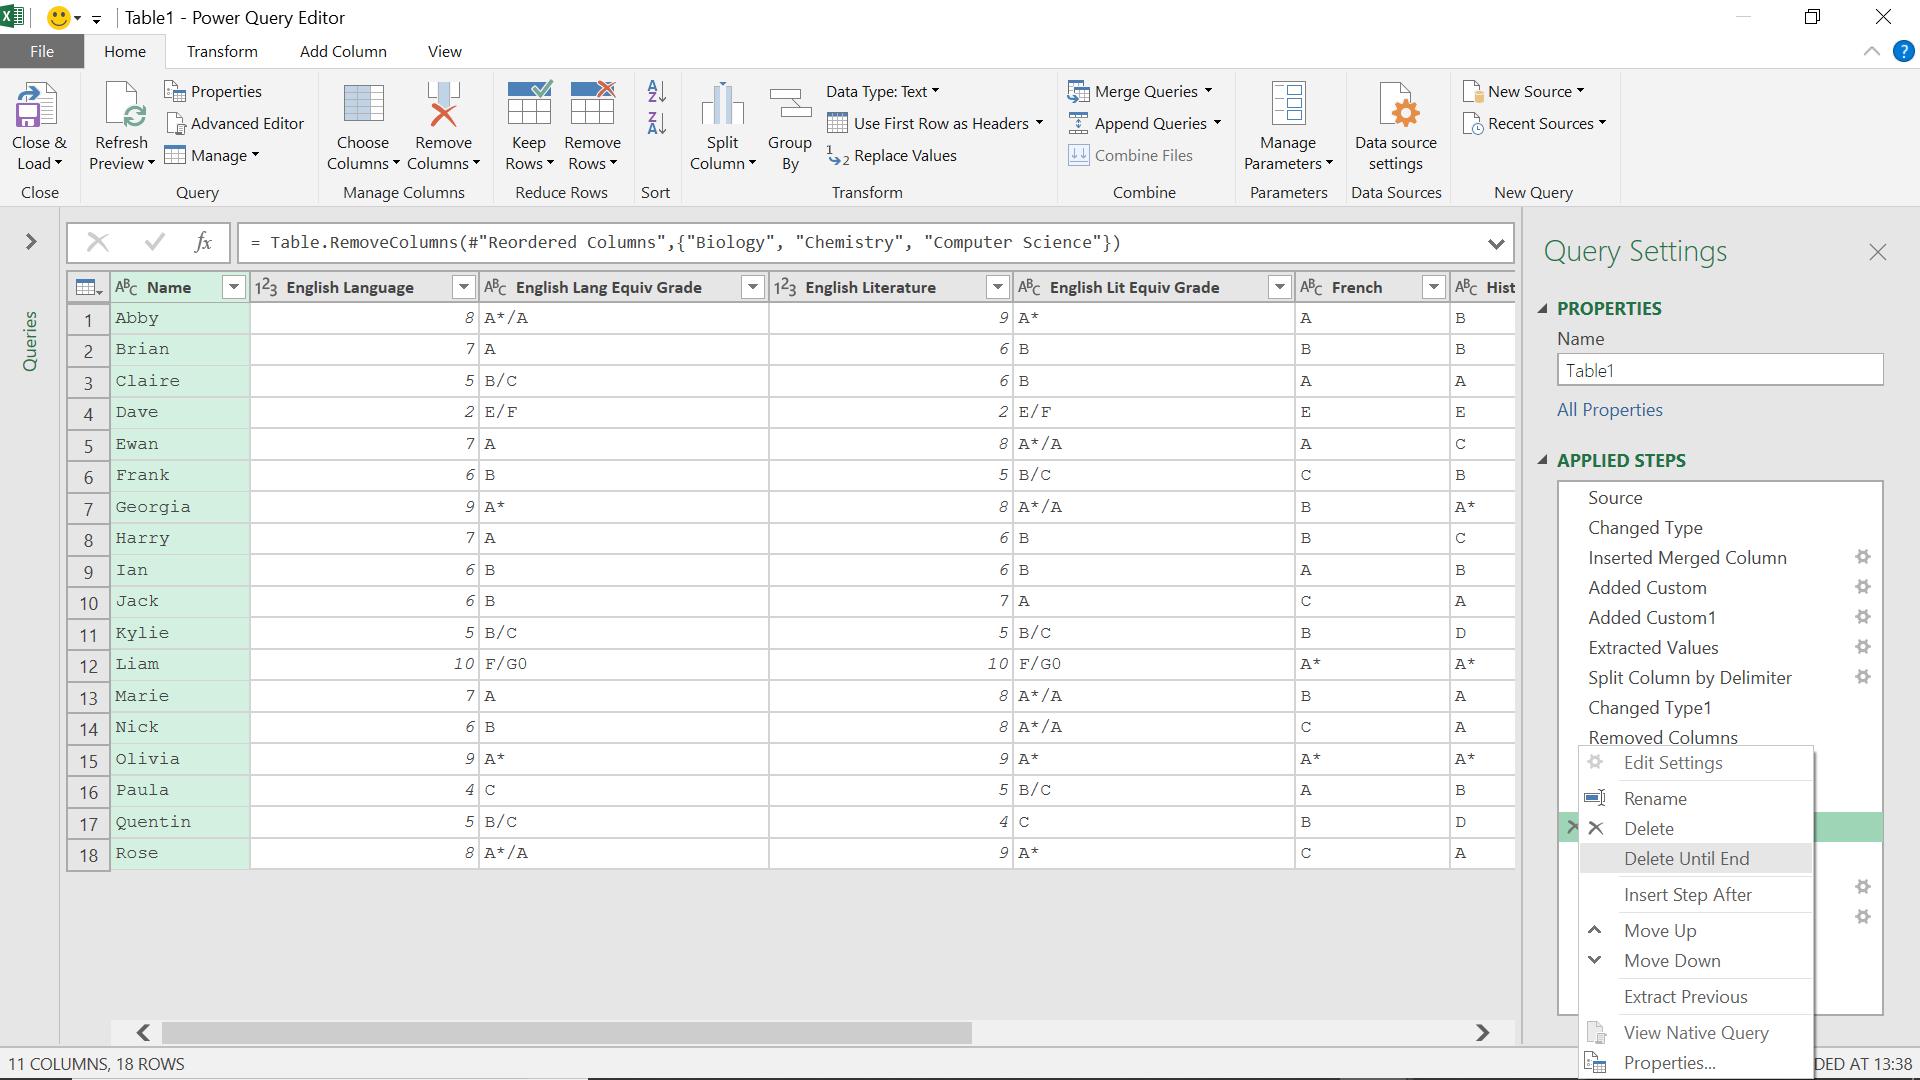
If I select the first step I want to delete, I can right click and choose to ‘Delete Until End’. This removes everything on my tangent, so I can try again! There is even a check just in case I choose this option by mistake.
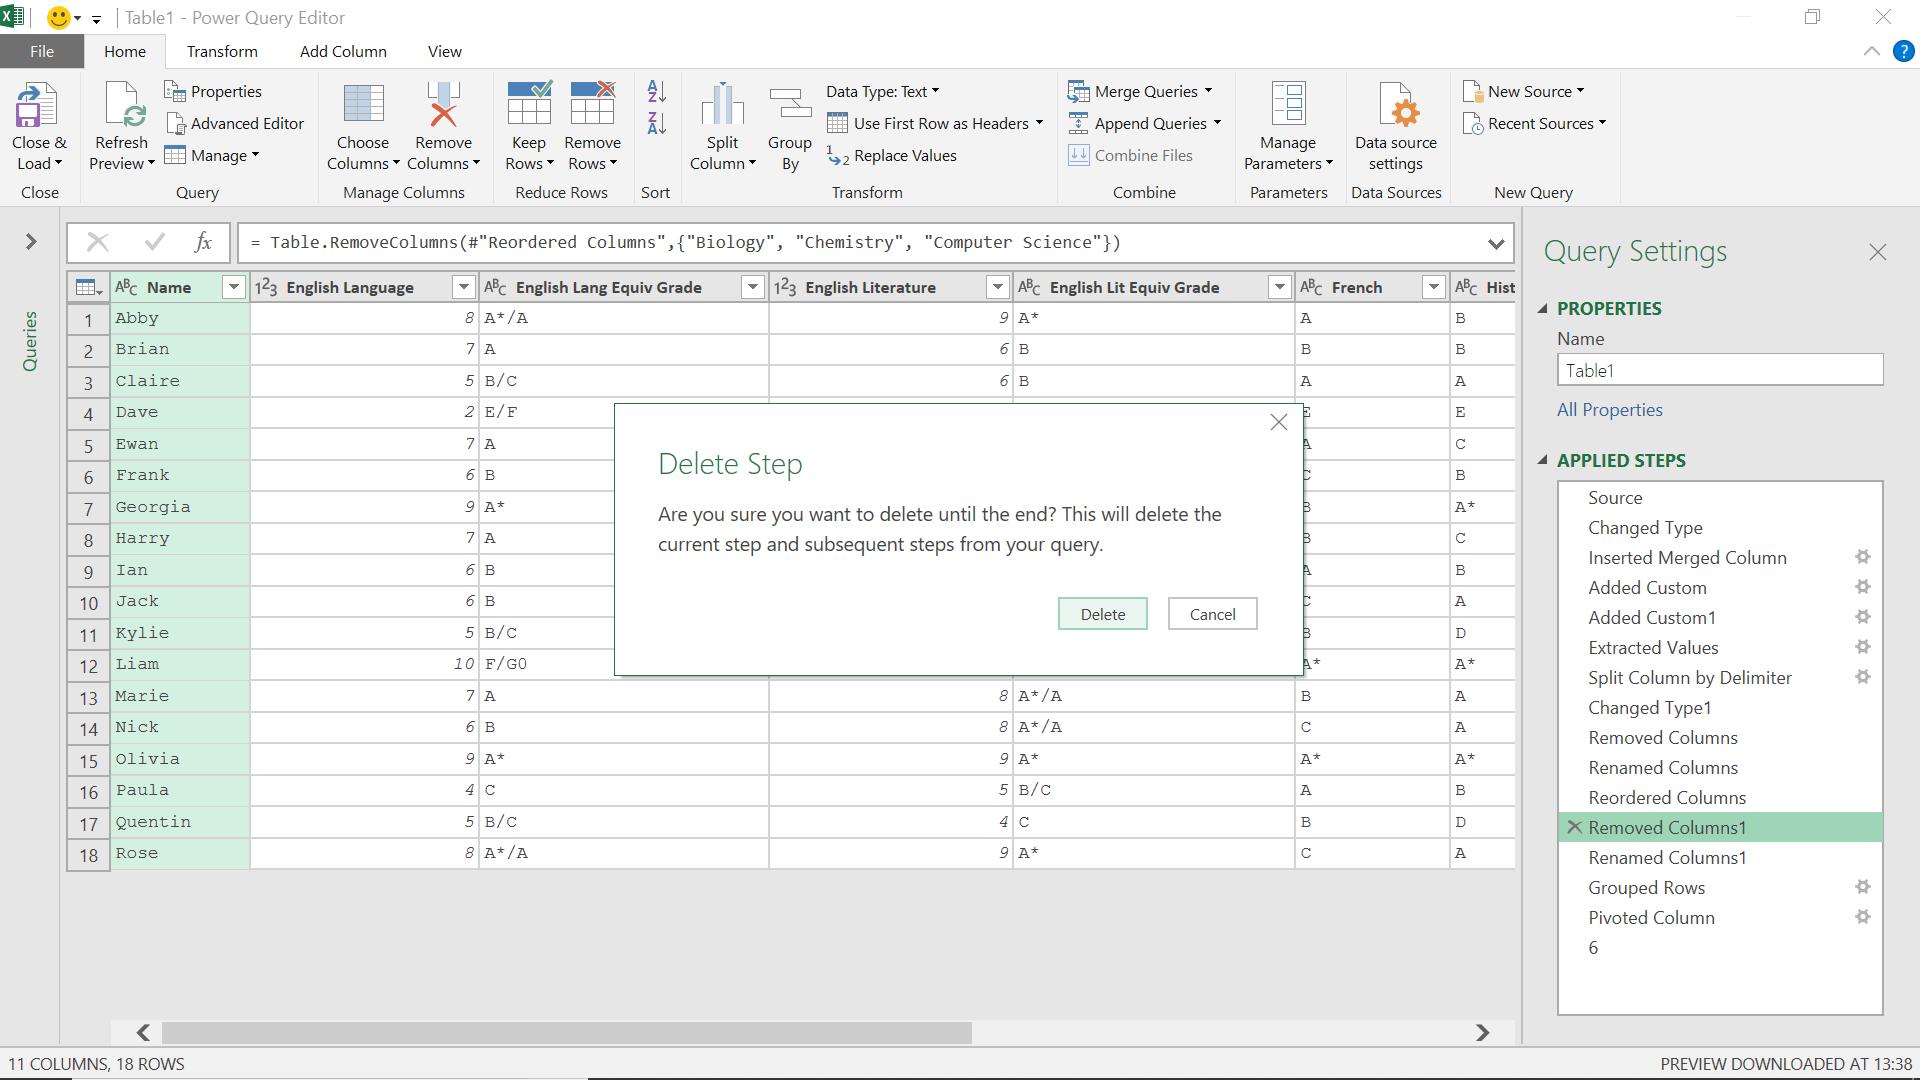
In this case I want to forget it all happened, so I choose ‘Delete’.
It’s as if nothing ever happened…
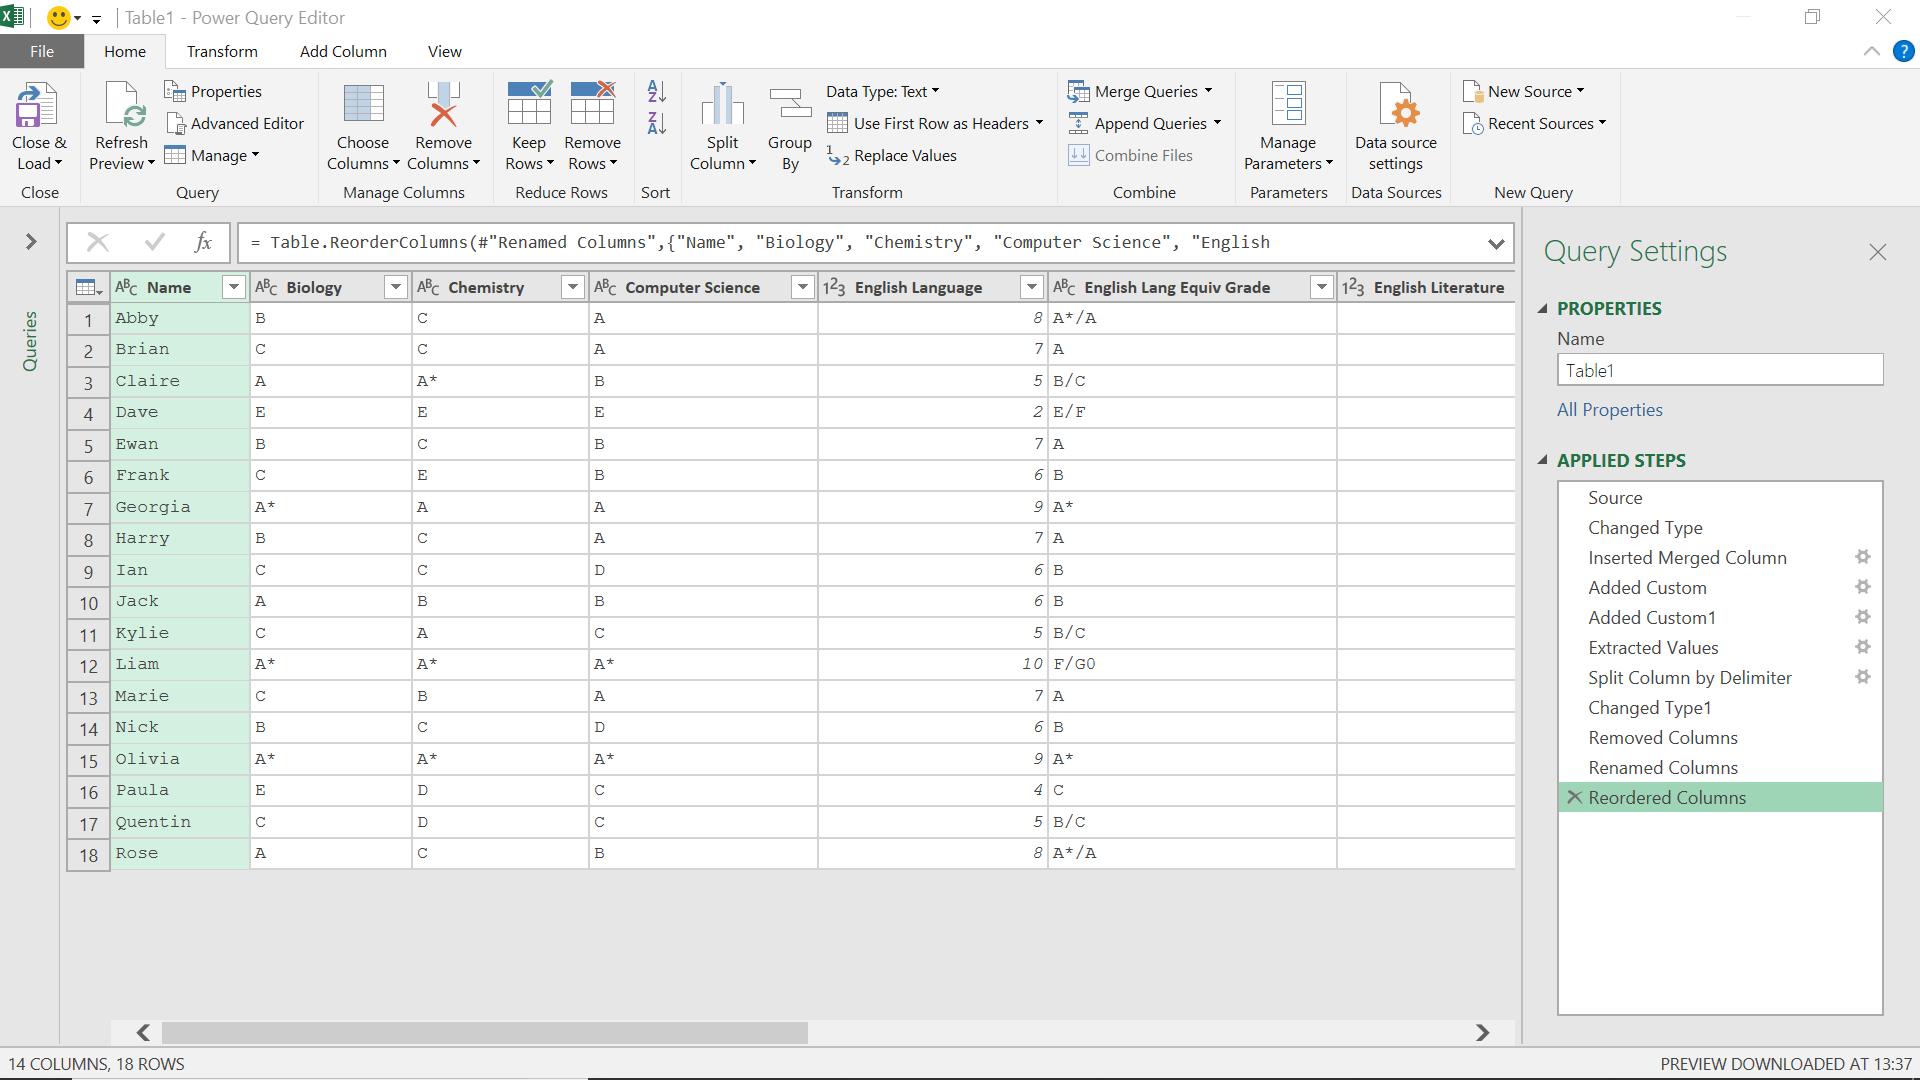
4. Using monospaced font in the Query Editor
This is useful for when I have references made up of a significant number of characters.
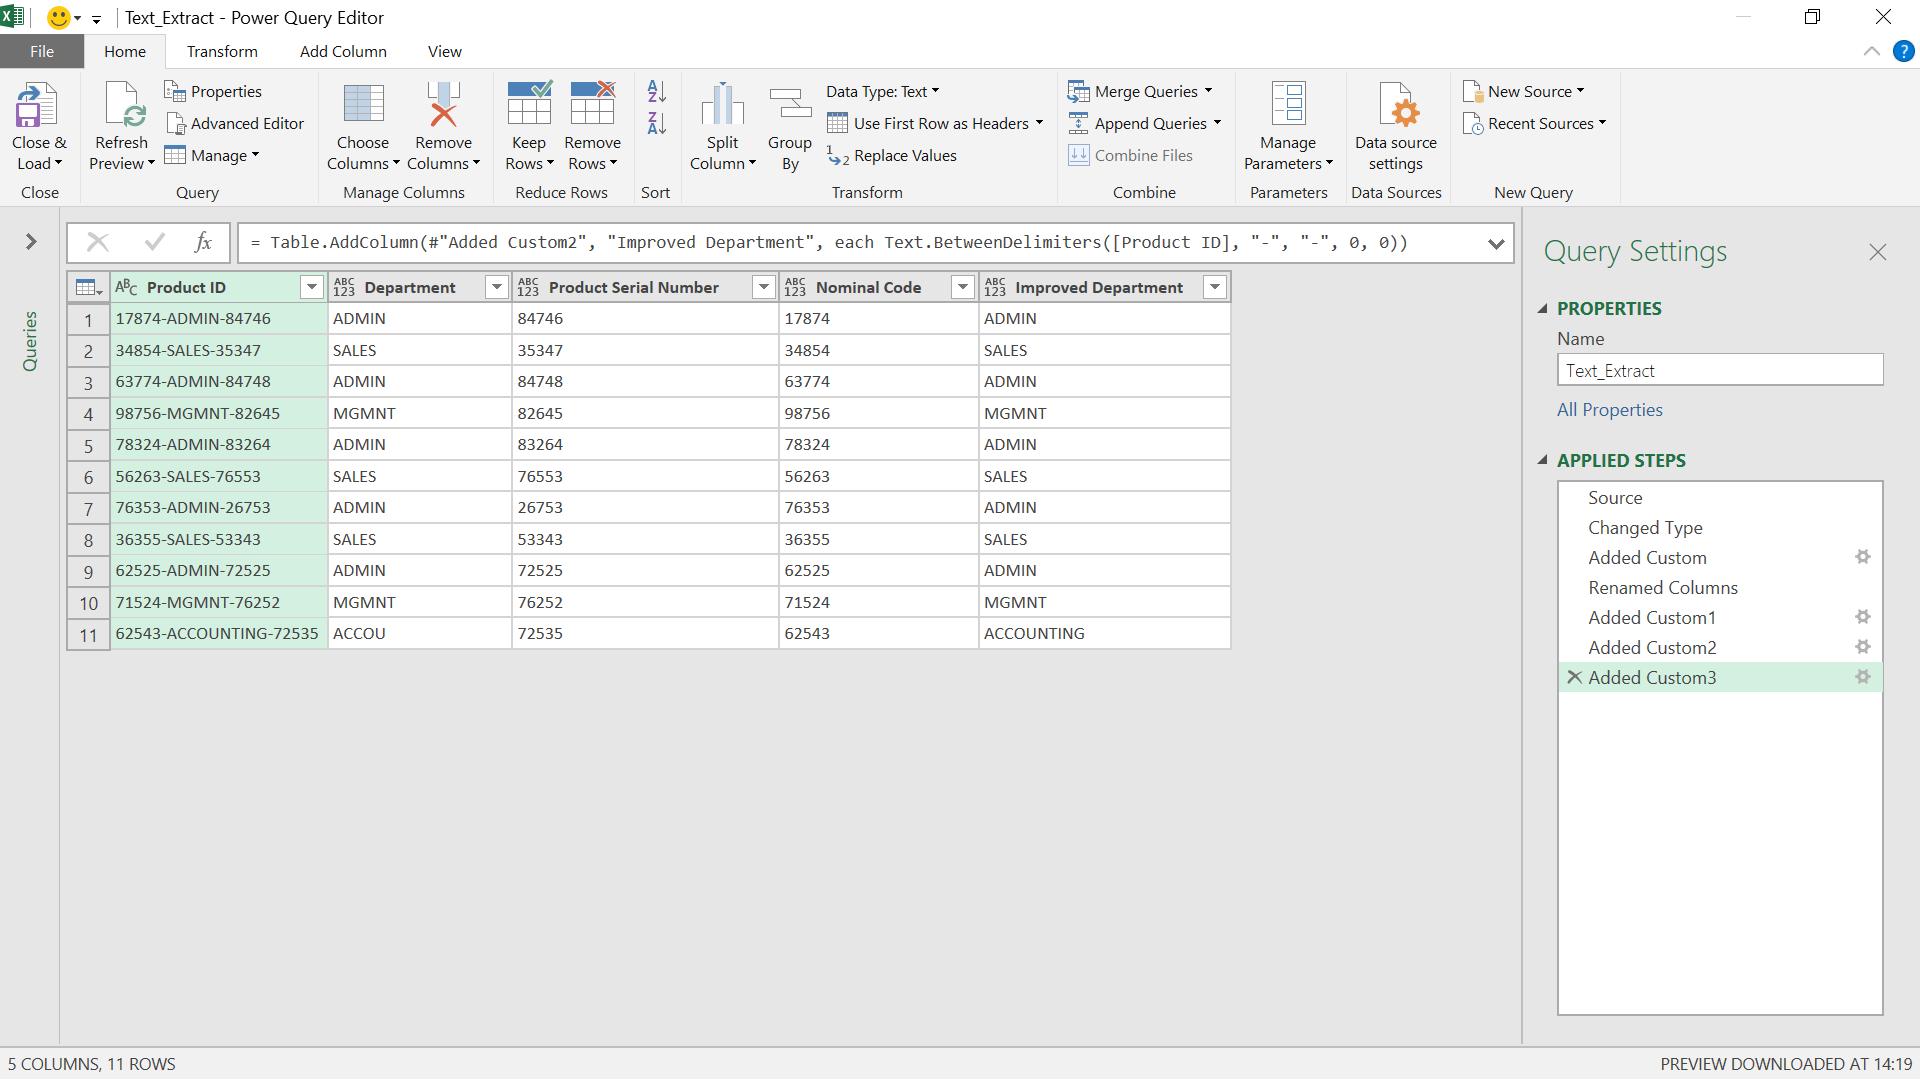
In the previous screen, the Product ID column looks messy. That is because of a setting that I can access from the ‘File’ tab.
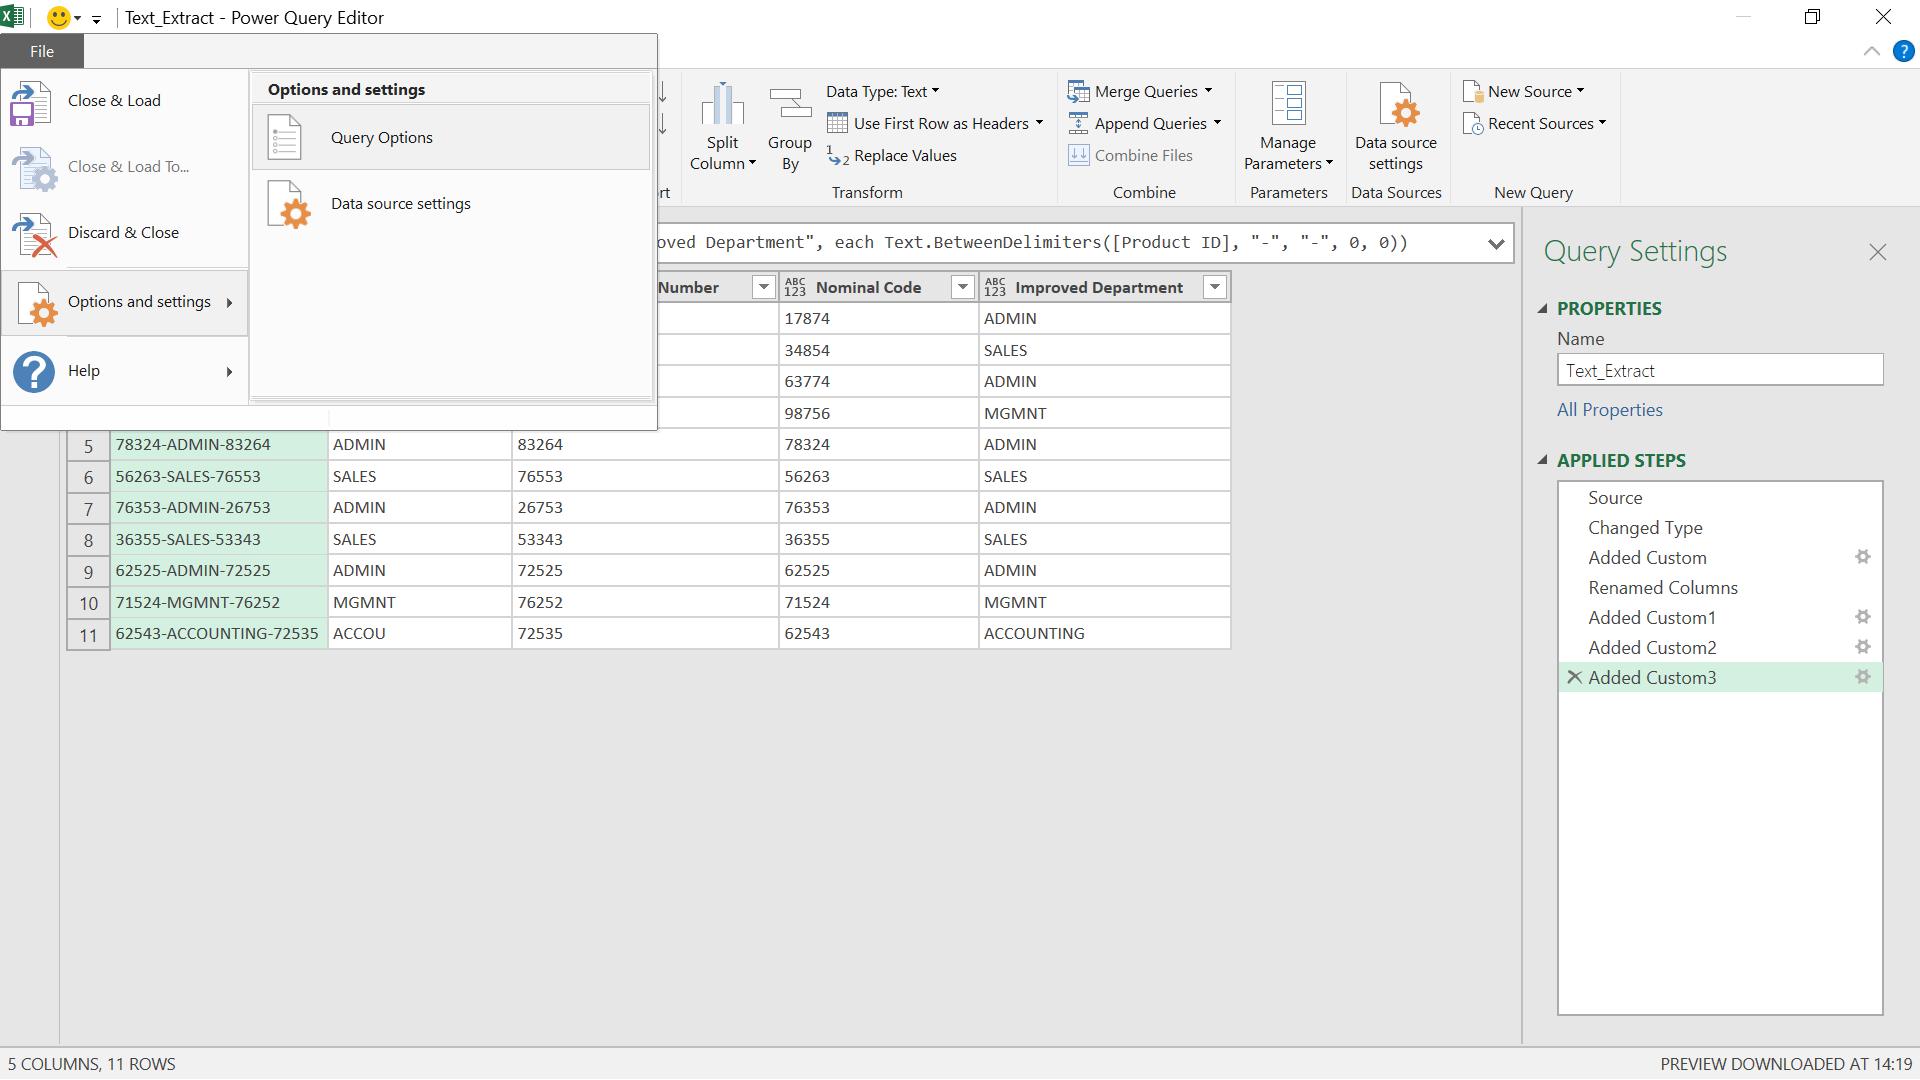
The ‘Query Options’ available here is much more extensive than the one available from the ‘Home’ menu.
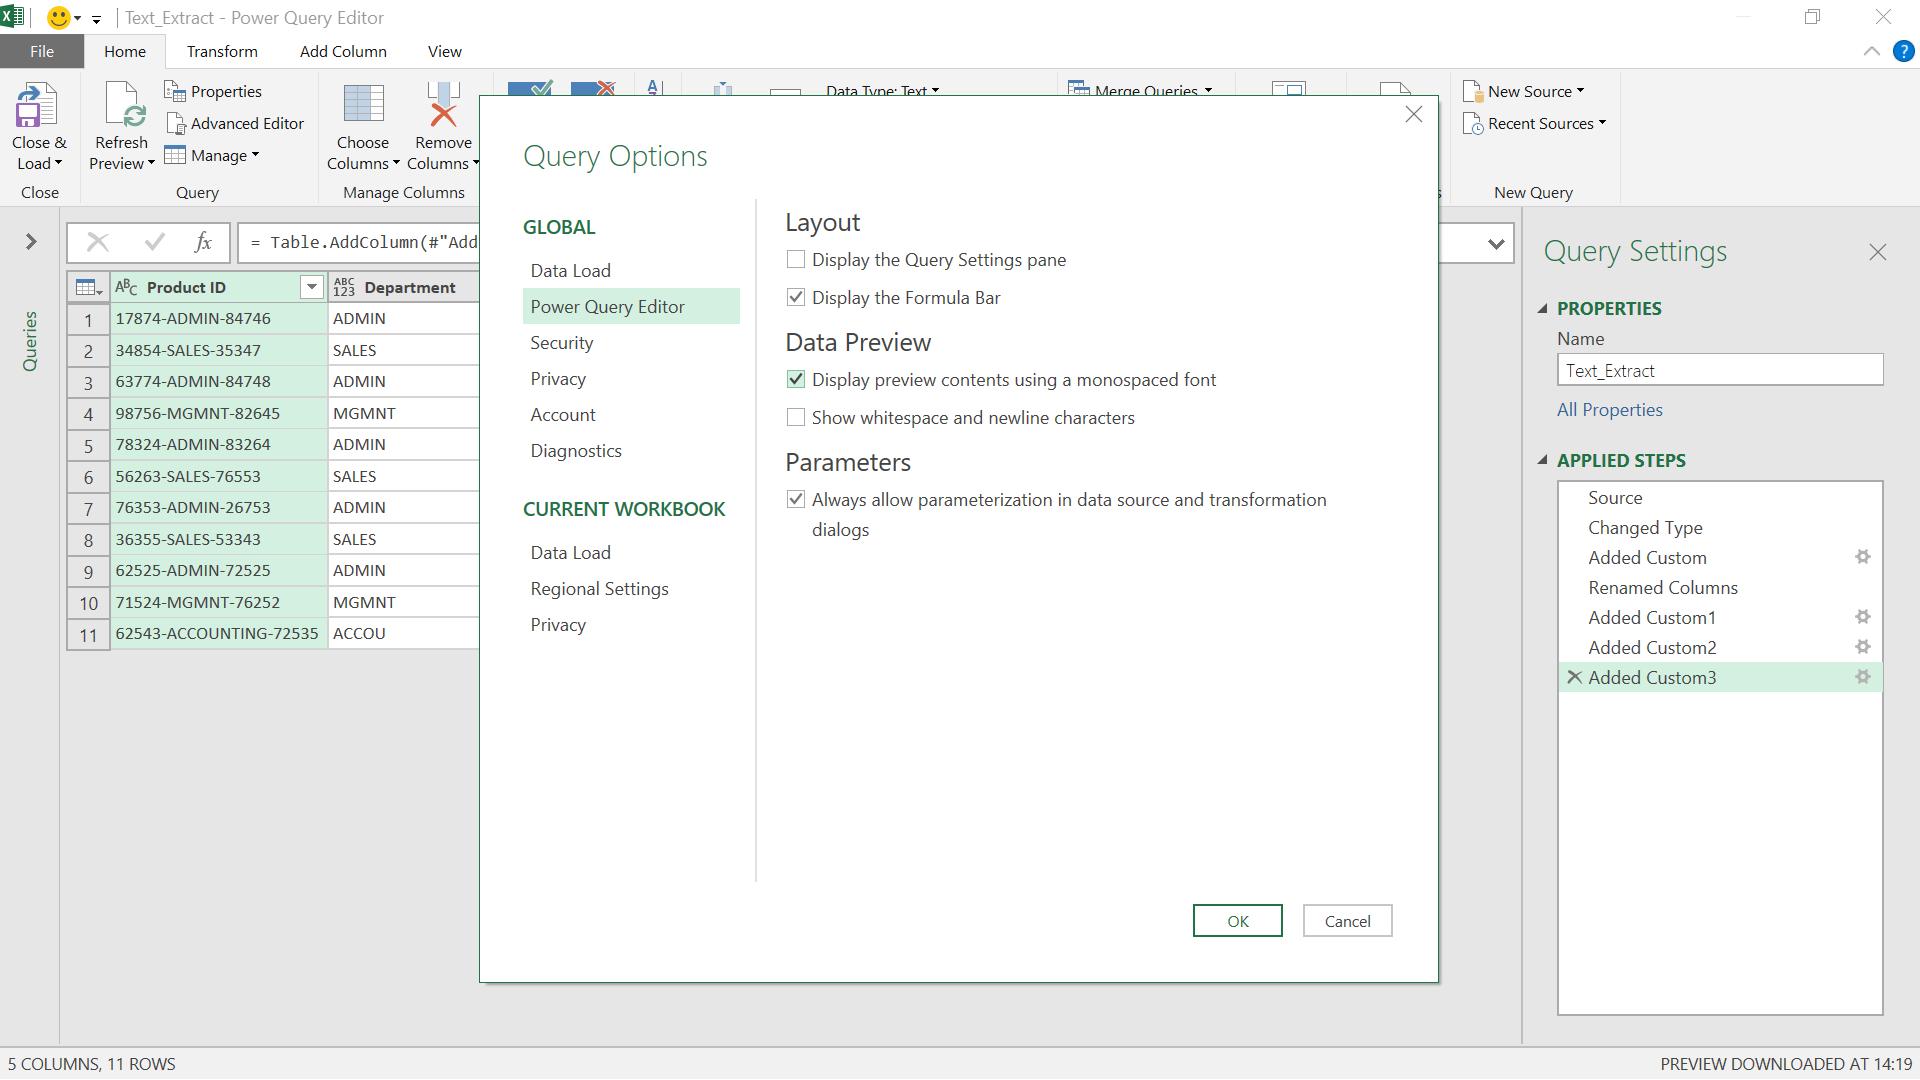
In the ‘Power Query Editor’ section, I can choose to ‘Display preview contents using a monospaced font’. Personally, I always prefer to use this setting.

Now when I access the query, the product ID’s are neatly aligned (well, except for that pesky last one..).
5. Avoiding the Advanced Editor when entering comments
The Advanced Editor is not the favourite feature of Power Query for many users. After many years of struggling and pleading from users, Intellisense has now been added to the Power BI M editor and is hopefully on its way to ‘Get and Transform’ (I will be exploring how well it works in a future blog). This will improve the editor, but it’s still good to know how to avoid it, and it is possible to enter comments from the Formula Bar.
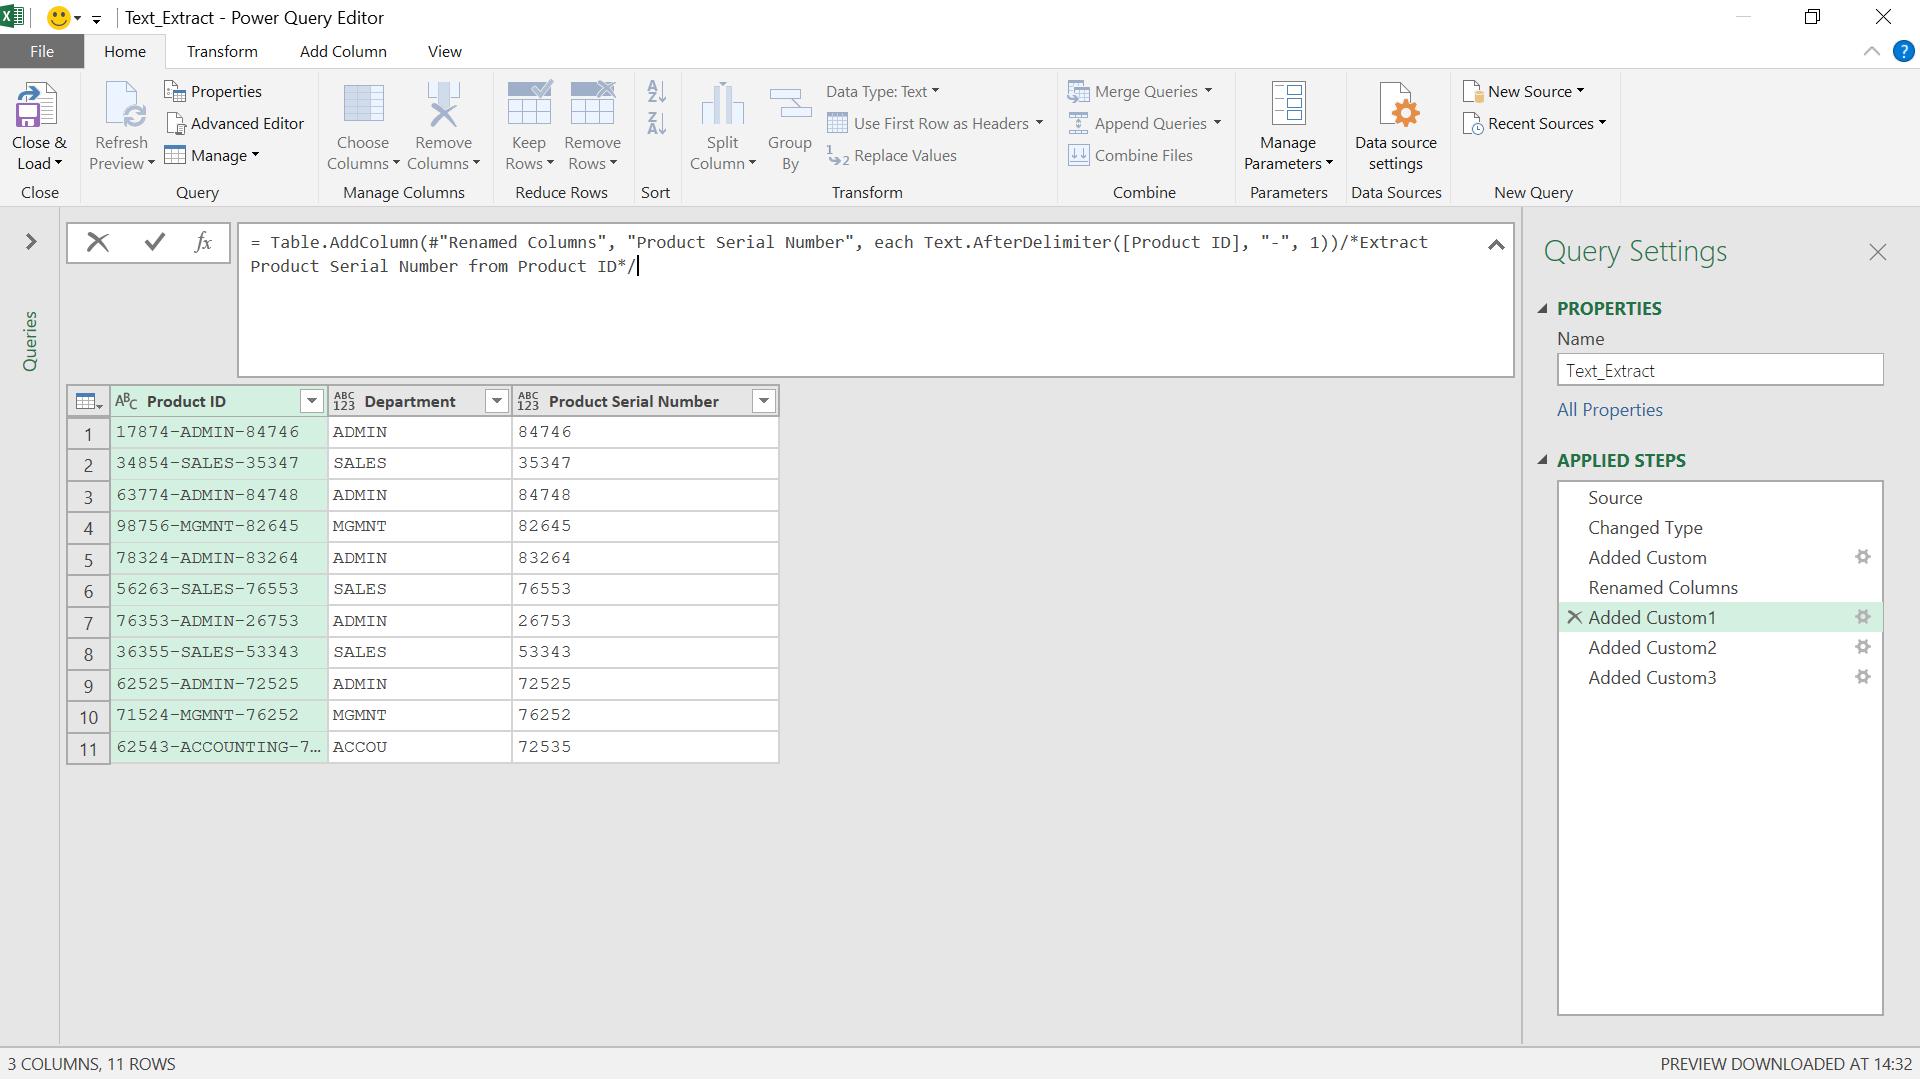
The comments can be added to long steps by using the arrow on the right of the formula bar to expand the view.
The comment is now visible in the Advanced Editor.
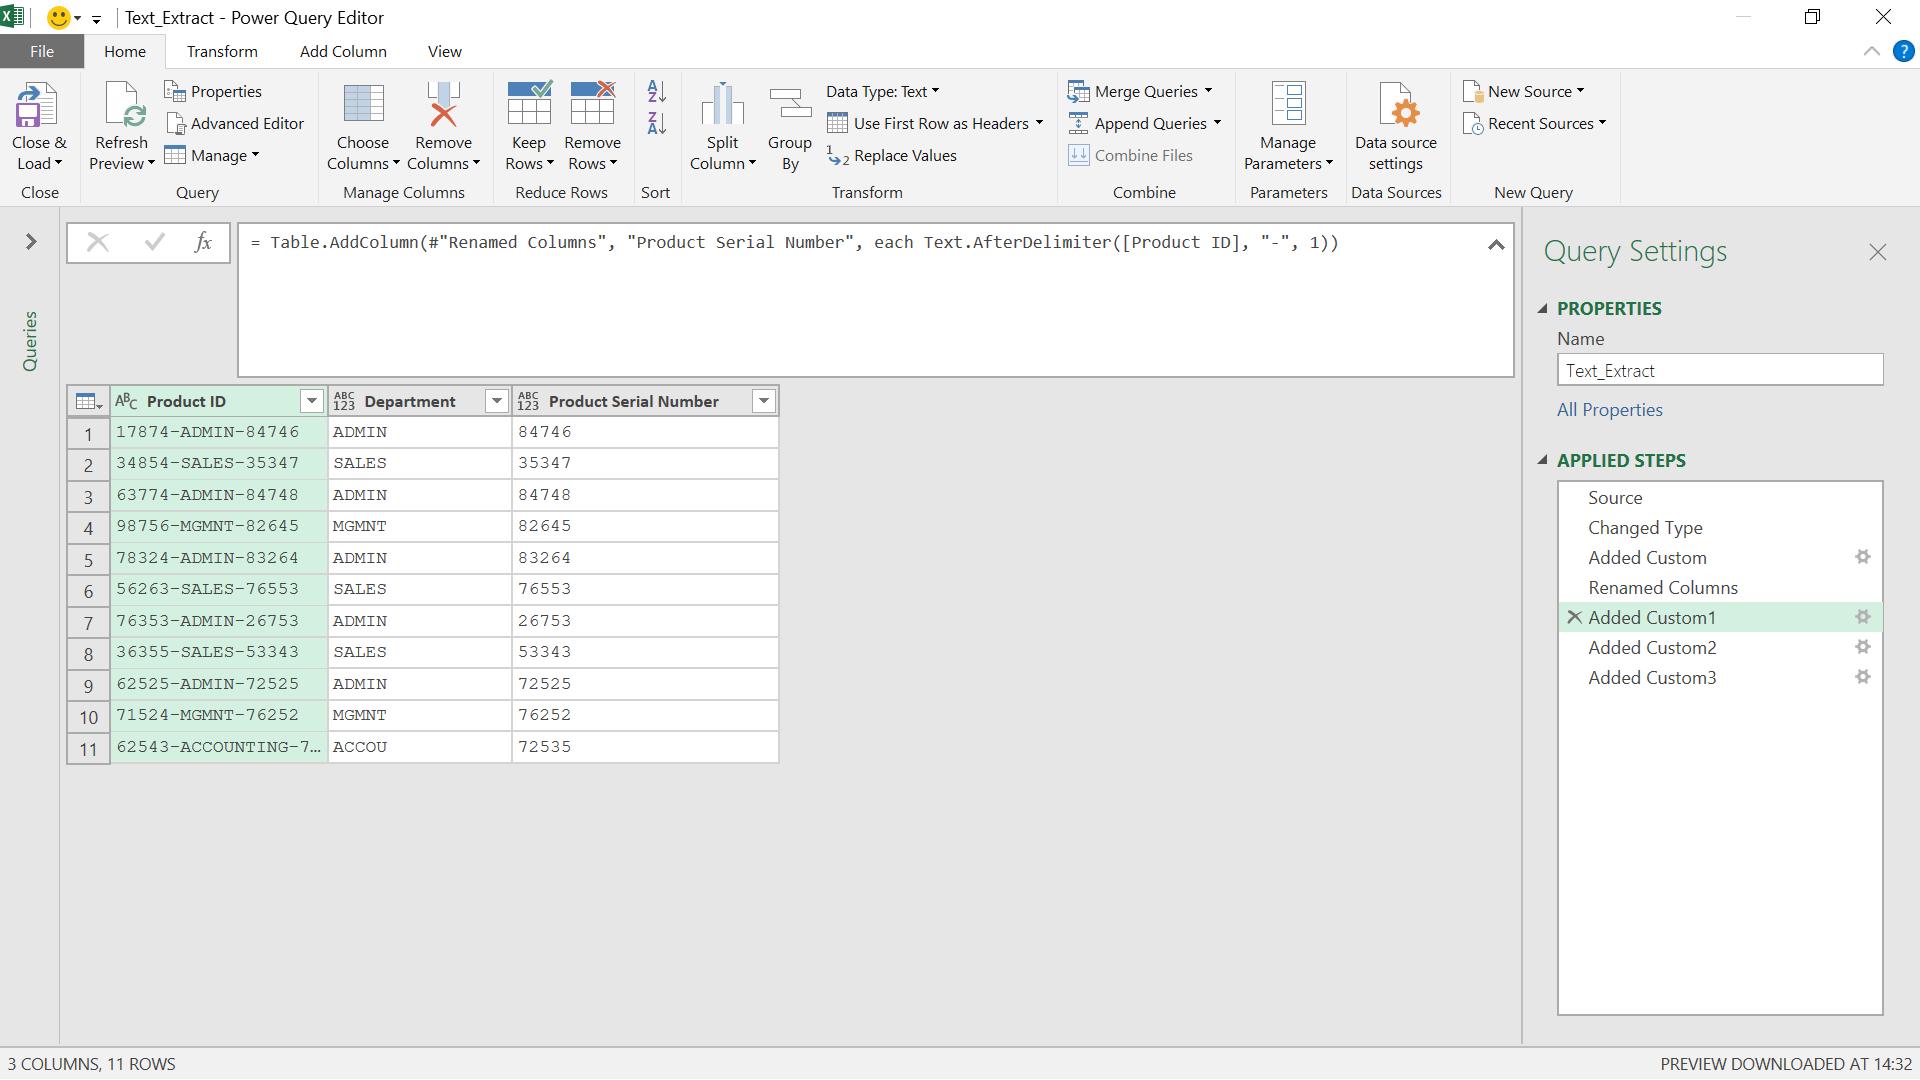
It is not however, visible from the Formula Bar. See the next tip!
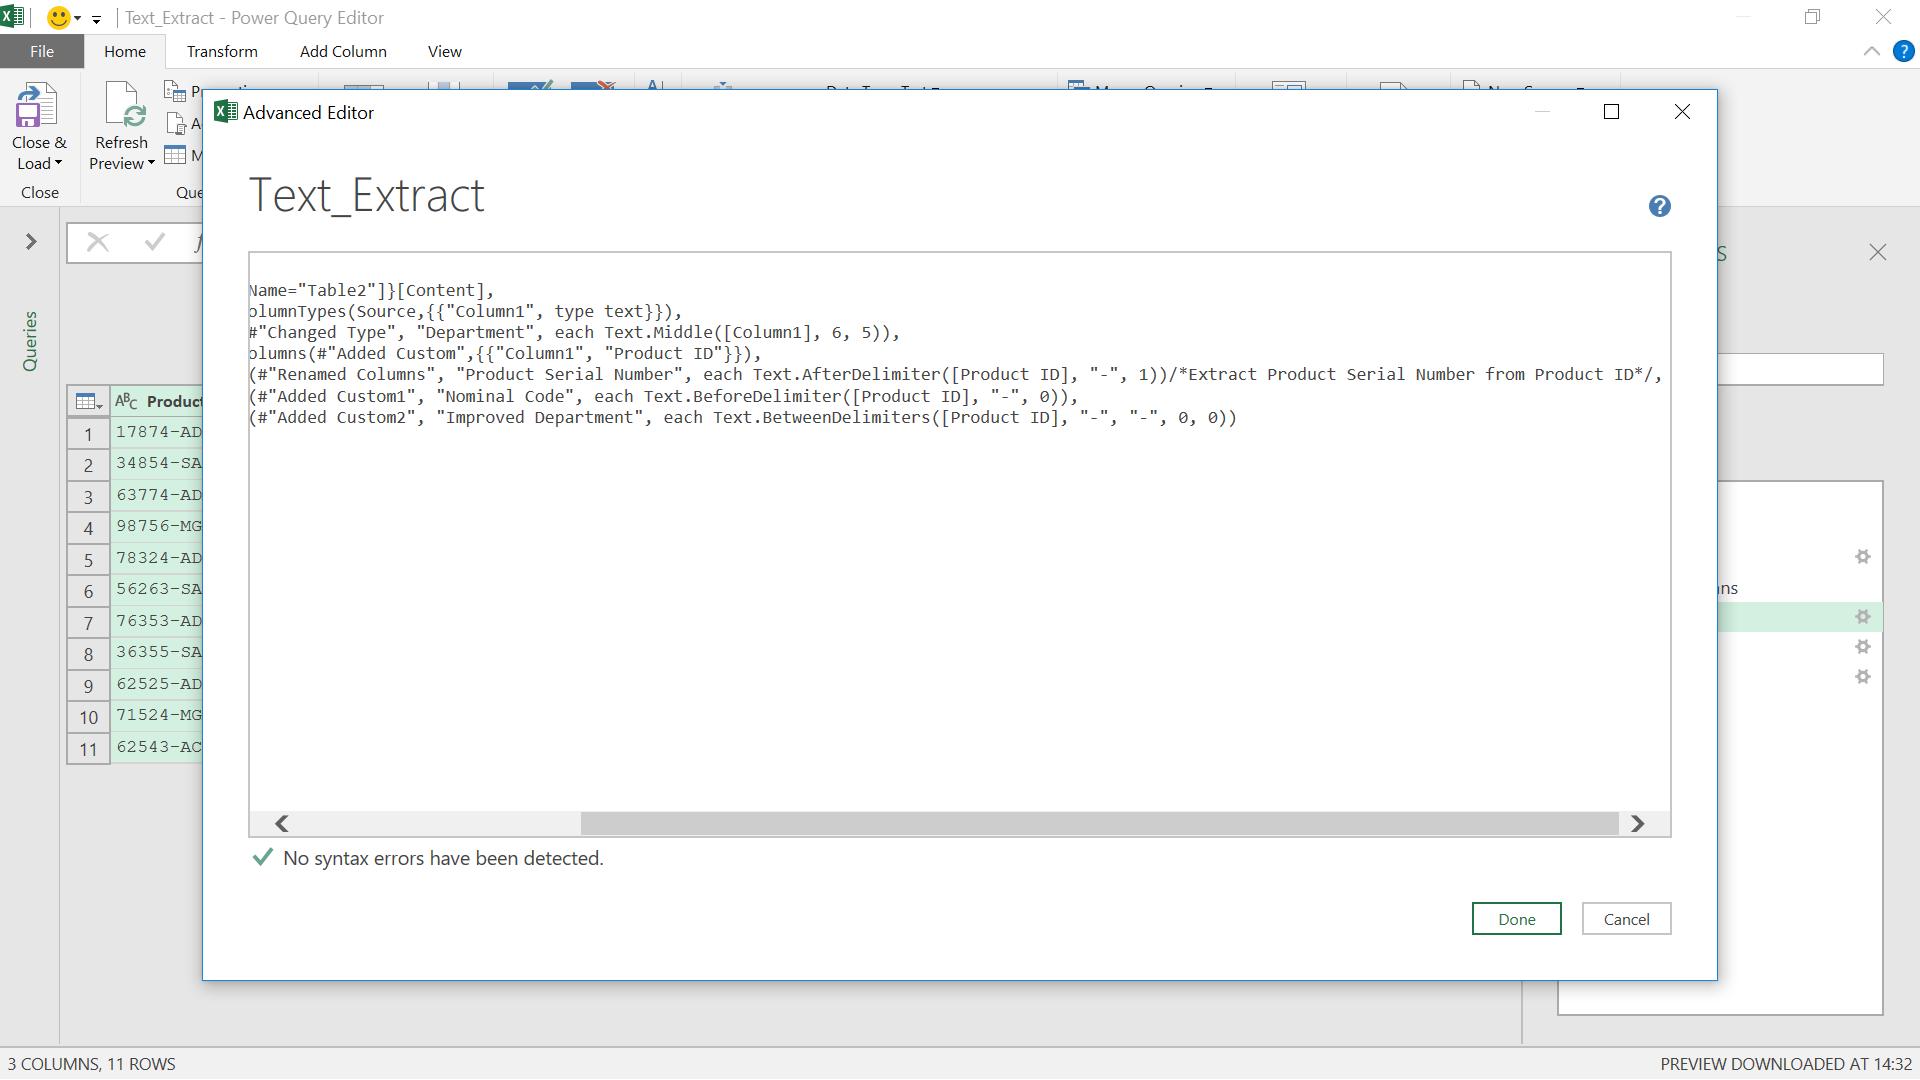
6. Avoiding the Advanced Editor when viewing comments
The sequel – how to avoid the Advanced Editor and view comments. The answer is to embed the comments in the formula.
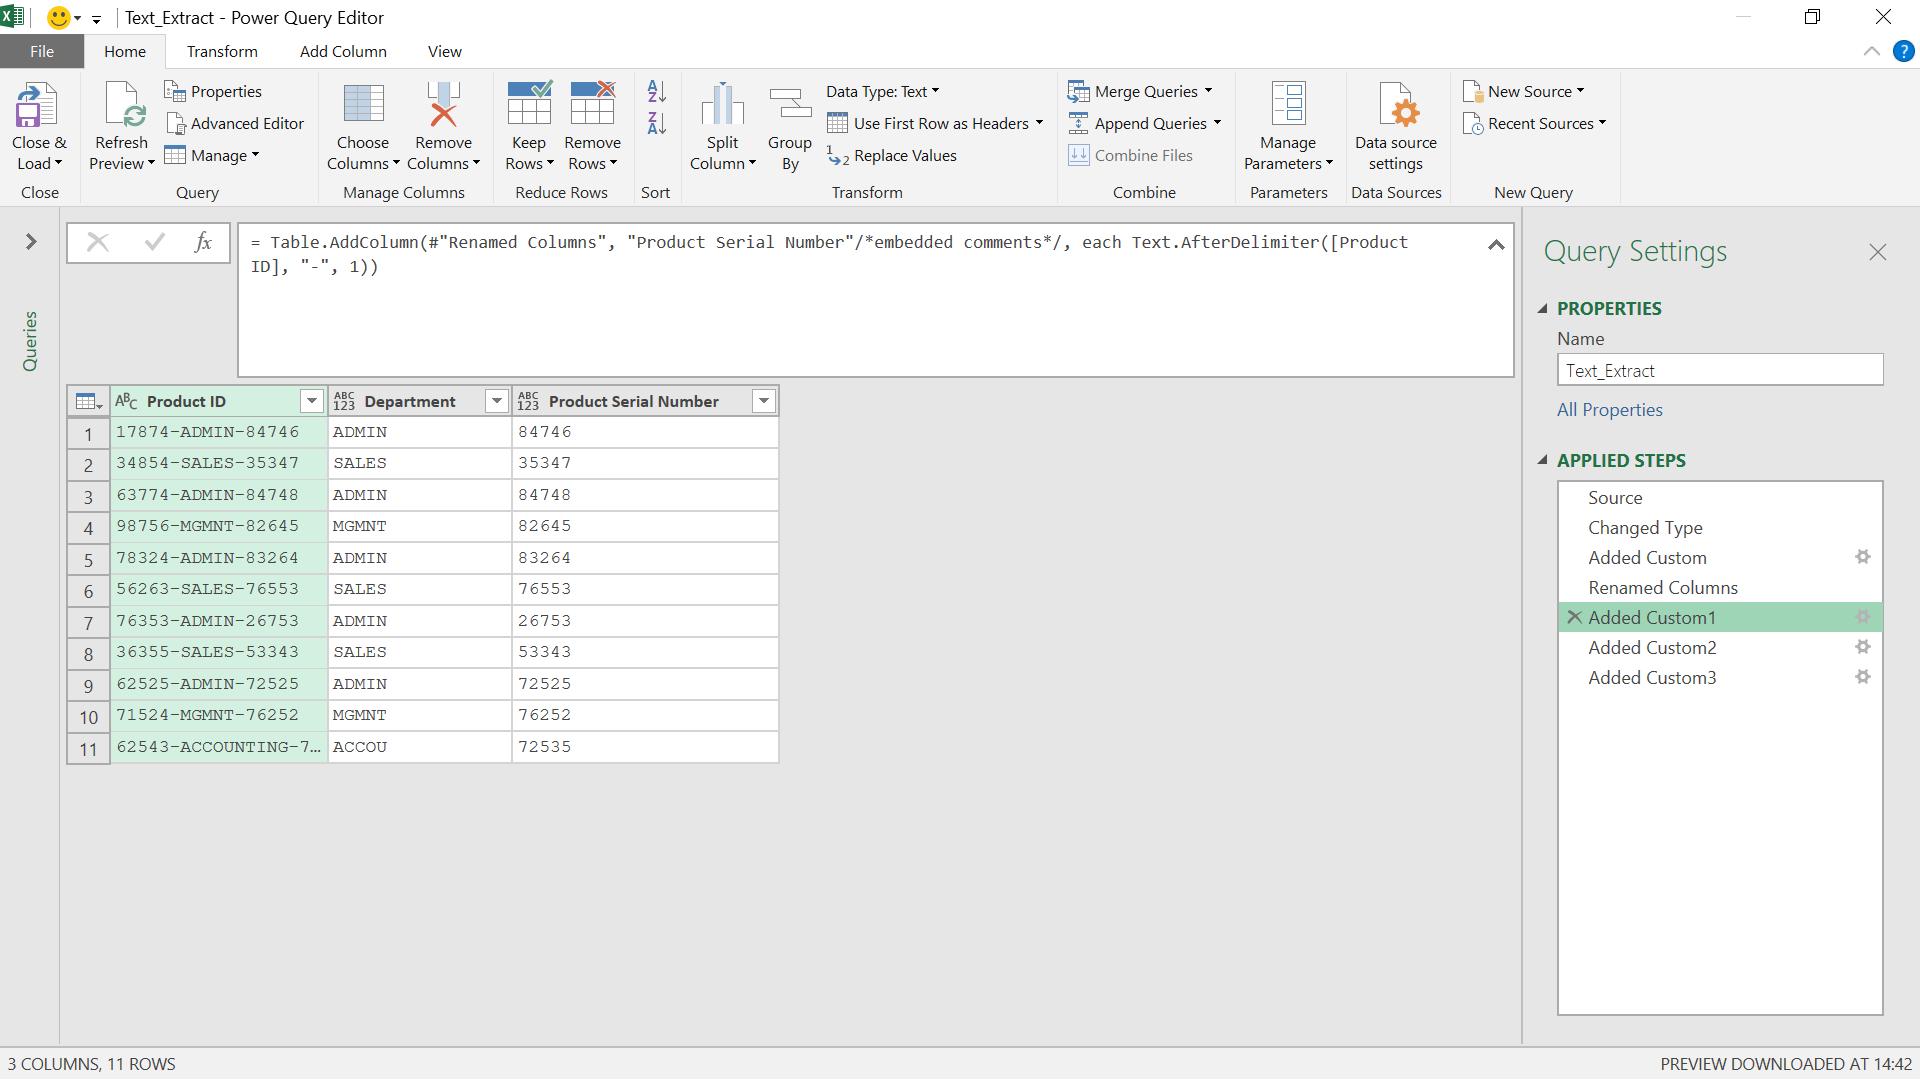
This time, if I exit the Formula Bar and go back to it, I can see the comment. It’s not the tidiest way to add comments, but it stops Power Query from stripping them out. I thought it might look neater after the ‘=’ sign and before the main body of the formula, but if I put comments there they can only be seen in the Advanced Editor. At some point this method may not work, as Power Query seems to be programmed to prevent comments from appearing in the Formula Window, and this method is effectively a bug! For now, it seems to be the only way to view comments in the Formula Bar.
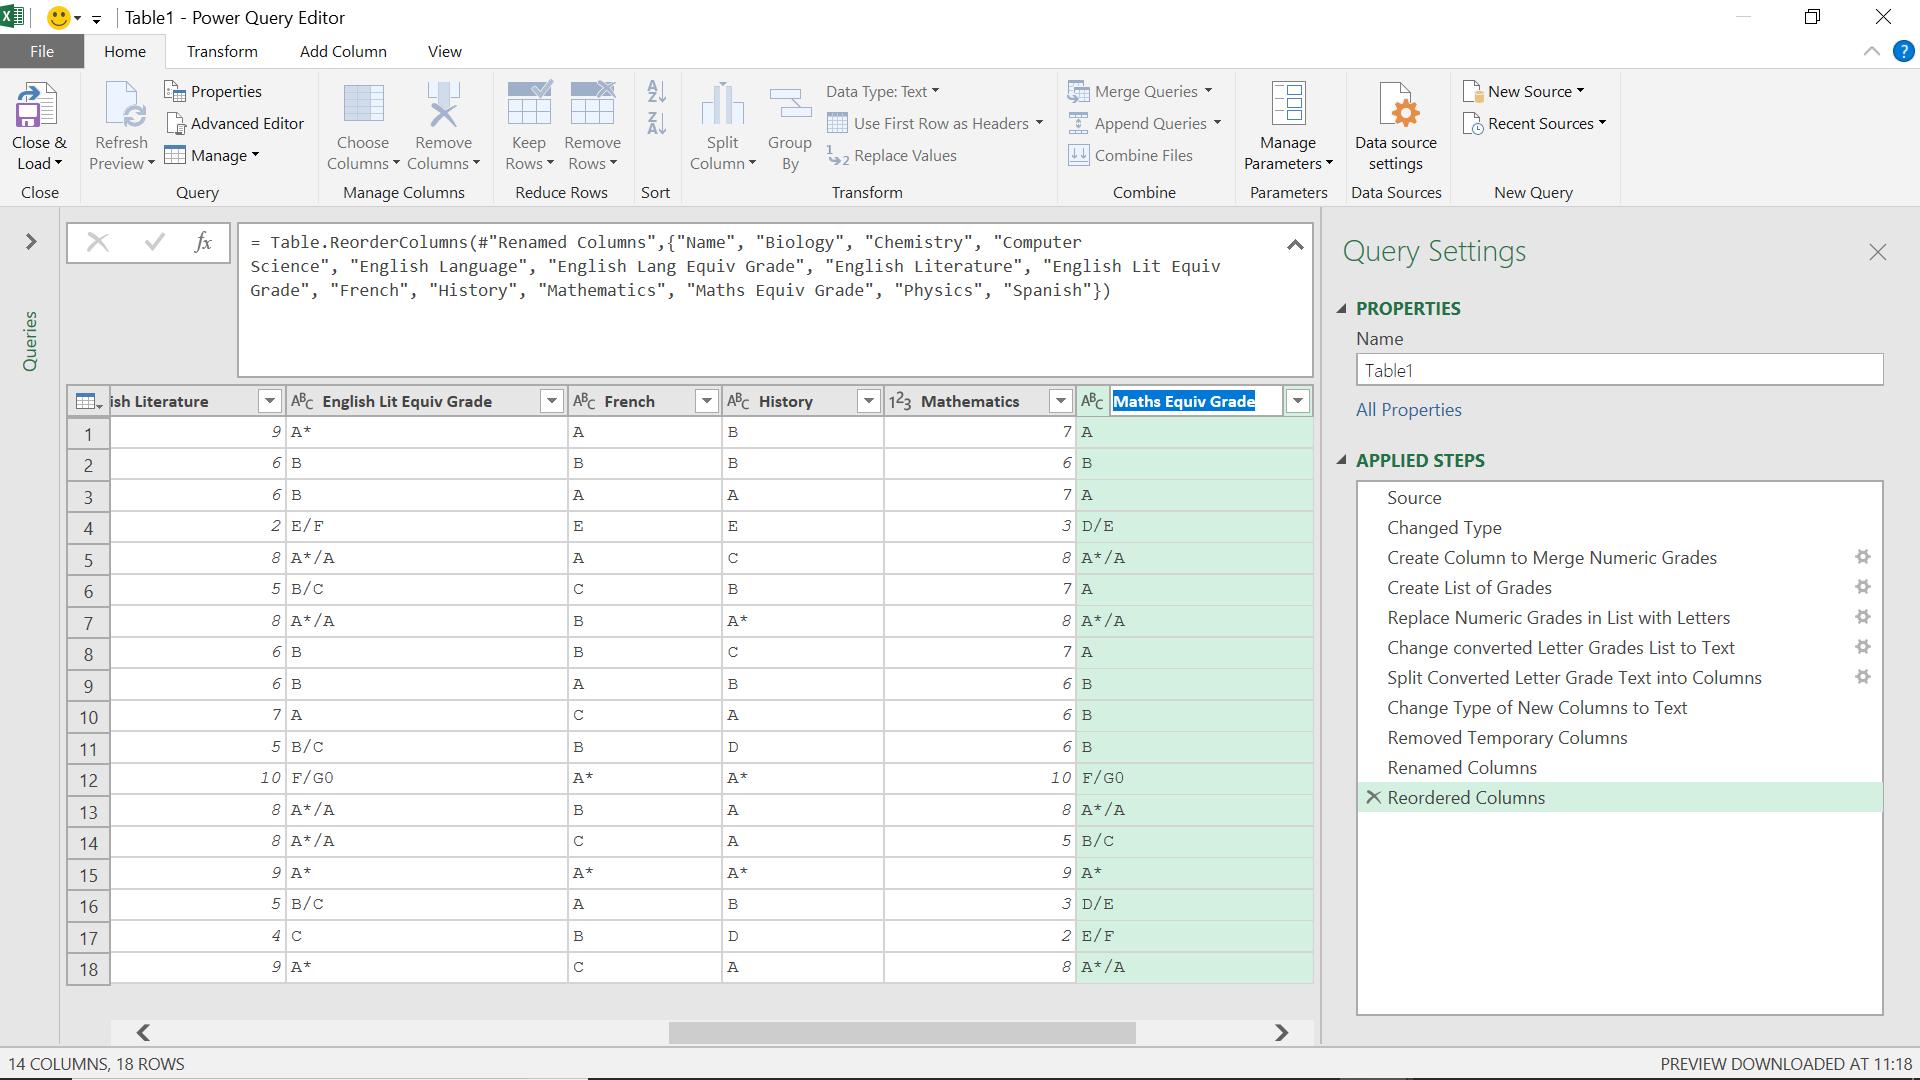
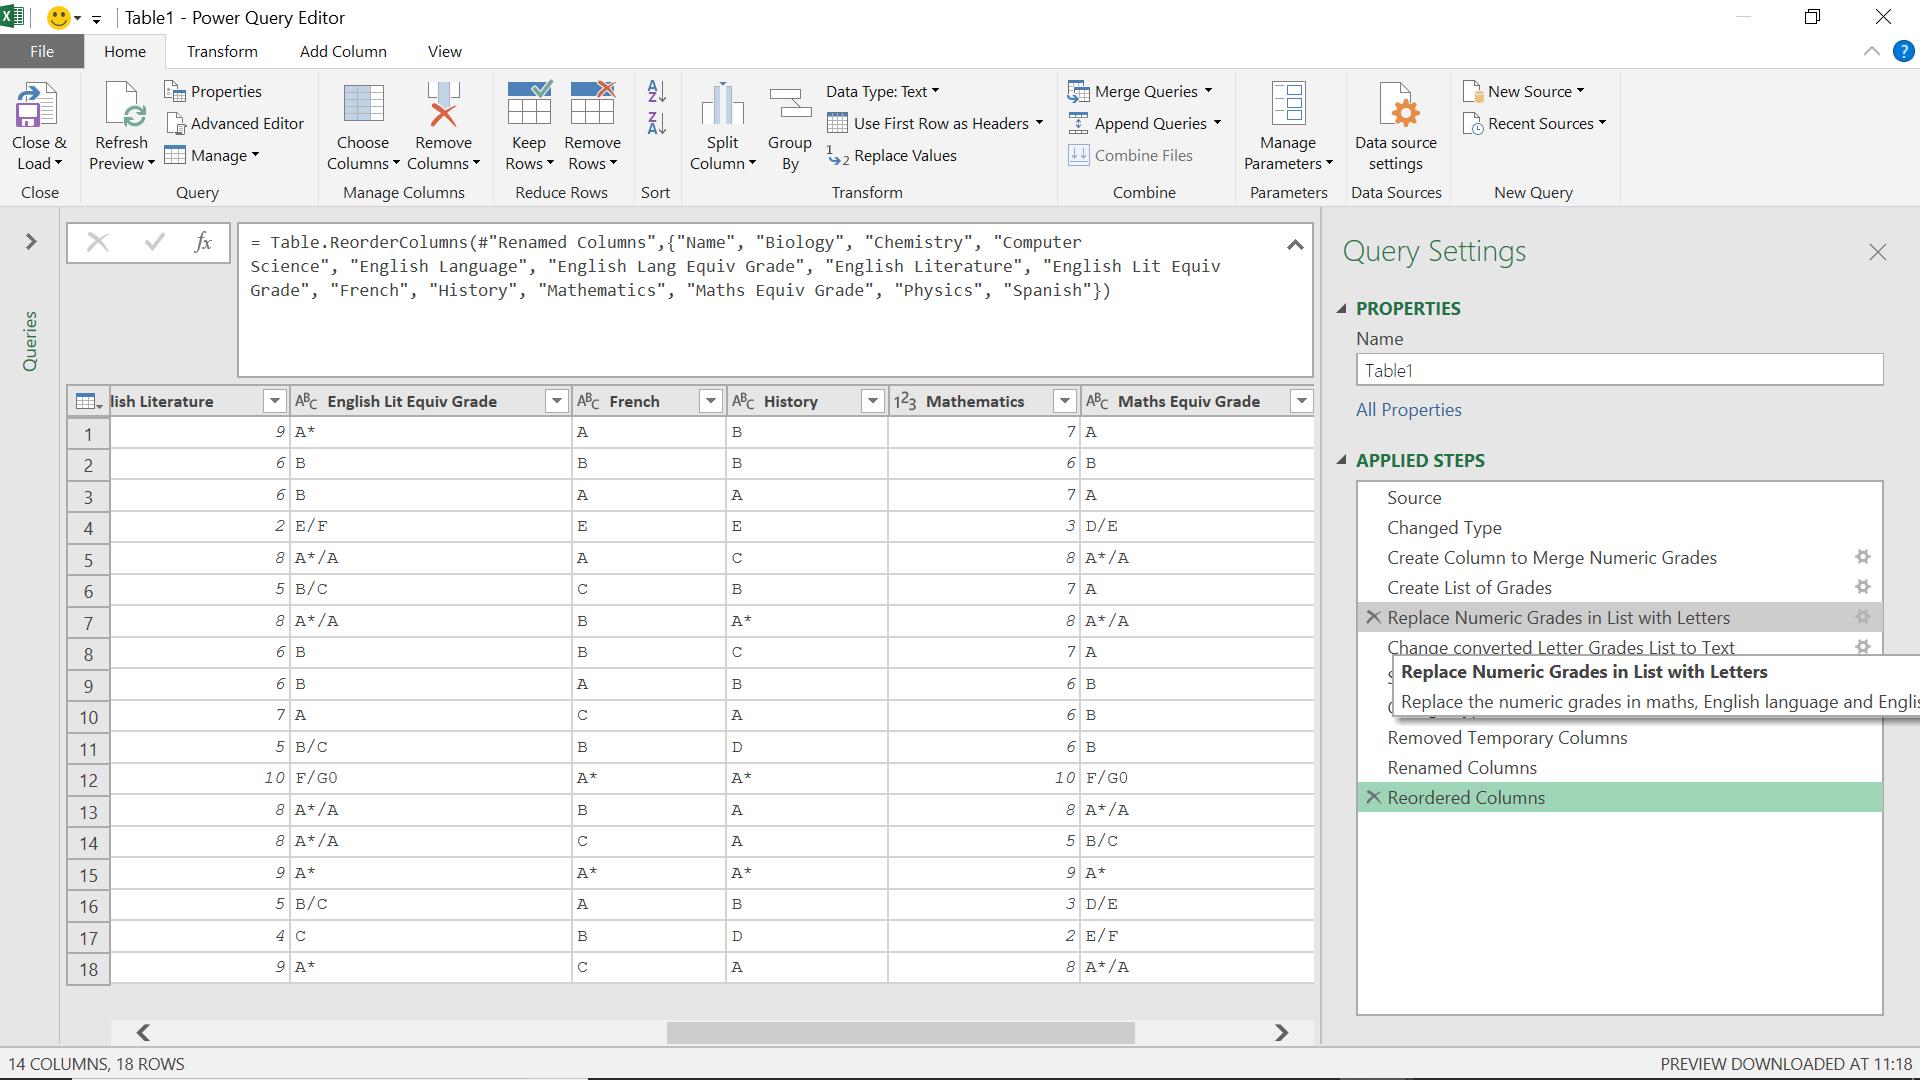
7. Change the properties of the query step so the purpose is clear
A typical list of steps generated by Power Query is not very descriptive.
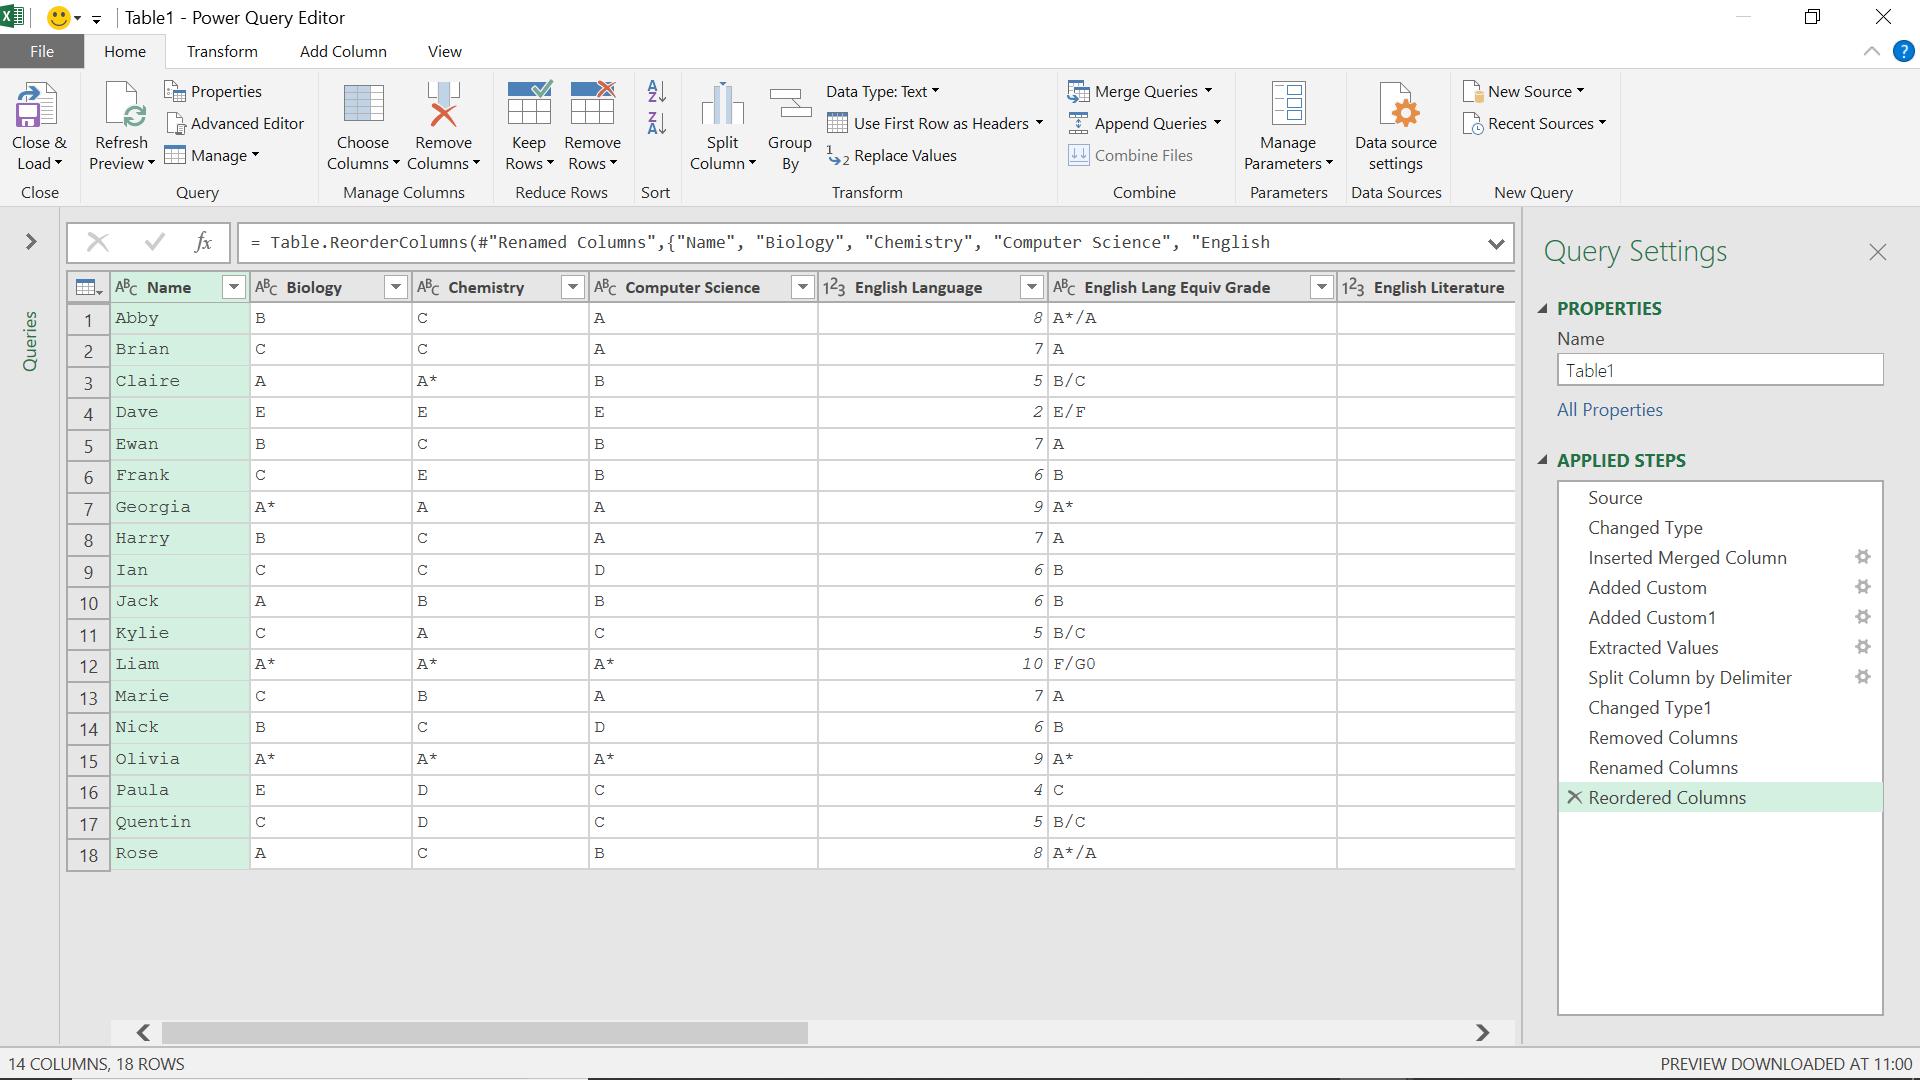
‘Added Custom’ and ‘Added Custom1’ are my particular favourites here. I can add comments in the Formula Bar, as shown in the previous tip, but I can also edit the name and description of each step.
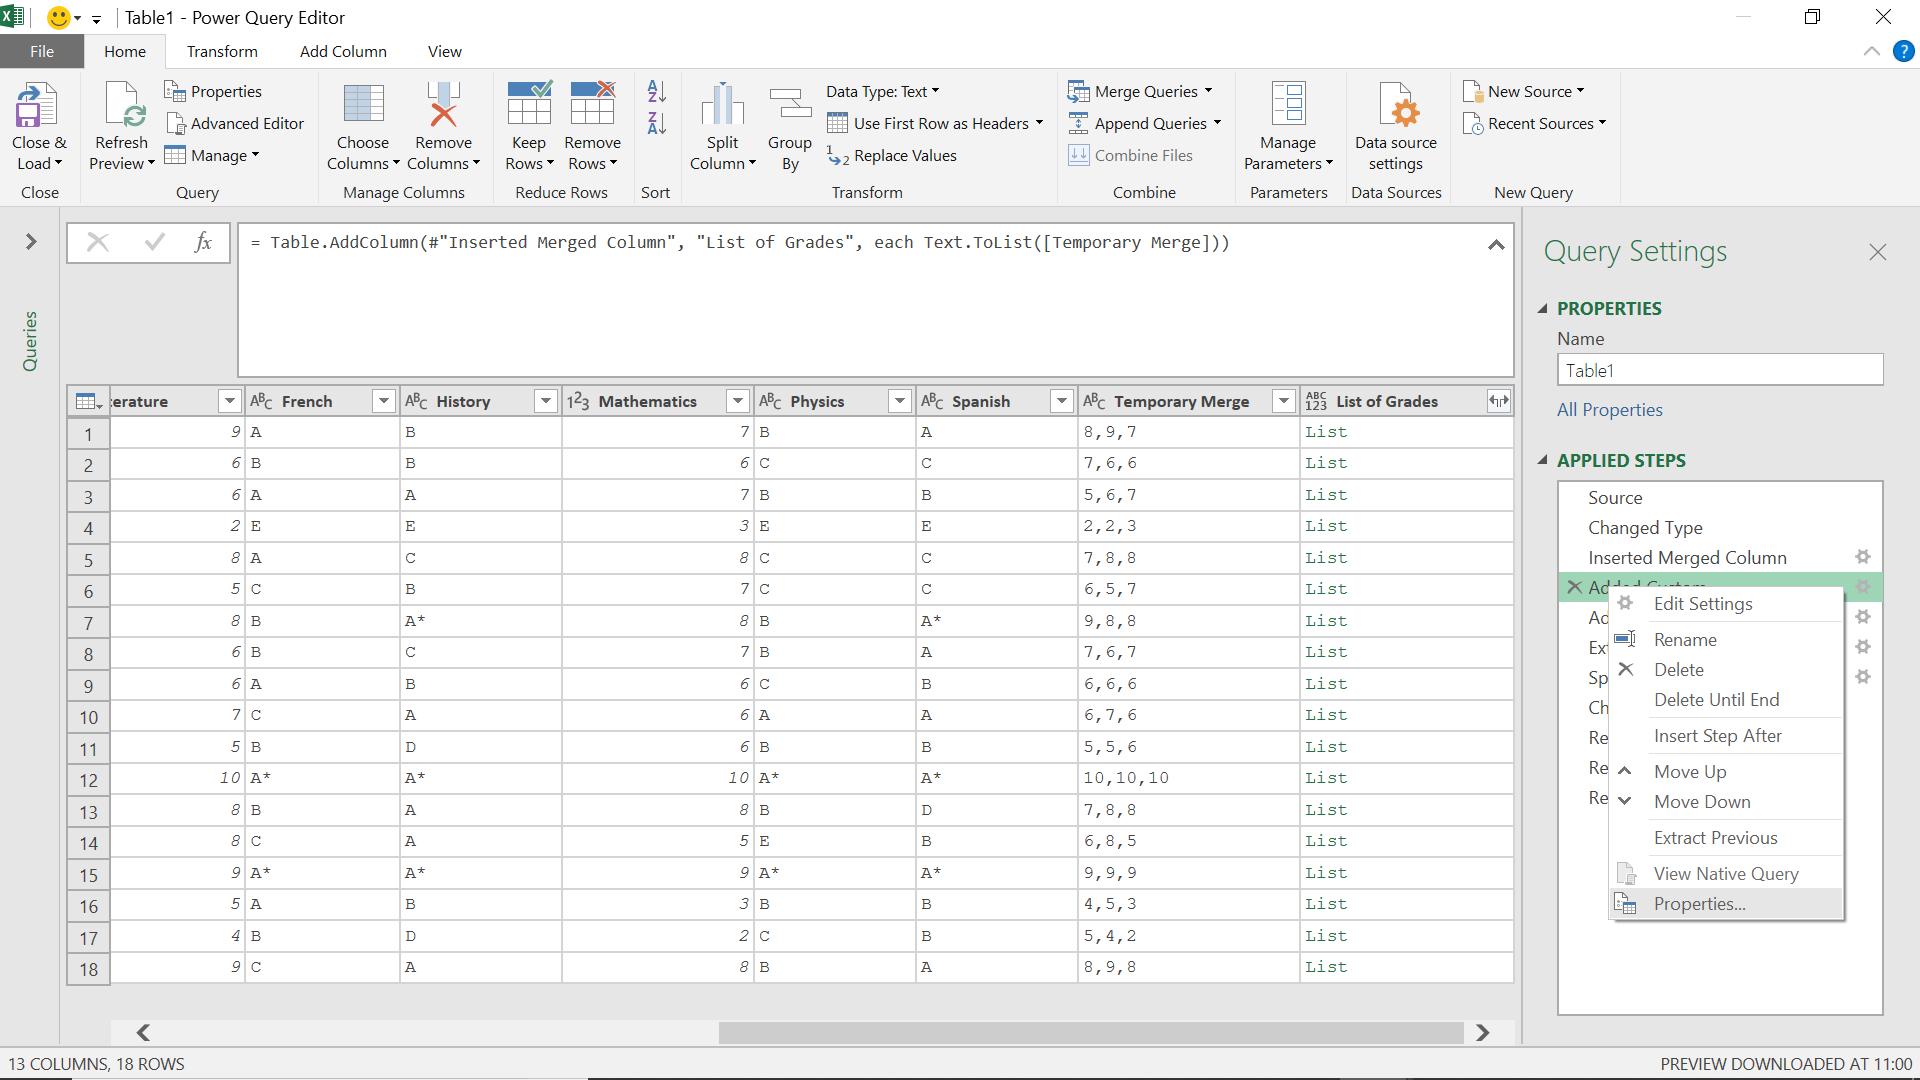
If I select a step and right-click, I have a ‘Properties’ option at the bottom:
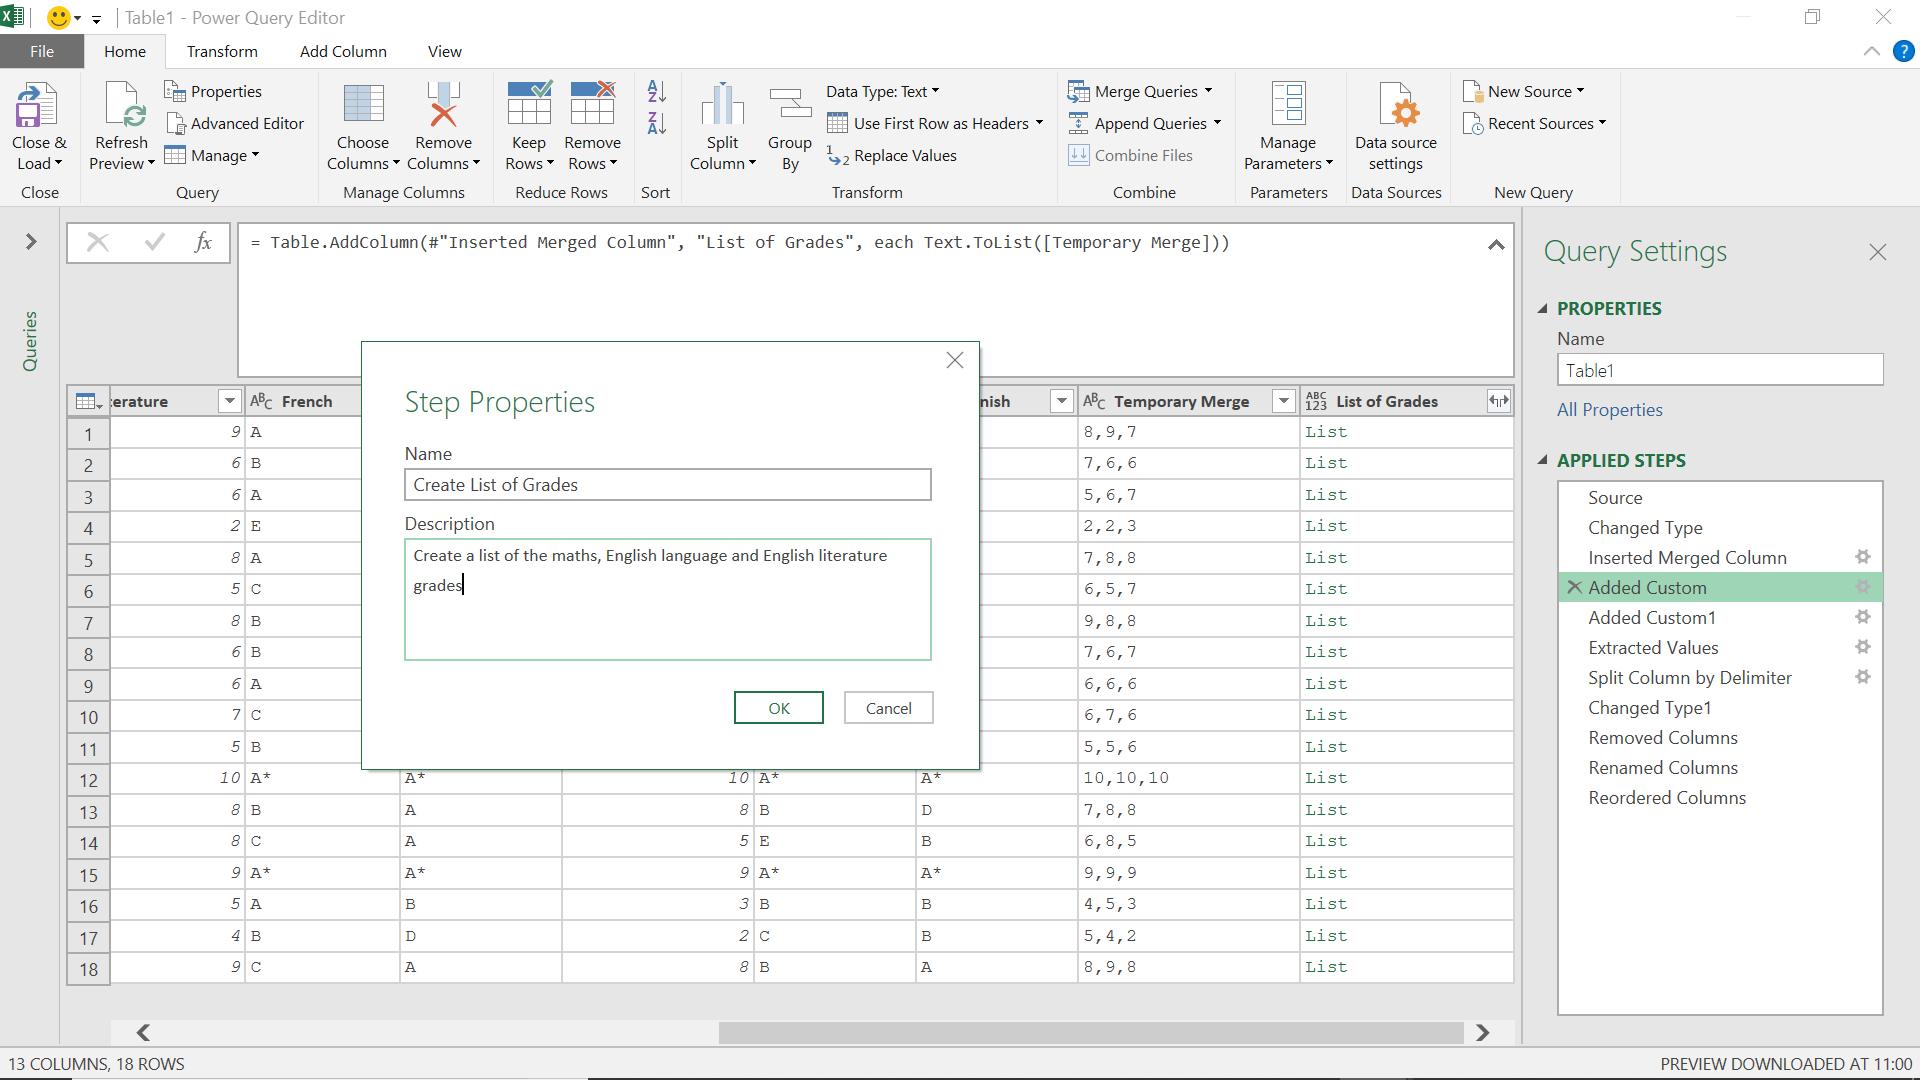
I can change the title and description to make what this step does clear.
Once I have done this for several of my steps, I can not only see what is happening from the titles, but I can also hover over a step to see the description.
8. Add a row index to a query from the Excel worksheet
I can add an index from the Query Editor, but if I have a query associated with a table, then I can use another method.

In the previous screen, I have selected the Name column, and in the ‘Data’ tab I have accessed ‘Properties’ from the ‘Query’ section. I have chosen to ‘Include row numbers’. I click ‘OK’ and refresh ‘Table1’, which is the query associated with my data.
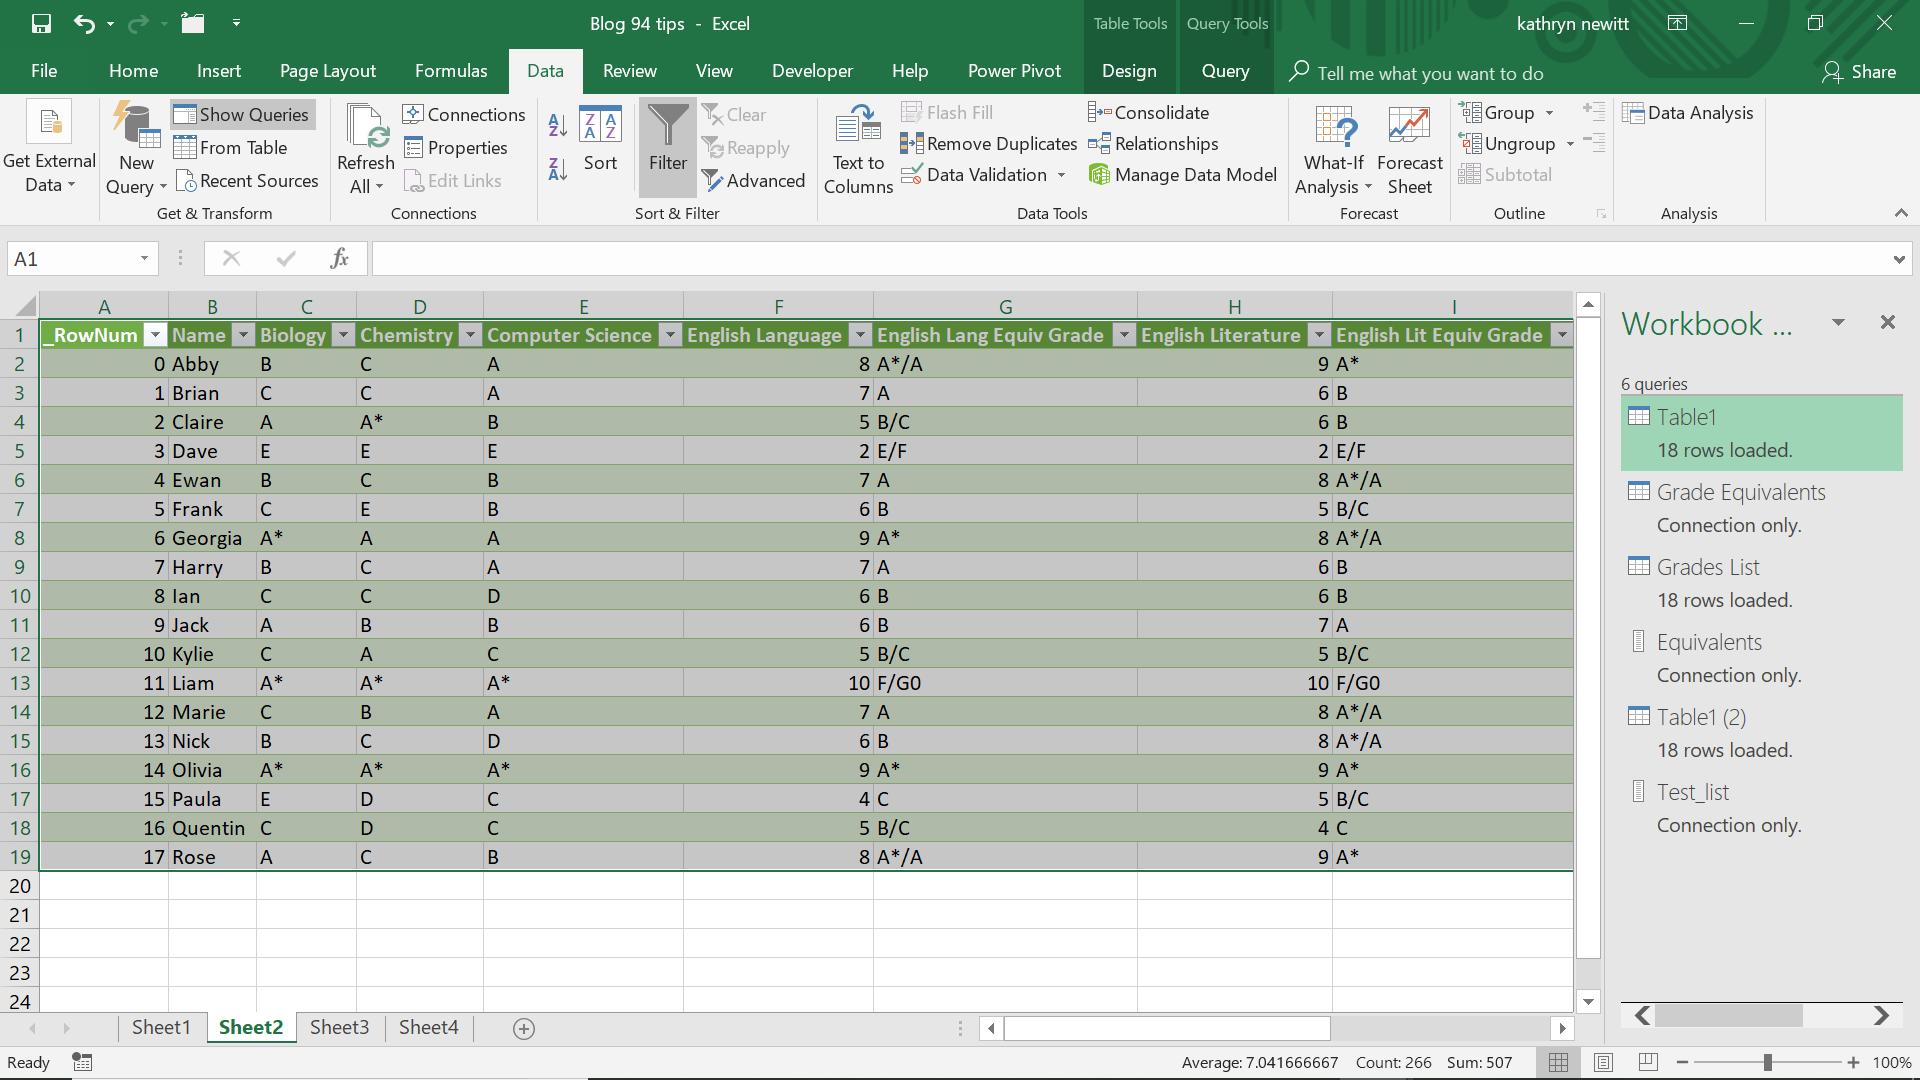
The column _RowNum has been automatically added.
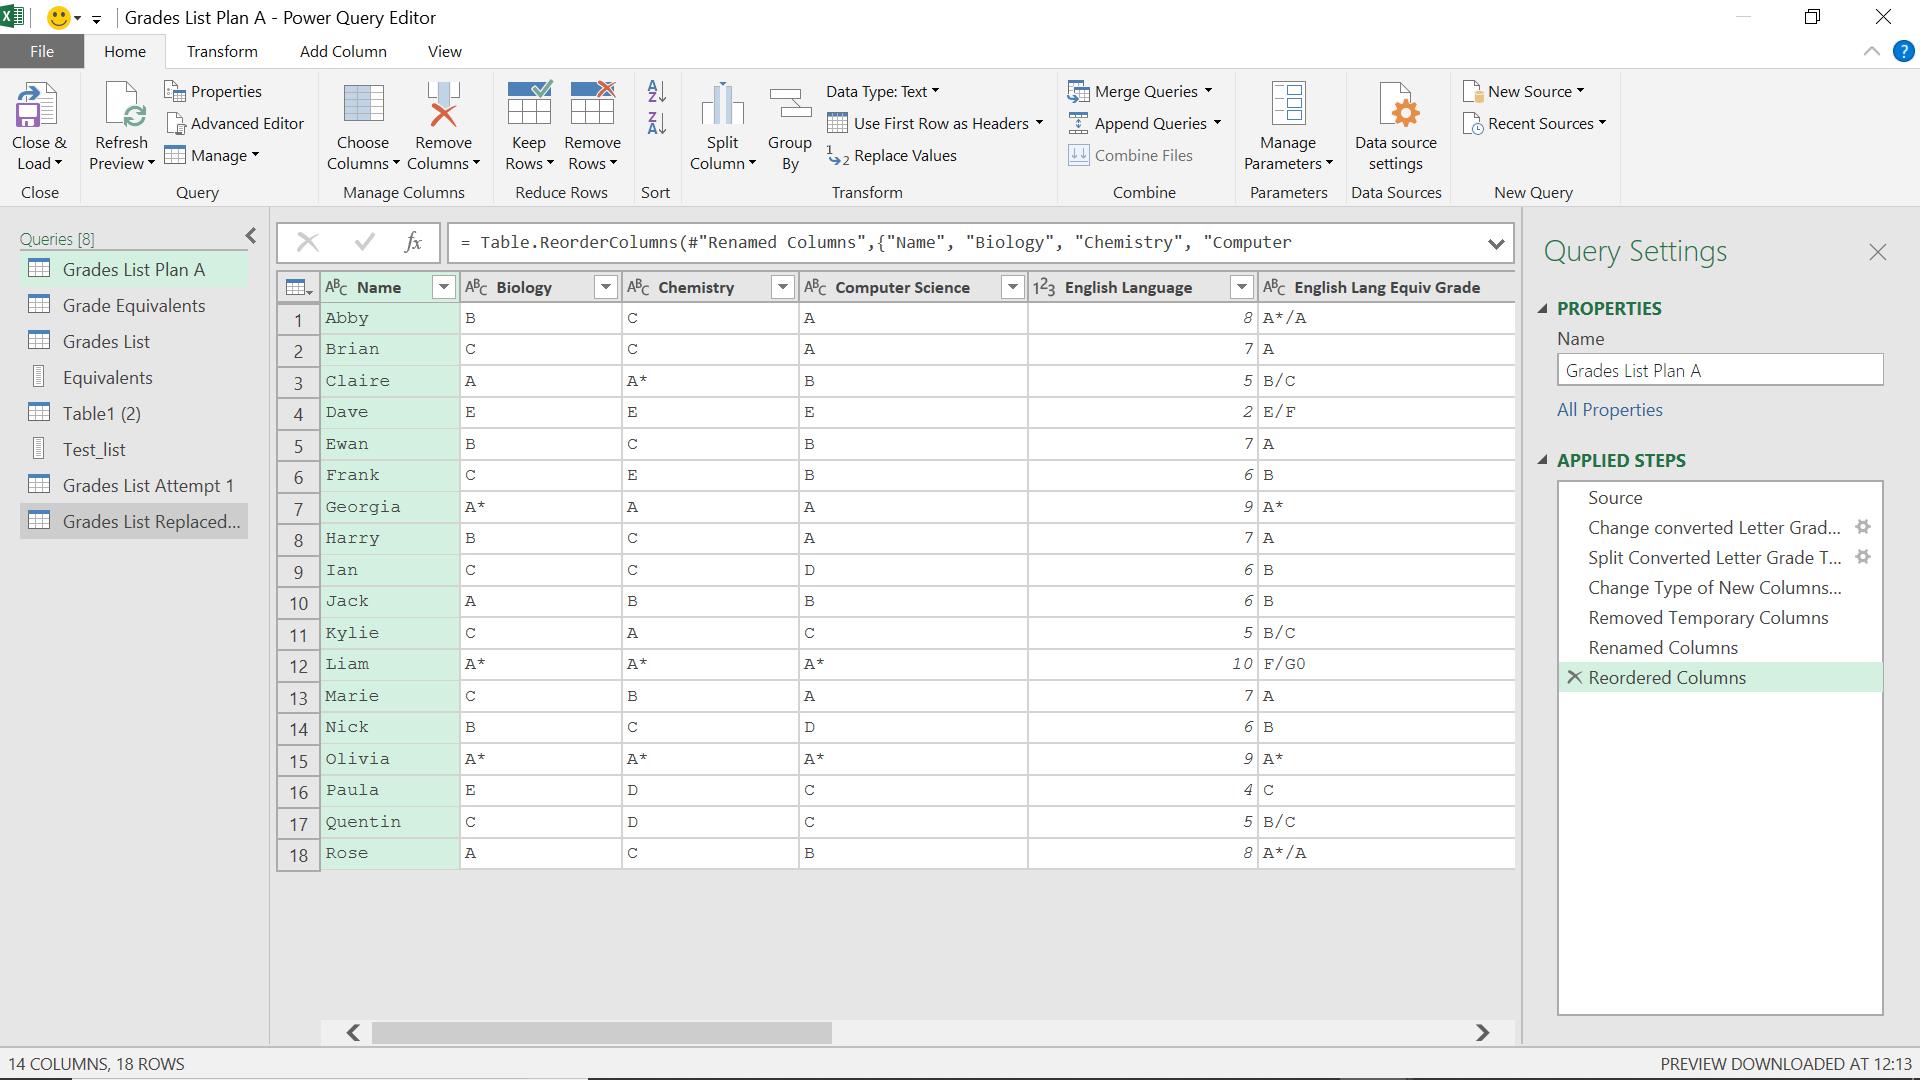
9. Split a query
Queries can get repetitive. Queries can get repetitive. If I want to create a new query which starts off in a very similar way to one I already have, then instead of copying it and deleting the parts I don’t need, I can split a query.
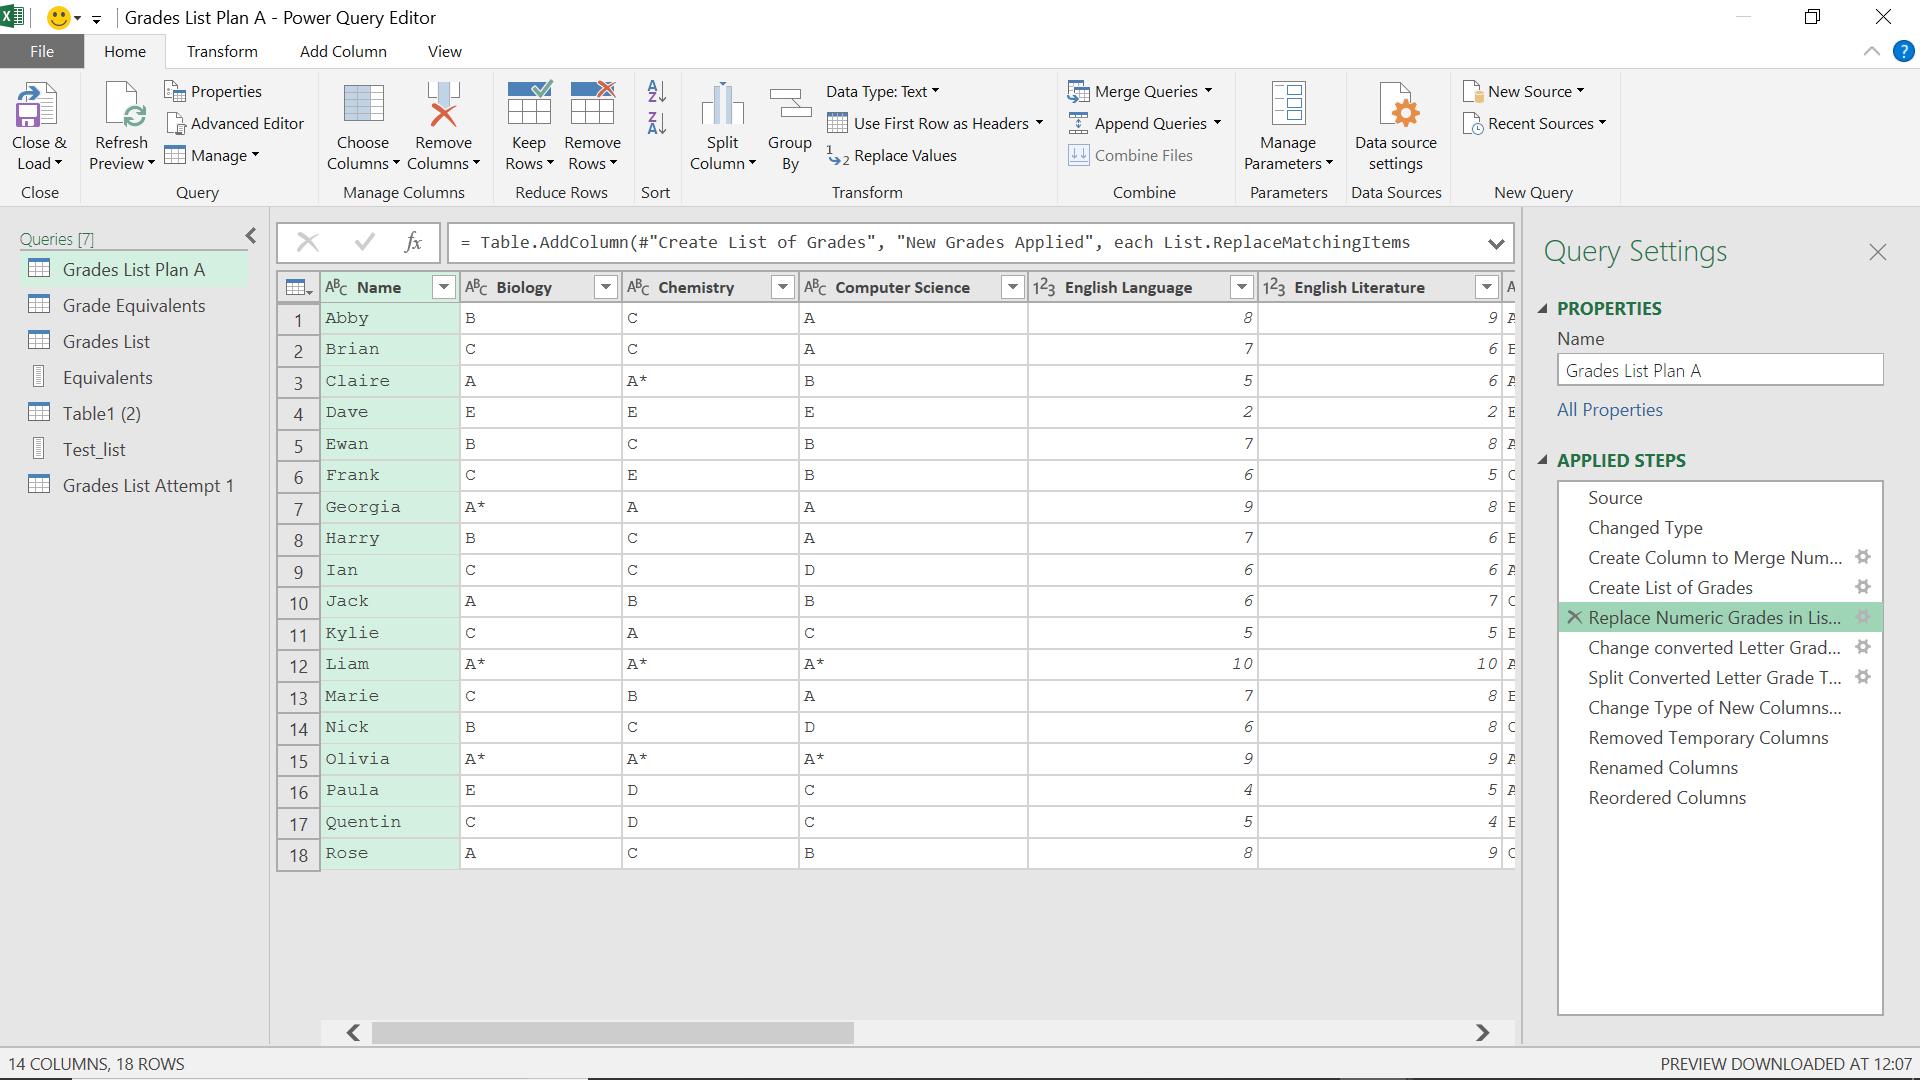
I have decided to use a different approach to dealing with my grade scenario, and I want to compare the output. I want to keep my ‘Grades List Plan’ query and create a new query ‘Grades List First Step’ which ends at the step ‘Replace Numeric Grades in List’.
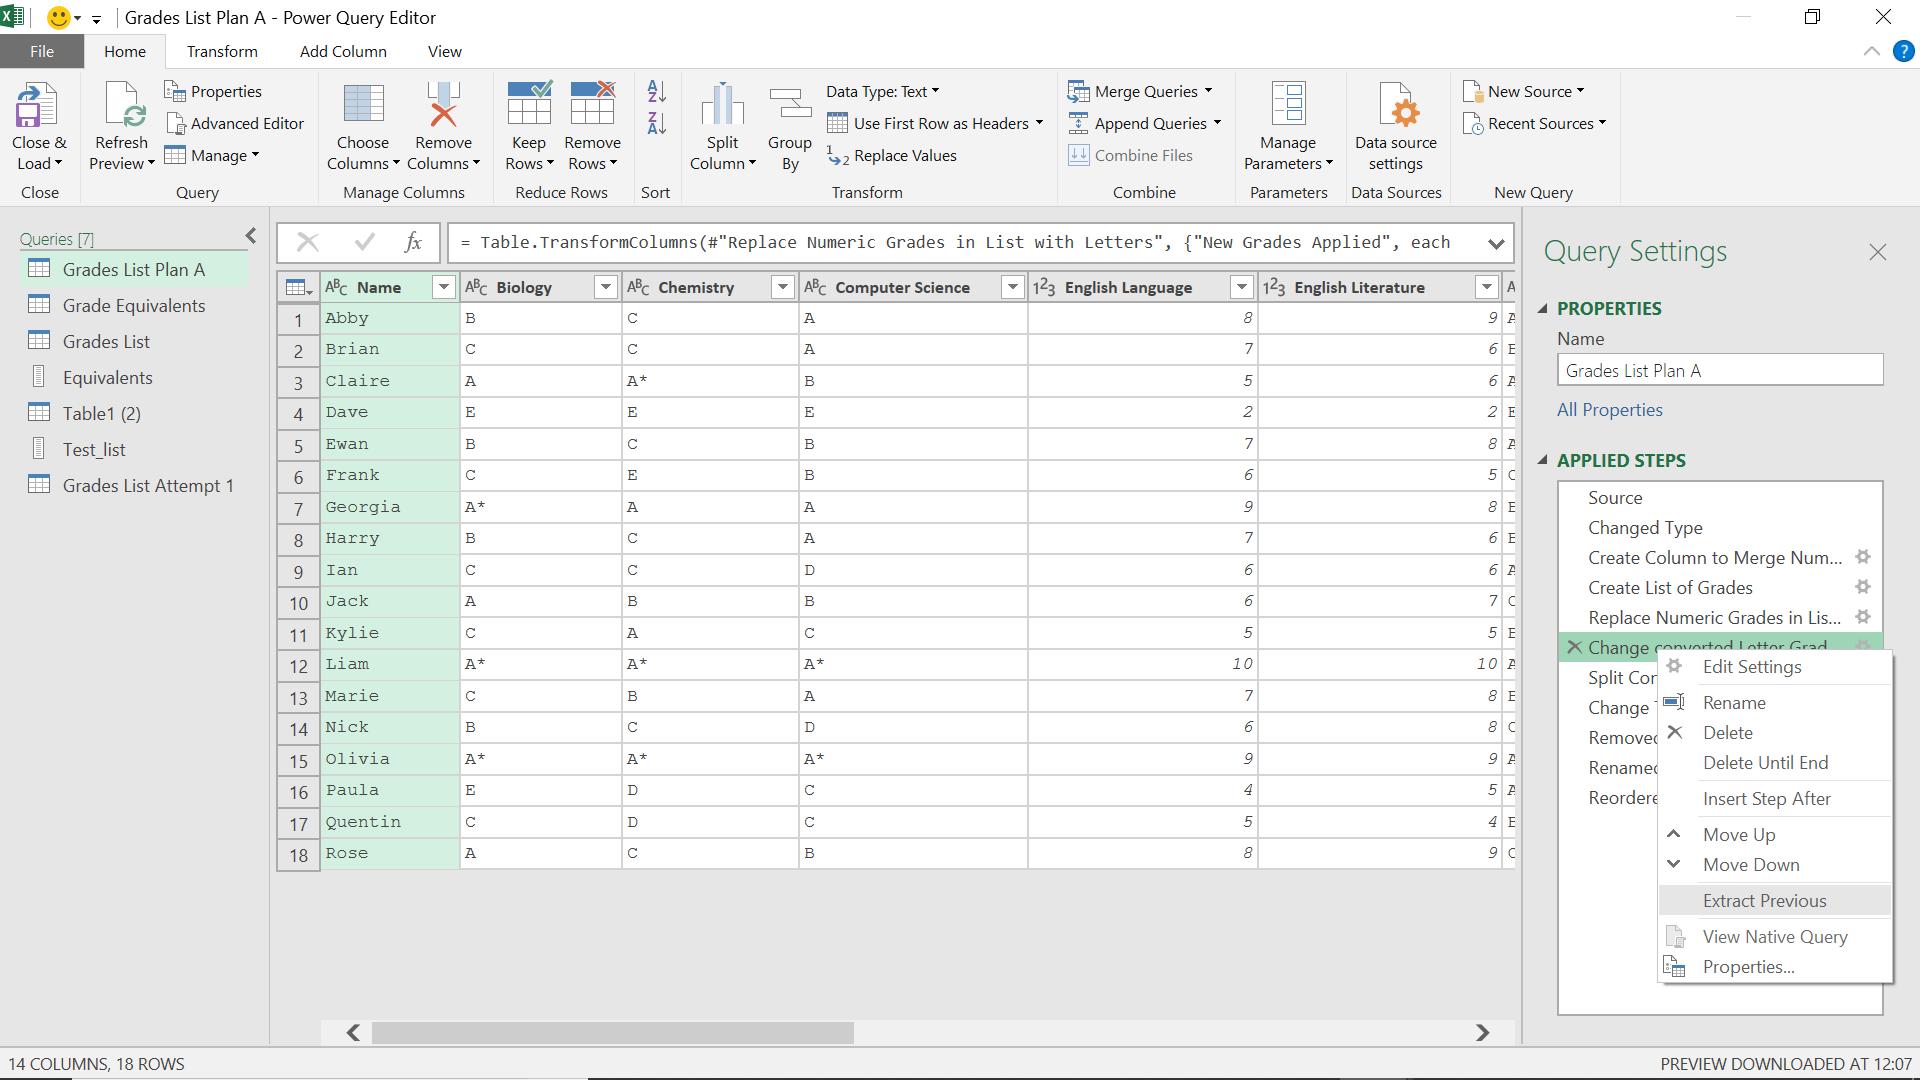
I move to the step after ‘Replace Numeric Grades in List’ and right-click. I have an option to ‘Extract Previous’.
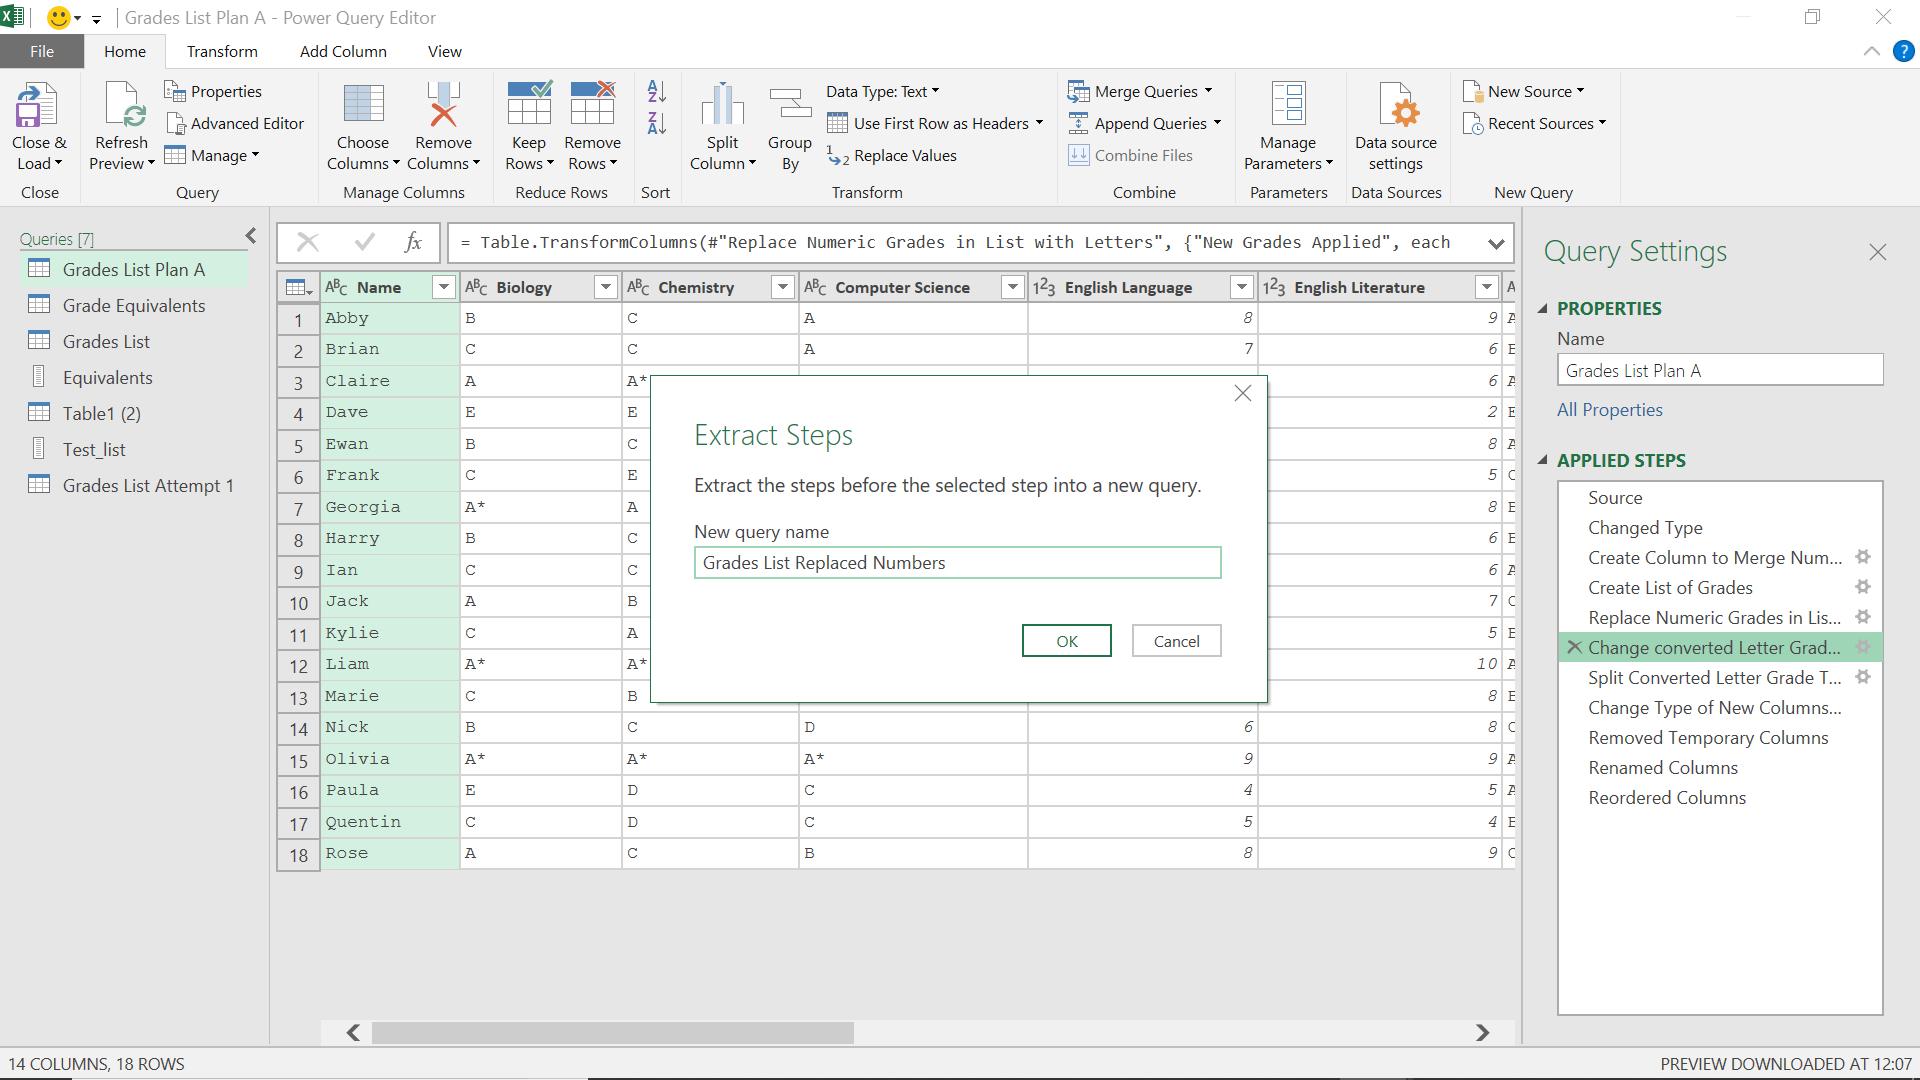
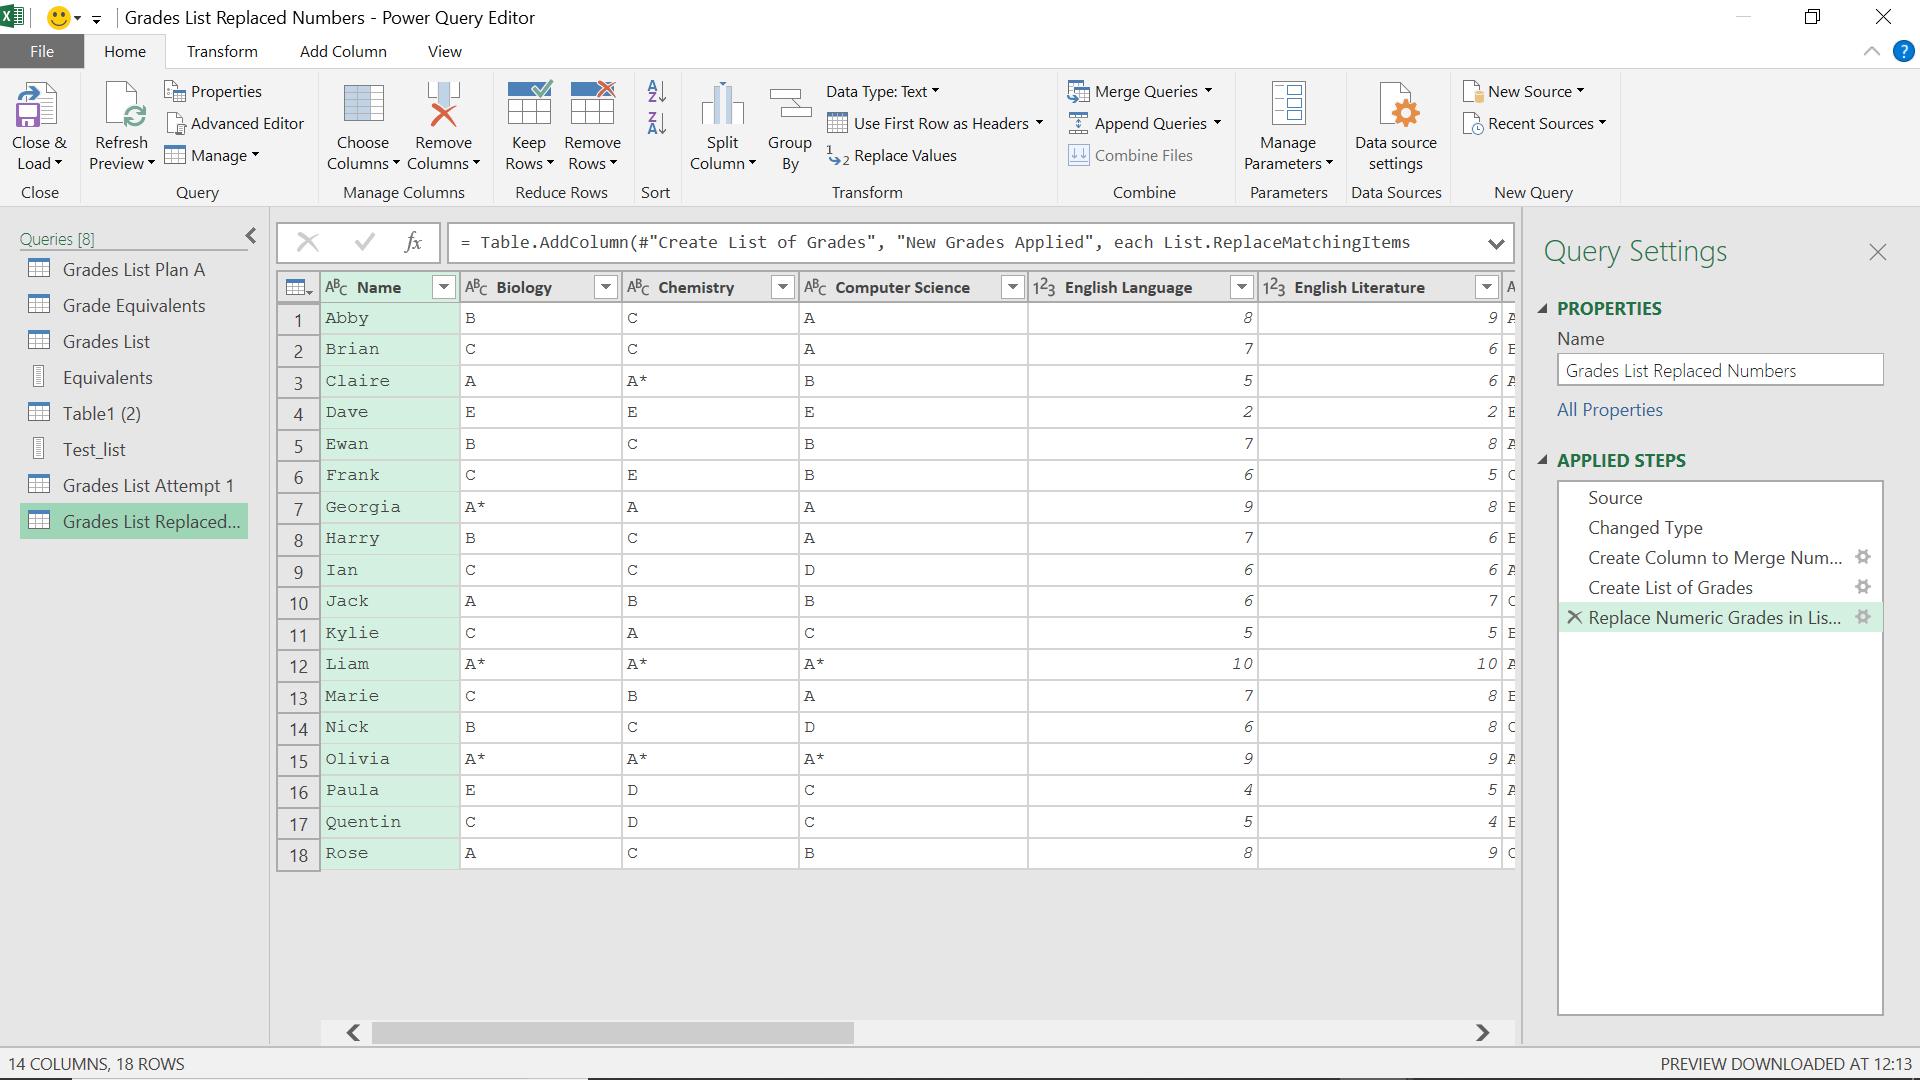
I choose the name for my new query and click ‘OK’. Since this query will be the new source in ‘Grade List Plan A’, it’s important that the name makes sense to me.
Power Query opens the query pane on the left where my new query appears. The steps in the new query have now disappeared from ‘Grades List Plan A’.
I can click on the query in the query pane to see that my new query has been created as I expected.
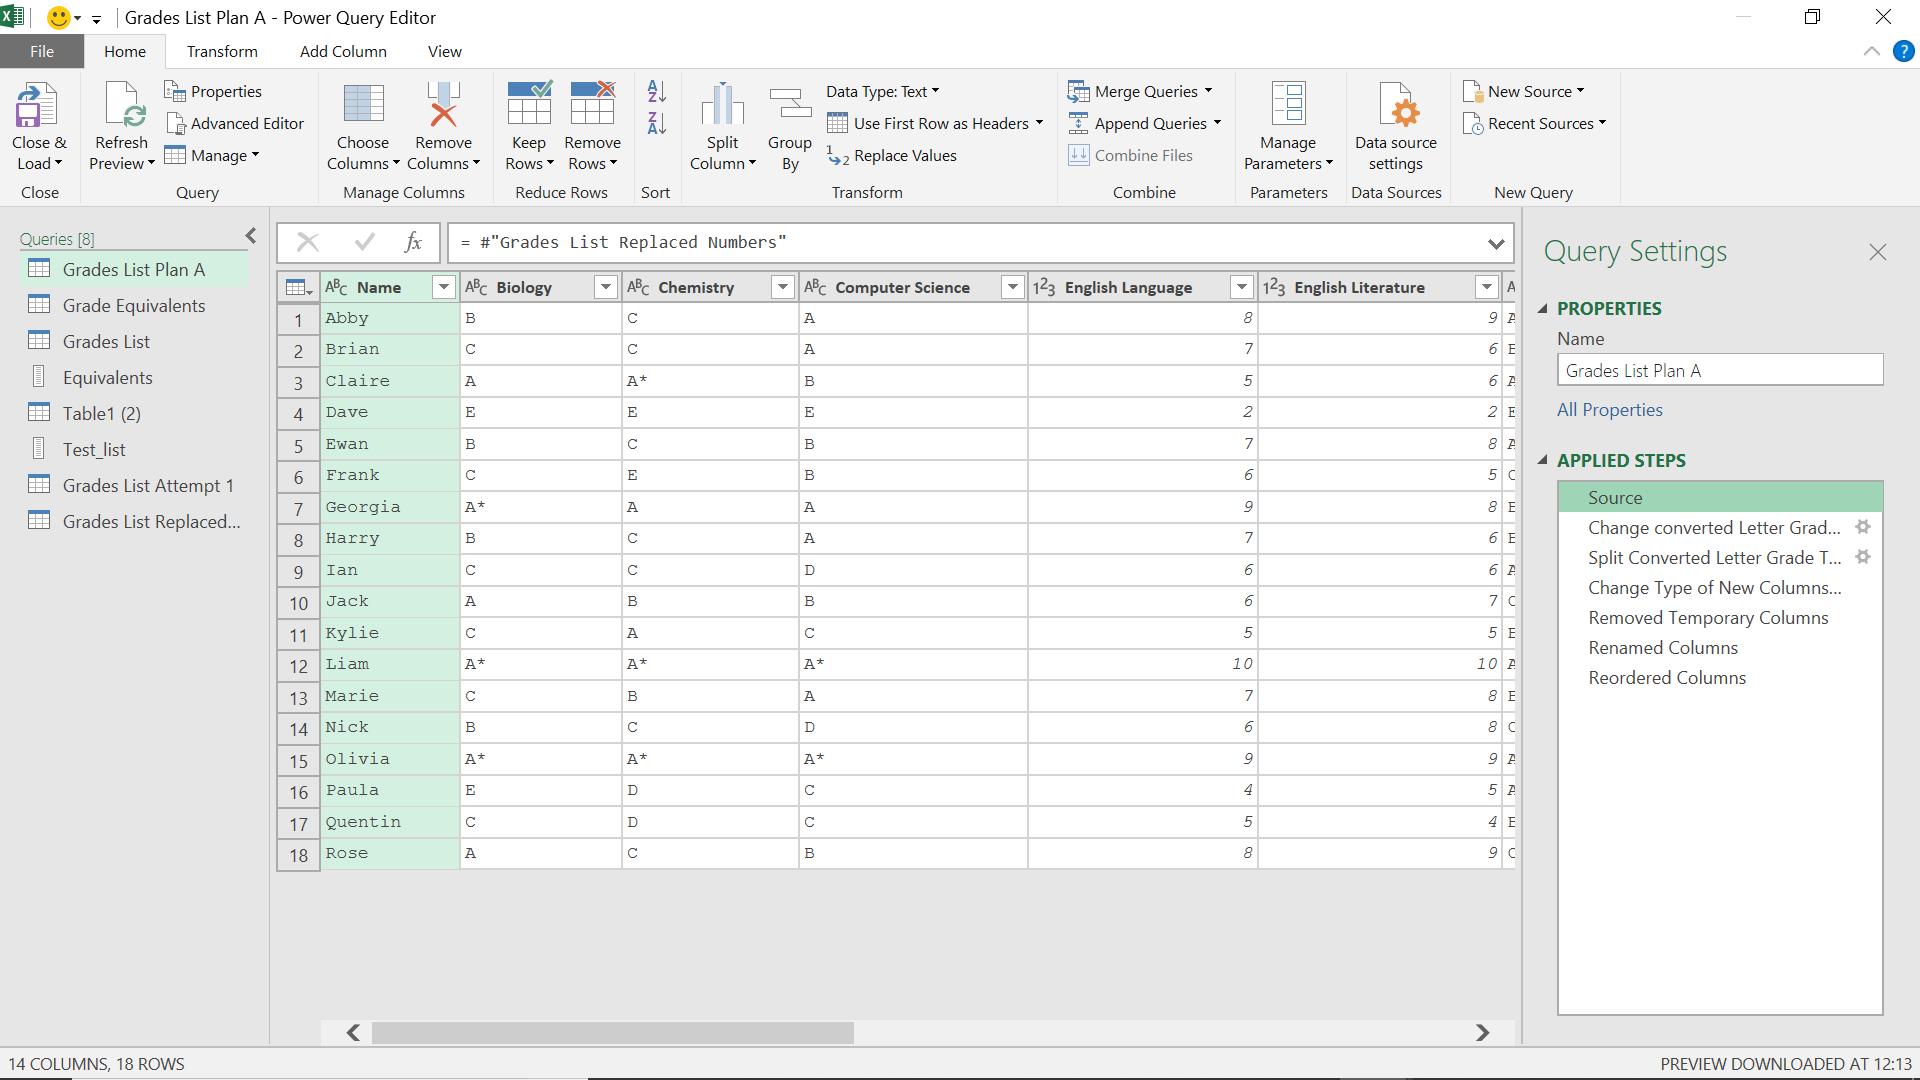
My original query points to my new query as its source.
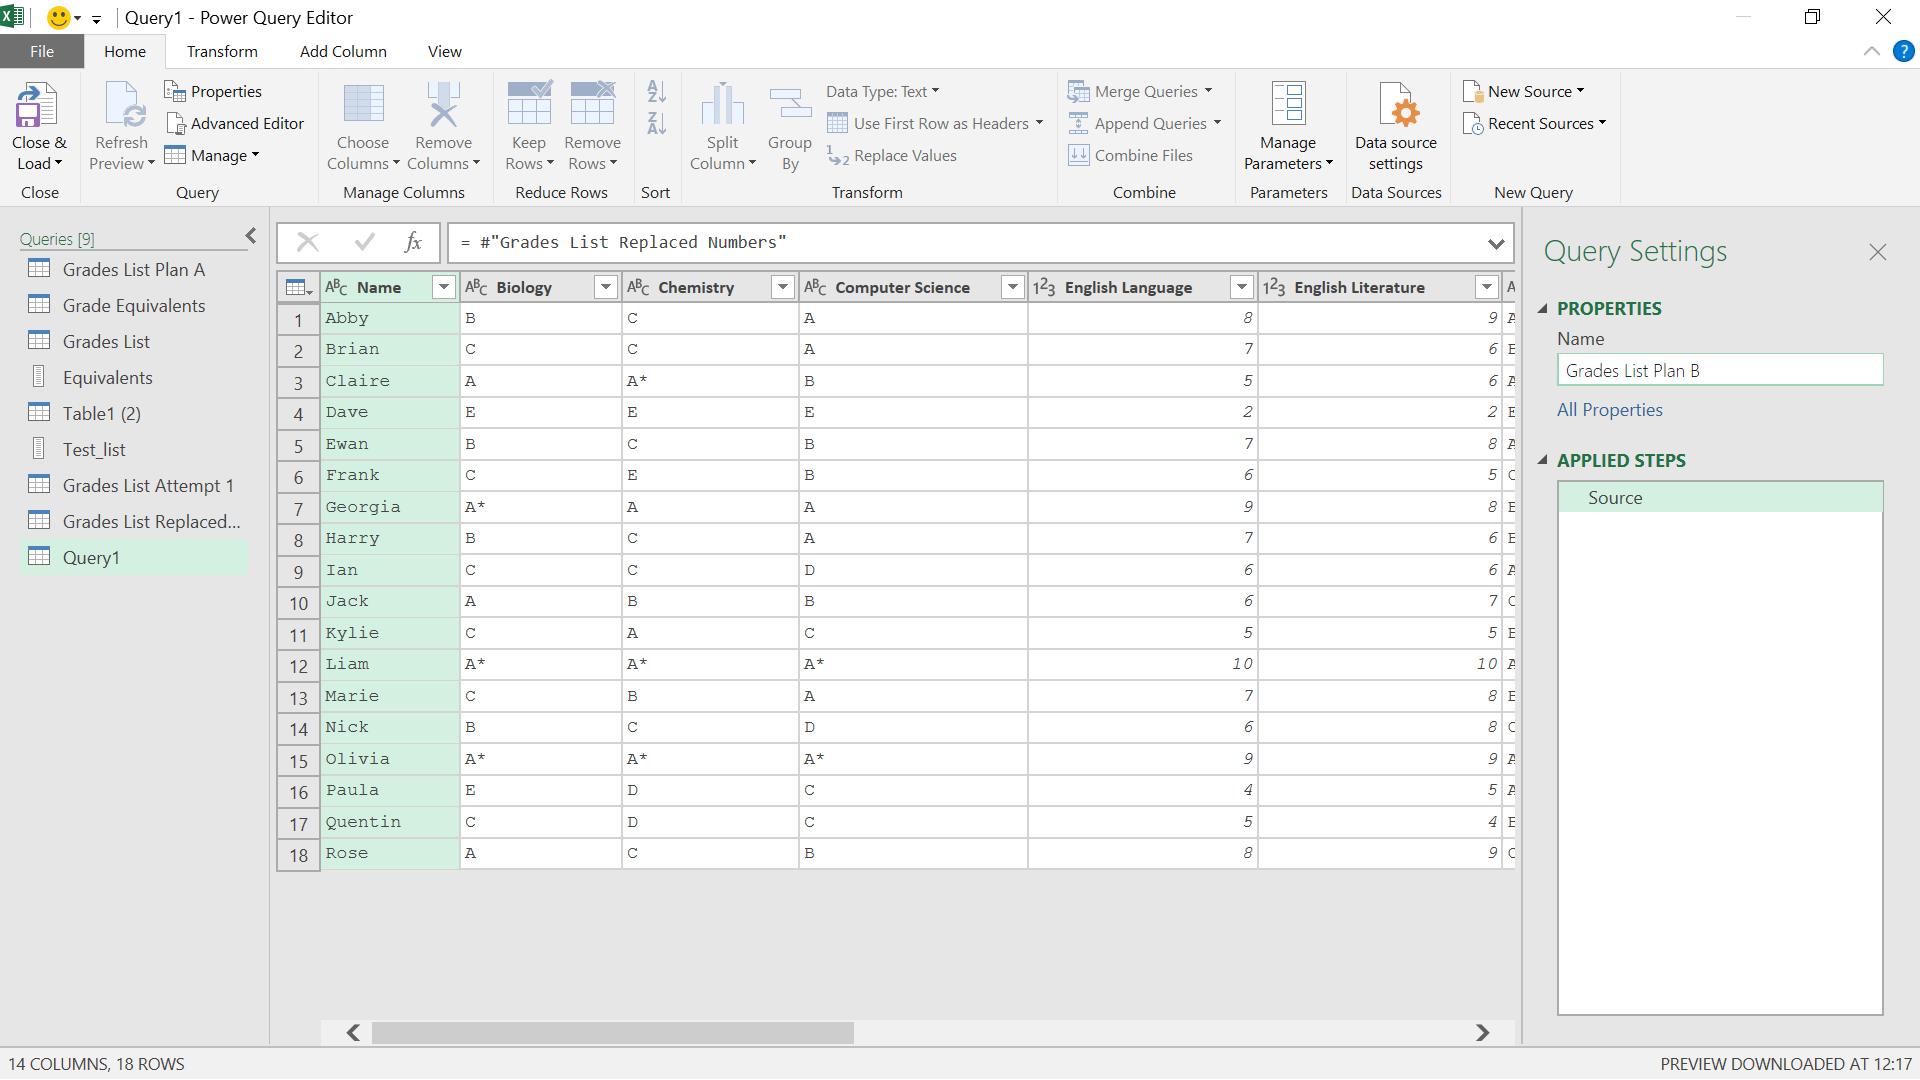
I can use the same source to start a query using my new ideas for the scenario. It’s important that the source query is labelled correctly, as any changes to it will affect the dependent queries.
10. Keep learning
There are lots of articles on this site about Power Query and other Excel tools. Microsoft frequently improves and changes functionality, and new ways to solve old problems appear not only on this blog, but throughout the Power Query community. One way to access useful information is to search for the #powerquery hashtag in Twitter.
Come back next time for more ways to use Power Query!