
Power Query: Check the Filters - Part 1
24 August 2022
Welcome to our Power Query blog. This week, I look at how checking the filter options can save time and steps.
When creating a Date Table or Calendar to link to tables of transactions, a common method to create the framework is to find the start and end dates of the data and then create a list of dates. For example, for a Monthly Sales query, I may create a reference query which I will call Start Date, as shown here:
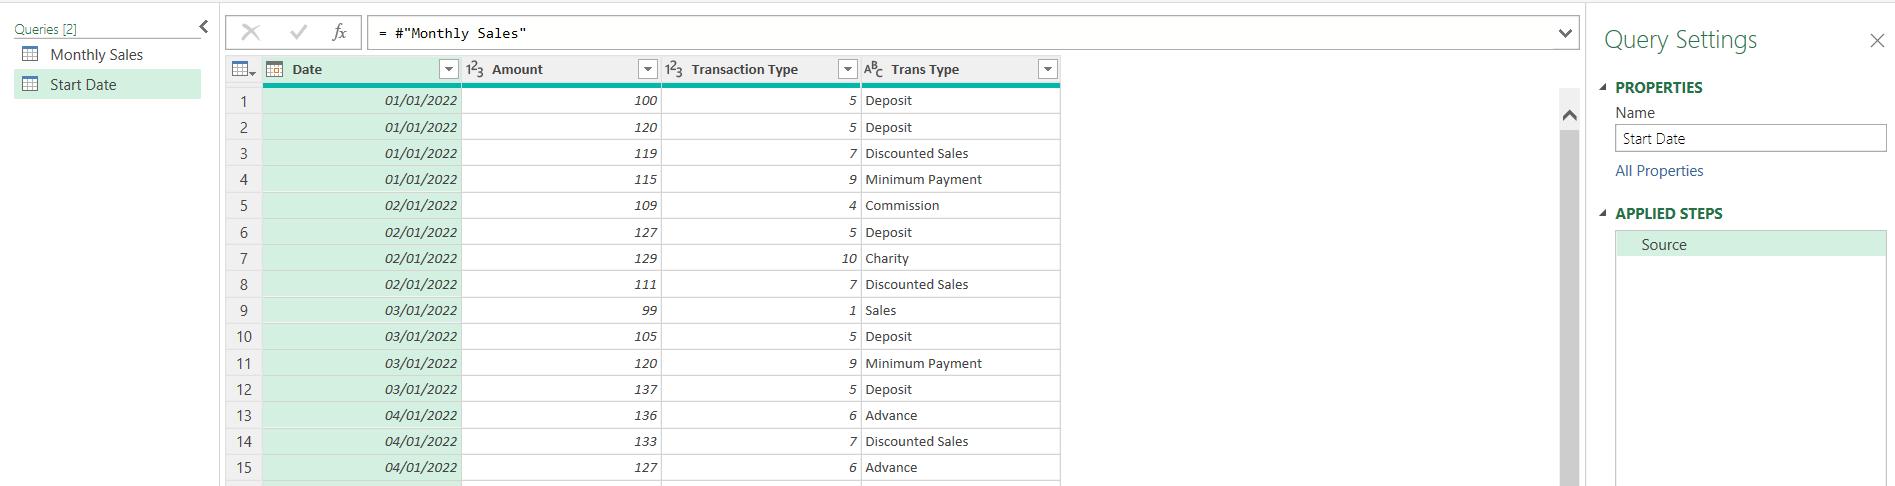
I can then select the Date column and choose to ‘Remove Other Columns’:

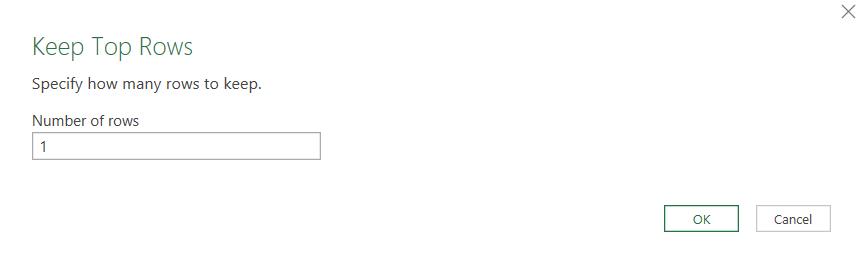
I sort my data and choose to ‘Keep Rows’ from the Home tab.

Having chosen to ‘Keep Top Rows’, I can specify how many rows to keep.
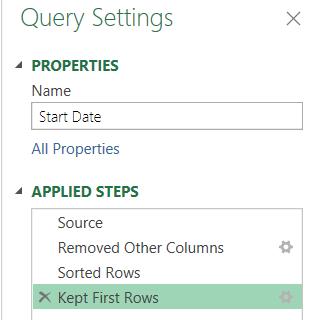
Whilst there is nothing wrong with this approach, I have clicked my way through several dropdowns and screens and created three steps.
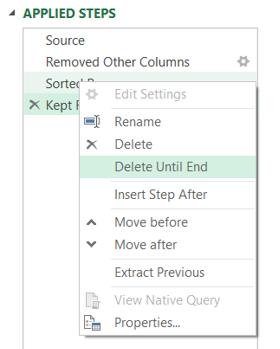
There is another way to achieve this. I delete the steps below ‘Removed Other Columns’ by selecting the ‘Sorted Rows’ step and using the right-click menu:
Now, instead of keeping rows, I can filter the Date column.
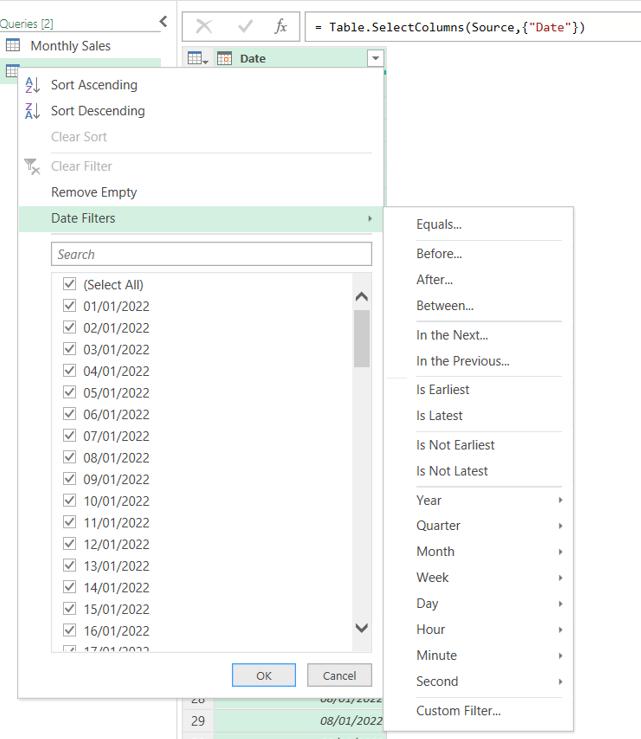
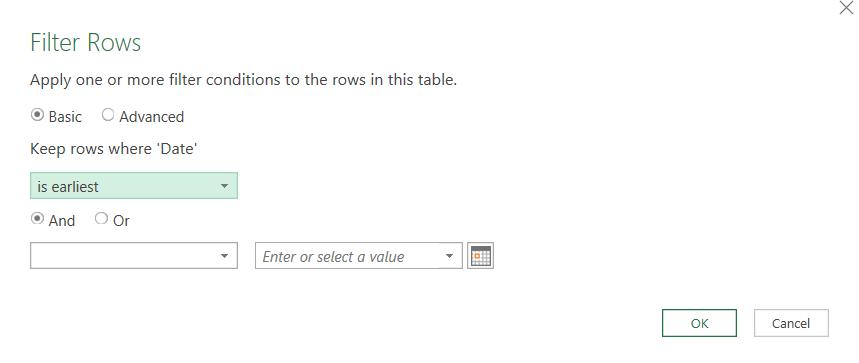
On the previous screen, the ‘Date Filters’ offer me some relative filters, one of which is ‘Is Earliest’ (I have accessed the next dialog by selecting another date filter and choosing ‘is earliest’ from the dropdown):
This gives me the rows that share the earliest date:

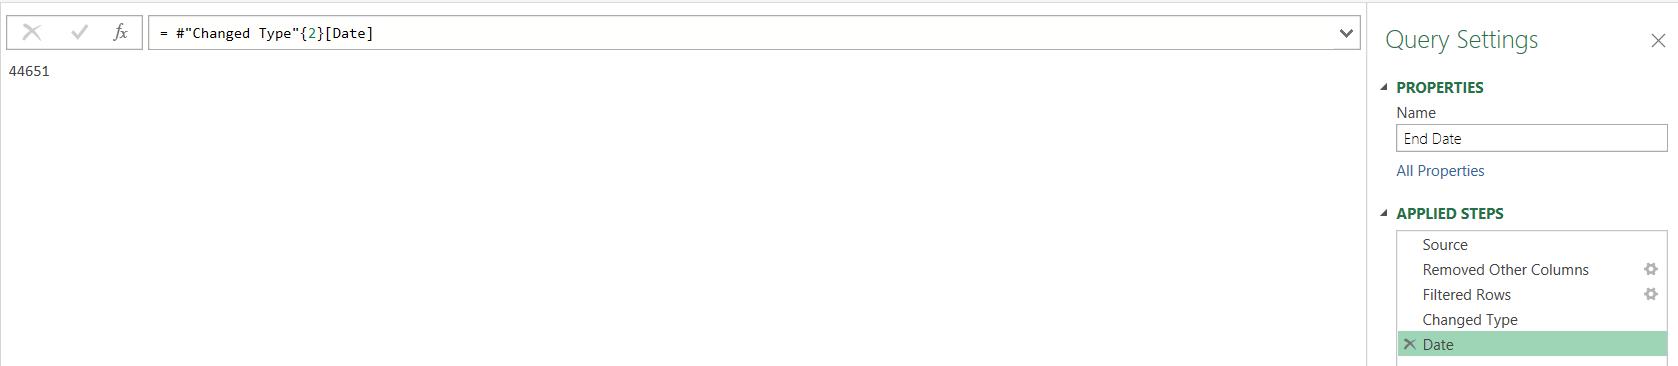
This involved less work for me, and indeed, less steps. It doesn’t matter that I have multiple rows, as I can convert the column to a number and select any row and right-click:
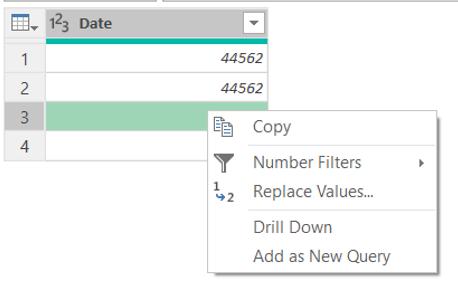
I use ‘Drill Down’ to give me a single value:

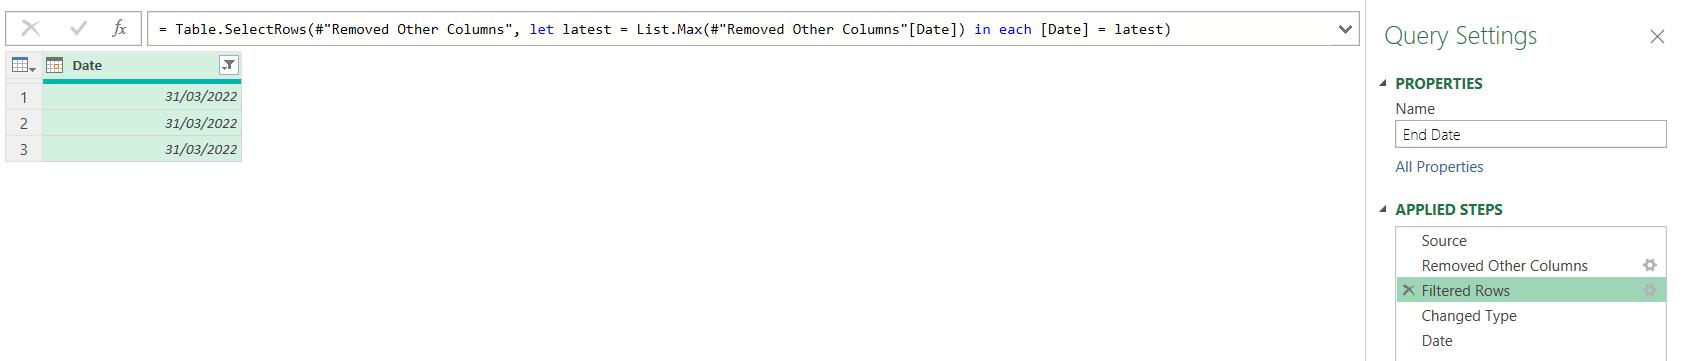
I can create a duplicate query of the Start Date query and change the ‘Filtered Rows’ step to get the End Date.
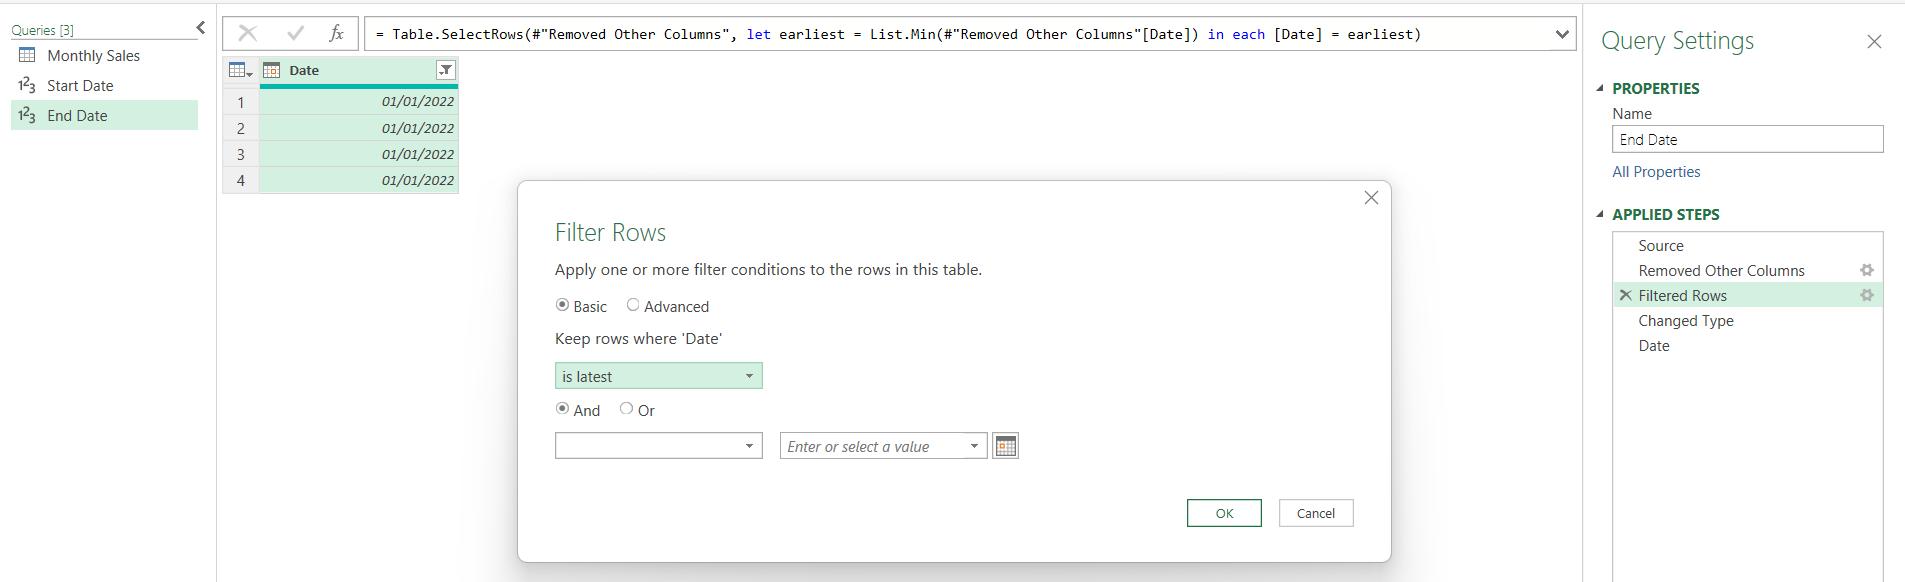
I choose ‘is latest’ in the dropdown, and I have my end date.
The other steps work in the same way as before:
There are other ways I could have filtered my Date column for these queries, which I will look at next time.
Come back next time for more ways to use Power Query!