
Power Pivot Principles: Using DAX Studio to Return a Table Expression
14 April 2020
Welcome back to the Power Pivot Principles blog. This week, we are going to talk about the DAX Studio and compare it with the old way of returning a table expression in Power Pivot.
In our previous blog, we introduced the method of return table expression in Power Pivot. Power Pivot does not act the same way as Power BI. In Power BI, we can use a measure to return a table expression immediately, but in Power Pivot, the measure which returns a table expression cannot be listed in Excel directly. The method we introduced was to use the ‘Evaluate’ syntax in the DAX Editor, which then returned the table in the Excel worksheet. If we want to test different results, we have to change the code each time. Obviously, that’s not convenient.
Compared with the method described above, DAX Studio is a more powerful tool for a Business Intelligence (BI) developer to use, in order to test the results and performance of DAX expressions and query Power Pivot / Power BI data models. DAX Studio can extract a list of measures from an existing data model and facilitate measures management, repetitive use of measures in different workbooks or PBIX files, and writing of more complex DAX expressions that return table results as a part of the formula. Therefore, when we write measures that contain table function in DAX. DAX studio makes it easier to obtain the result tables produced by the expression and helps developer to identify potential errors and patterns. It should be noted that DAX Studio always returns a table, which is in contrast to some measures in Power Pivot which return scalar values.
Before we look at an example, we need to download the DAX Studio from here. After downloading, simply run the installation routine. Then, we launch Excel and there is a new Add-ins menu on the Ribbon. You simply click on the DAX Studio button to launch DAX Studio.
When DAX Studio is launched, you will be prompted to connect to a data model. Once connected, you will have the following interface:
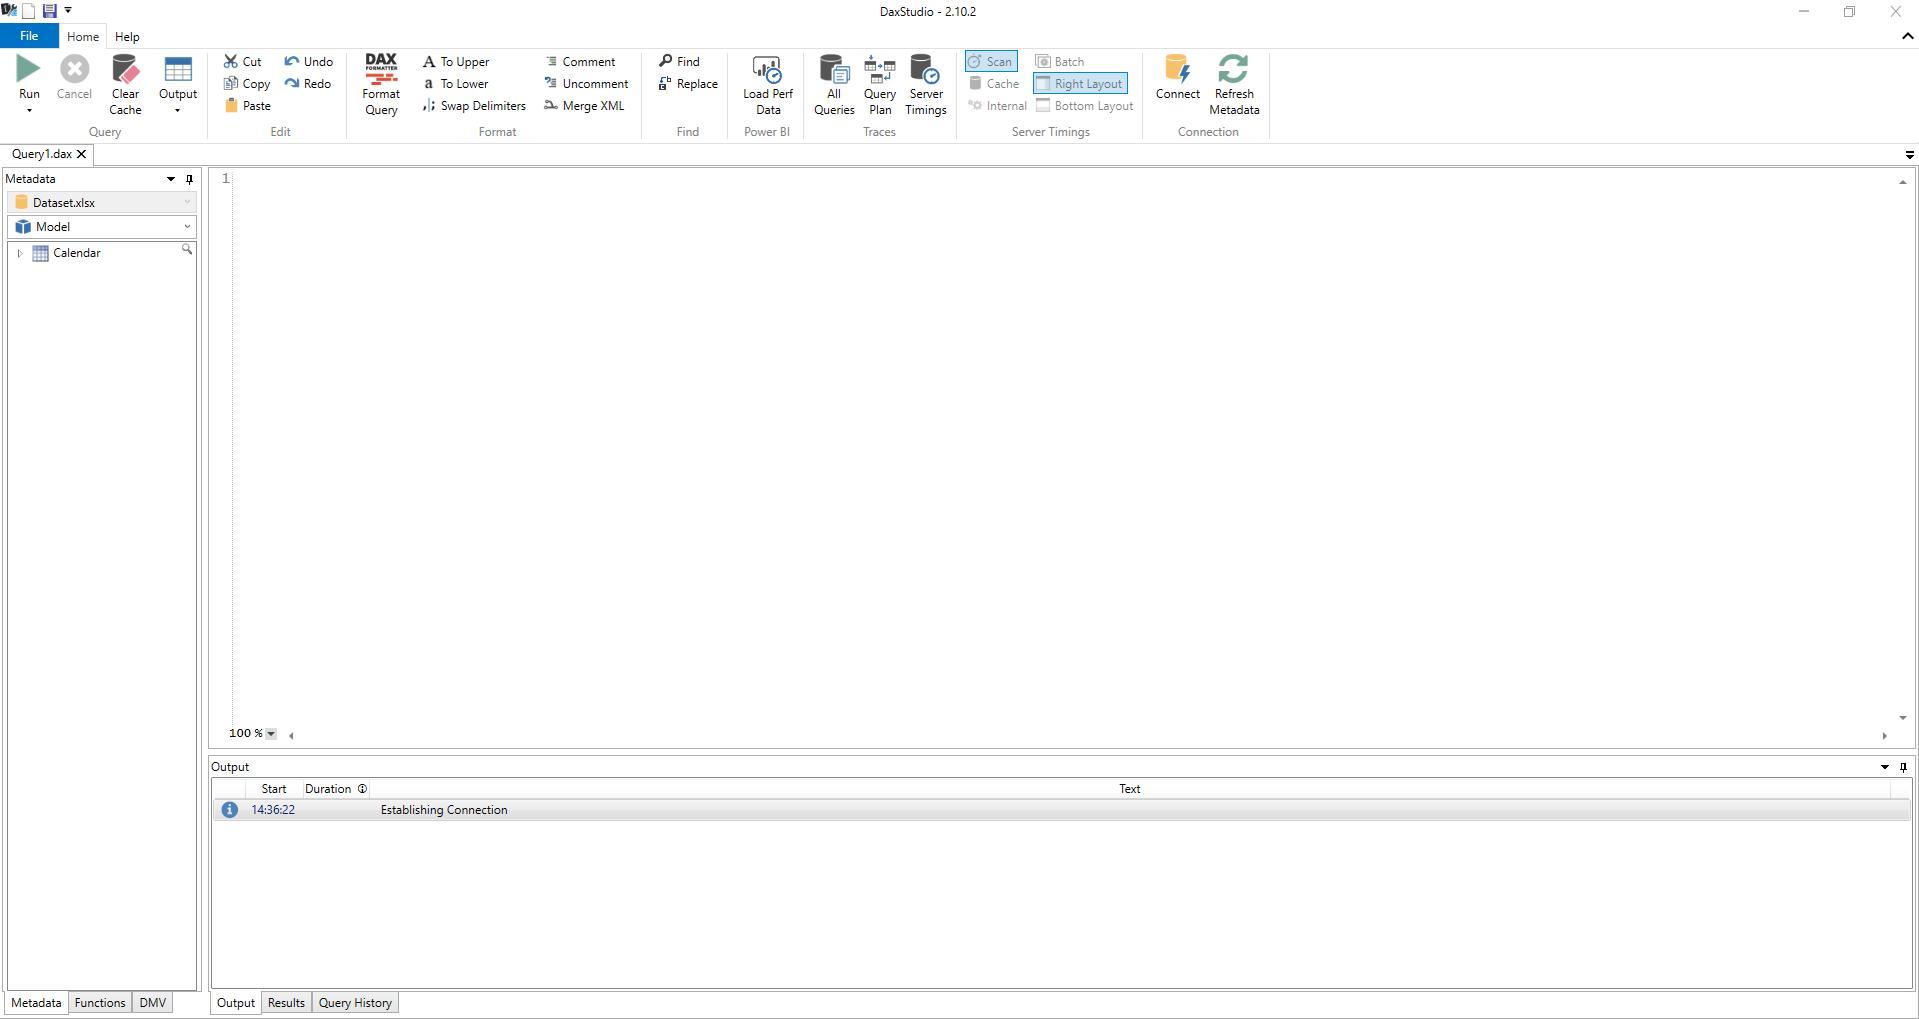
Similarly to Power Pivot, DAX Studio is running as a separate application. In our case, the sample data file connected in DAX Studio is to a file: ‘Dataset.xlsx’.
At the top of the screen sits the toolbar, which contains the various functionalities. On the left-hand side, the Metadata shows the list of tables contained within the data model. On the right-hand side there are two separate windows: one is the Query pane window and the window at the foot of the screen is the Output interface, which will return the query results from the Query pane.
Now, we can write our measure in the Query pane. In our case, we write the following measure:
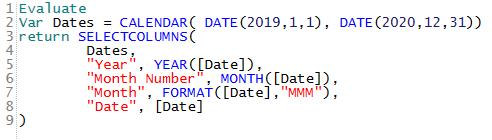
Evaluate Var Dates = CALENDAR(DATE(2019,1,1), DATE(2020,12,31)) return SELECTCOLUMNS(Dates, "Year", YEAR([Date]), "Month Number", MONTH([Date]), "Month", FORMAT([Date],"MMM"), "Date", [Date])
Every DAX Query must start with the EVALUATE keyword. The query above uses EVALUATE followed by the normal expression in DAX. It is a good practice to use line breaks in the Query pane to make DAX formula easier to read. Next, we press the Run button at the top left-hand side of the toolbar. We will then see the result in the output window as below (not display in full):
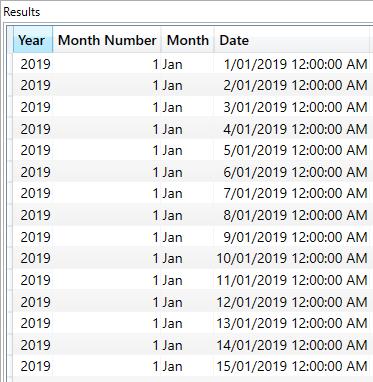
This results table returned here in the output section is the query result for the table expression. The result is the same as the one documented in previous blog.
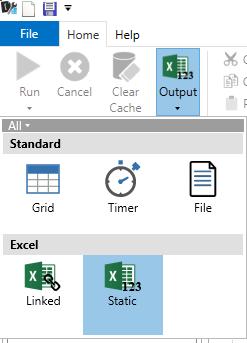
Aside from the result shown in the Output -> Grid section, we can also save the query result in the workbook by selecting the options in the Output tab as a Static Excel file.
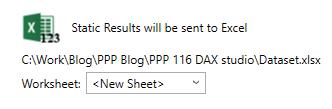
This option enables DAX Studio to save the result from the query to Excel. For example, in our case, we choose to save the result as a new worksheet in the same file, ‘Dataset.xlsx’.
The result in the workbook will be the same as the result returned in the Grid. Typical DAX expressions which return table results, such as ADDCOLUMNS, FILTER, SUMMARIZE, DATEADD and SELECTCOLUMNS may be evaluated in DAX Studio.
DAX Studio has other useful functionalities; we will review others in time in this blog series.
That’s it for this week!
Stay tuned for our next post on Power Pivot in the Blog section. In the meantime, please remember we have training in Power Pivot which you can find out more about here. If you wish to catch up on past articles in the meantime, you can find all of our Past Power Pivot blogs here.