Power Query: a Function Function
6 September 2017
Welcome to our Power Query blog. Today I look at an easy way to view and test M code functions against data in my workbook.
My blog comes of age this week as it hits the big 4-0! I am feeling quite empowered, so that gives me an idea! In M-Powered, I described how to get to a description of the functions that can be used in M code to manipulate data by accessing the Microsoft help pages. There is however another way to get to the functions. Let me show you.
I begin with a blank query:
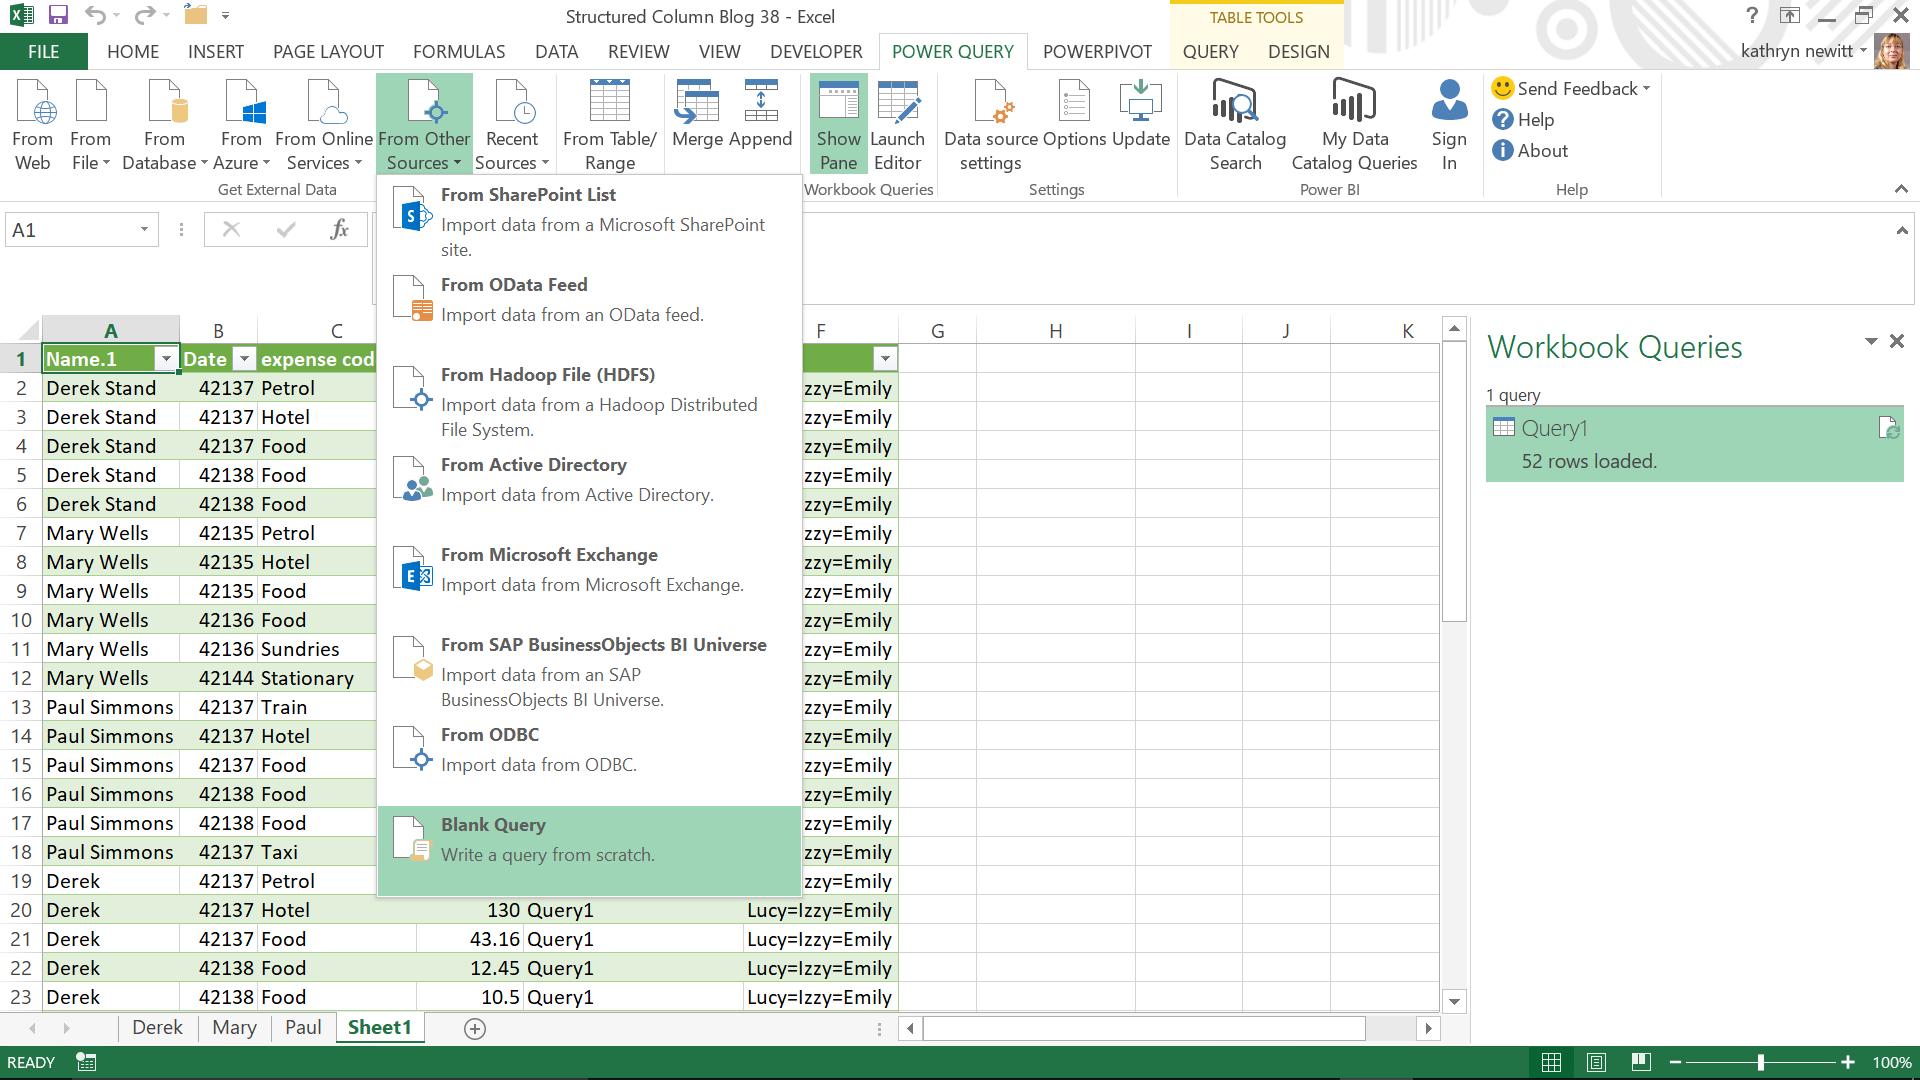
In the formula bar I enter the formula
=#shared
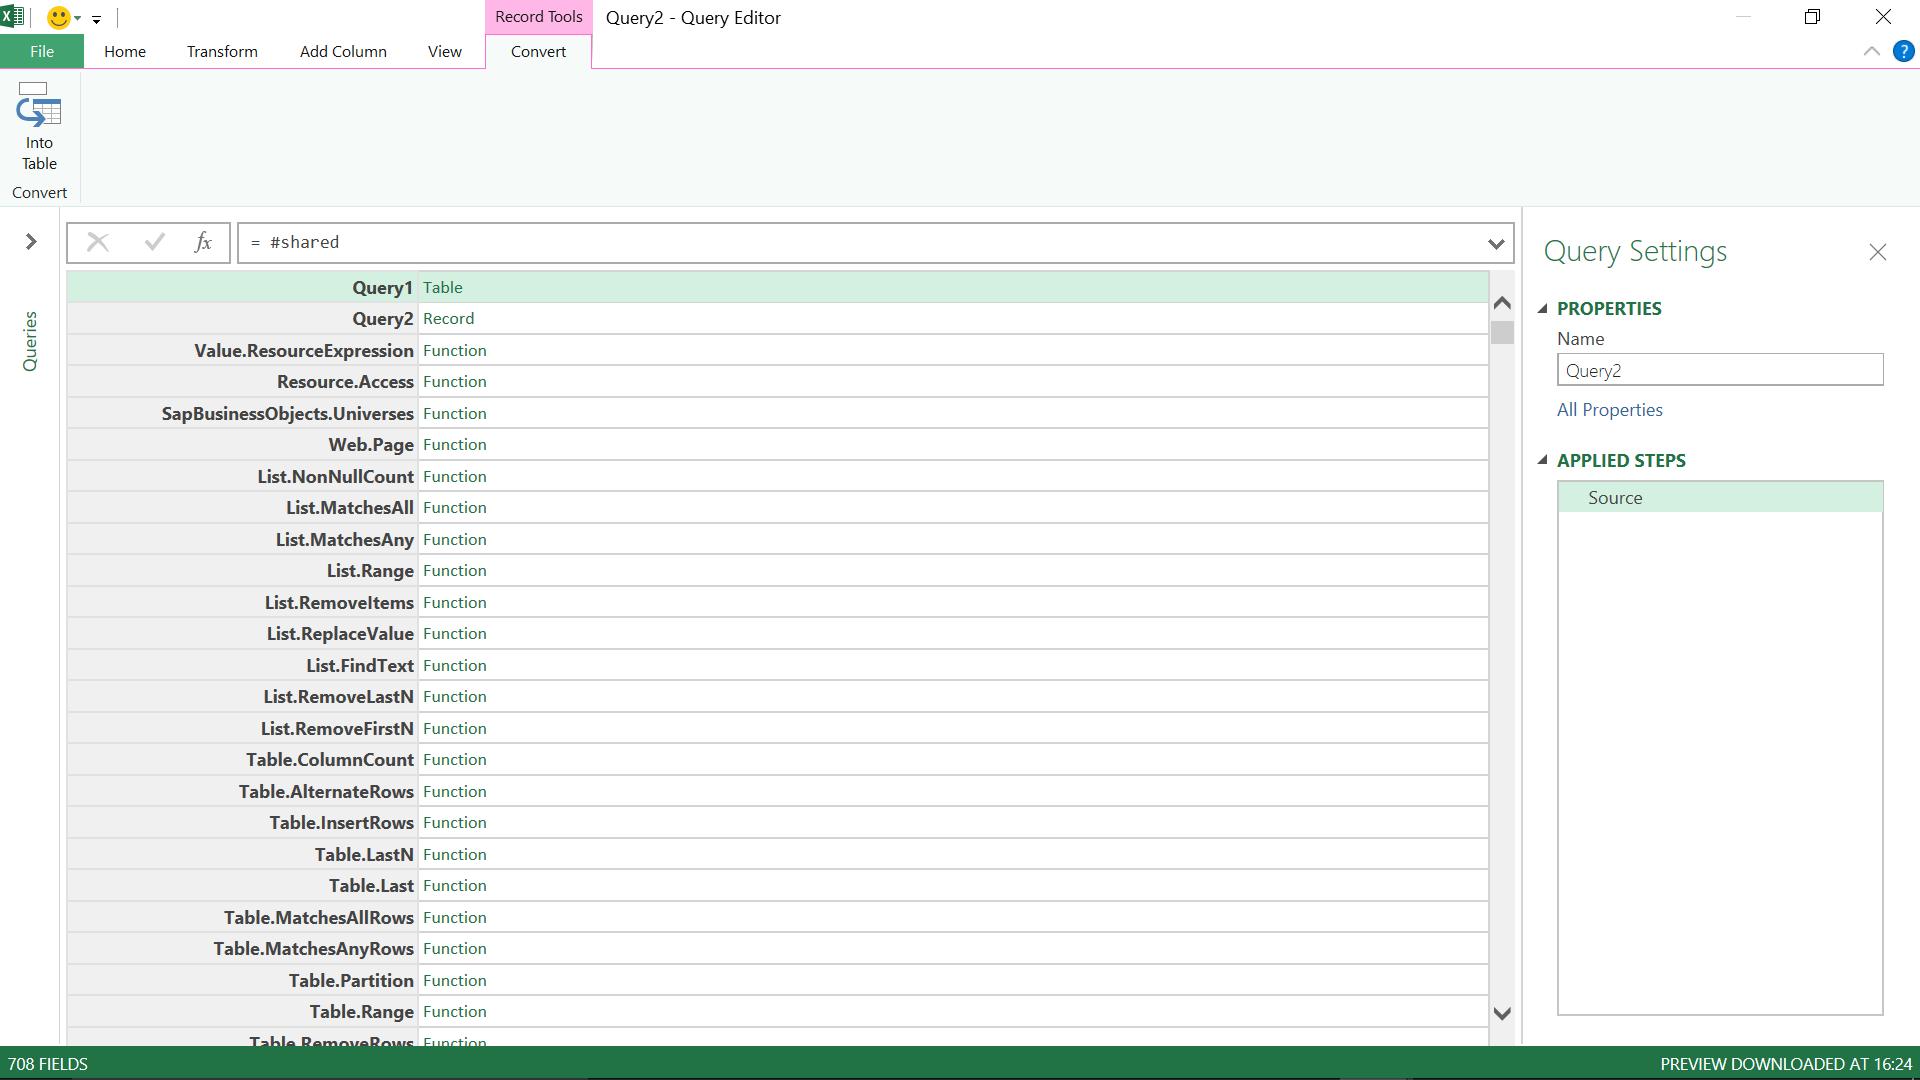
The screen displays a list of elements in my workbook, and a list of functions available to me. In order to investigate further, I choose the option at the top left of the screen in the ‘Convert’ section, namely ‘Into Table’ (feel free to select something else if you can find it!):
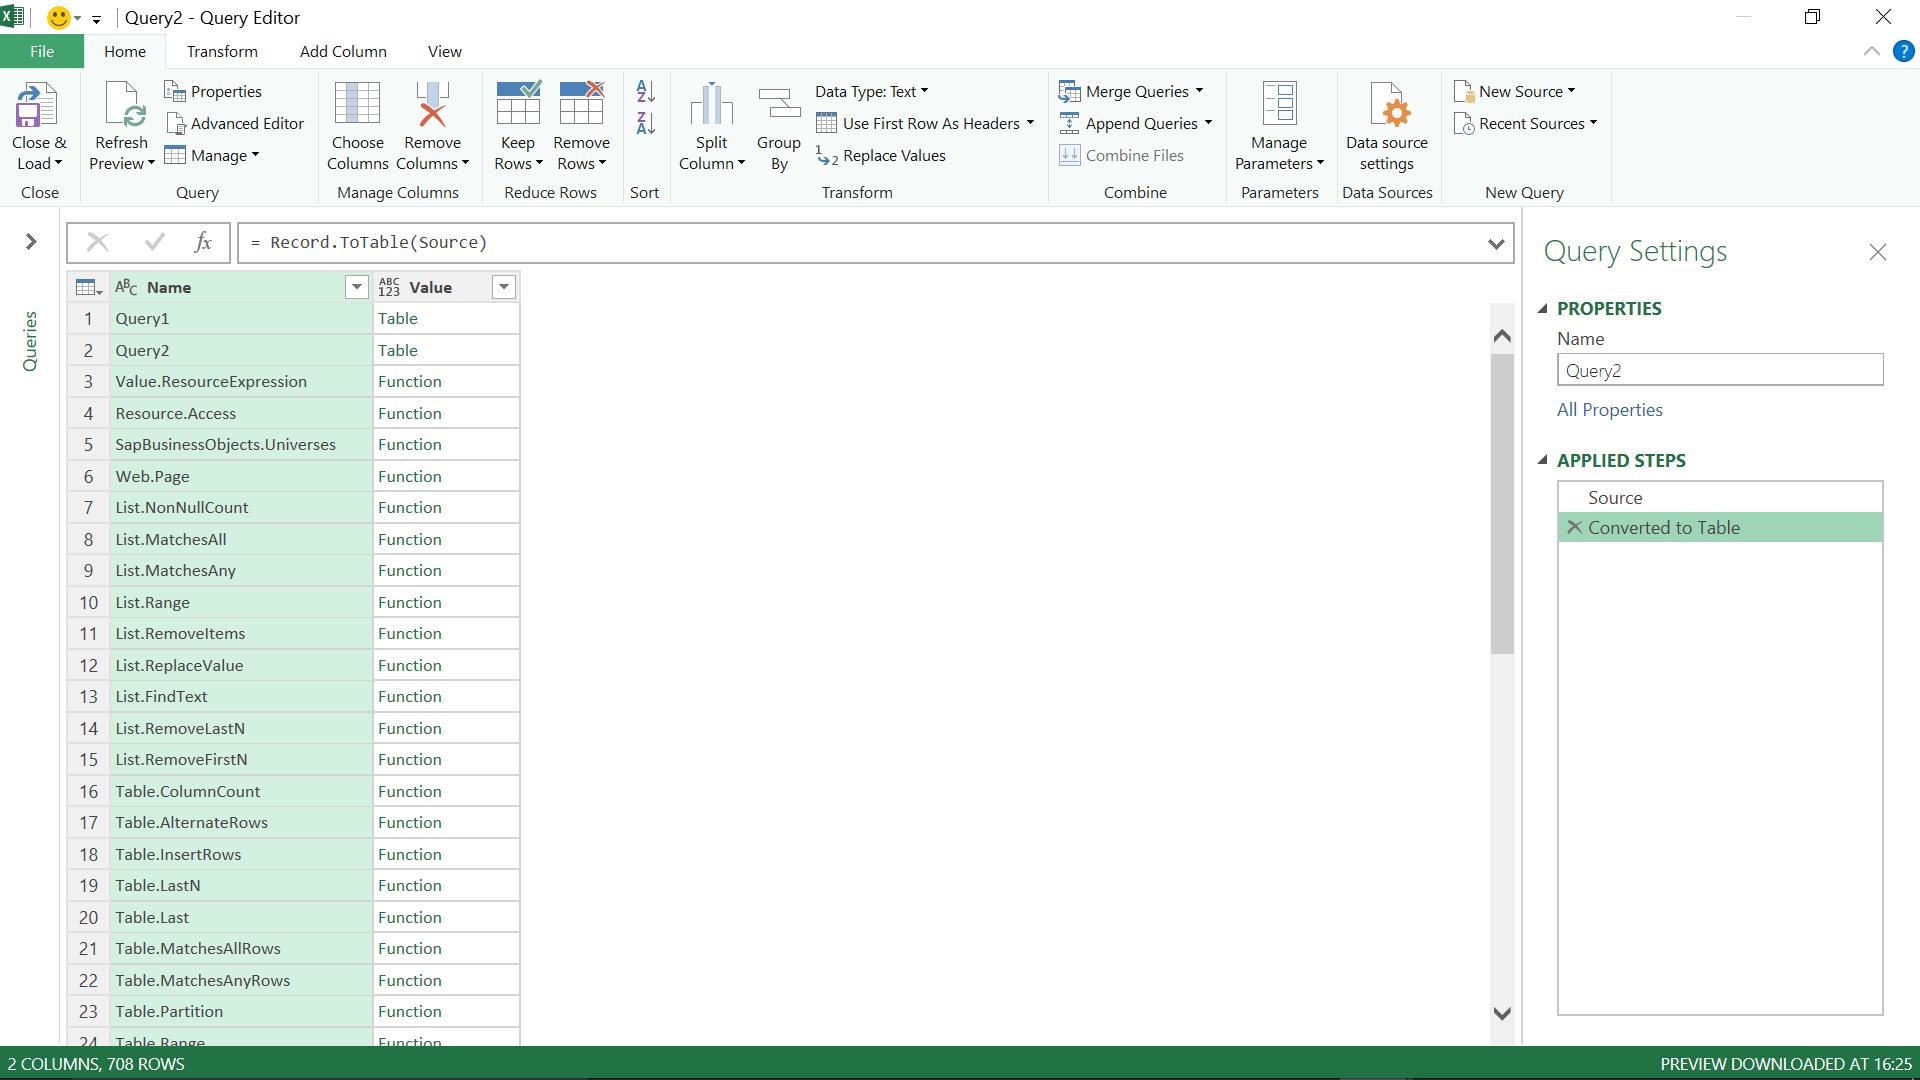
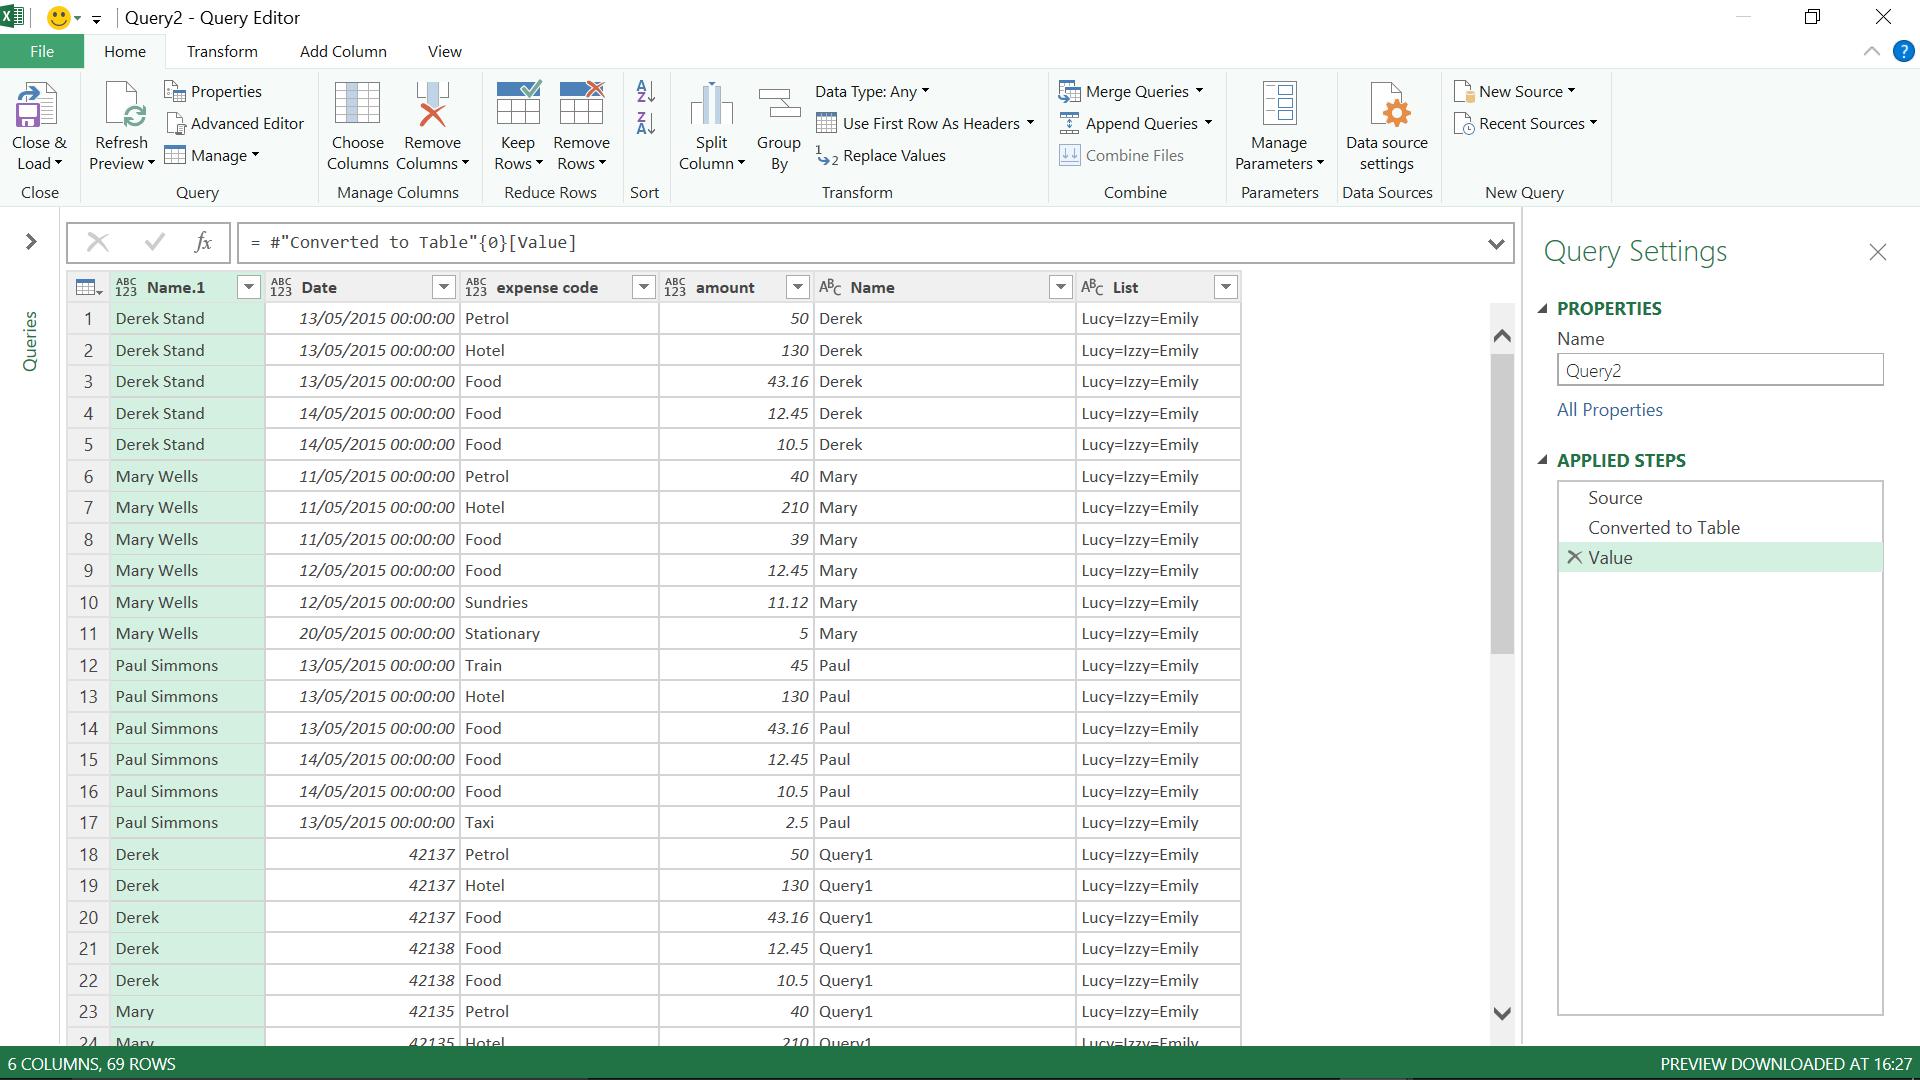
The top rows show the queries in my workbook, and if I click on ‘Table’ next to one of them I can see the data in my query:
Going back to my list of functions, further down the rows I can see the List.Range function that I used in One Route to a Running Total. I try clicking on the ‘Function’ label next to it:
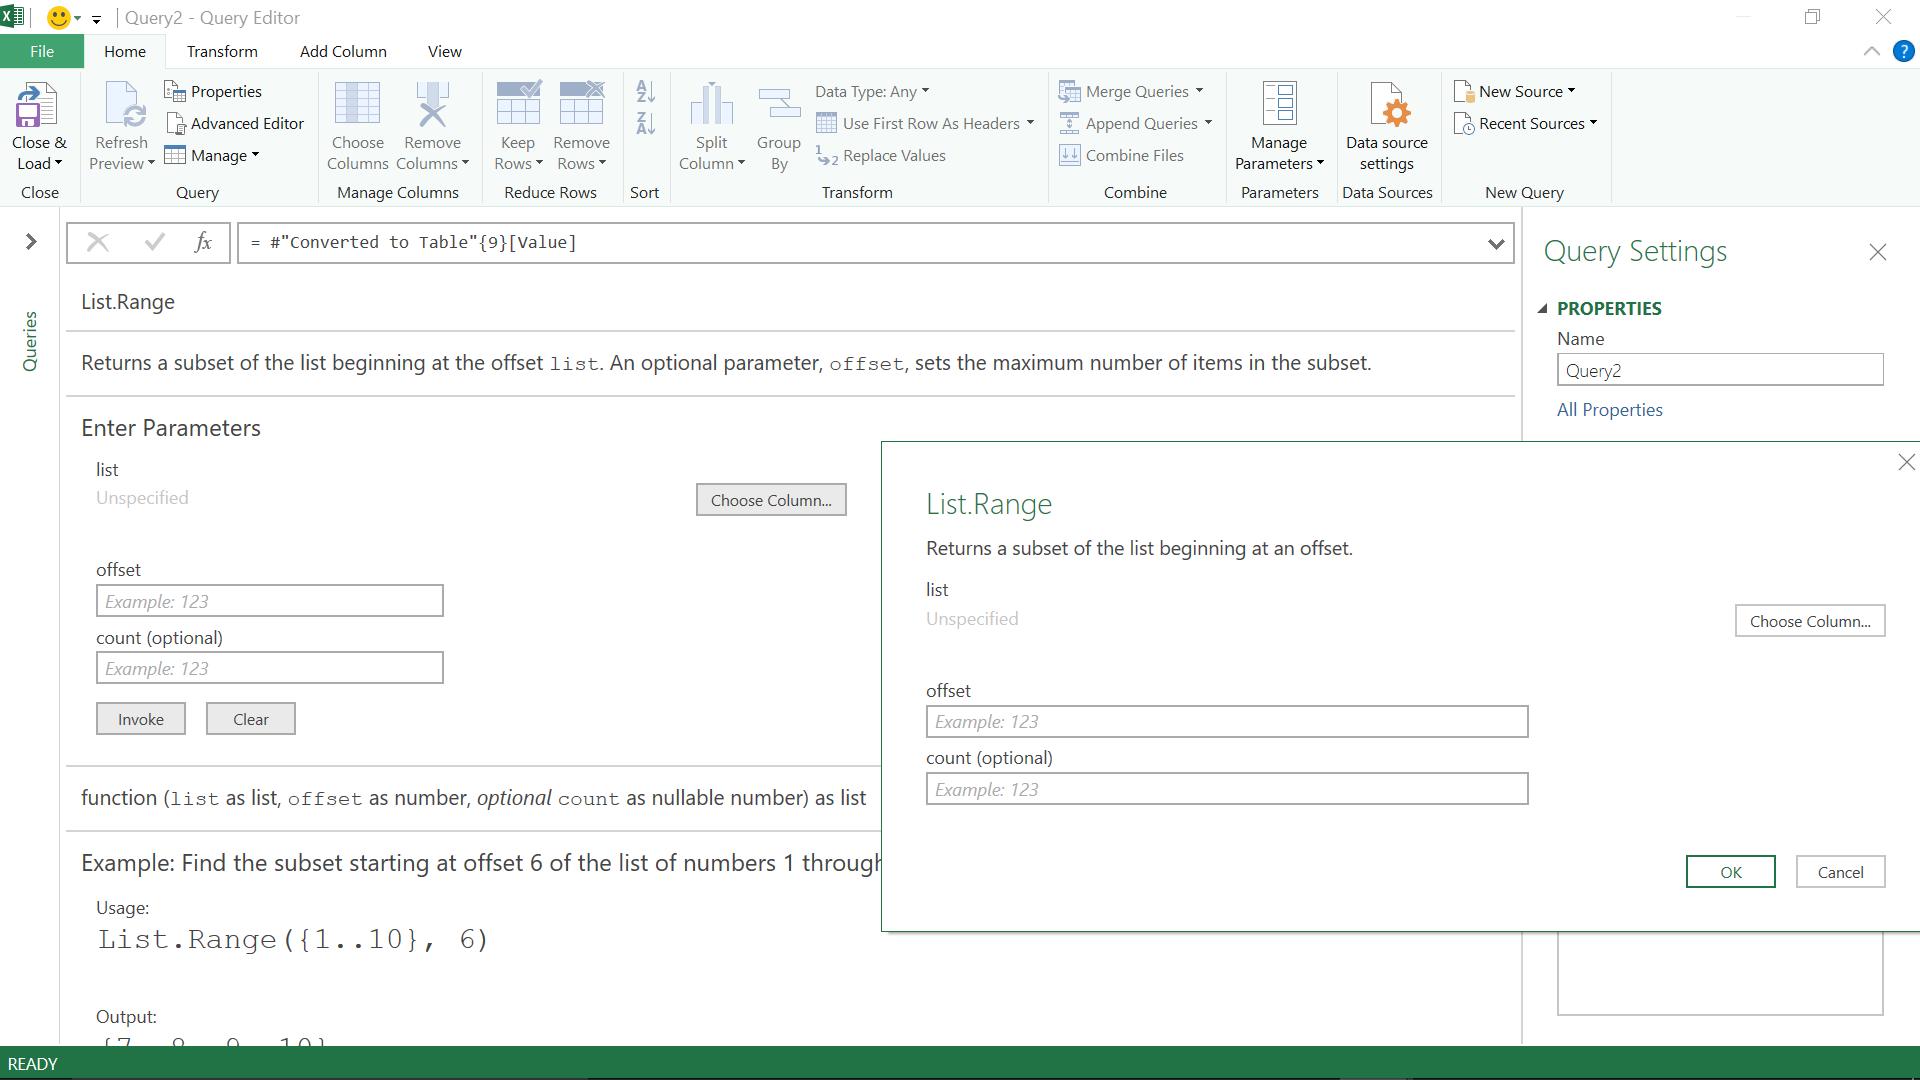
In the background, I can see a full description of the List.Range function, and I also have the option of trying out the function on one of my columns. Clicking the ‘Choose Column’ button accesses another screen:
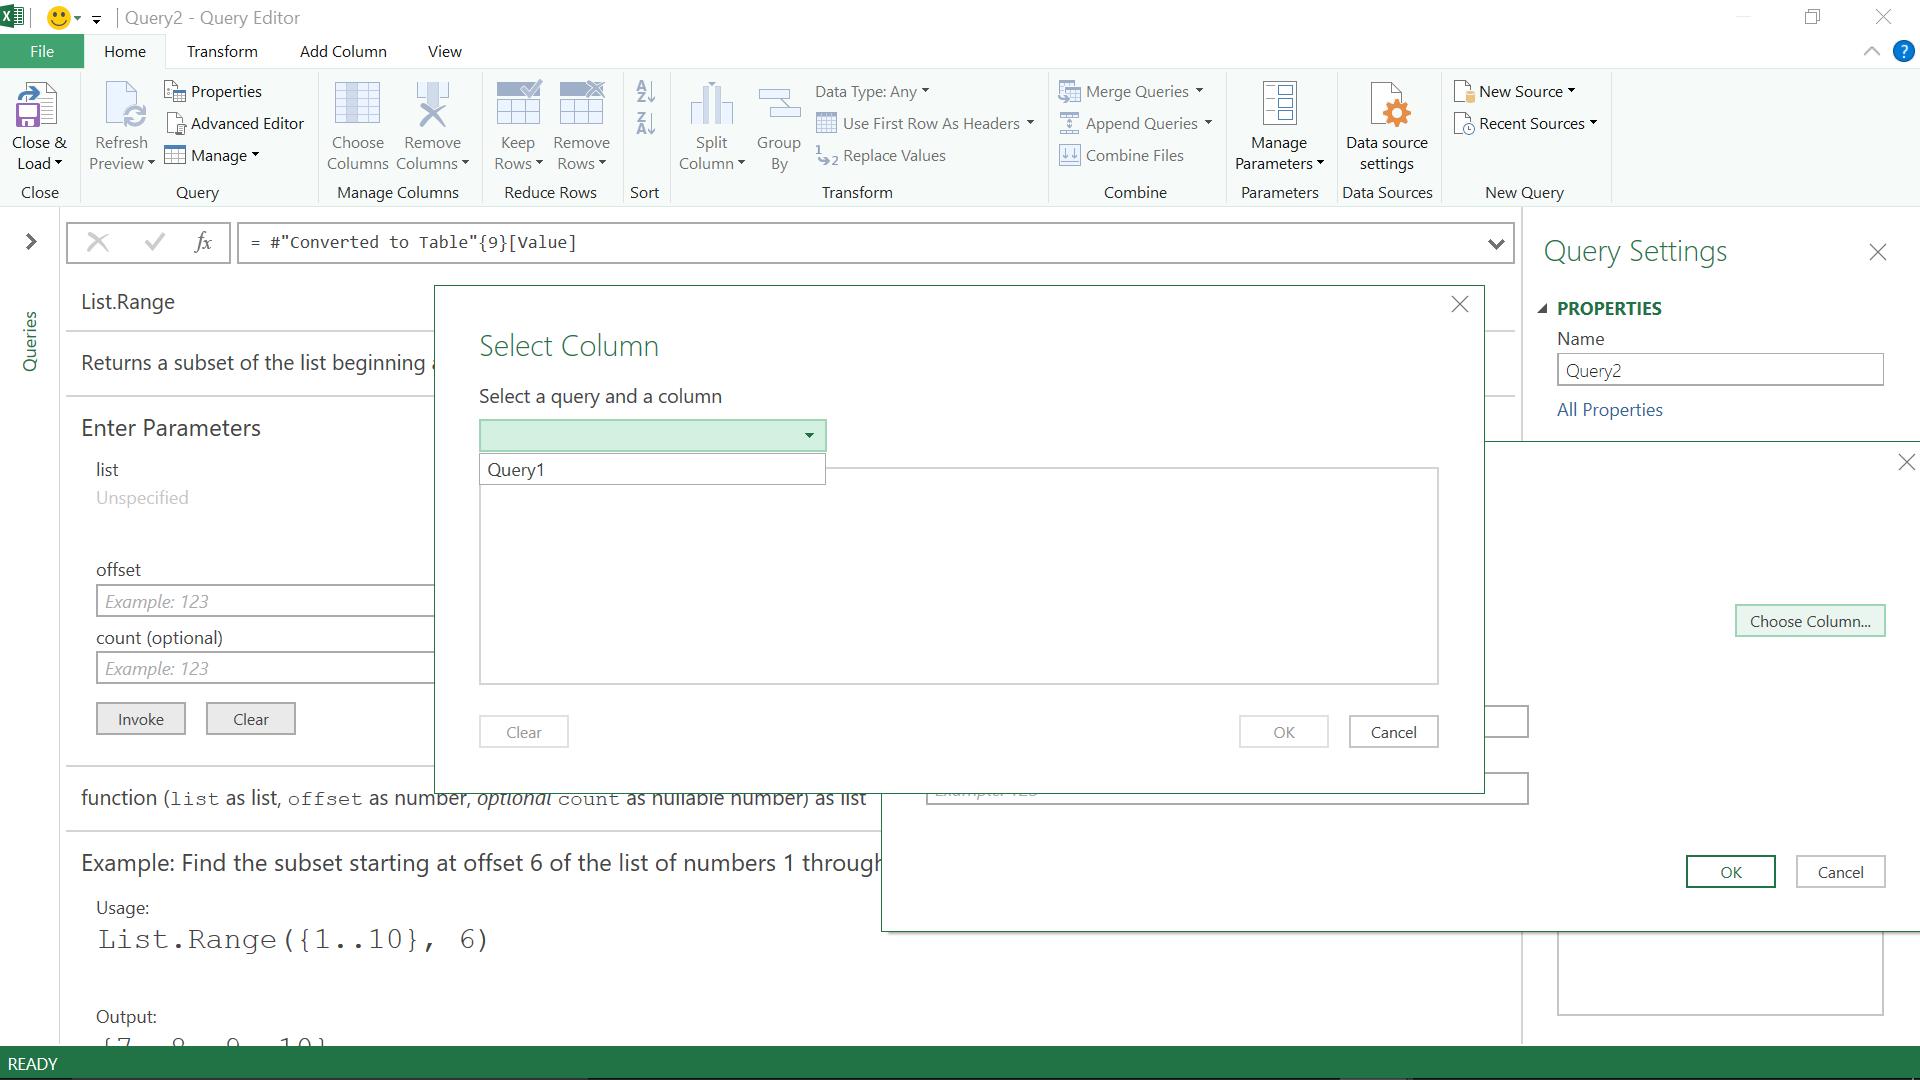
I can choose any query in my workbook to try out the function.
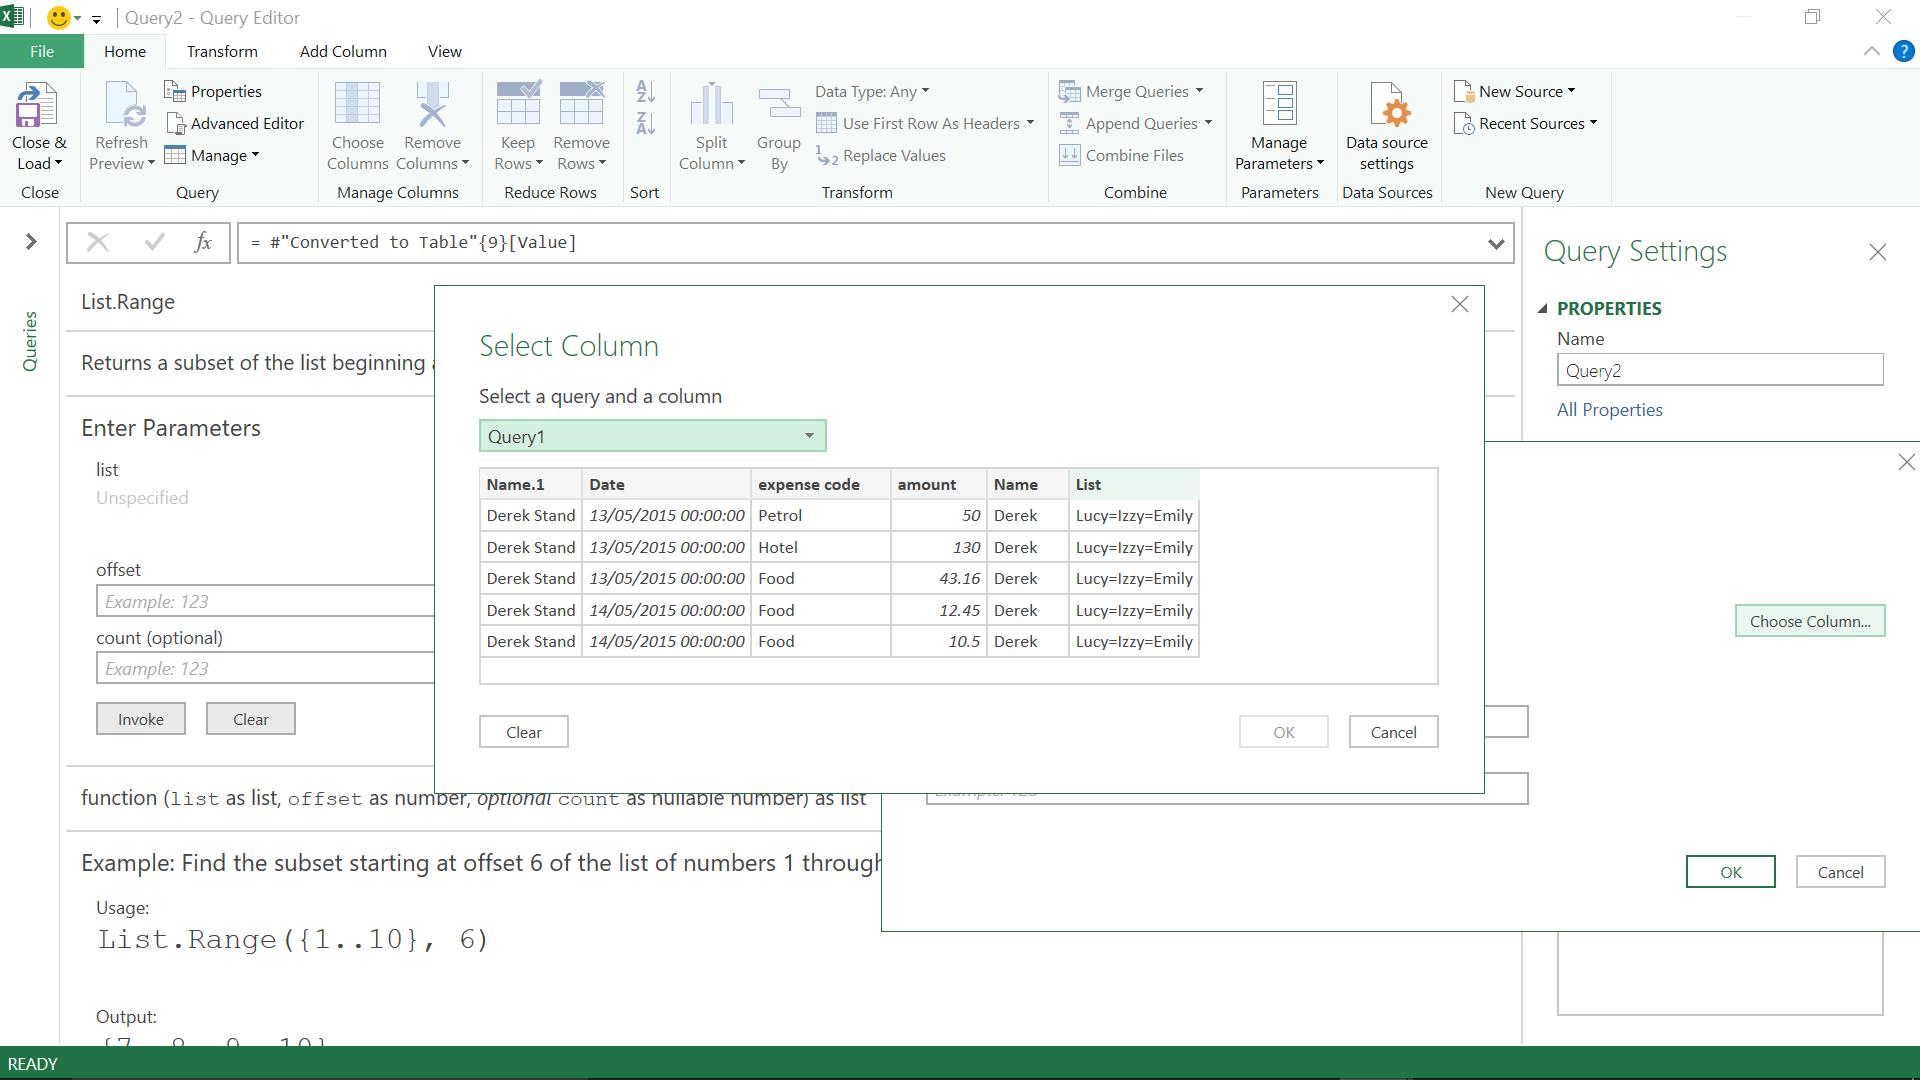
Once I pick a query, I can see all the columns in that query and the first few rows of data. I choose List as the column to use.
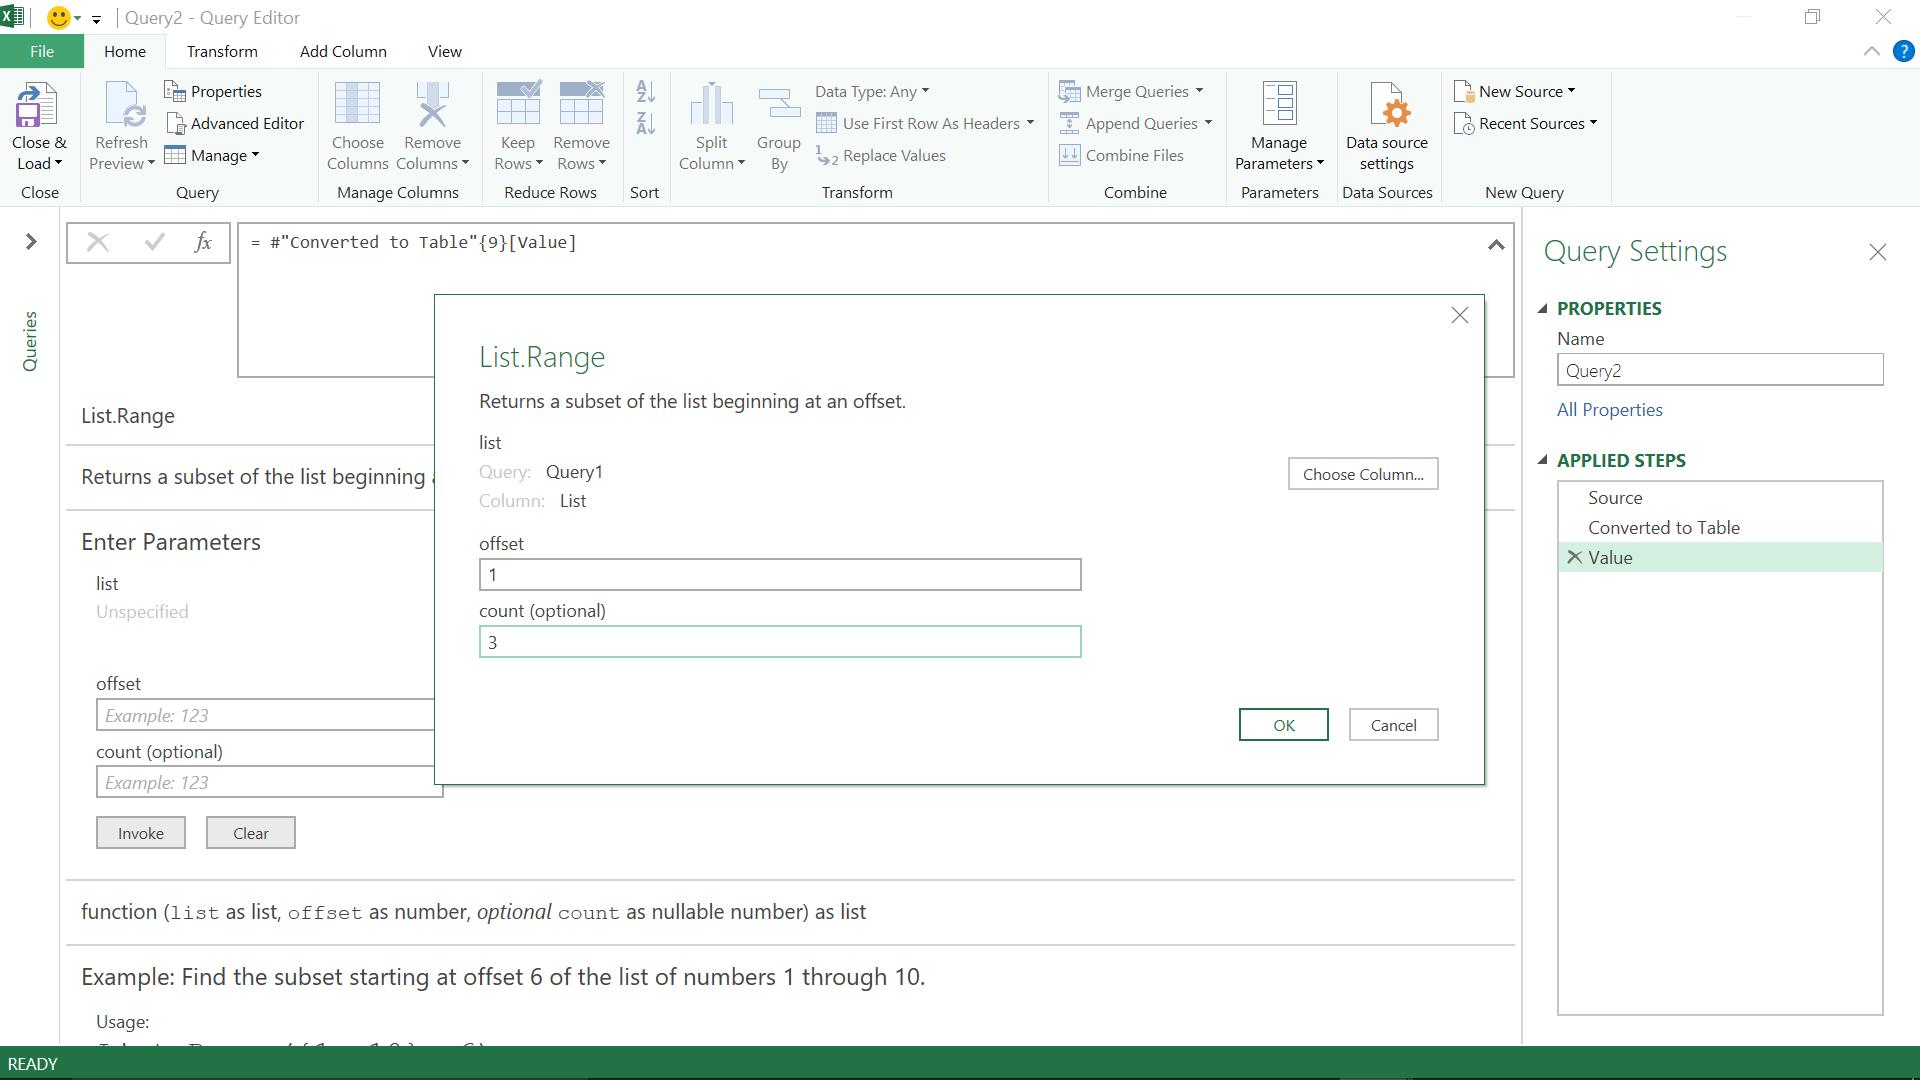
I am taken back to the previous pop-up screen so that I can enter the offset and count if I wish. I choose an offset of 1 and a count of 3 and continue.
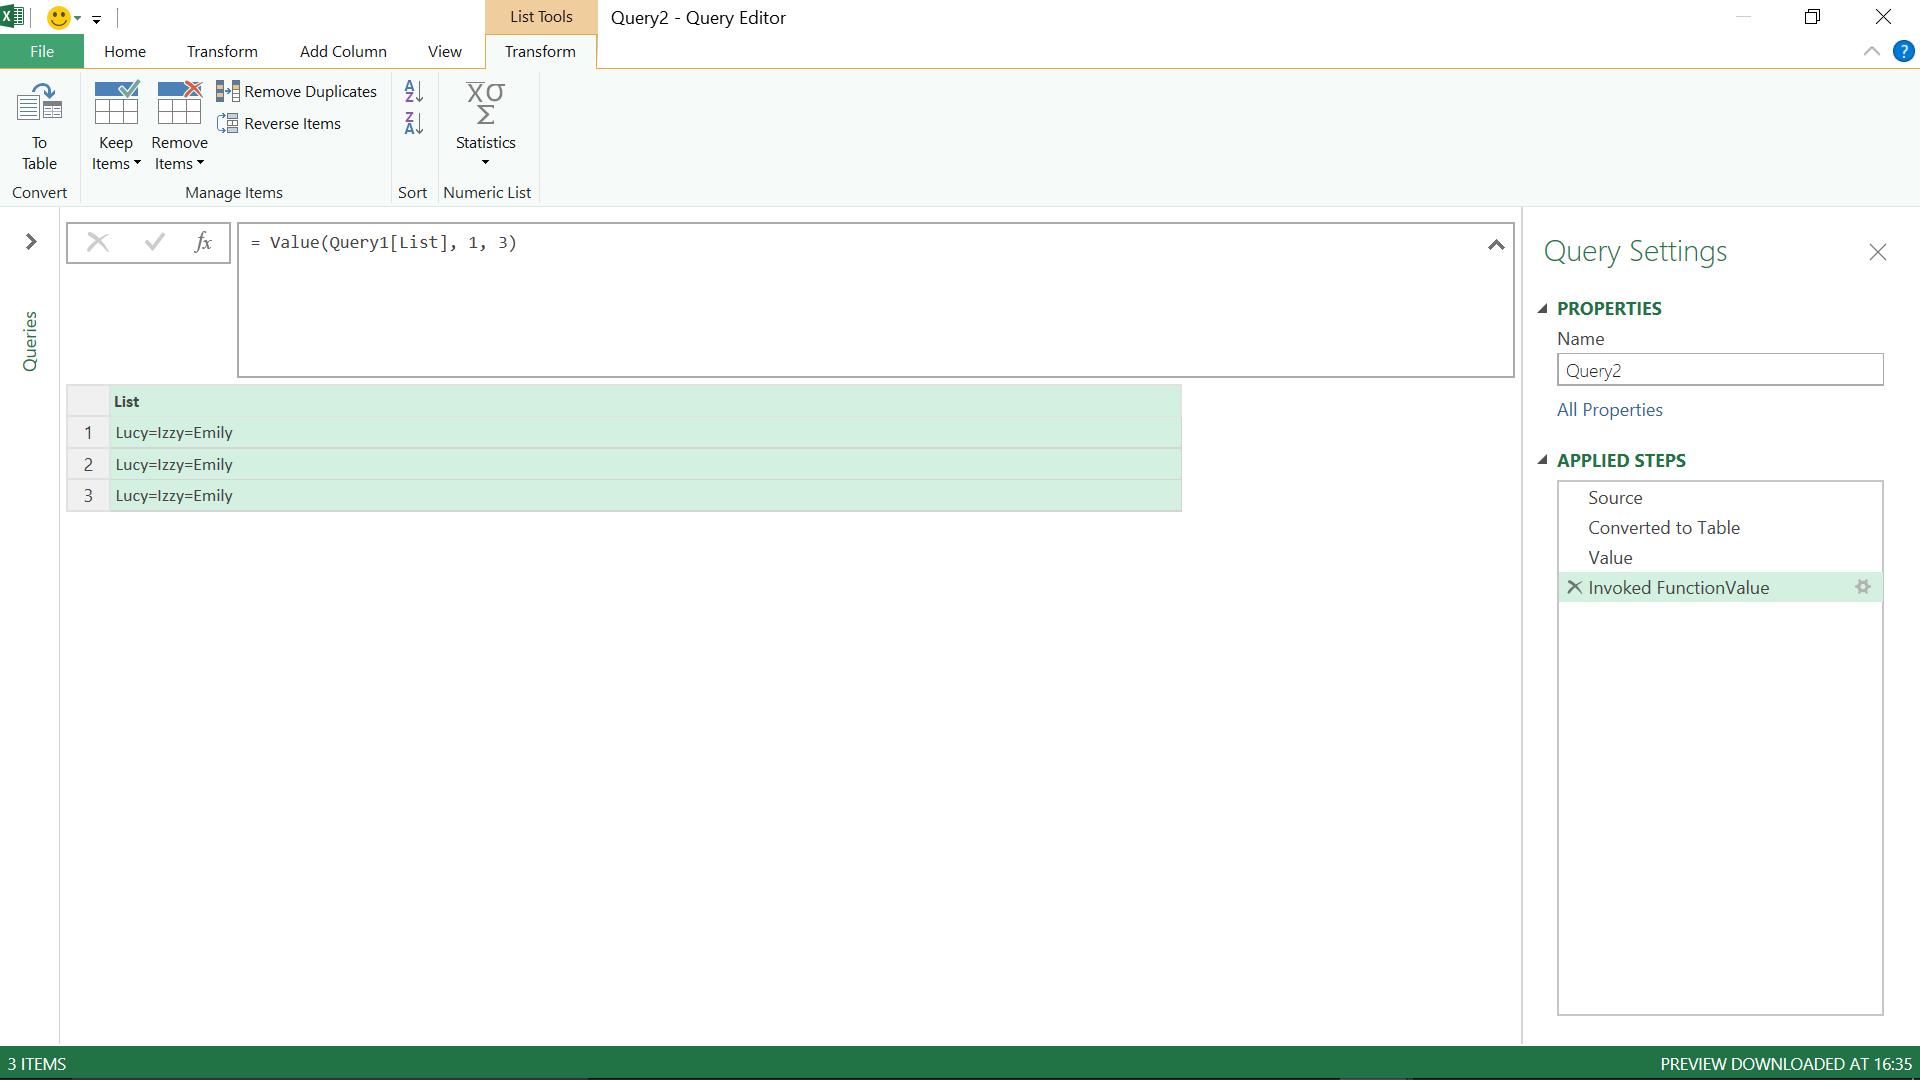
I have tested the List.Range function and it has come back with the first three entries in my list column.
I can also call the #shared function from within a query to test out a function (or look for one). I choose to add a step by clicking the fx button in the Ribbon above my Query1, as shown below:
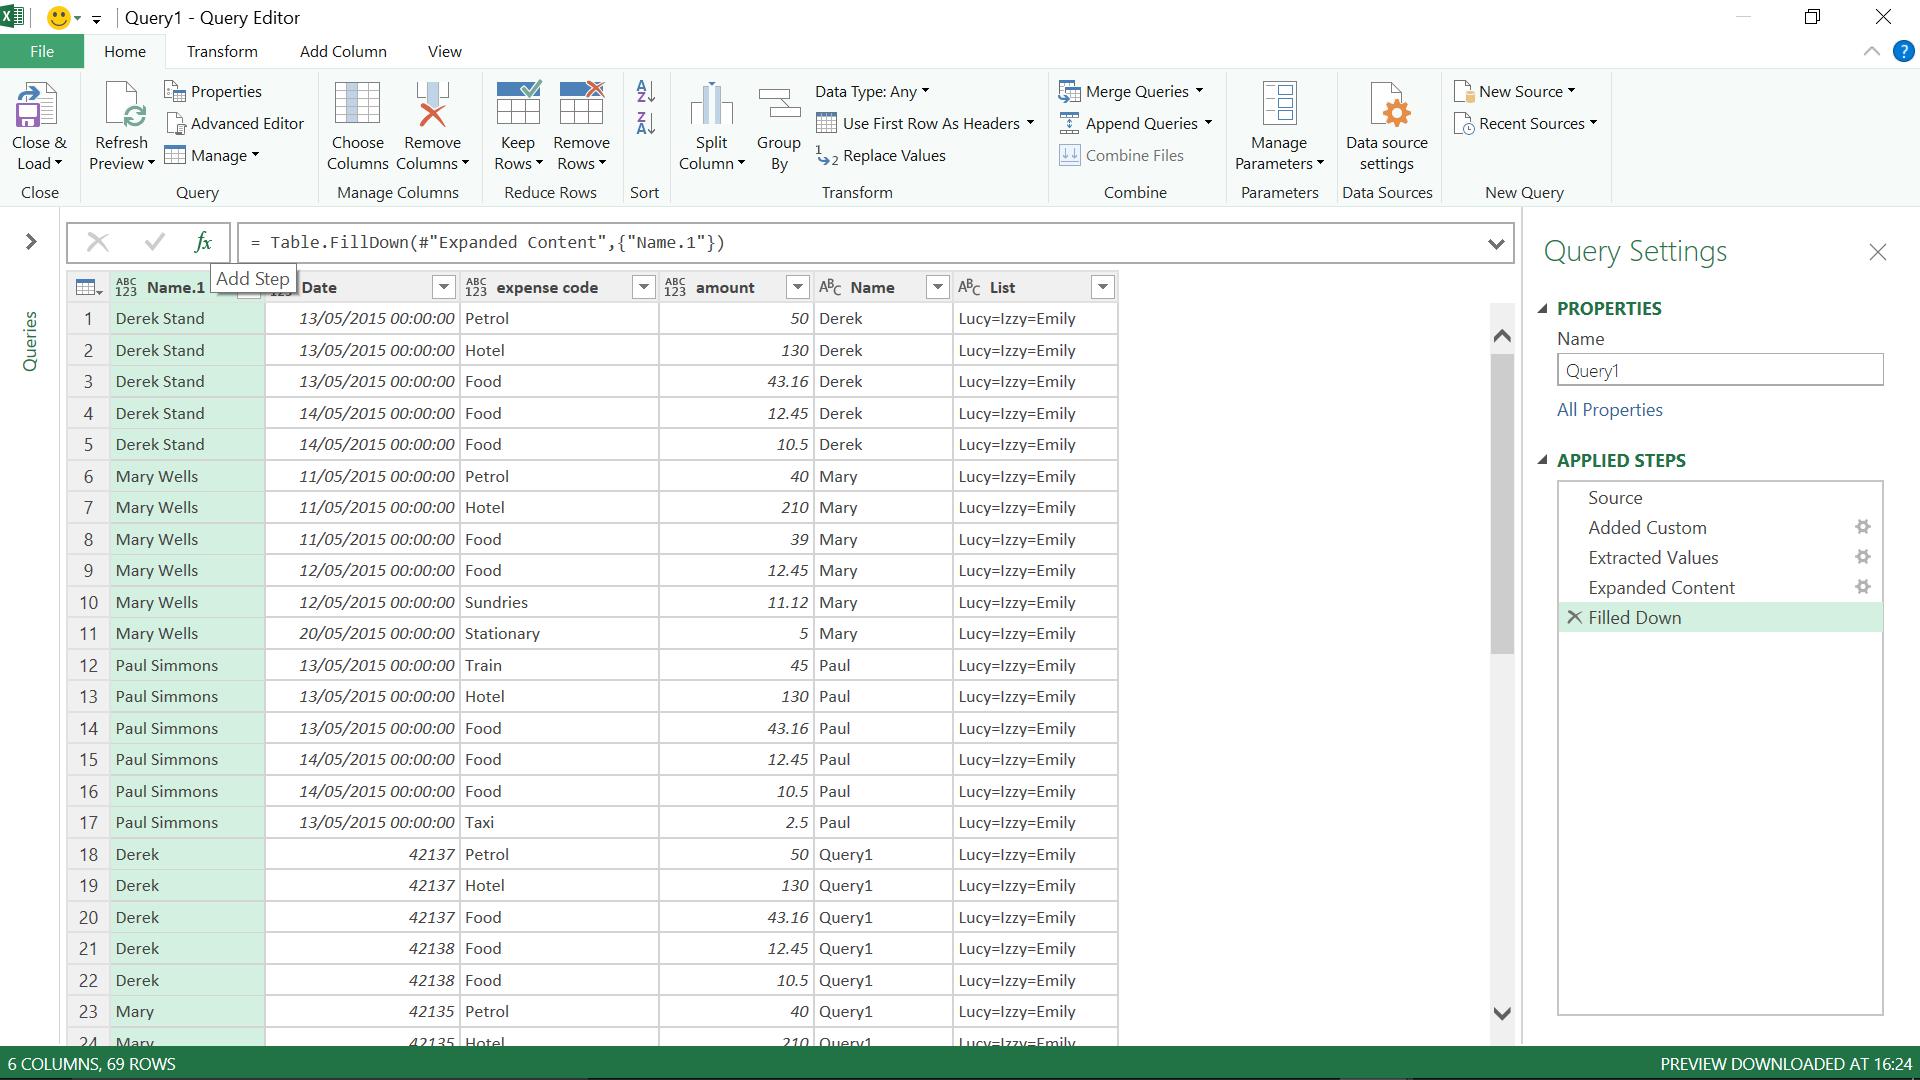
I choose to add my ‘#shared’ step:
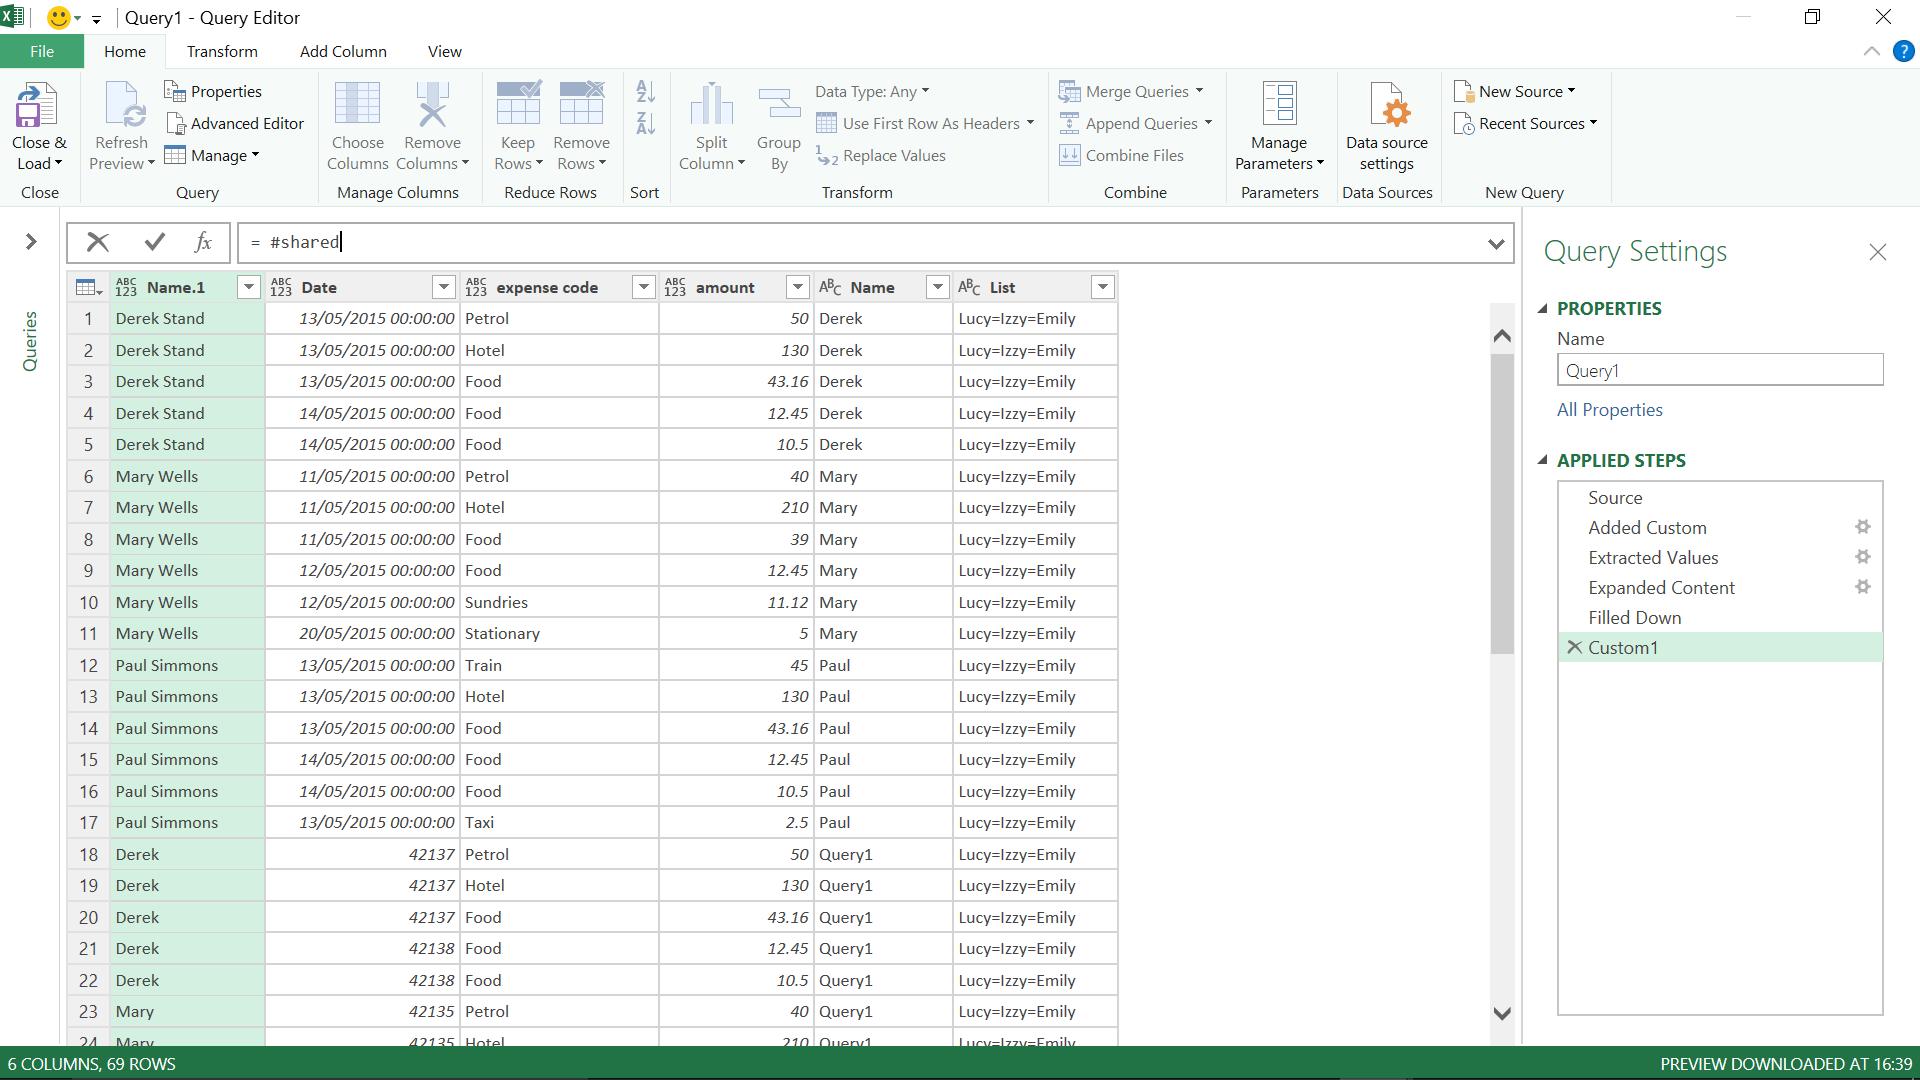
I can see the same record as before and I can go on to try out a function against any data in my workbook. This time let’s try something different:
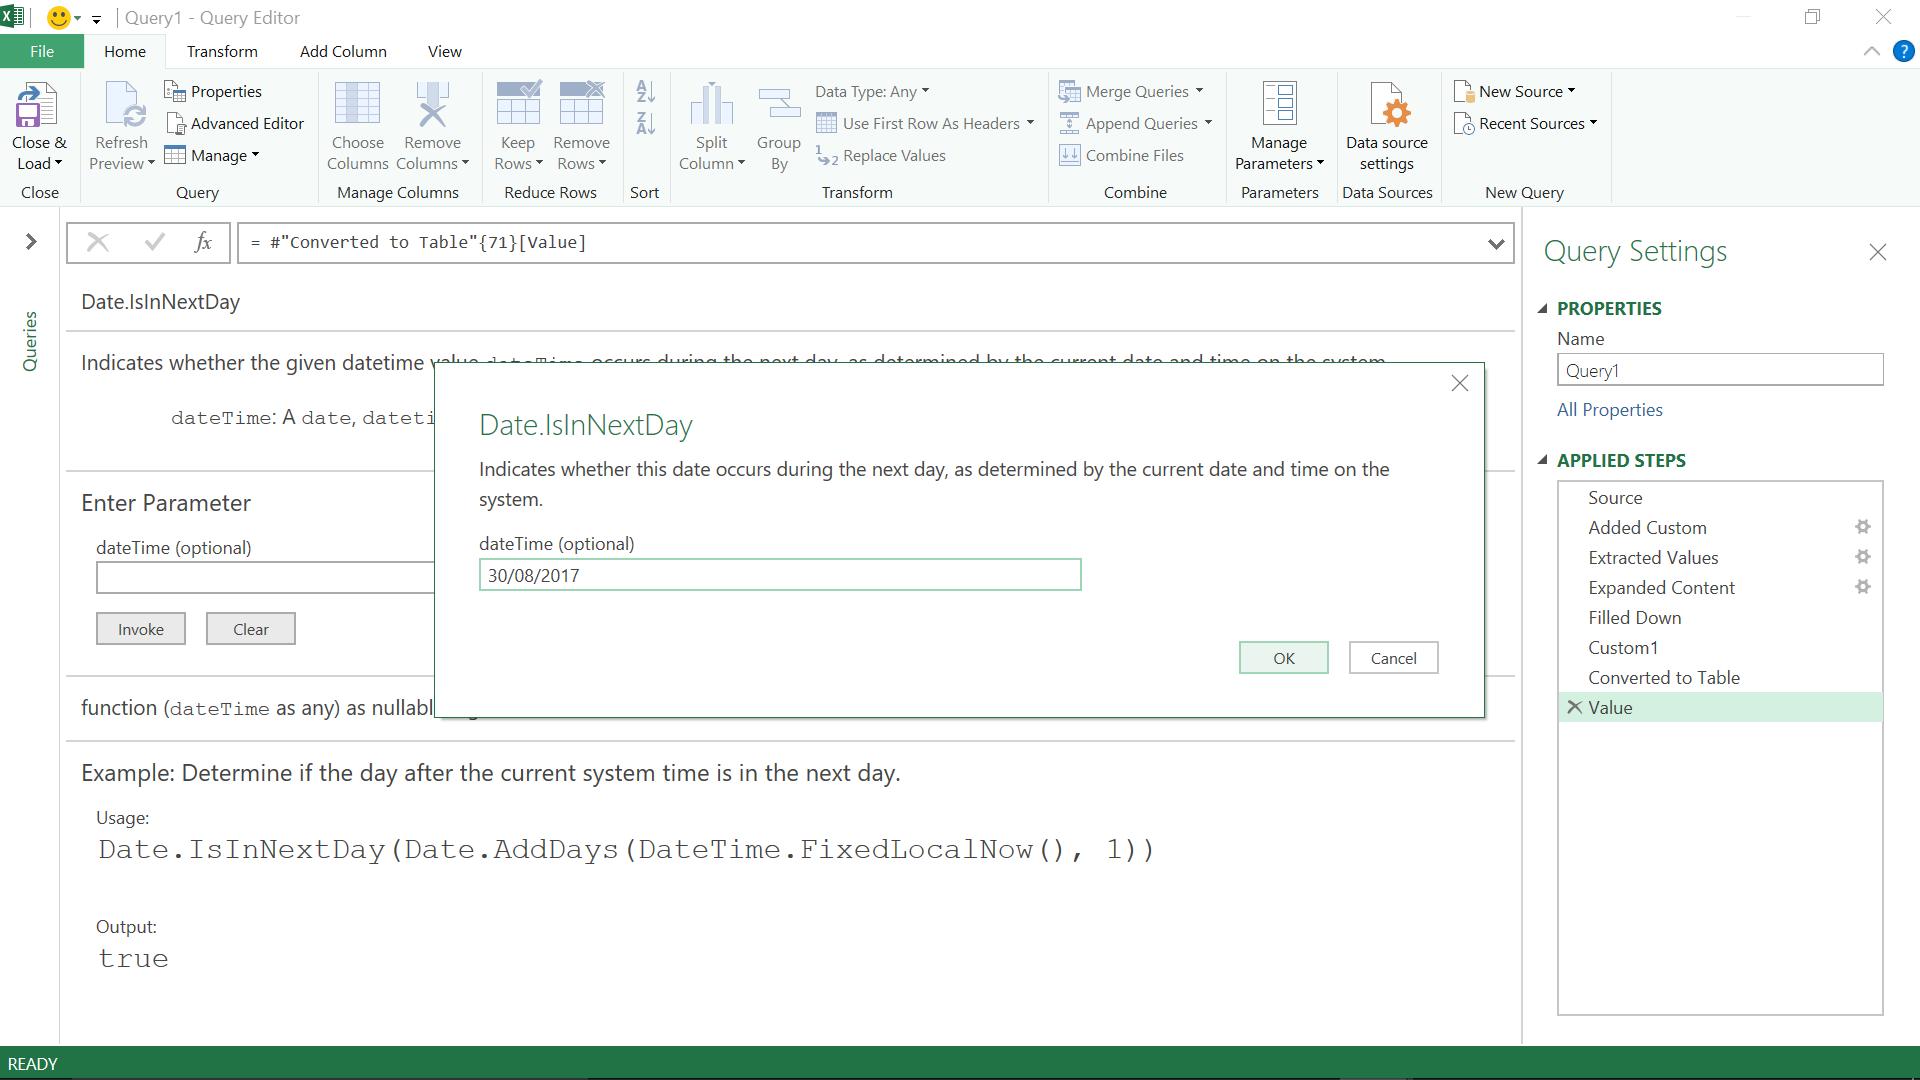
Having acquired my answer, I can then continue with my query
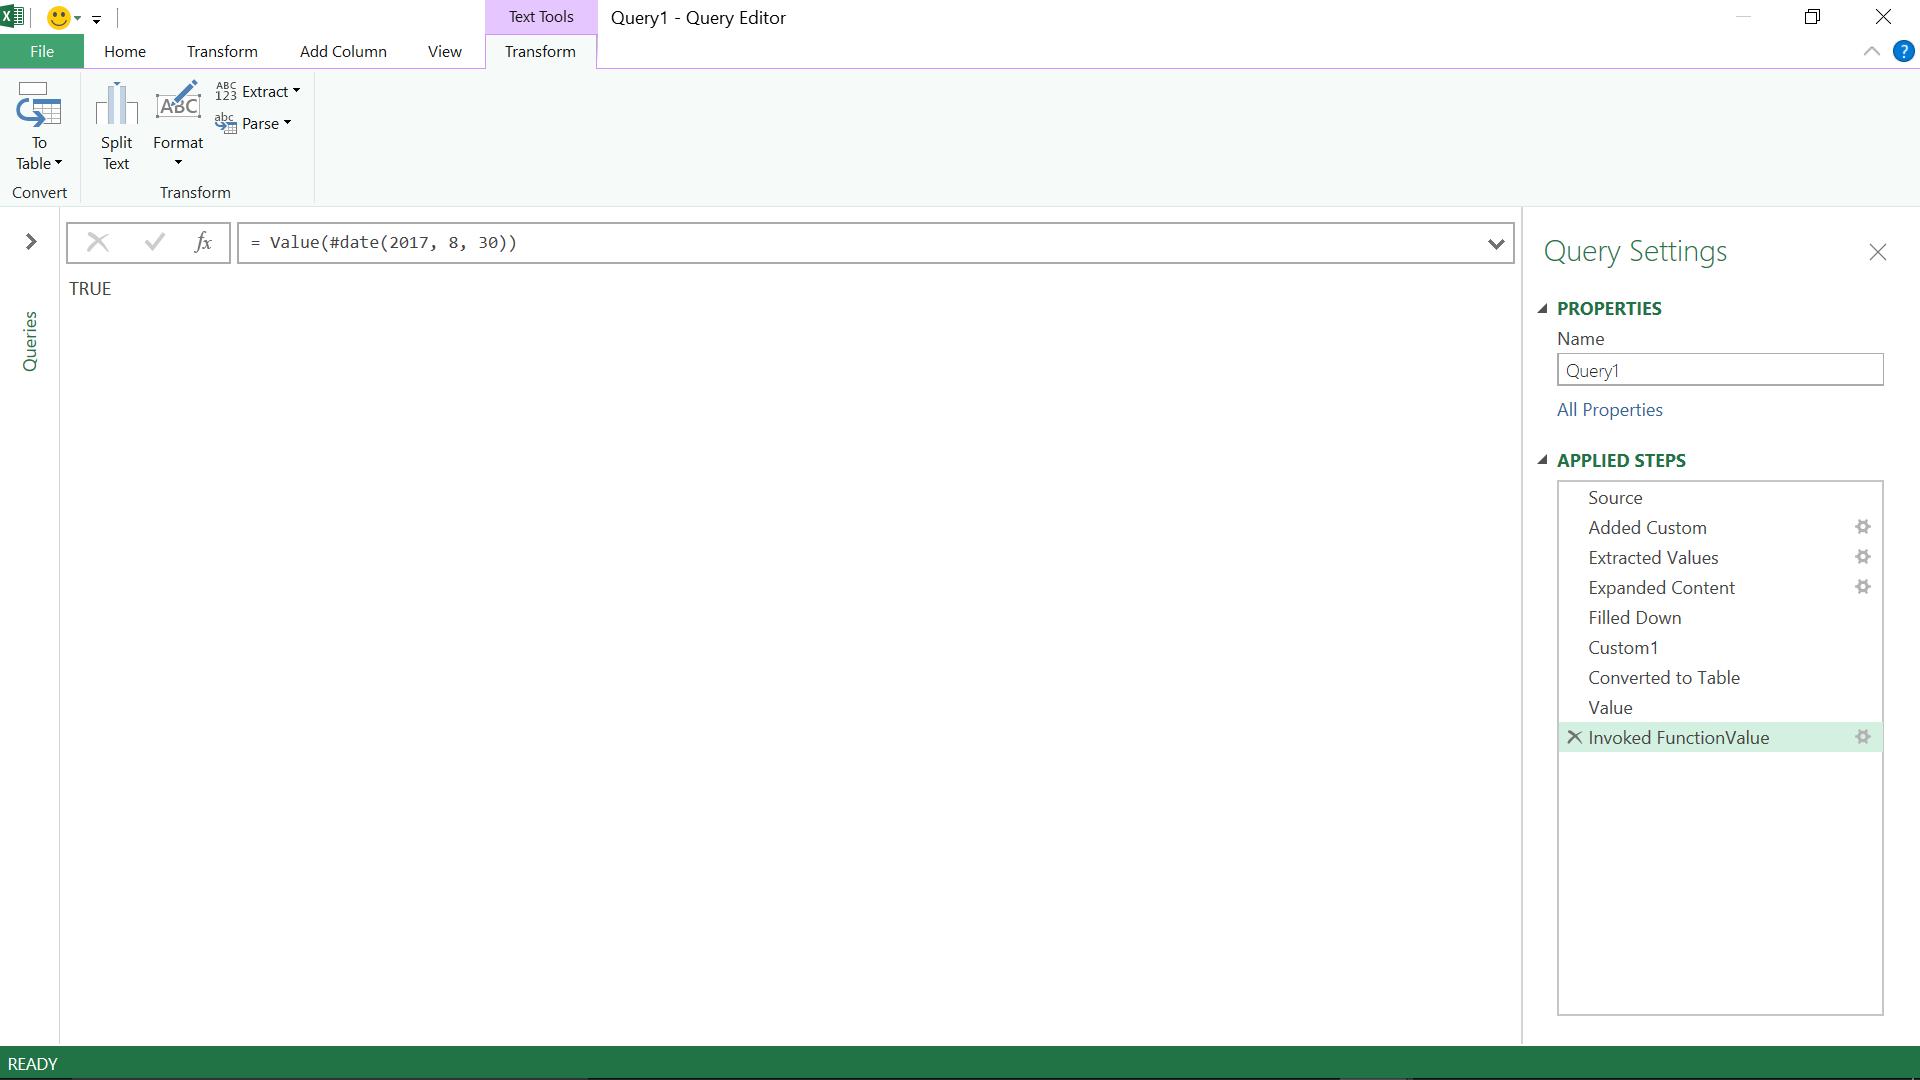
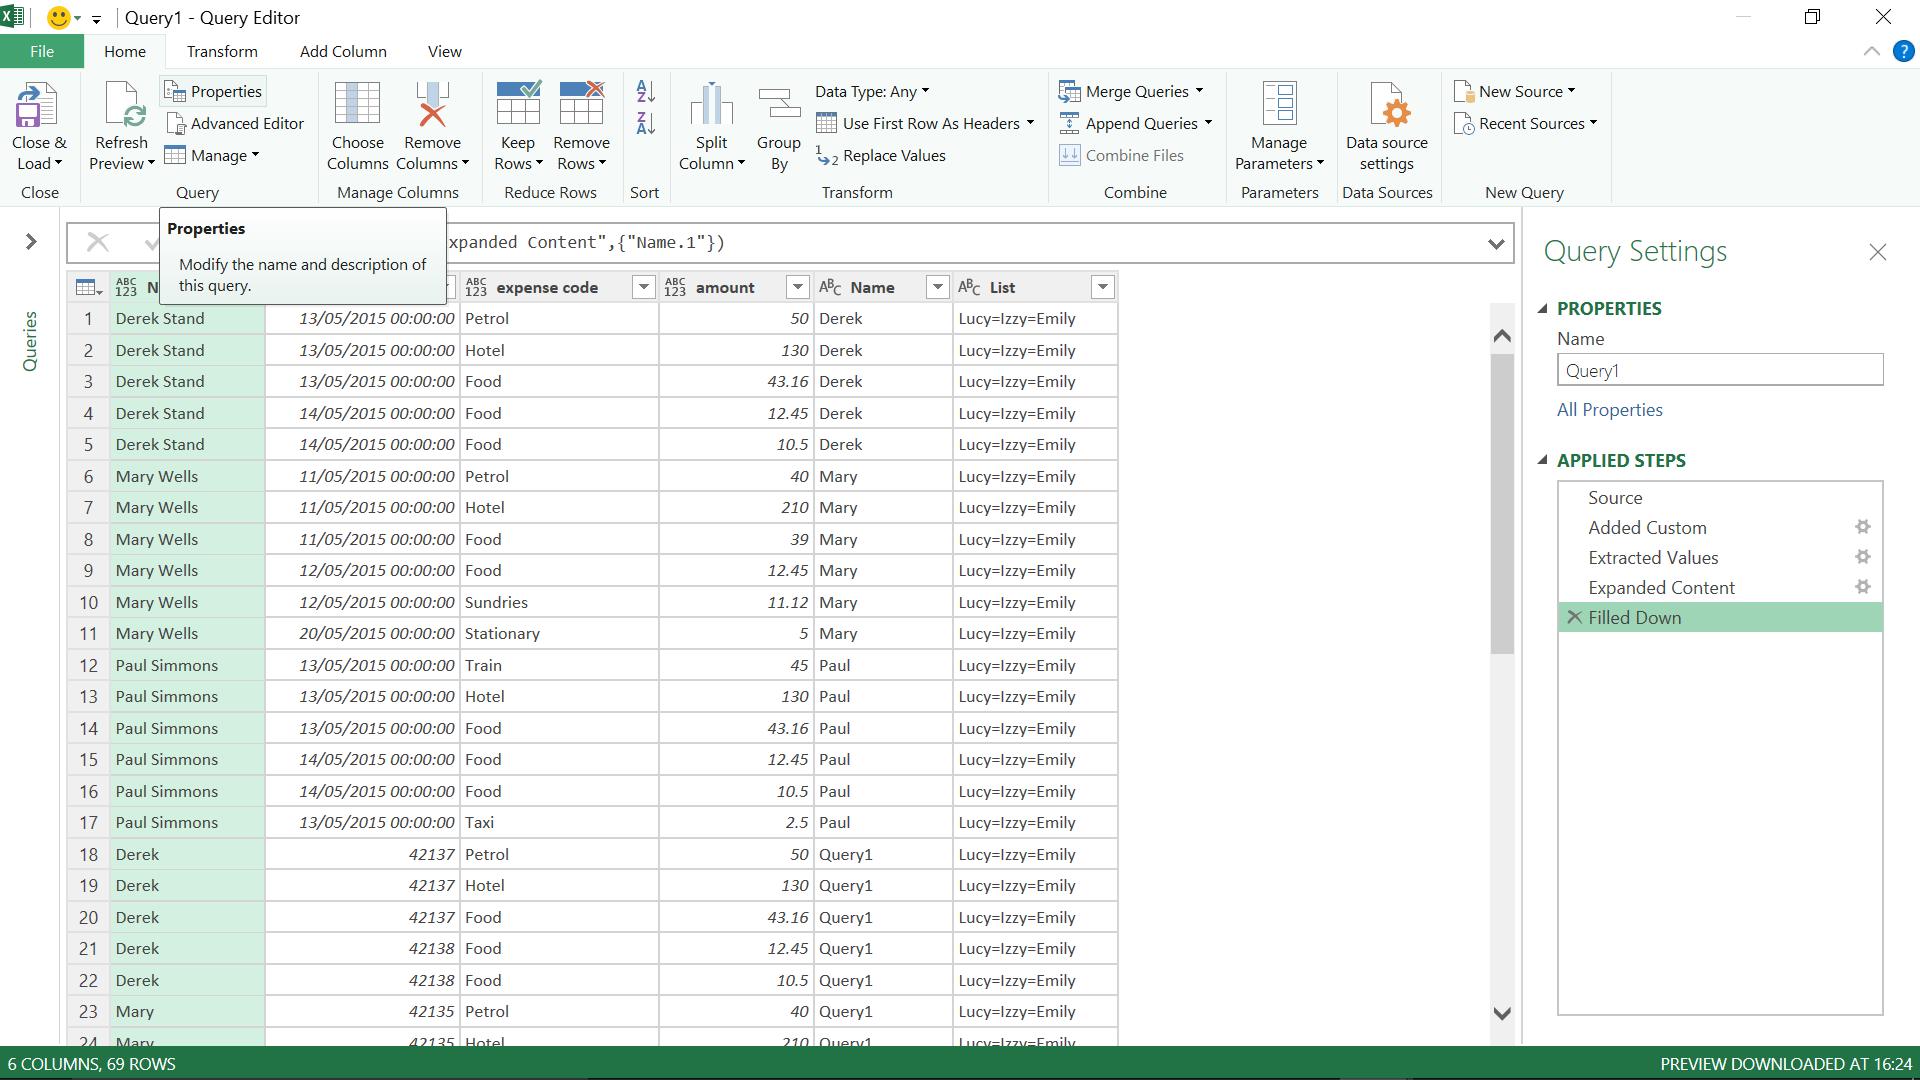
If I delete the extra steps I have created, from ‘Custom1’ to ‘InvokedFunctionValue’ I can get back to my original query.
Want to read more about Power Query? A complete list of all our Power Query blogs can be found here. Come back next time for more ways to use Power Query!

