
Power Query: Calendar Creation – Preparing for Dates
12 April 2017
Welcome to our Power Query blog. Having explored some Power Query functions and M language, I will combine some of these techniques in order to create a calendar – today I set up the tools I will need to create my calendar, and next time I will populate it.
Building a calendar using Power Query is a collaboration between Excel and Power Query. In my example, I will implement four steps:
- Create a table called Parameters in an Excel Worksheet to hold the calendar boundaries
- Create a function fnGetParameter which uses the calendar boundaries as its parameters (I can take no credit for this – it is the creation of Ken Puls, author of ‘M is for (DATA) Monkey’)
- Build the basic dynamic calendar framework
- Add any required calendar columns.
Today I will concentrate on the first two steps – creating the tools I need to populate my calendar.
Creating Parameters
In a new blank Excel Worksheet, I create a new table with some specific properties. My table is called Parameters and has two columns, Parameter and Value.
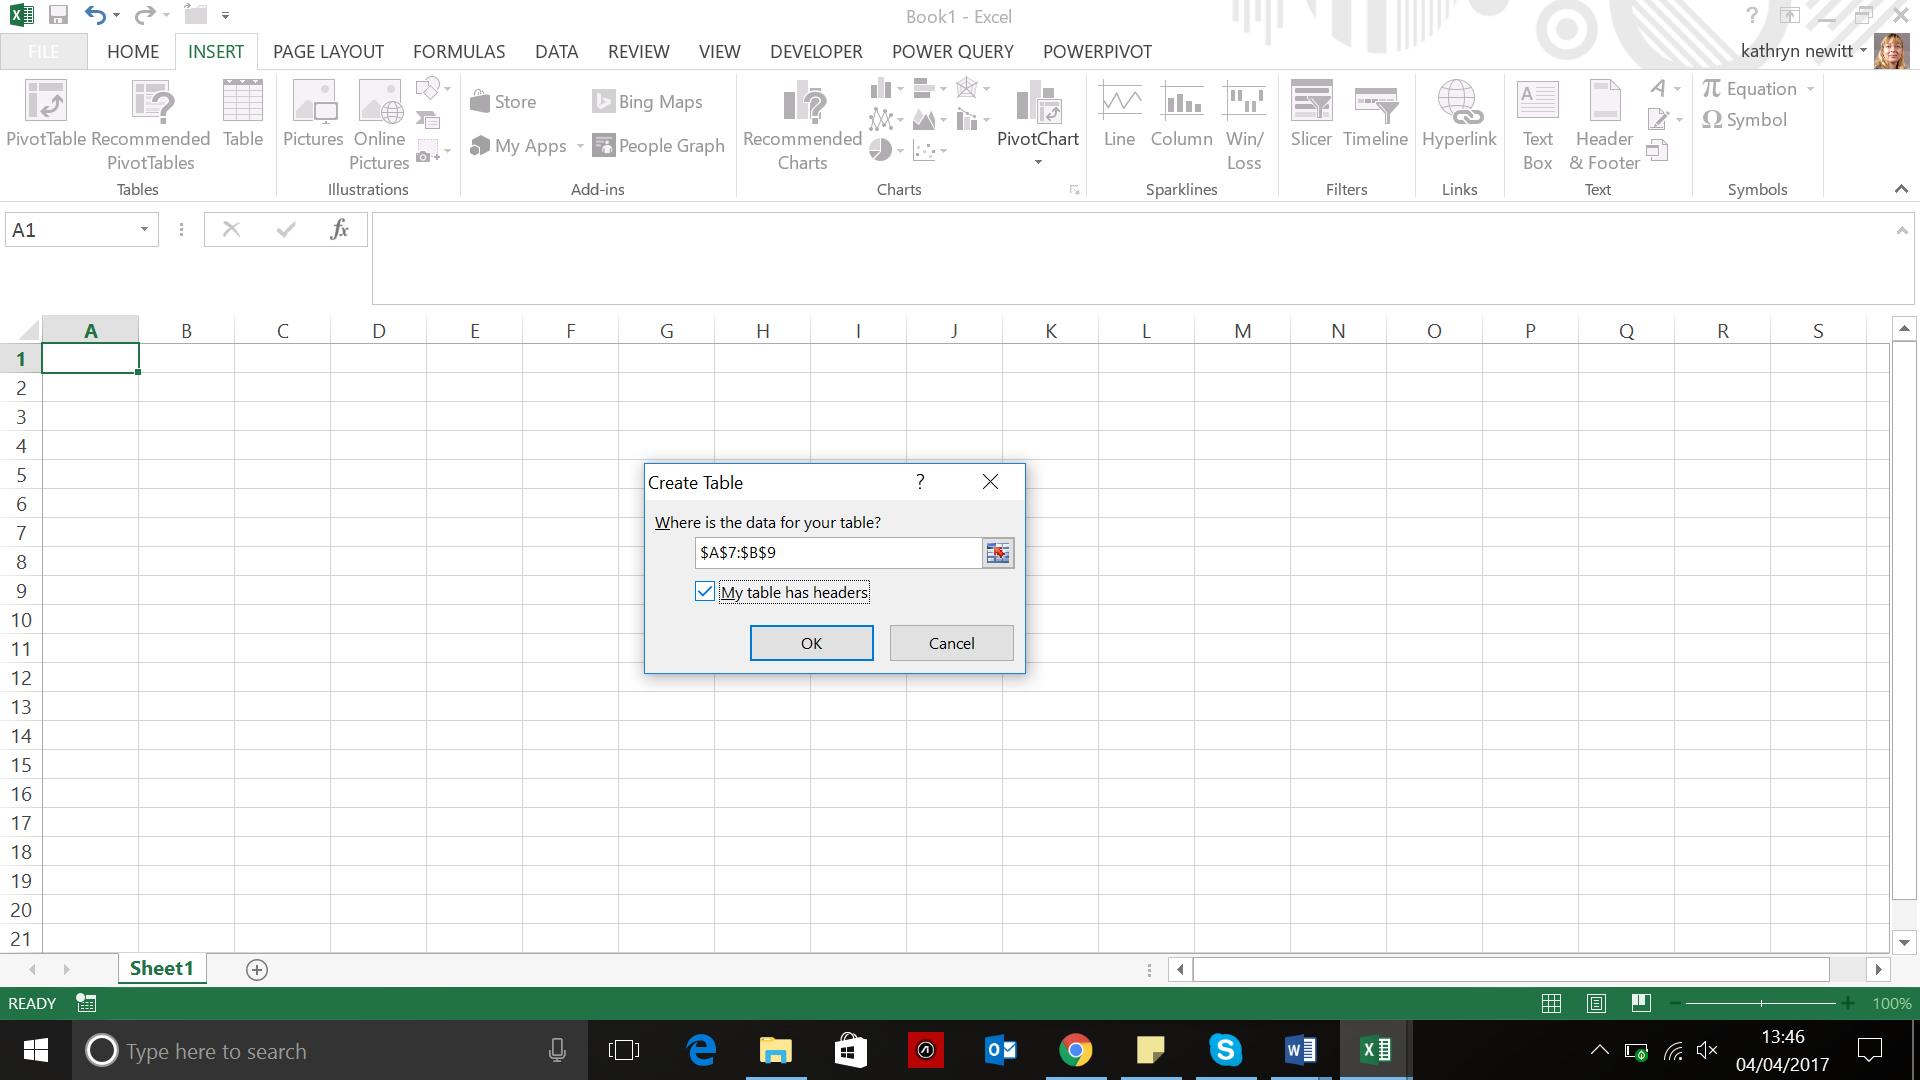
To begin, I will open a new blank Excel worksheet – in the ‘Insert’ Section, there is an option to ‘Insert Table’ which brings up a ‘Create Table’ dialogue box. I choose an area that covers two columns and three rows (I chose A7:B9 in the example shown below). I check the box ‘My Table has Headers’ and click OK.
Just as an aside, normally here at SumProduct, we will advocate always starting Tables in cell A1 and calling the worksheet the same name as the Table. I am not going to do that here to show it is not necessary, but there is merit in doing this if data is exported to other programs too. It’s best to give data exporting a “helping hand” on occasion.
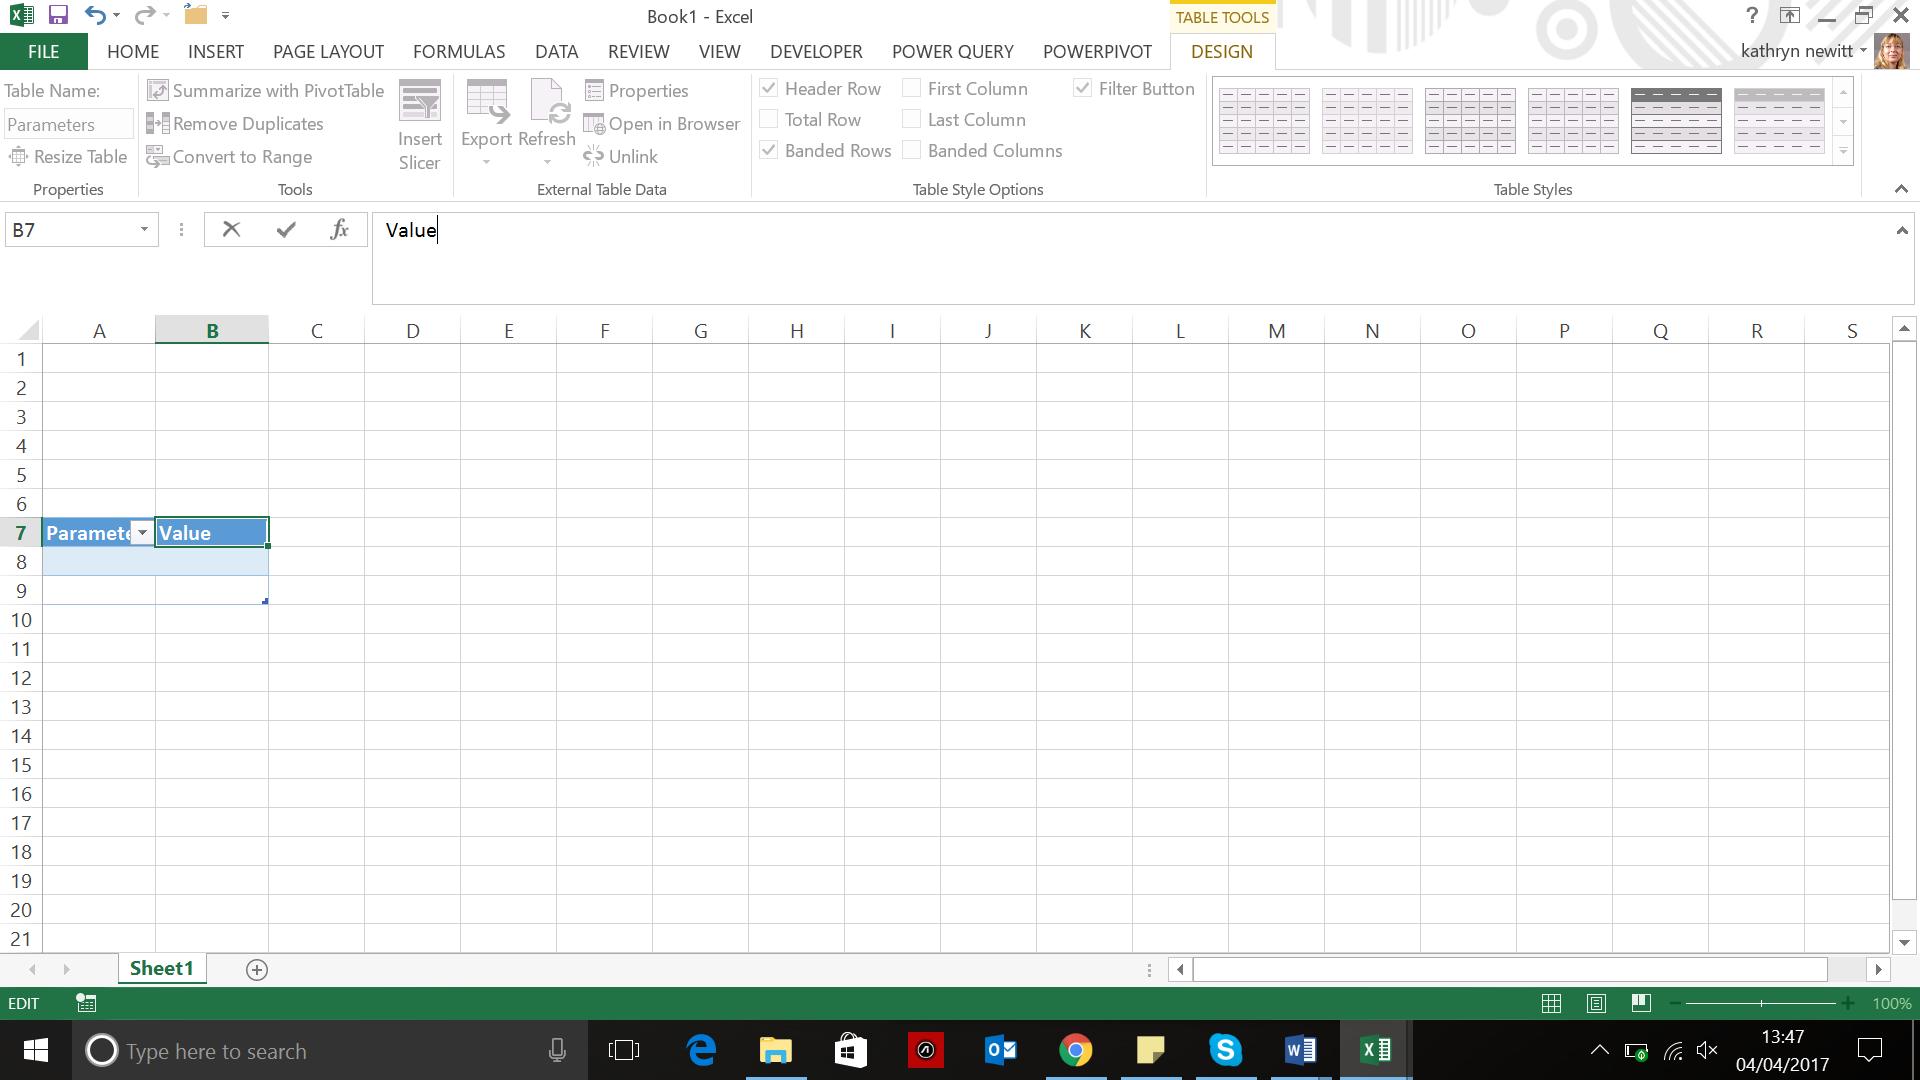
Returning to my example, the ‘Table Name’ can be changed in the top left of the screen and must be set to Parameters. Clicking on the column names allows me to set them to Parameter and Value as shown below.
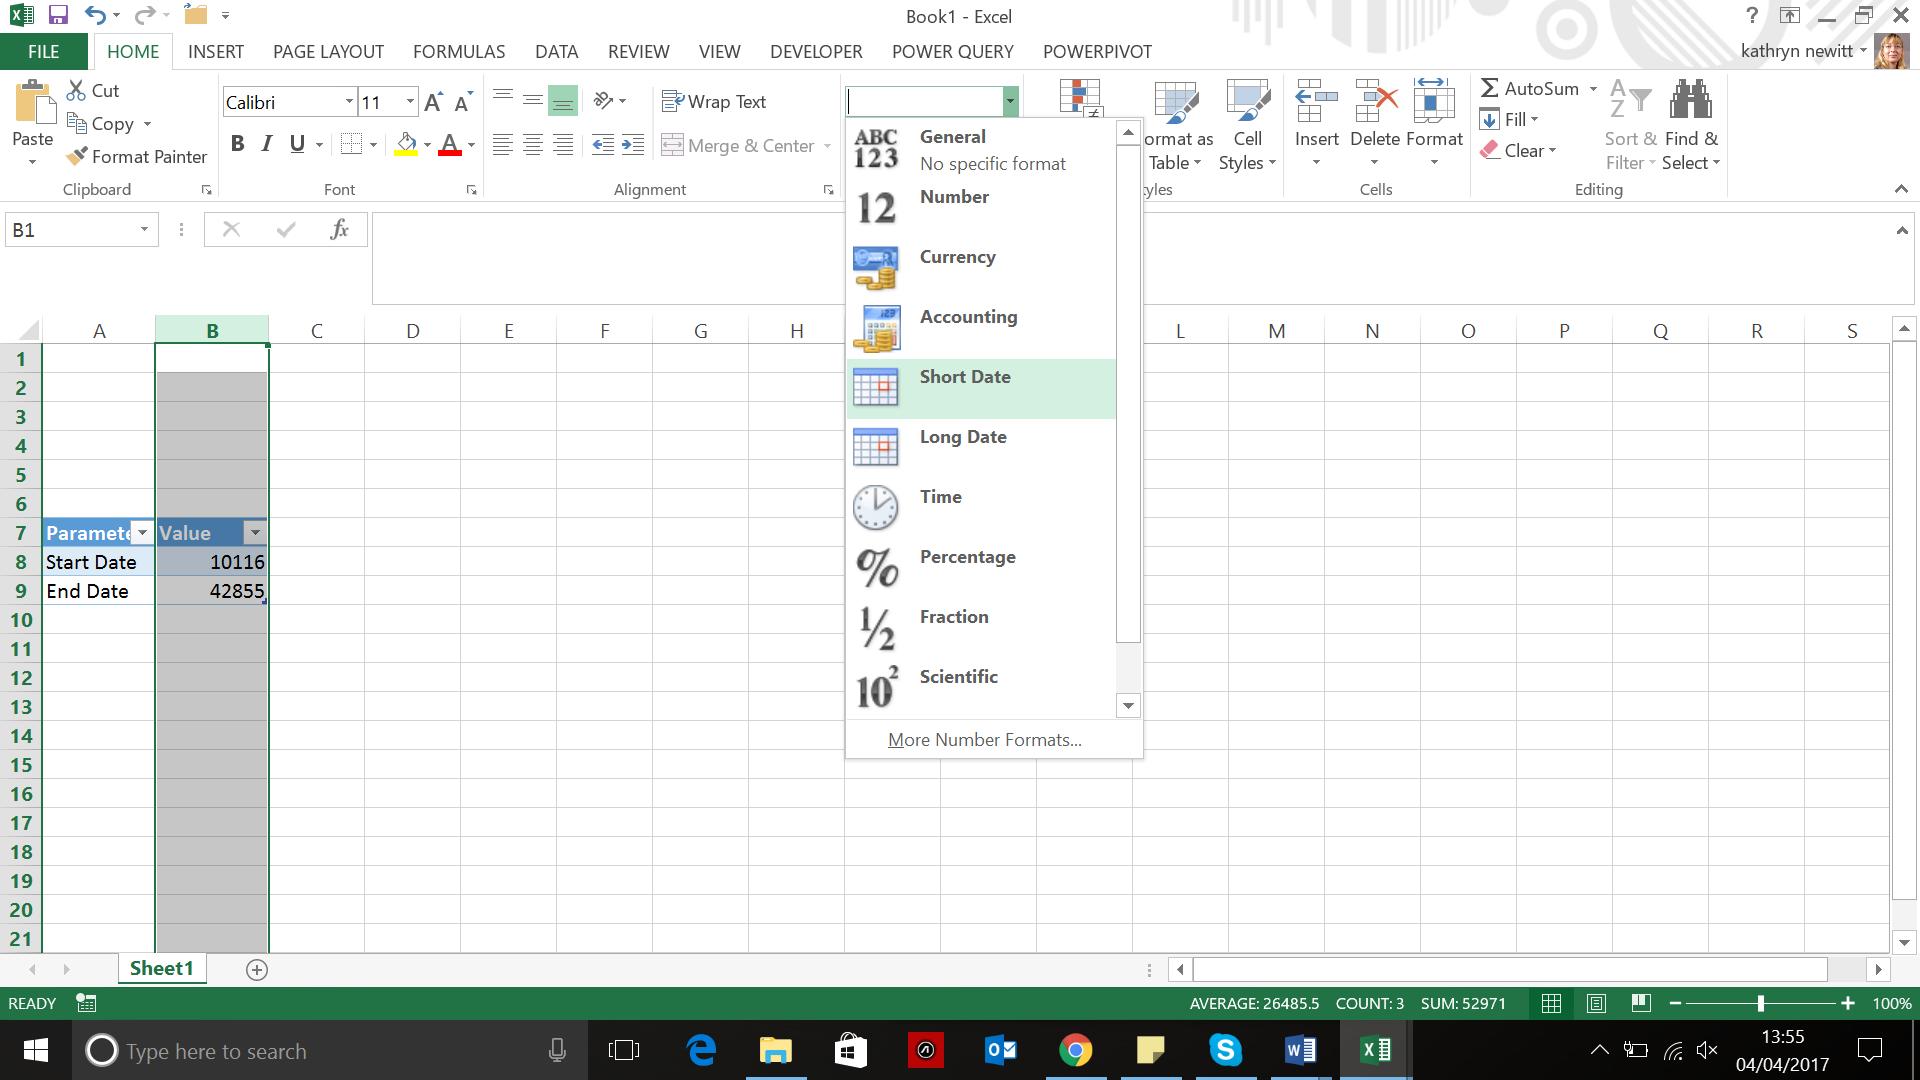
The parameters the function will be using are Start Date and End Date, and these are the entries in my first column. In the second column I enter the date I wish my calendar to begin at, and a formula that will show the last day of the current month.
Parameter Value
Start Date 1/1/2016
End Date =EOMONTH(TODAY(),0)
This may look like a long number to begin with – the data format on the column needs to be set to Short Date as shown below:
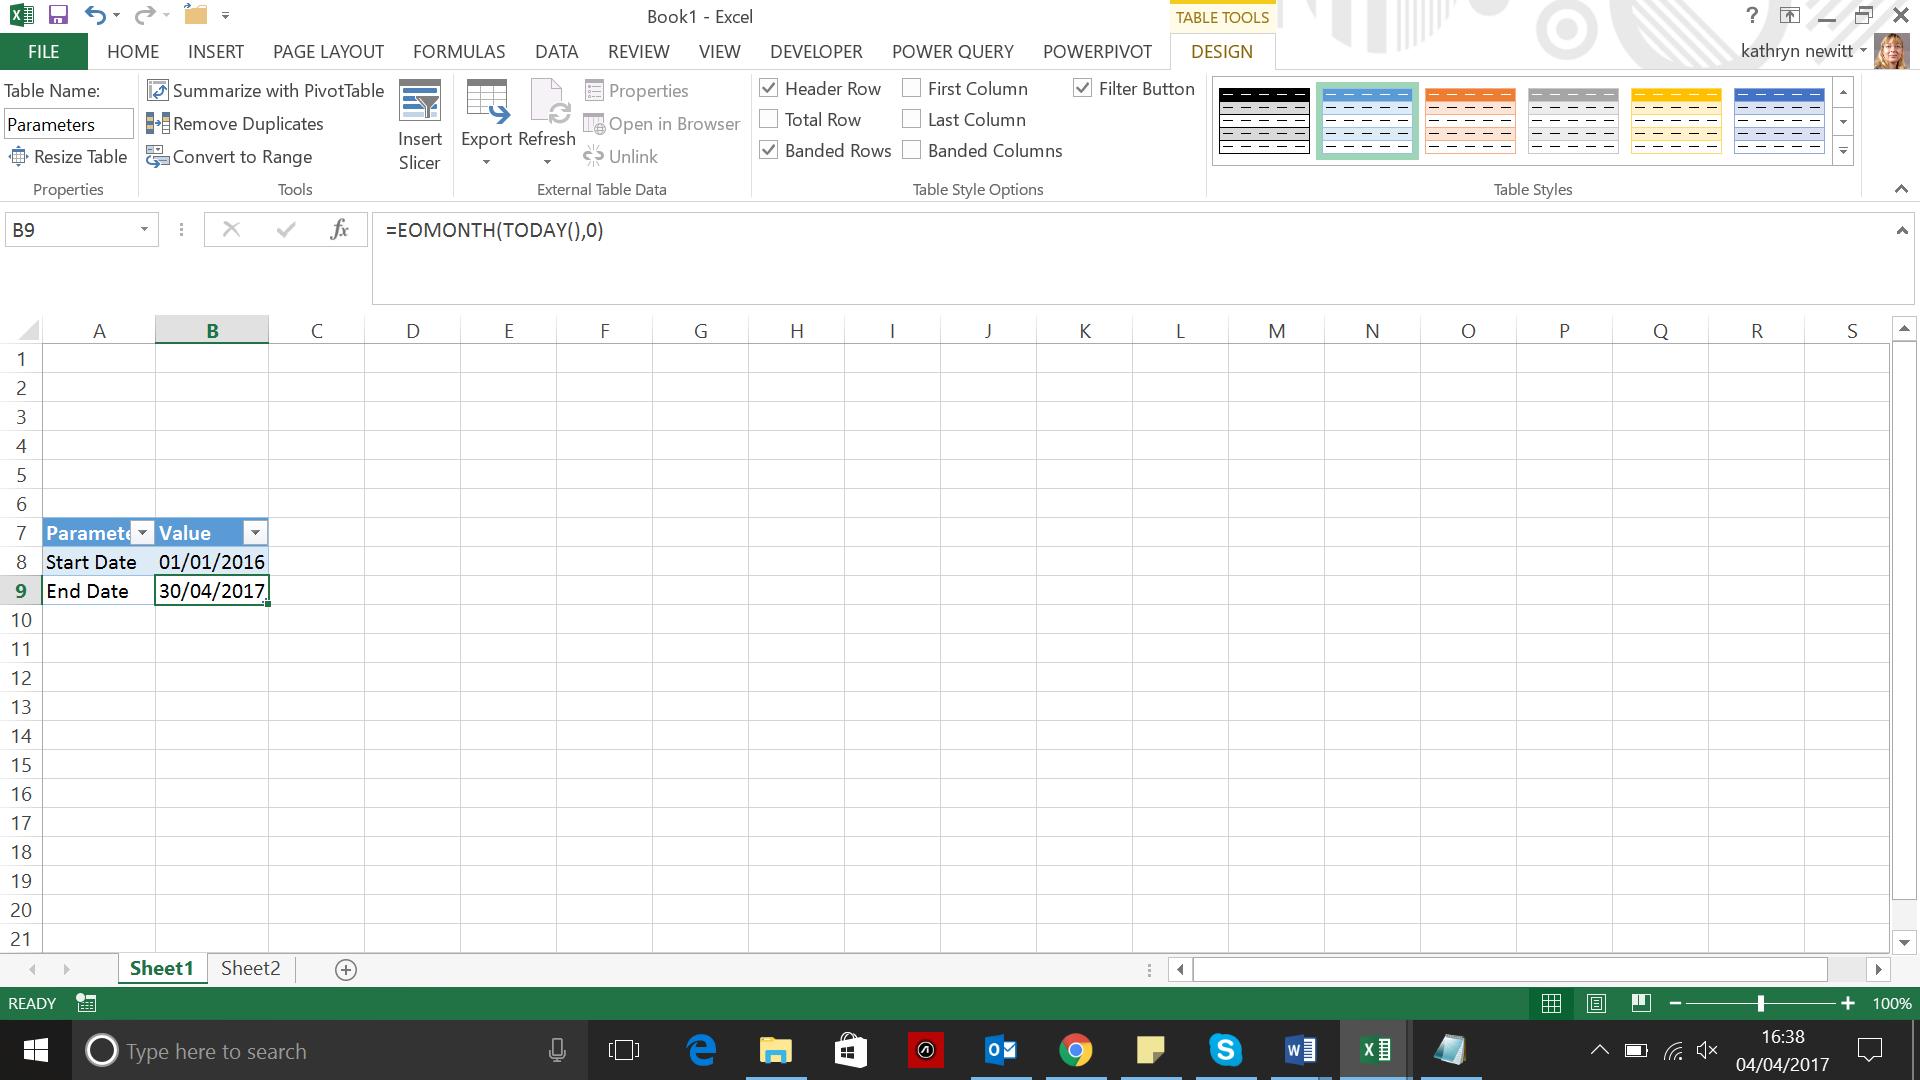
My Parameter table is now ready for the fnGetParameter function:
Create the fnGetParameter function
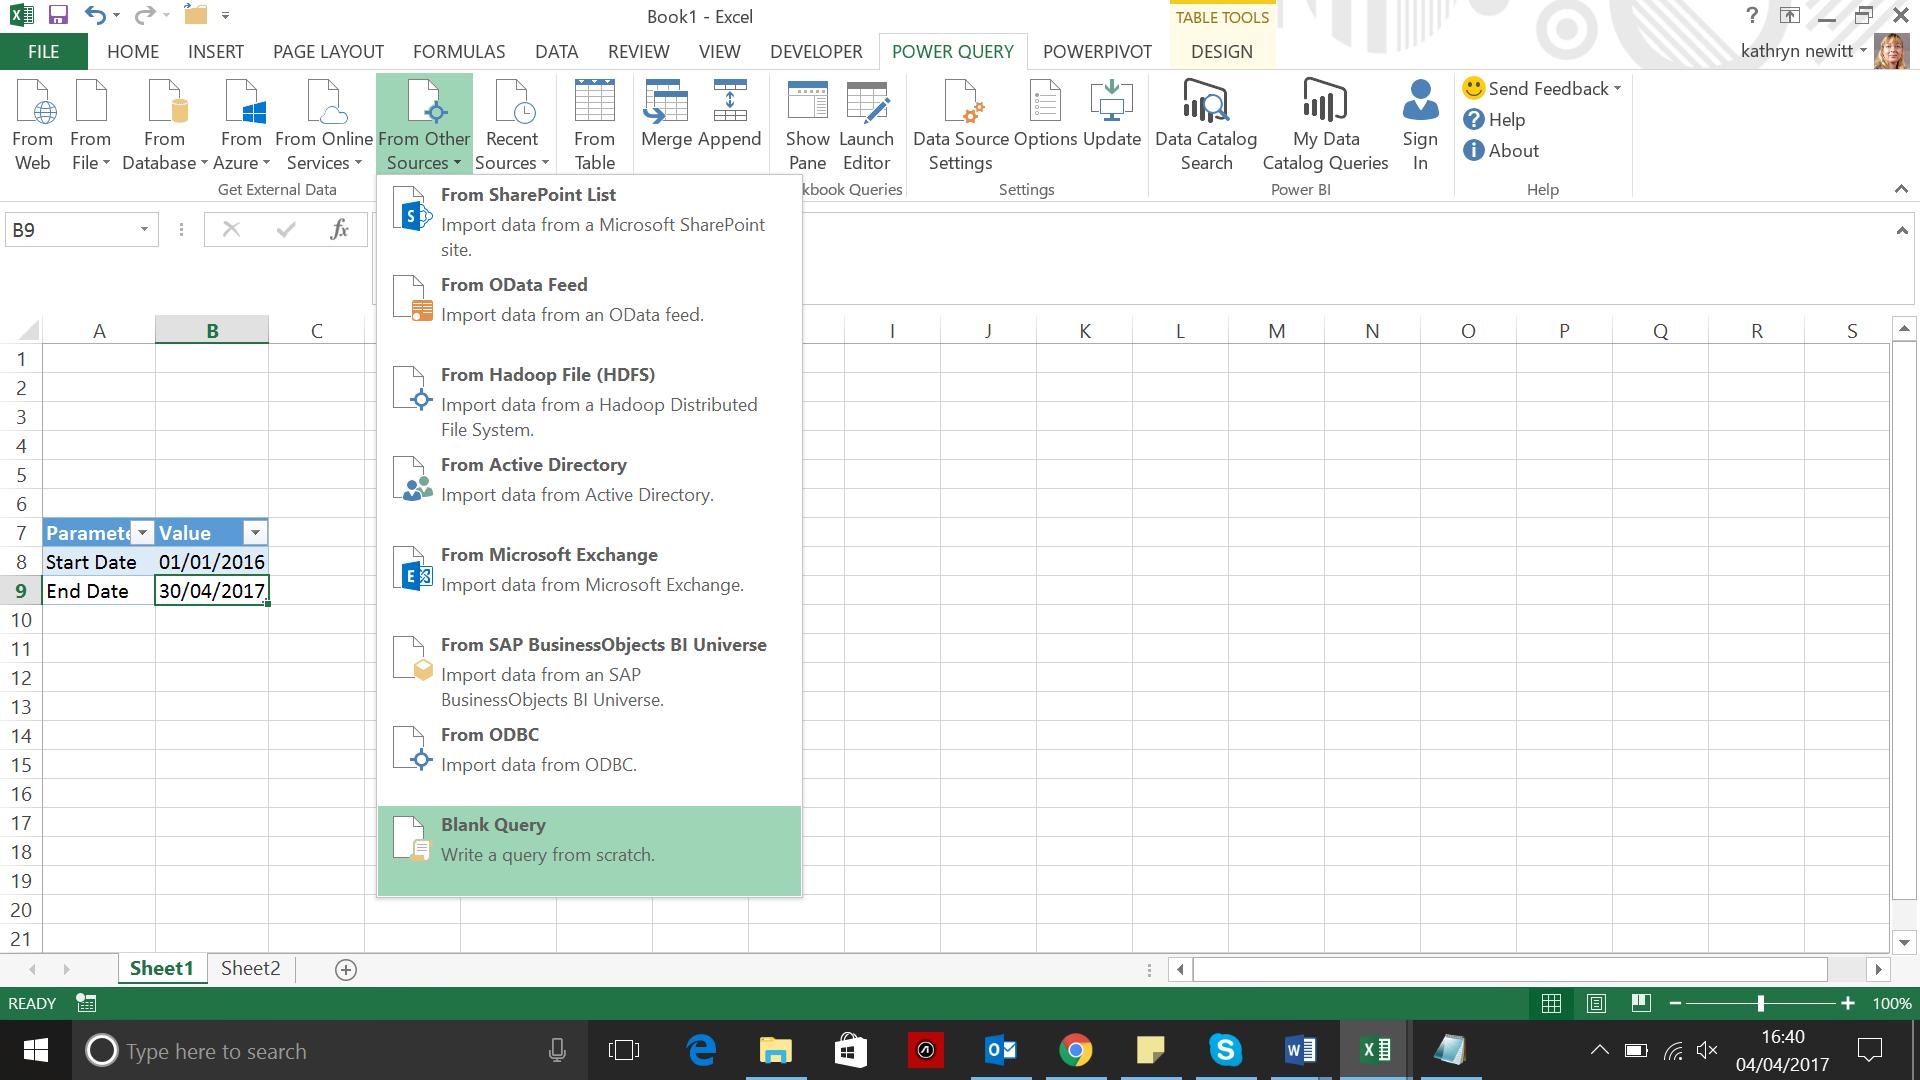
In the Power Query menus, I choose to create a new blank query by going to the ‘From Other Sources’ section and choosing ‘Blank Query’ from the dropdown:
In the ‘Query Editor’ screen I choose the ‘Advanced Editor’ from the ‘Home’ tab.
I enter the following M language:
(ParameterName as text) =>
let
ParamSource = Excel.CurrentWorkbook(){[Name="Parameters"]}[Content],
ParamRow = Table.SelectRows(ParamSource, each ([Parameter]=ParameterName)),
Value=
if Table.IsEmpty(ParamRow)=true
then null
else Record.Field(ParamRow{0},"Value")
in
Value
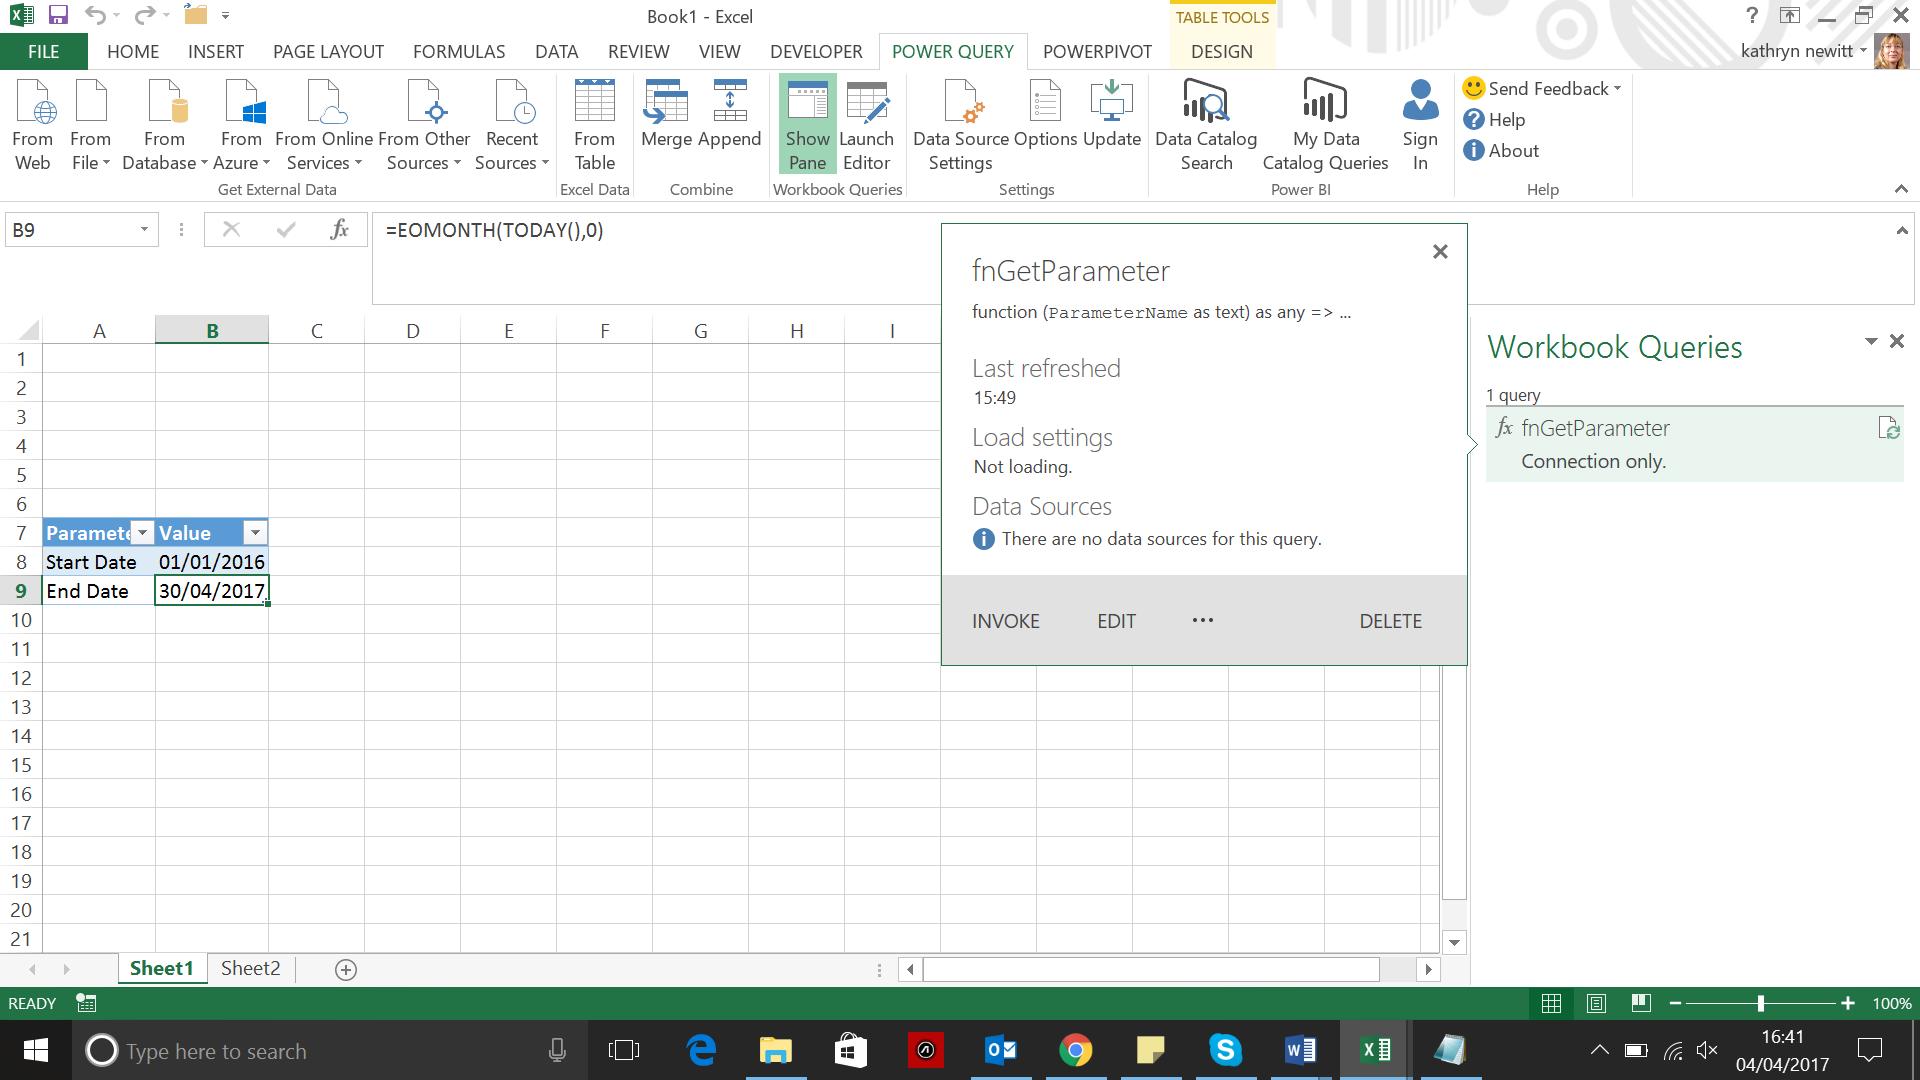
I then rename the query fnGetParameter.
When I choose to ‘Close and Load’ from the ‘Home’ tab the new query automatically saves as connection only in the workbook pane:
Now I have my parameters and a function which will read them, so that next time I may create my calendar framework and add columns to create a useful calendar.
Want to read more about Power Query? A complete list of all our Power Query blogs can be found here. Come back next time for more ways to use Power Query!